Today I am going to show you how to create an Instagram Lo-Fi filter in Lightroom. This is going to be an epic tutorial. If you like the Lo-Fi filter on your photos but don’t like using Instagram for all your photos then this tutorial is for you.
Plus, I am going to give you the preset for free also. No signup and email are required, just one click to download the preset. This button will scroll you to the bottom of the page.
Download preset
This is going to be a short tutorial because achieving the Instagram Lo-fi filter in Lightroom is very easy.
Related: Check out how to achieve Instagram Lo-Fi effect in Photoshop
Let’s see the before and after
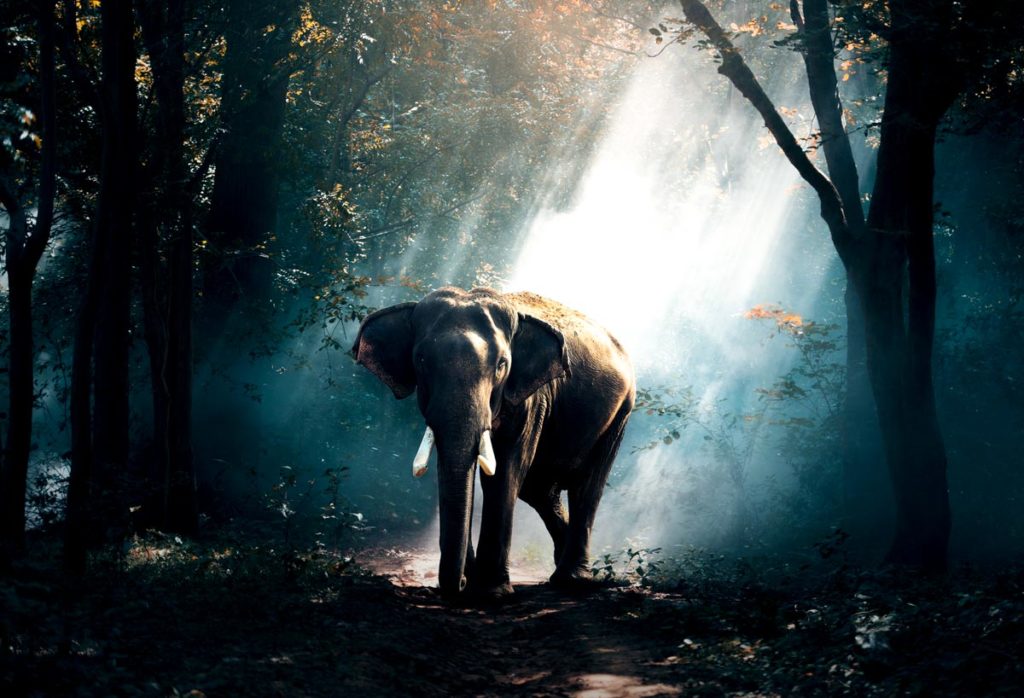
After
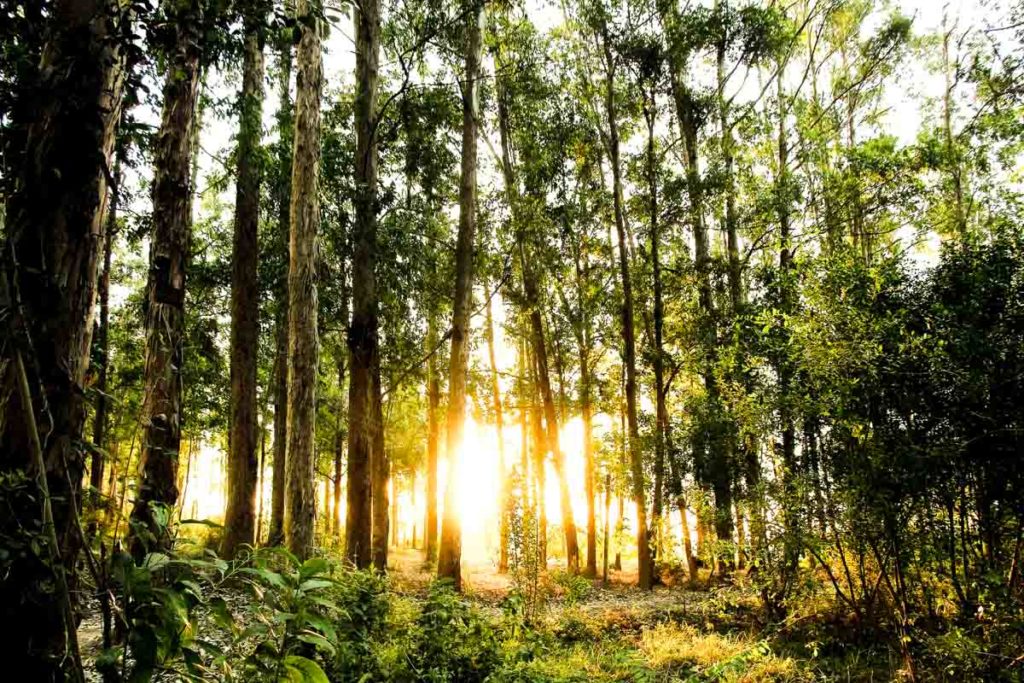
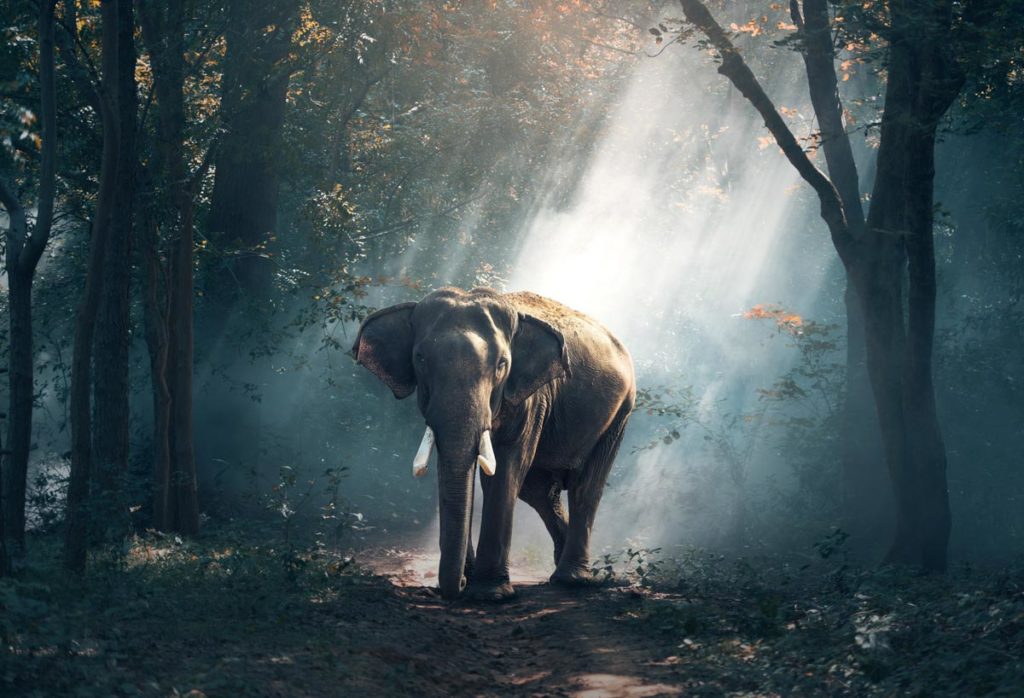
Before
Photo by Pixabay from Pexels
Let’s begin the tutorial.
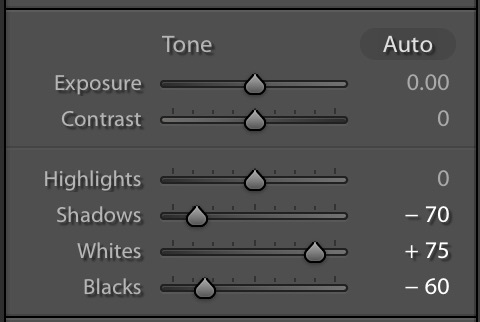
Step 1: Adjust the basic panel Instagram Lo-Fi filter basically increases contrast and darkens the photo. We’re going to do the same in Lightroom.
Adjust the below sliders
Shadow: -70 Whites: +75 Blacks: -60
This will add a nice looking high contrast look.
Time to increase the color
Adjust the below slider
Here’s how the photo will look. Isn’t it looking beautiful?
Step 2: Change the hue Instagram Lo-Fi filter changes the green color to slightly blue. So, guess what? We’re going to do the same in Lightroom.
Go to HSL/Colors panel. Make sure that the HSL is selected.
Adjust the below slider
This will change the green to blue color.
This is all, guys. Share this tutorial on Facebook if you like how this photo looks. Share buttons are at the end of this tutorial.
Download Instagram Lo-Fi preset for lightroom As I promised at the beginning of this tutorial, here’s the preset for you. Simply click on the below button to download.
There are more Lightroom presets that are free and waiting for you to download them. Check out all the free Lightroom presets to download.
Download preset
Also, check out all Instagram tutorials .