
I know that I am not consistent since the past few months in terms of posting fresh tutorials. I have received so many complaints from you that I should be more consistent. I hear you and love you ❤️. I promise that I’ll be consistent again starting from today. 😊
Today, I am going to show you how to remove the background in a logo in Photoshop. Of course, there are some mobile apps out there. Some of them are good at removing backgrounds and others claim that they can remove the background as good as Photoshop can. To be completely honest, I have not tried all of them. I have tried a few and they were good. But, they were one-touch removal. They did not give me any flexibility, like Photoshop.
OK, other talks apart. Let’s get to the main topic. Today, I am going to remove the background from three different logos with three different methods. This is because I’ve heard that I should be editing multiple images in a tutorial so that I can cover as many aspects as I can.
Method 1 – Remove background using “Color Range” command
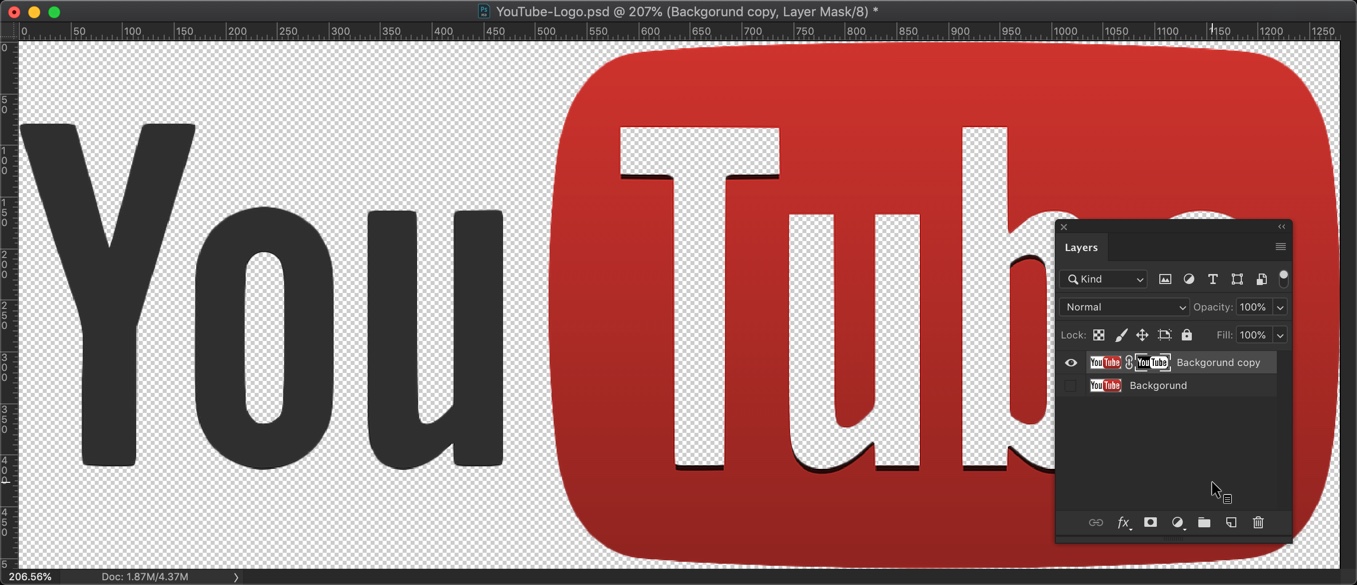
Let’s start with the YouTube logo.

1.a Select the Background using Color Range command
The logo has a big white background. Let’s remove that.
With the help of Color Range command, we can select a single color from the entire image. We’re going to select the white color as our background is of white color.
Go to Select > Color Range.

In the Color Range dialogue box, click on the “Add to sample” icon first. It is highlighted with the “1” in the below screenshot. I’ll tell you why did we do it two paragraphs below.
Now, click on the color you want to remove. I am going to click on white because I want to remove white color.
The reason we clicked on “Add To Sample” because it tells Photoshop to include multiple colors. Many times, the background is not completely white, agree? It consists of multiple colors like gray, offwhite, white, etc. With this button clicked, whichever color we click on will get selected. If this option is off, Photoshop will only select the latest clicked color.
For example, let’s say we click on the red color and then the green color. If “Add to sample” is on then Photoshop will select both red and green color. If it’s off then Photoshop will only select the color that we clicked at the last and deselect the previously selected color. In our case, it’ll deselect the red color and then select the green color.

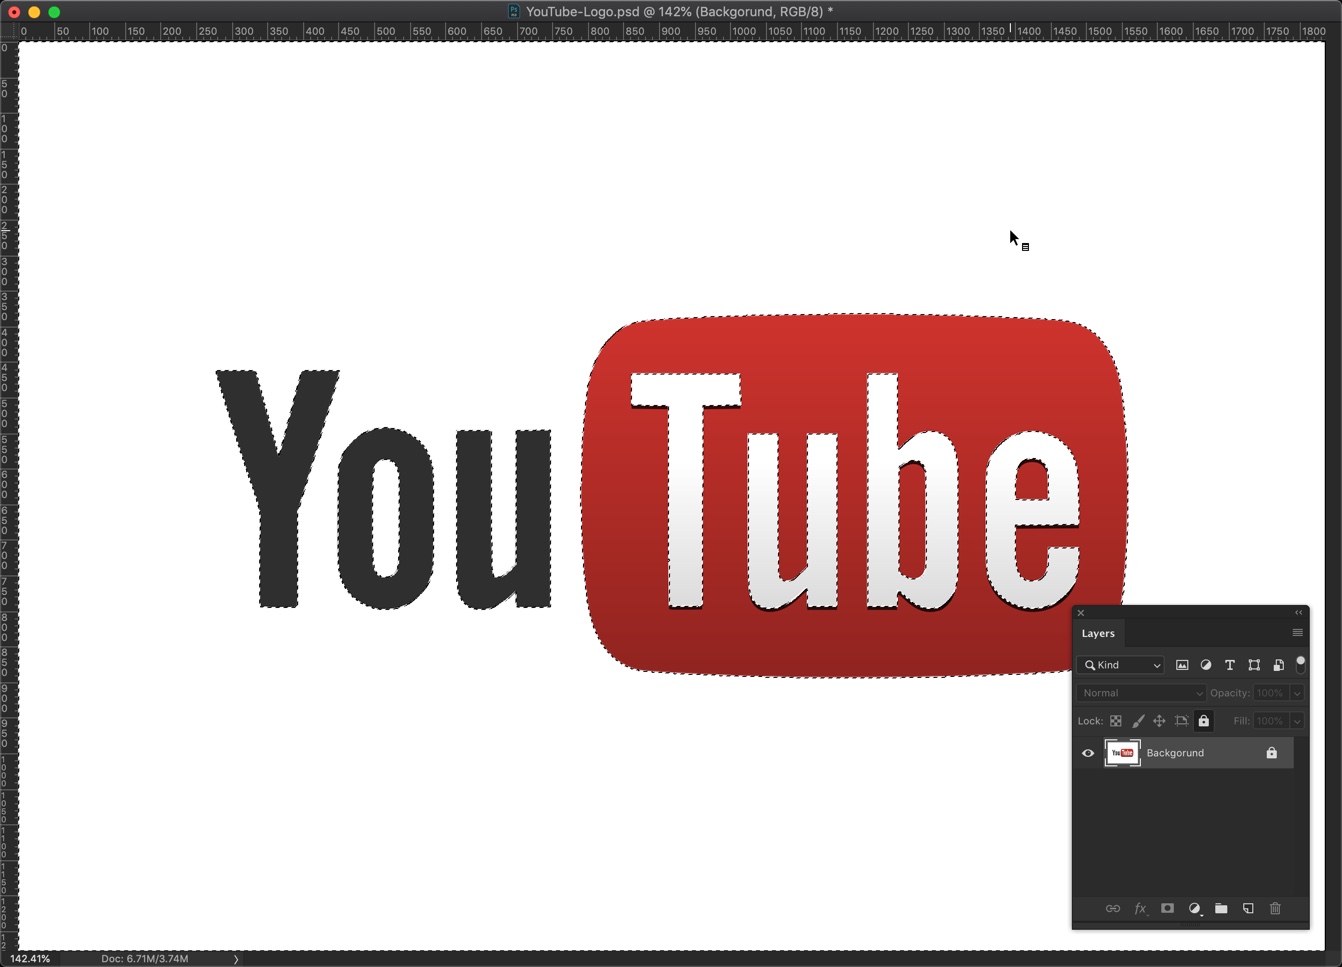
Press OK. See how beautifully Photoshop has selected the white color. You can see the dashed outline across the YouTube logo.
1.b Invert the Selection
Invert the selection because we need to select the logo. Right now, our white color is selected which we want to remove. Press Cmd + Shift + I / Ctrl + Shift + I to invert the selection. Now, our logo will be selected.
1.c Refine the Selection
Time to refine the selection. We’re going to use Select and Mask. This tool is a replacement of Refine Edge tool. I had previously written a tutorial on Select and Mask tool in Photoshop. Check that tutorial if you want to know more on this powerful tool.
I like to keep the smart radius off and keep the radius to 0 pixels. You can play with these sliders.
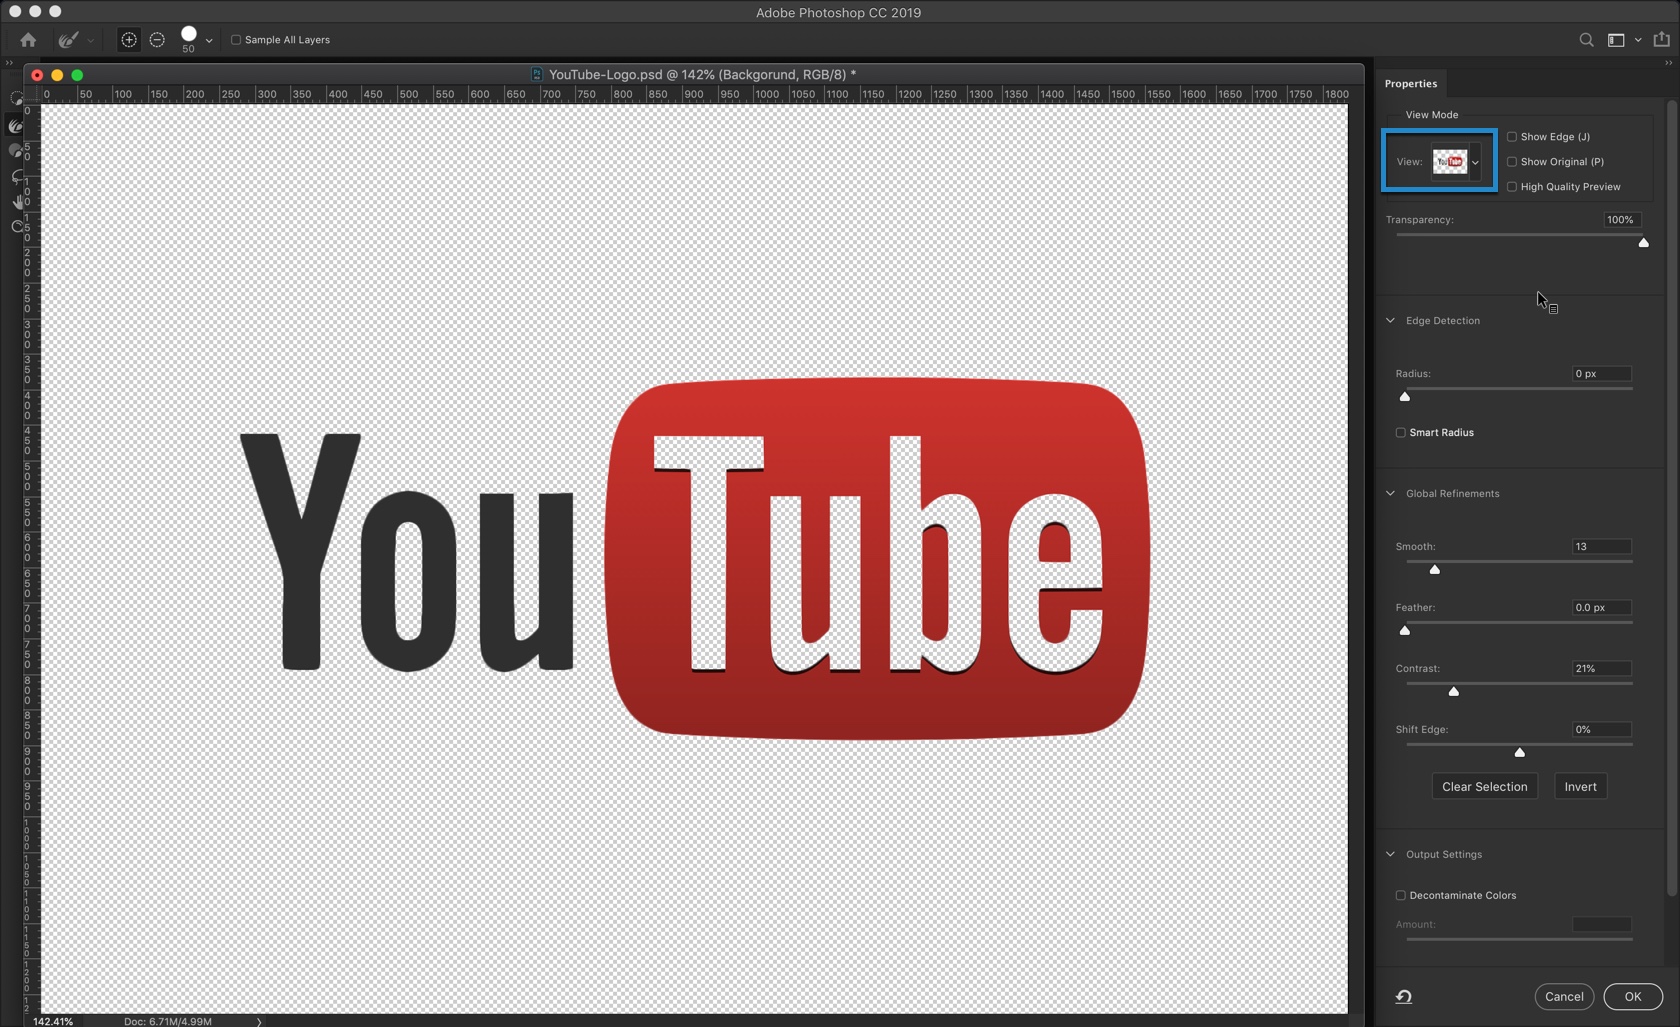
Once done, press OK.
1.d Trim the Image to Remove Unnecessary Space
We’re going to remove the unnecessary space. The easiest method is to use the Photoshop Trim command. You can also use Crop tool but this command is much faster.
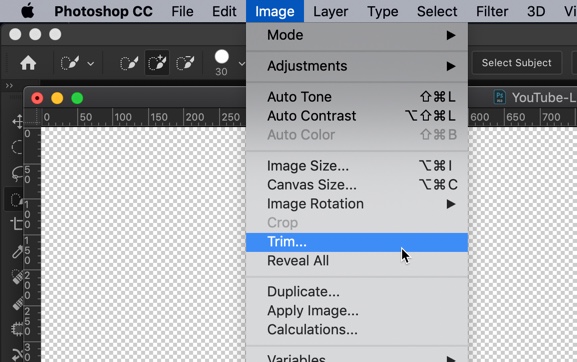
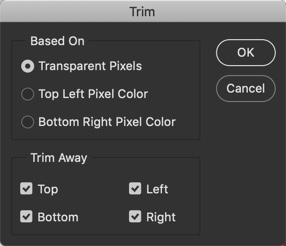
Choose “Transparent Pixels” and select all of the four options in the “Trim Away” area. Press OK.
Here you go.
1.e Save the Image in PNG or GIF
While saving the logo, make sure that you save it in PNG or GIF. JPEG does not support transparent background and automatically adds a white background upon saving.
Method 2 – Remove background using Quick Selection Tool
Time to remove the background using the Quick Selection Tool. This time we’re going to use a different logo.
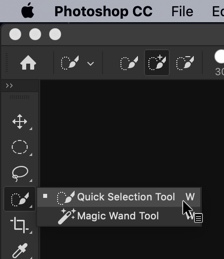
2.a Grab the Quick Selection tool and select the logo
Grab the Quick Selection tool from the tool panel or press Shift + W again and again until it activates.
Make your option panel like the one shown below.

2.b Select the background
Click on the background and drag the mouse. Photoshop will keep on selecting the background until you release the mouse button.
Once the outer background is selected, I am going to select the internal hole the same way.
Here’s the selected logo.
Now, you can follow the steps from 1.b till 1.e. I thought of writing the steps again but that would be this tutorial unnecessarily big.
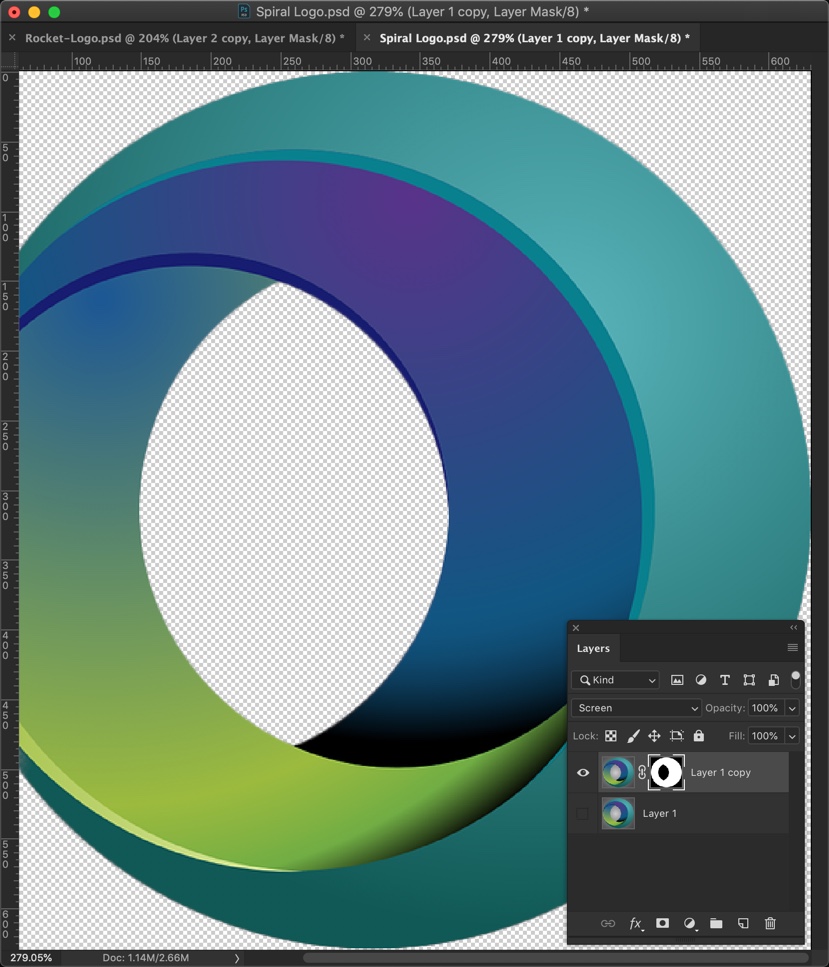
Here’s the logo.
Method 3 – Remove background using Magic Wand Tool
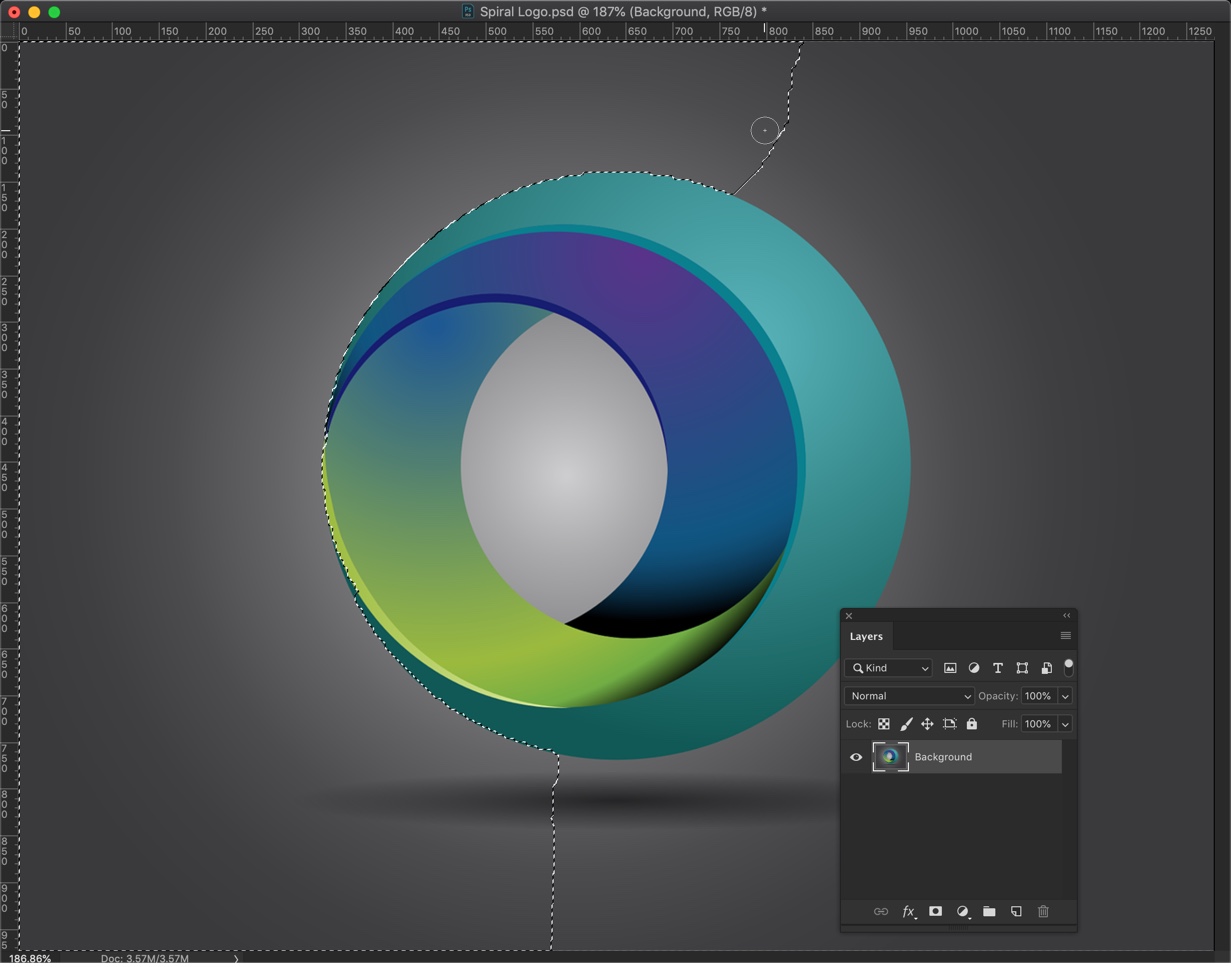
Time to remove the background using the Magic Wand Tool. This time we’re going to use a different logo.
2.a Grab the Magic Wand tool and select the logo
Grab the Magic Wand tool from the tool panel or press Shift + W again and again until it activates.
Make your option panel like the one shown below. You may want to change the Tolerance value once you become an intermediate user, 15 is OK for a beginner level user.

2.b Select the background using the Magic Wand tool
Now, start clicking on the background. You don’t need to drag the mouse this time. Just a single click would be enough.
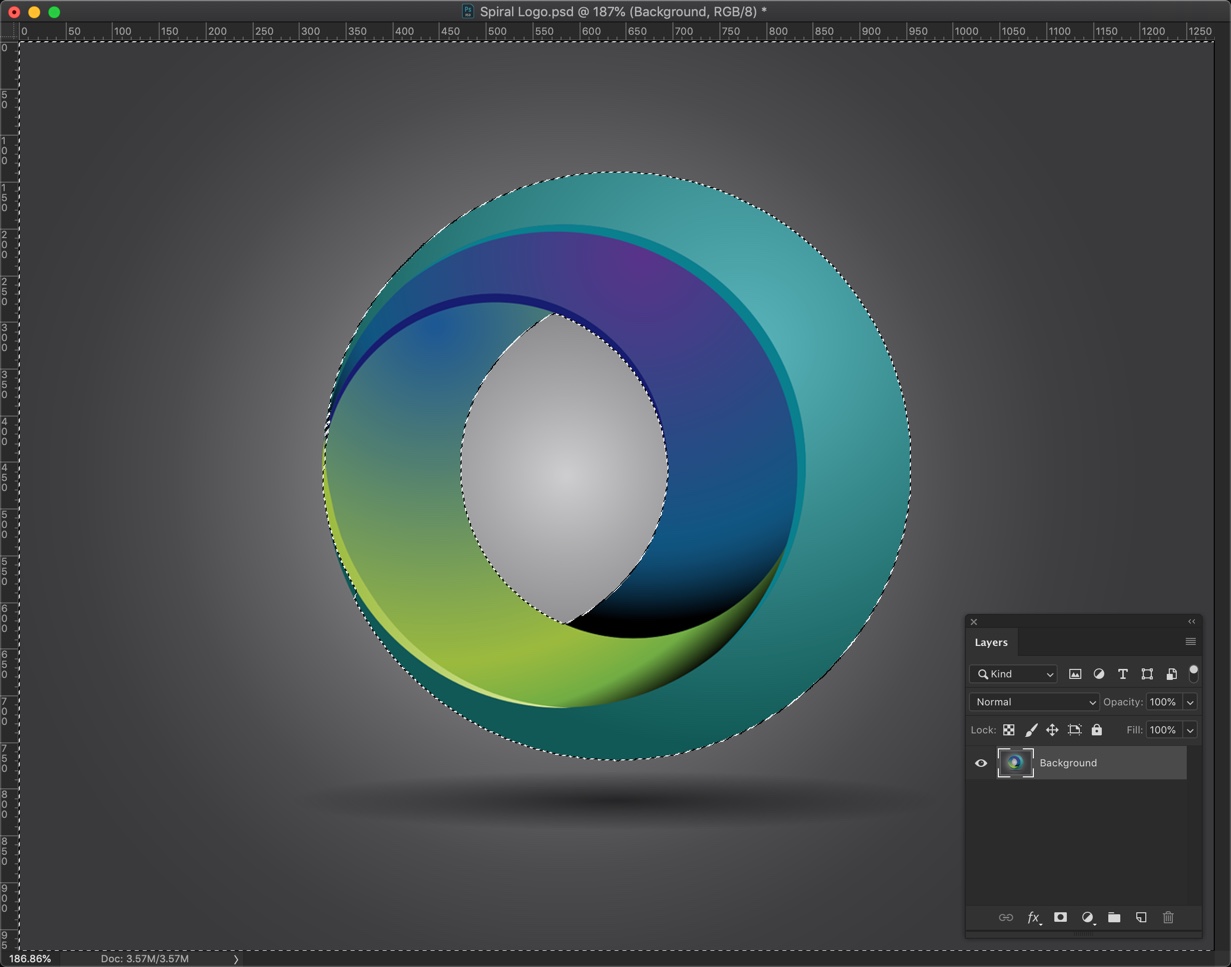
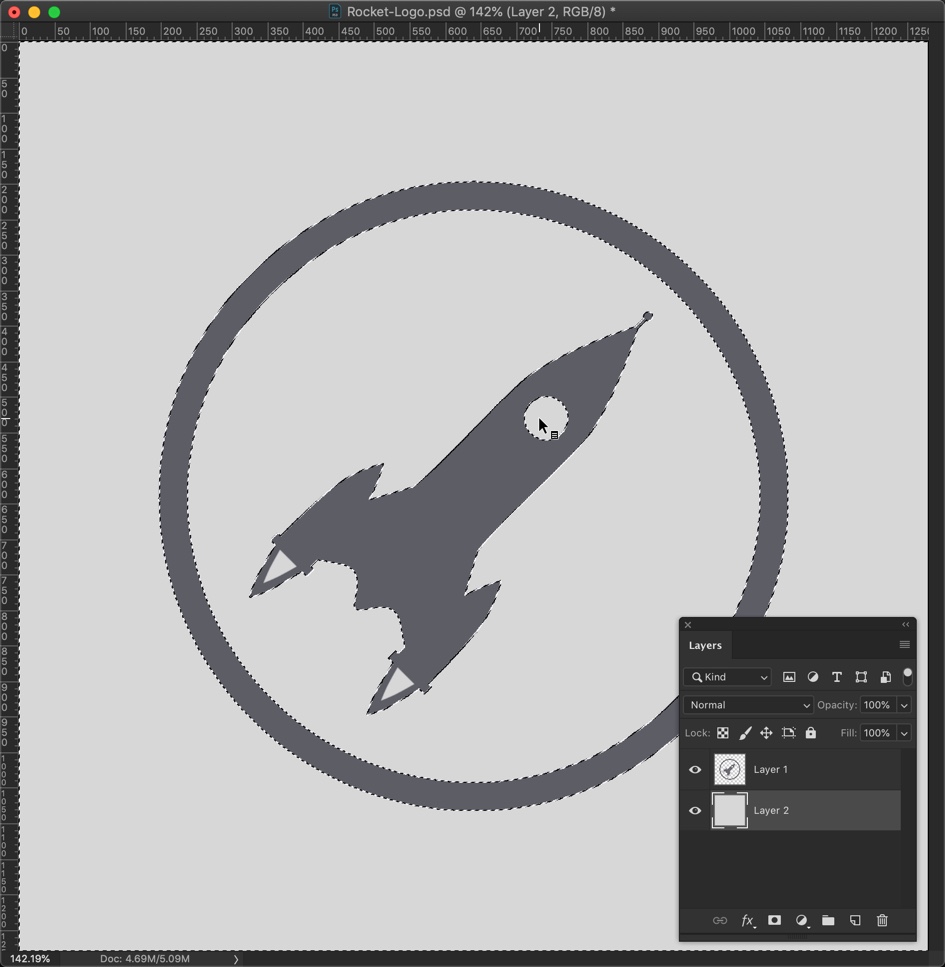
Magic wand tool selects all the colors that are similar to each other and are adjacent. For example, in this below image, the background is of light gray. So, if I click on the background that is present outside the ring, it’ll select only that background. It’ll not select the background that is present inside the ring.
I am going to click on all the background now. This includes the background inside the ring.
Now, you can follow the steps from 1.b till 1.e.
Here’s the logo.

That’s all, folks.
Make sure that you make the most out of the below offer.