STEP 7
After pressing OK Photoshop will restore the selection. Now press Ctrl+J/Cmd+J to duplicate the selected area onto a new layer. Now lets add Curves to reduce the highlight and make his face perfectly exposed. To do this go to Layer>New Adjustment Layer>Curves. Make your curve look like the one shown below and don’t forget to click on the clipping mask icon (the encircled one).
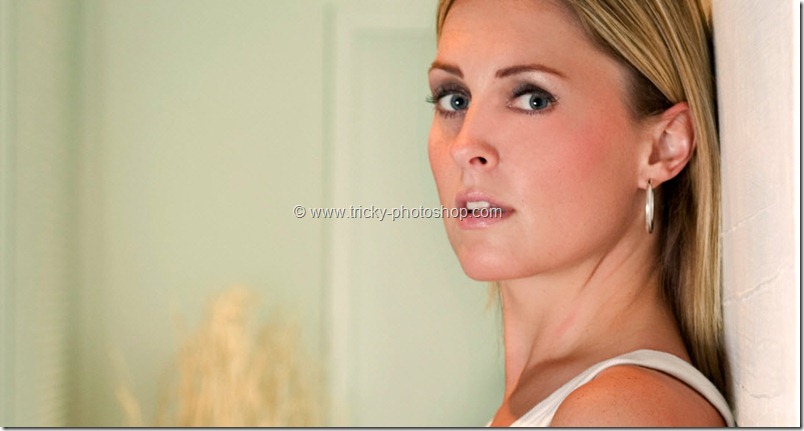
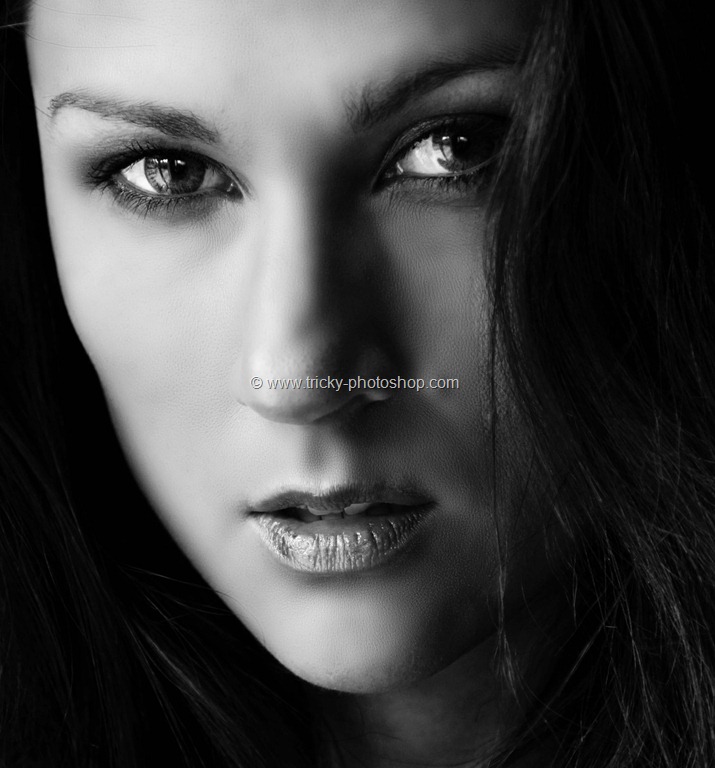
Notice that this will create a very small difference and your image should look like this.
Well this is the end of this quick tip.
Thank you for reading this article.
Read my next tutorial where I will be discussing about Adding Instagram Valencia Effect in Photoshop.
Hopefully we’ll meet again in four days.


