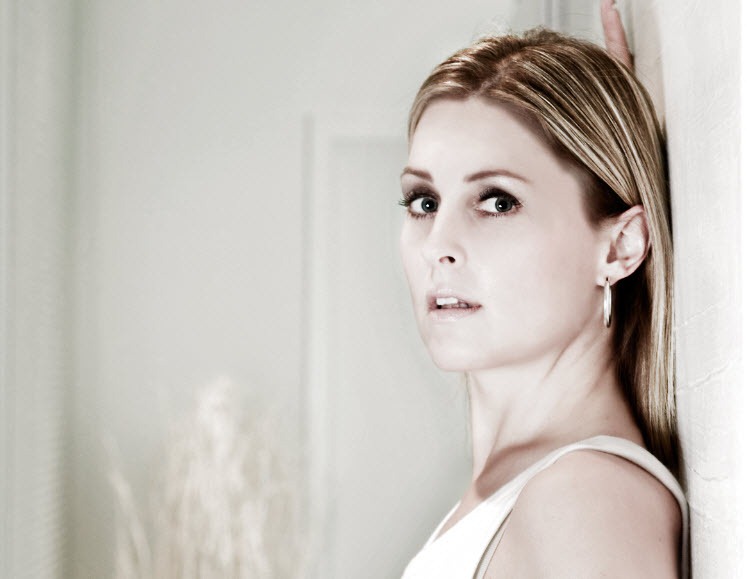
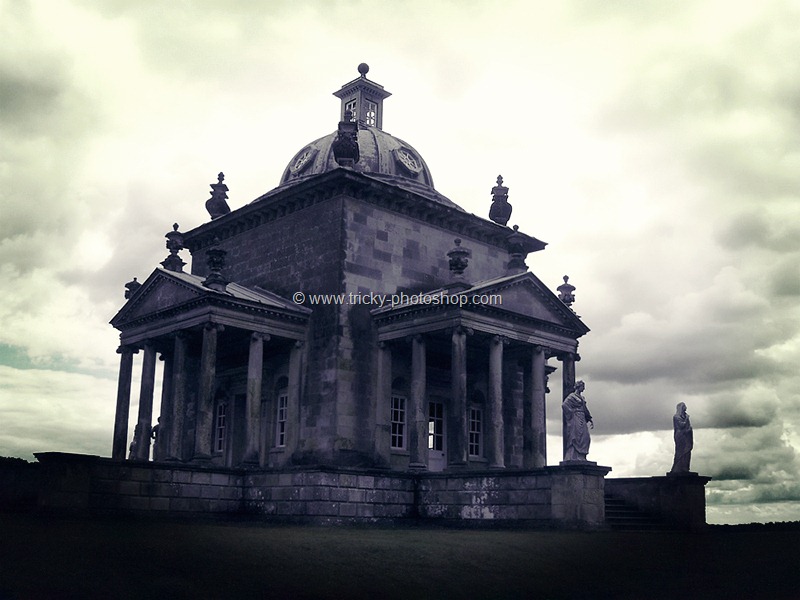
Hello, guys, I am Vaibhav and today I am going to show you a tutorial on Dragon Effect in Photoshop. Last time I discussed Instagram Earlybird Filter.
Stock: http://random-acts-stock.deviantart.com/art/Viking-2012-stock-49-285935962
In this tutorial, I am going to use Adjustment Layers, High Pass Filter and several other tools.
FINAL
STEP 1
The first thing that we need to do is to change the hue and saturation. Go to Layer>New Adjustment Layer>Hue/Saturation. Decrease the Saturation to -24 and increase the Hue to +7.
Your image should look like this.
STEP 2
Go to Layer>New Adjustment Layer>Curves. Make the graph looks like the one shown below.
Your image looks like the one shown below.
STEP 3
Now we are going to stack all the layer onto a new layer. Press Ctrl+Shift+Alt+E/Cmd+Shift+Opt+E. You will find a new layer at the top of the layer panel which is basically a combination of all the layers.
Go to Filter>Other>High Pass. Increase the Radius to 15.5. Press OK.
Your image should look like the one shown below.
STEP 4
Change the Blend Mode to Overlay.
Do give the image more grunge look, duplicate the High Pass layer by pressing Ctrl+J/Cmd+J and reduce the opacity to 62%.
Your image should look like the one shown below.
STEP 5
Time to give the image a bit Yellowish tint. Go to Layer>New Adjustment Layer>Photo Filter. Change the Filter to Warming Filter (85) and increase the Density to 25%.
Your image should look like the one shown below.
STEP 6
Time to create a new layer. Press Ctrl+Shift+N/Cmd+Shift+N. On this layer, we are going to use the Dodge and Burn tool to make the image more grunge. Go to Edit>Fill. Choose the Use as 50% Gray and press OK.
Change the Blending Mode of the new layer to Overlay.
STEP 7
Grab the Burn Tool from the tool panel. Change the Range to Midtones and the Exposure to 37%.
Apply Burn tool on the areas which are highlighted with Red color.
Now grab the Dodge tool and apply Dodge tool on the areas highlighted with Red color.
And now you are done.
Thank you for reading this tutorial. We’ll meet again next week.


