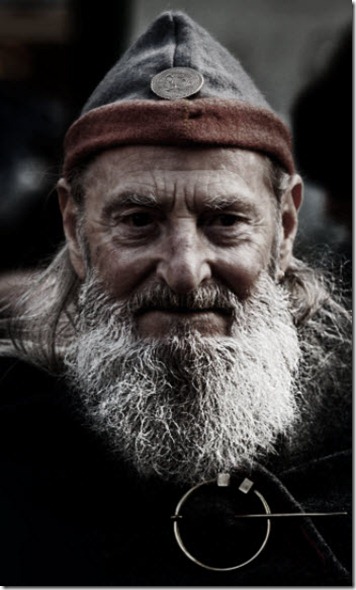
Hello guys I am Vaibhav and in this tutorial I am going to show you how to create a cinematic portrait effect using Photoshop. Last time I discussed about Creating Text Portrait Effect in Photoshop which is really an recommended tutorial for Photoshop enthusiasts. For this tutorial I am going to use lots of adjustment layers and then I will use some filters to achieve desired look. I am going to use Photoshop CS6 but you can use older versions to achieve the same effect.
Stock: http://faestock.deviantart.com/art/Bite-Me5-173553801
FINAL
INITIAL
STEP 1
The very first thing you need to do is to determine the width of your image. You can find your image width at the bottom of the screen.
Then we need to setup our grids. Go to Edit>Preference>Guides, Grids and Slices. Now divide your image width by 4 and write that value in the “Gridline Every” box. Press OK.
Now go to View>Show>Grids or you can press Ctrl+’/Cmd+’ as keyboard shortcut to make the grids visible. Your image should look like this.


