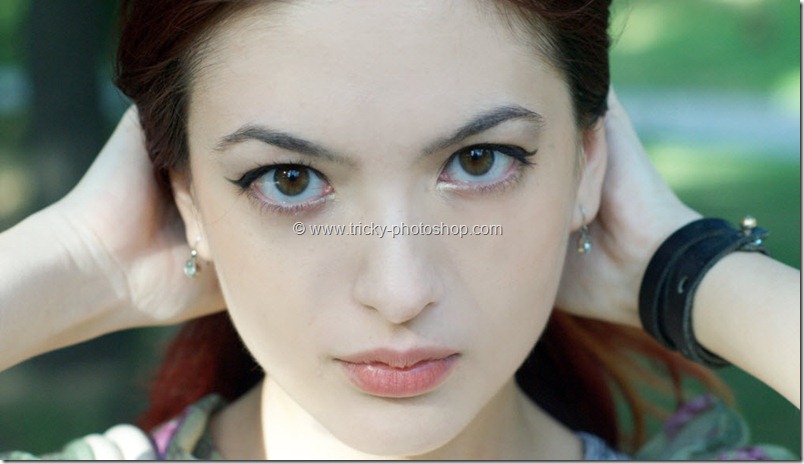
Hello guys I am Vaibhav and today I am going to talk about Balancing Skin Tone in Photoshop. Last time I discussed about Turning an Image into a Vintage Image which is a recommended tutorial if you want to learn creative photography. For today’s tutorial, basically what I am going to do, I am going to use some value of skin tone and then we will paint with that color all over the skin. After that we will change the blend mode to achieve the desired effect.
FINAL
INITIAL
Stock Image: http://faestock.deviantart.com/art/Clean-271968855
STEP 1
The first thing that we need to do is to check what color of skin we want. I mean you need to check whether the model is Caucasian, Asian or Black. According to that, you need to follow certain procedures.
Here is the list of some color codes that you can choose accordingly according to your model. You can choose below color codes according to the type of skin:
- Light Caucasian: #f6dacc
- Caucasian: #ecbfa6
- Dark Caucasian: #d28e6f
- Asian: #e8b68a
- Light Black: #c38377
- Dark Black: #593b2b
Please note that you may need to alter shade of the color a little bit according to your requirement.
The model I am using has white skin. So I am going with #ecbfa6.


