STEP 2
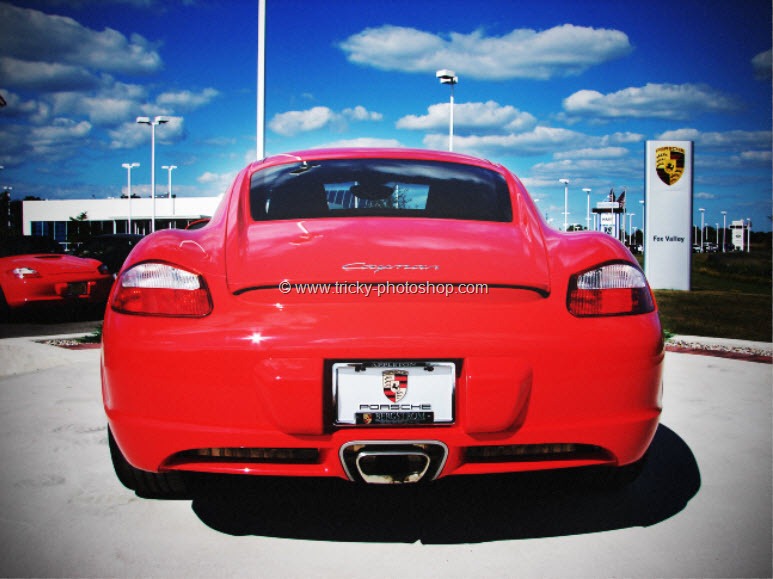
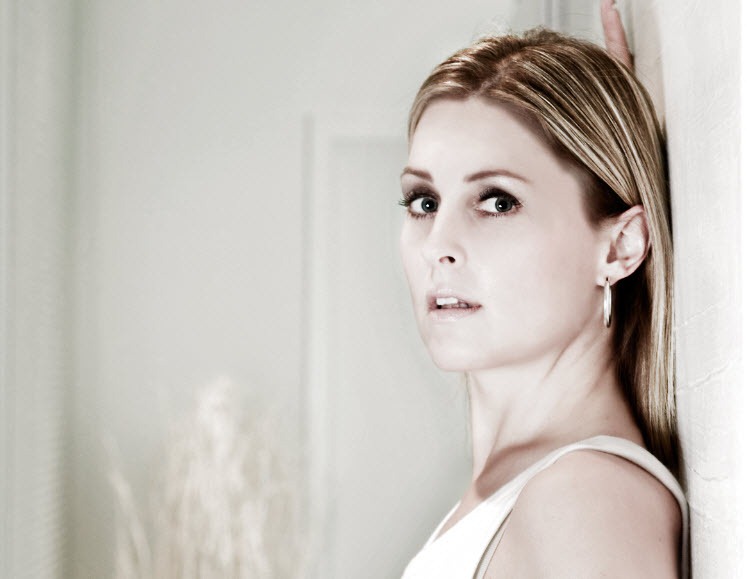
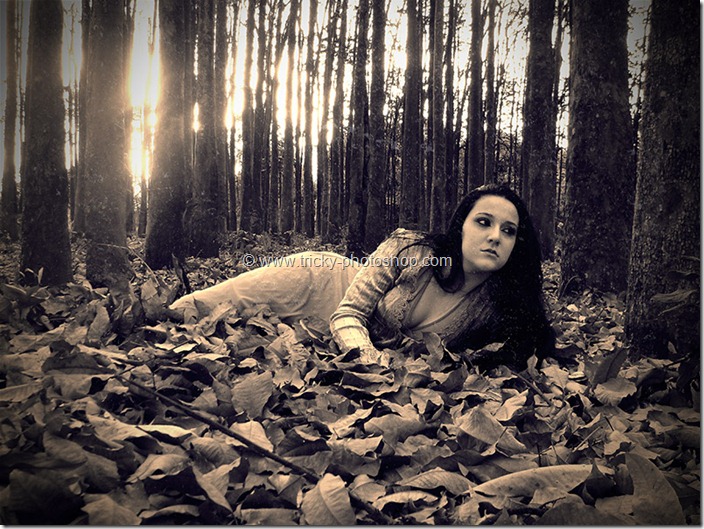
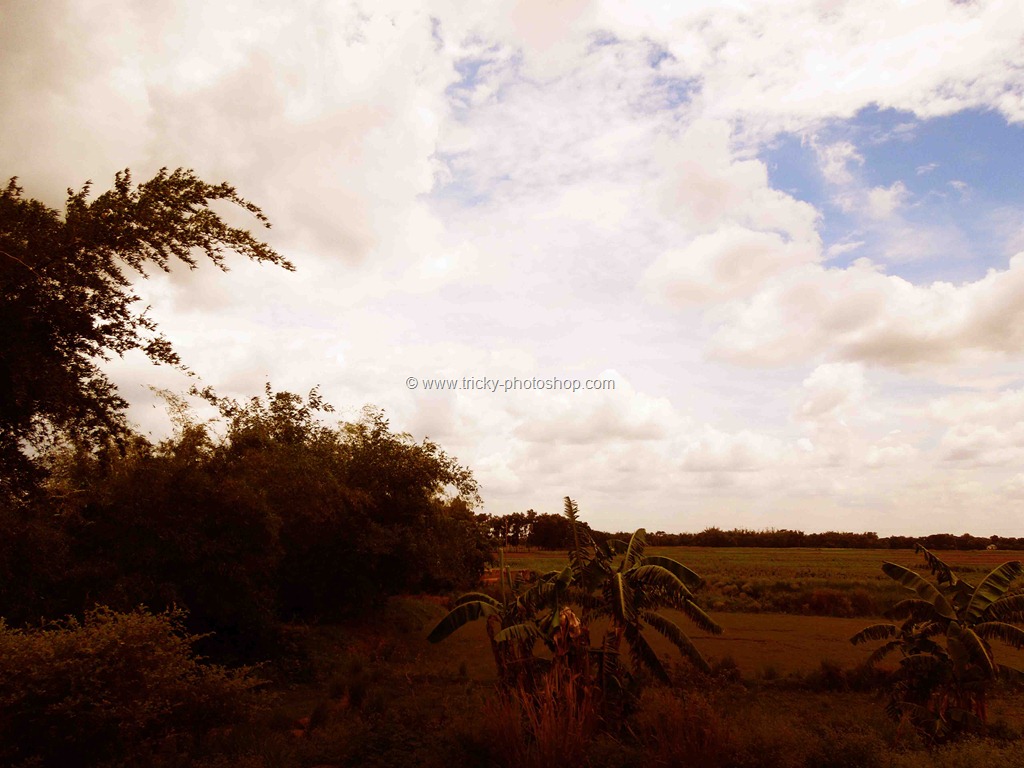
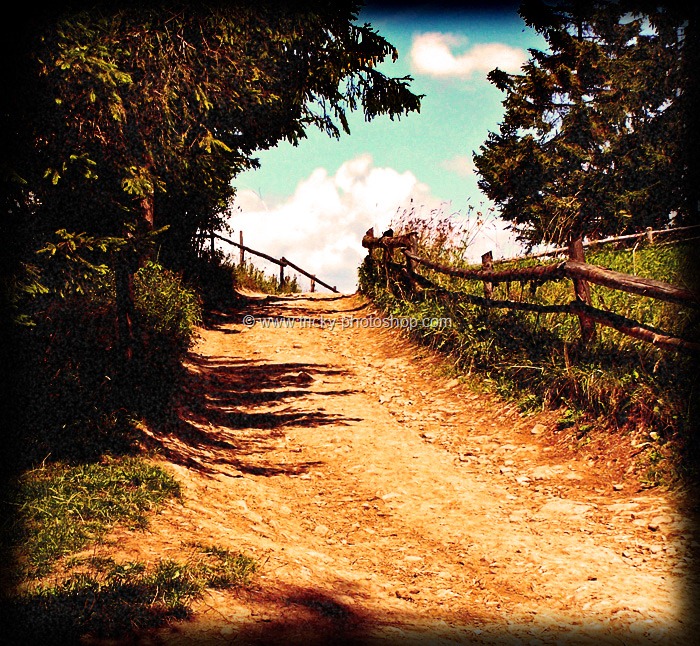
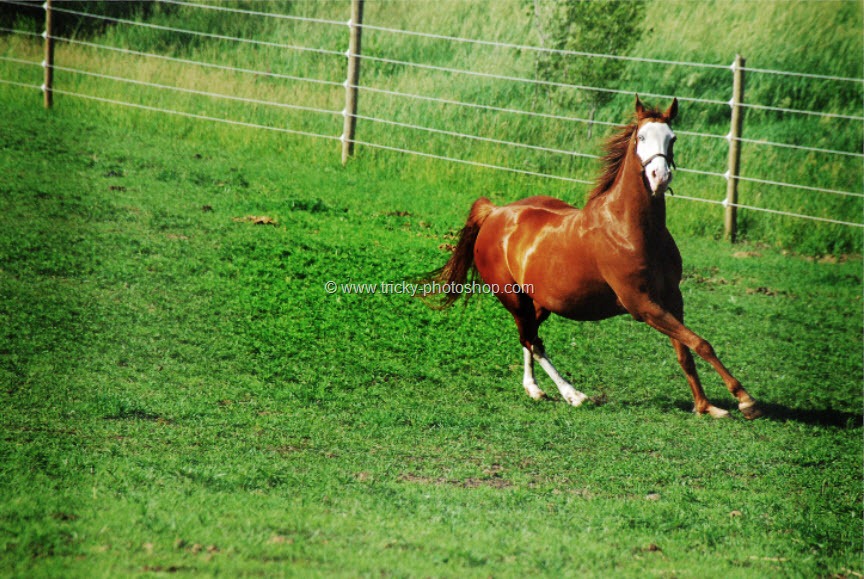
Now lets add some contrast to our image. To add contrast I really like Soft Light Blending mode. So lets do that. Press Ctrl+Shift+Alt+E/Cmd+Shift+Opt+E to sample all layer onto a new layer. Lets rename this layer as “sample visible”. Now we need to duplicate our “sample visible” layer. Press Ctrl+J/Cmd+J to do it.
I have written a whole tutorial on Blending Modes in Photoshop and you should check that tutorial out if you are not aware of the power of Blending Modes.
Change the blend mode of “Stamp Visible copy” to Soft Light. As you can see it has added a nice contrast effect to our image.


