
Hey, guys! A few weeks ago, I ran a campaign in Photoshop where I asked people which tutorial should I write next. And guess what, you’re currently reading one of the most asked tutorials which is to add shadow in Photoshop.
Adding shadow in Photoshop is not a one-step tutorial. Yes, I know that Photoshop provides “Drop Shadow” layer style but that works rarely. To make things even more complicated, you first need to cut out the object of which you want a shadow in order to use the layer style.
Today’s tutorial will be a bit longer because I want to show you the best method to add the shadow (not the fastest). This method will take some time to implement but the result would be perfect.
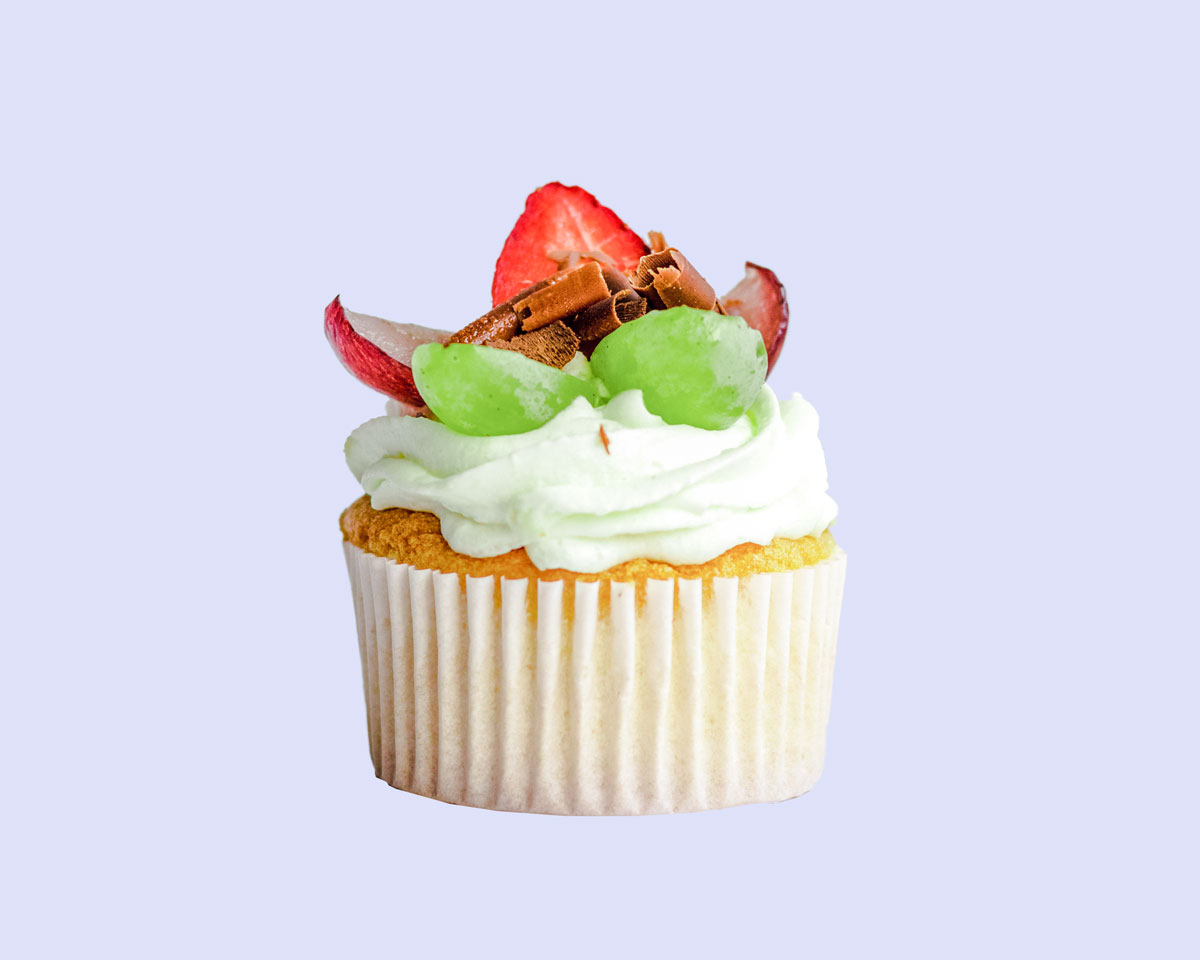
Before I begin, you may want to see the final image.
Final image

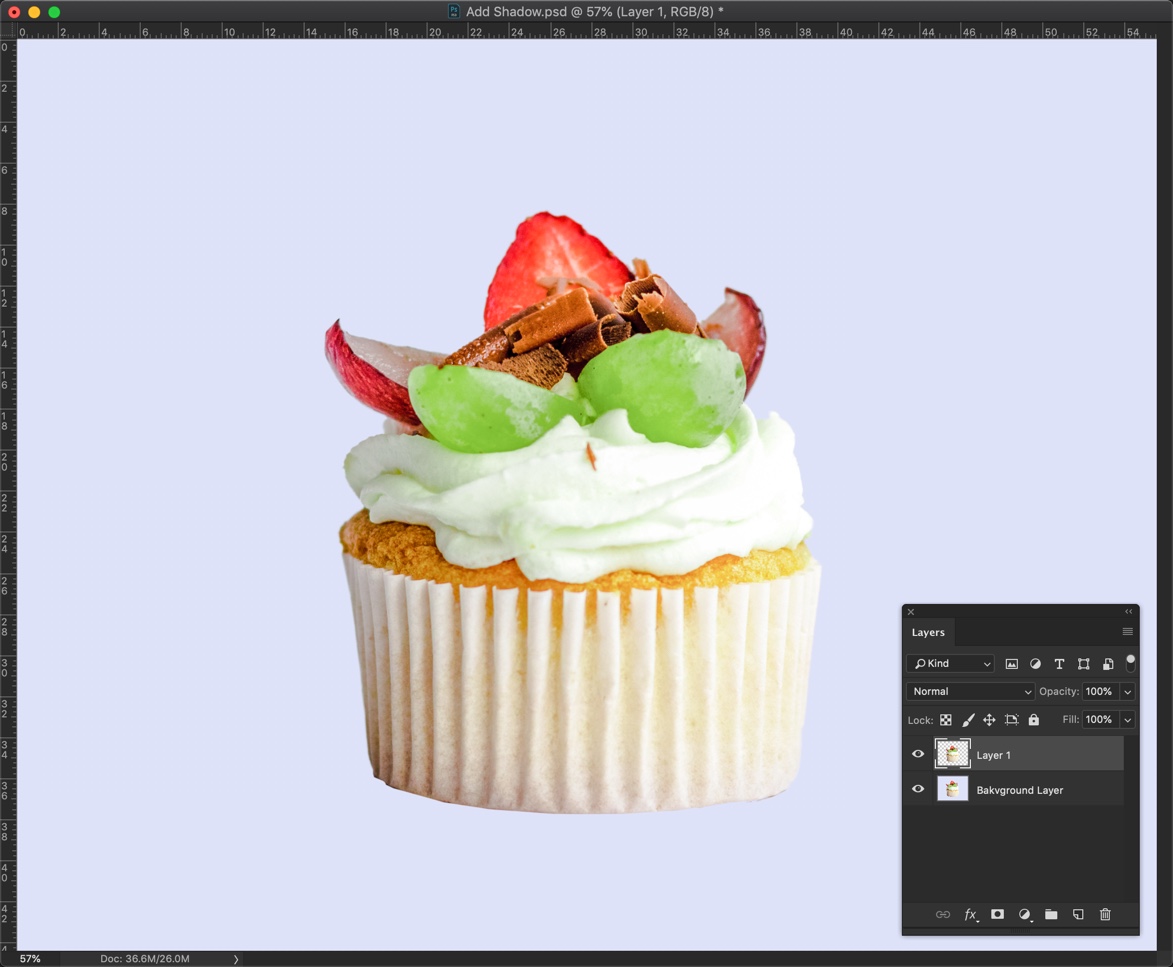
Initial image
Let’s begin with the tutorial
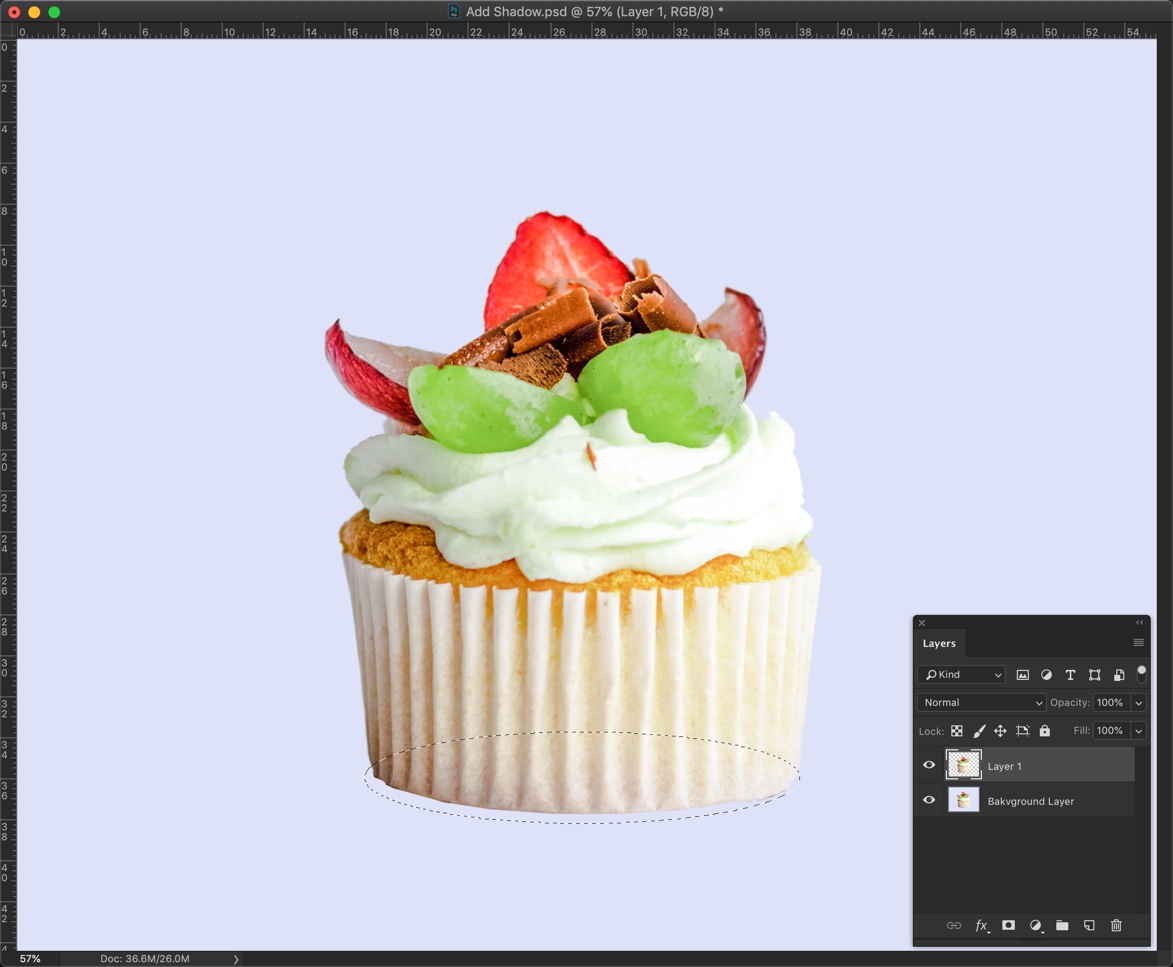
Step 1 – Extract the subject to a new layer
Shadow comes in between the background and the subject. So, we need to extract the subject to a new layer to make things simpler. You’ll understand in later steps why this step is important.
You can use “Select Subject” if you’re using Photoshop CC 2018 to easily extract the subject. If can use Quick Selection Tool if you’re using an older version of Photoshop. I have written a tutorial on how to select using the Quick Selection Tool. You may want to check out that tutorial if you are having difficulty in selecting the subject.
If I used “Select Subject” in my Photoshop and it selected the cupcake. Later I used “Select and Mask” to refine the selection.
Here is the image where the cupcake is in the new layer.
Step 2 – The basics of shadow
You’ll see that there is an extra dark shadow at the places where the subject is touching the ground and there are light shadows around in whenever you see an image with a real shadow.
I am going to replicate the same thing with my image.
In the below image, the area marked with red color will have a dark shadow and the area marked with green color will have a light shadow.

The next thing you’ll notice by looking at an actual shadow that it’s not completely black. It has a tint of blue.
So, I am going to use a very dark blue color for my shadow. The HEX code of my shadow is #131322.

Step 3 – Add Shadow in Photoshop (Dark Shadow)
Cupcake has a rounded base. So, I need to create a shadow that should be rounded in shape.
Here’s my plan – I am going to use the Elliptical Marquee tool to make a rough rounded selection around the base and then I’ll fill it with the shadow color to add shadow in Photoshop. After that, I’ll adjust the shape of the shadow with the Free Transform tool.
Grab the elliptical tool from the Tool panel or press Shift + M again and again until it comes.
Make a rough rounded selection around the base.
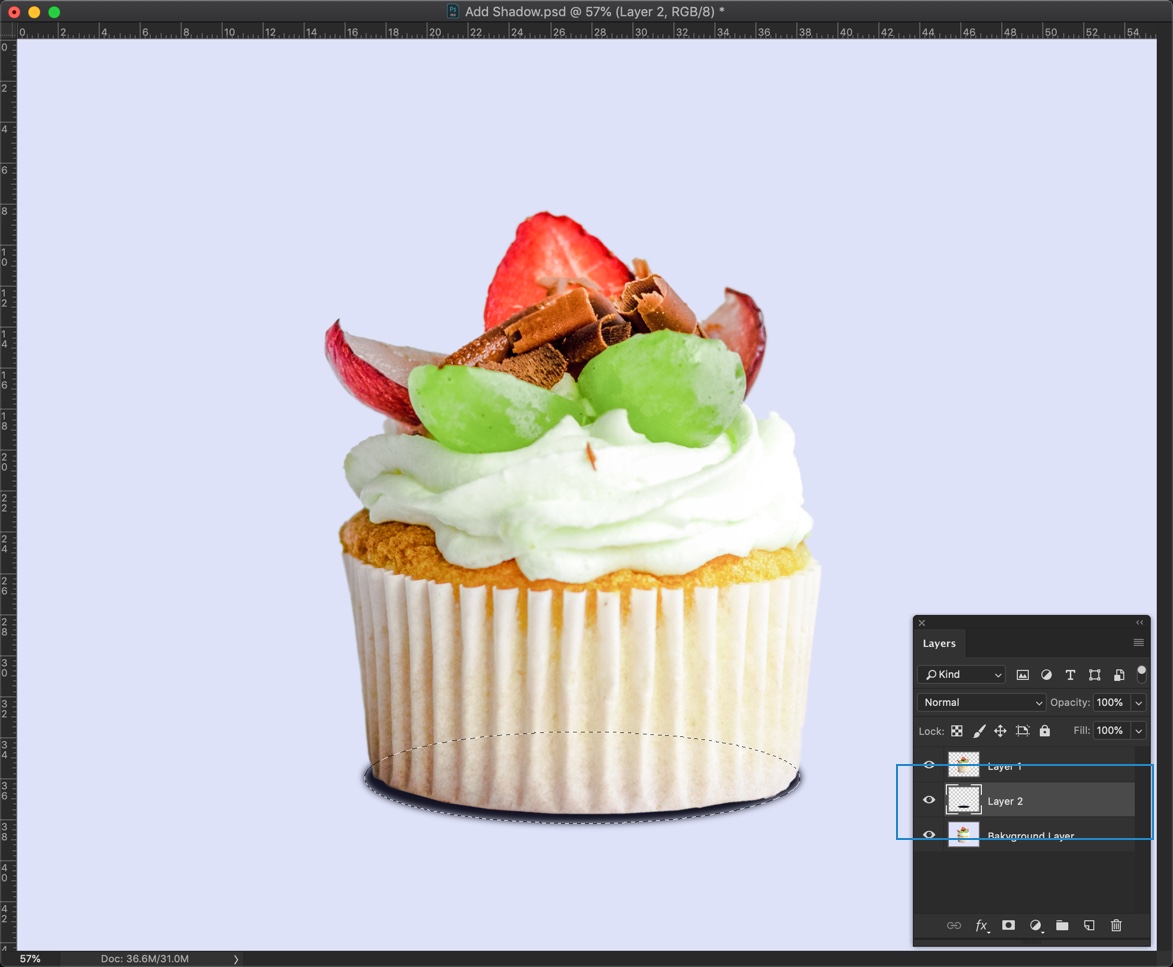
Now, I am going to create a new layer for the shadow. Press Cmd + Shift + N/Ctrl + Shift + N. Drag this layer in between the subject and the background.
Fill the selection with the foreground color that is of our shadow by pressing Opt + Delete/Alt + Backspace.
You can take reference from the below screenshot.
Deselect the selection by pressin Cmd + D/Ctrl + D.
I know that the shadow is not perfect. I am going to show you how to refine it in the next step.
Step 4 – Refine the Dark Shadow
Activate the Free Transform tool by pressing Cmd + T/Ctrl + T.
Now drag the shadow to the edges. You also need to drag the handlebars to change the shape of the shadow.
If you want to skew it, hold down Cmd/Ctrl and then drag any handlebar to skew the shadow.
Once done, press Return/Enter.
Here’s my image.

I think that the shadow is very sharp. It needs to be a bit blurred.
Go to Filter>Blur>Gaussian Blur.
Enter a value that will make the shadow slightly blurred.
Note – whatever value I am entering may not work for you. The value depends on the size of the image. My image is 4000 pixels wide. So, if your image is less wide, you may want to put lesser than 8.5 pixels as the radius in Gaussian Blur.
Press OK once done.

Step 5 – Add the Light Shadow
Create a new layer below the Dark Shadow layer by pressing Cmd + Shift + N/Ctrl + Shift + N and drag it below to the Dark Shadow layer.
Again grab Elliptical Marquee tool from the tool panel or press Shift + M again and again until it comes.
Draw a wide selection around the subject as shown below.

Fill the layer with the foreground color by pressing Opt + Backspace/Alt + Delete. Reduce the opacity to around 20% as shown in the below screenshot.
Deselect the selction by pressig Cmd + D/Ctrl + D.

This time we don’t need Free Transform tool to refine the shadow because the shadow doesn’t have to edge to edge this time. But, we need to blur it.
Step 6 – Blur the Light Shadow
Go to Blue > Gaussian Blur.
This time we’re going to choose a quite high value. I am going with somewhere around 62 pixels.
Press OK once done.

That’s all.
Make sure that you make the most out of the offer that is present just below the final image.
Final Image


