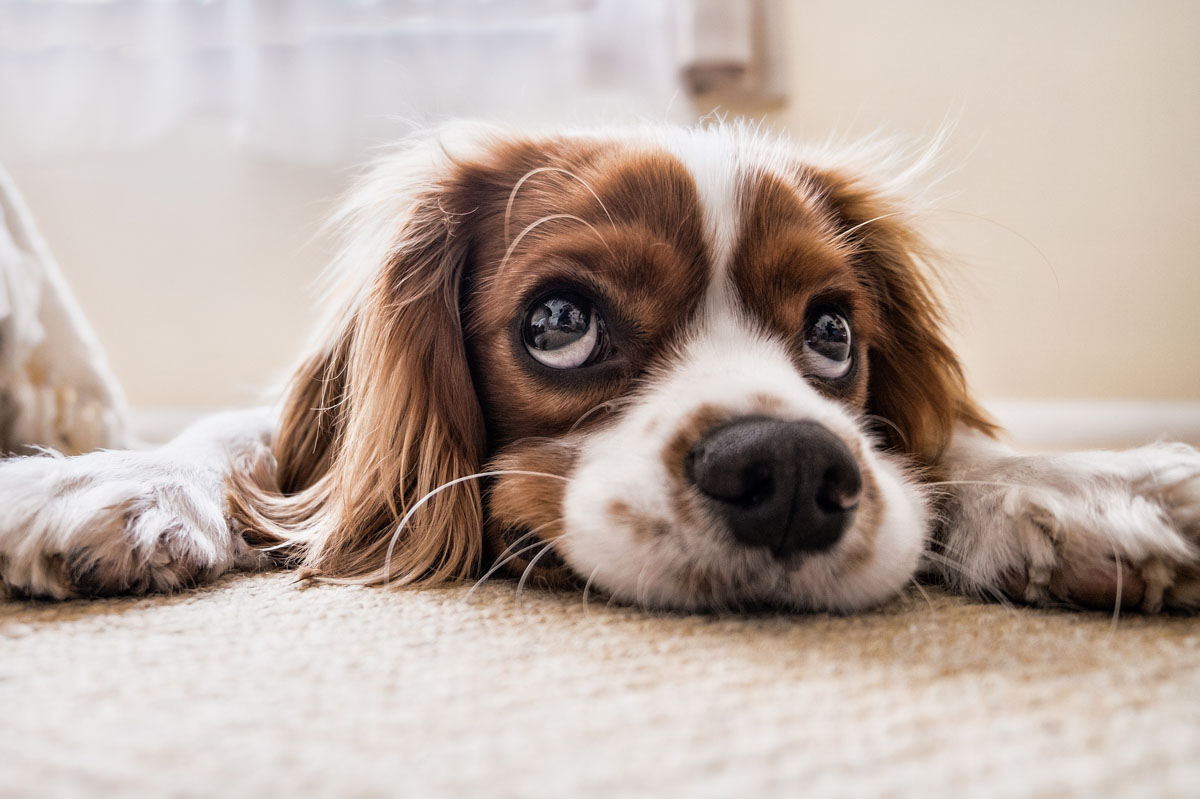
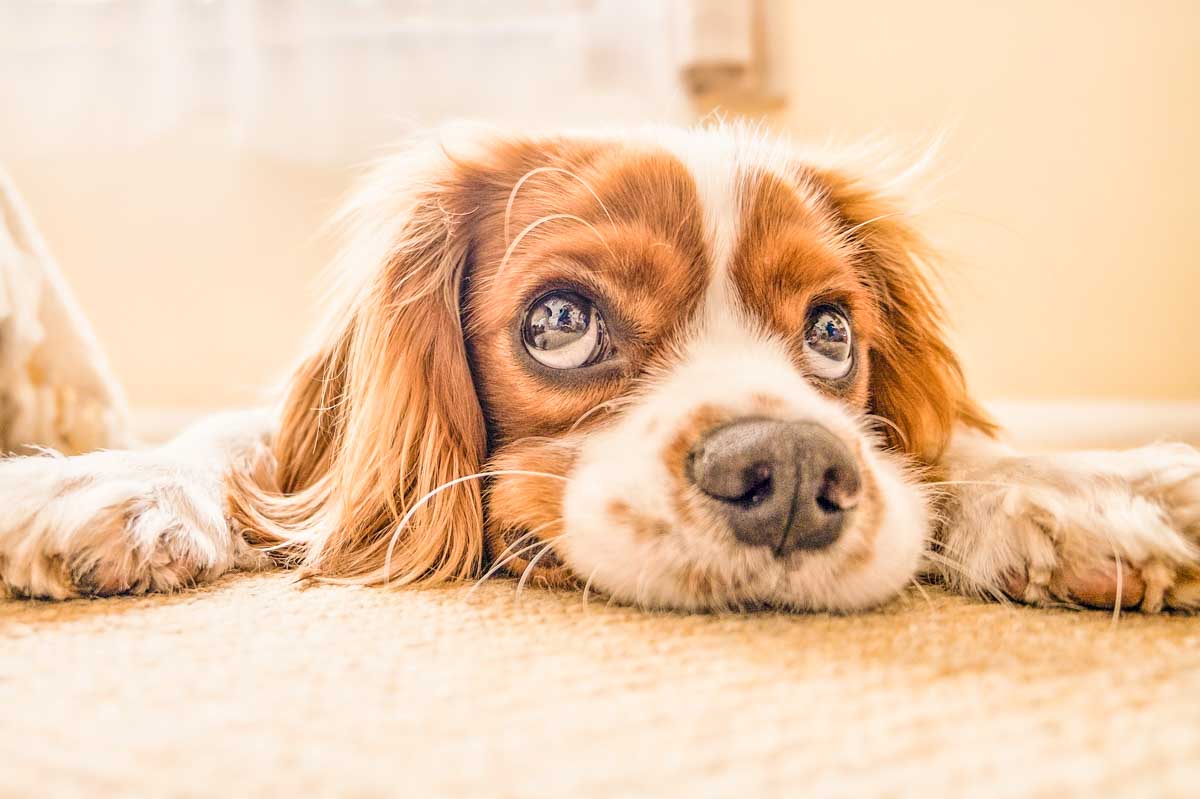
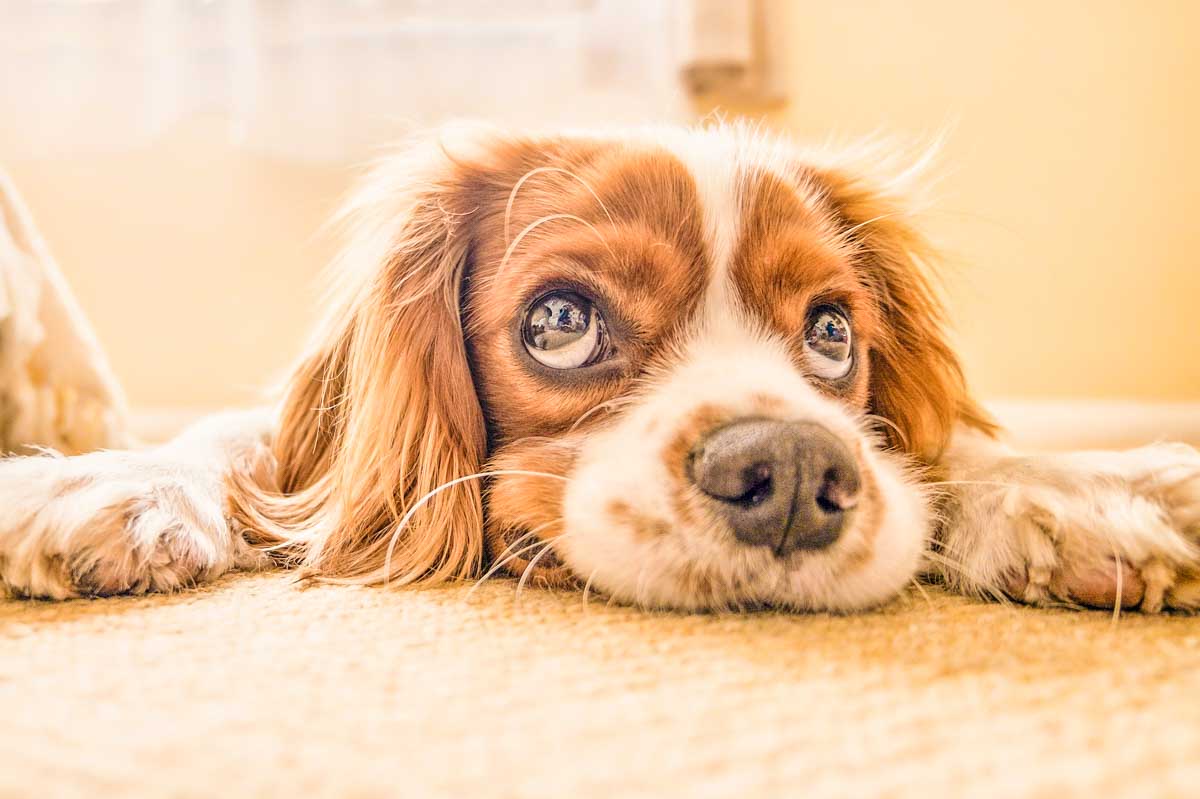
People want their pet photos to look nice; photographers must learn how to edit photos nicely to be able to satisfy them. Picture editing errors are many; you should avoid them in order to satisfy the customers. That can also make you look qualified.
This article will show editors ways to edit photos or which mistakes they should avoid when they edit photos. A photo editing mistake can make a wonderful animal look bad. This will make editors lose customers.
Ways to edit photos for pets
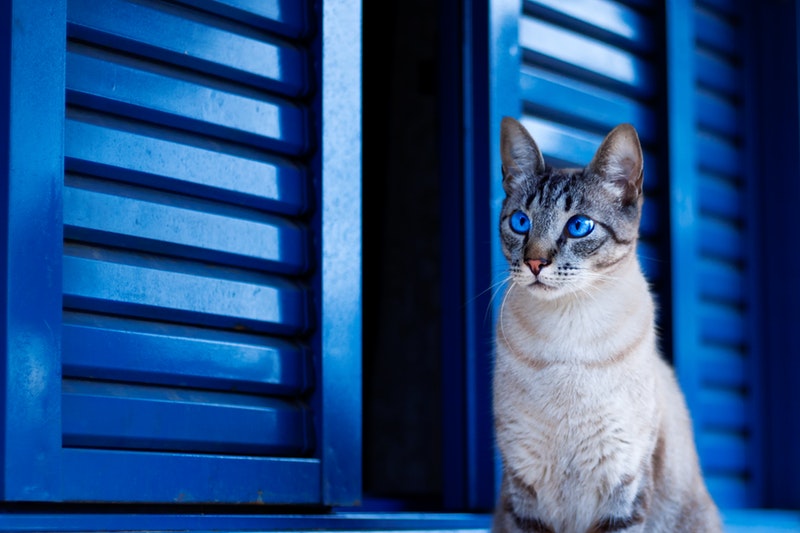
1. Remove blue fur
To remove blue fur when you edit photos on Photoshop, use MCP’s Bleach Pen. Editors may additionally use Colour safe bleach actions for Photoshop.
Duplicate the background part by going to:
- Adjustments and then click Replace color
Edit by clicking on the blue area of the animal. You might require clicking on an eyedropper using a (+) symbol to other places of the animal’s fur. You will also need to edit fuzziness using a slider.
Next, you should move the saturation slider towards the left side until the pet’s fur looks normal. In case many other sections of the photo are also affected, just clear the picture around the pet using a brush. Editors may additionally edit the affected sections by creating a layer mask and adjusting those sections which you mask.
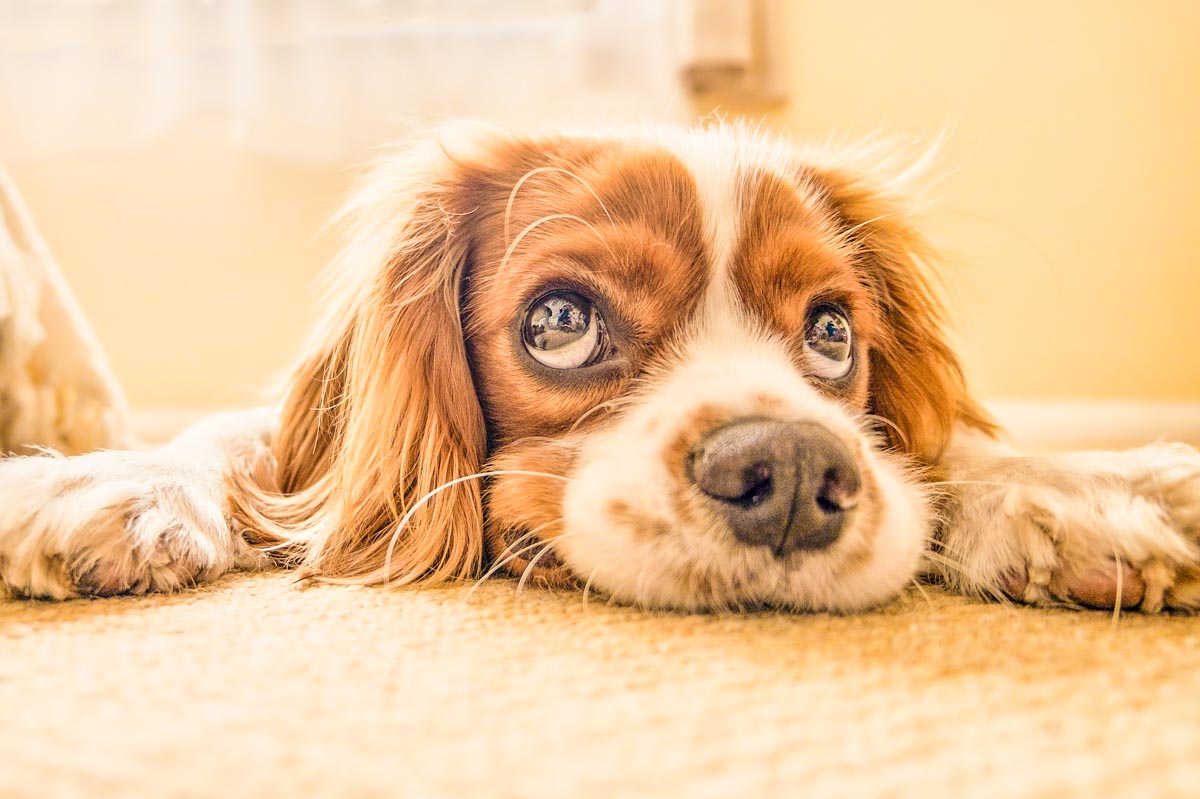
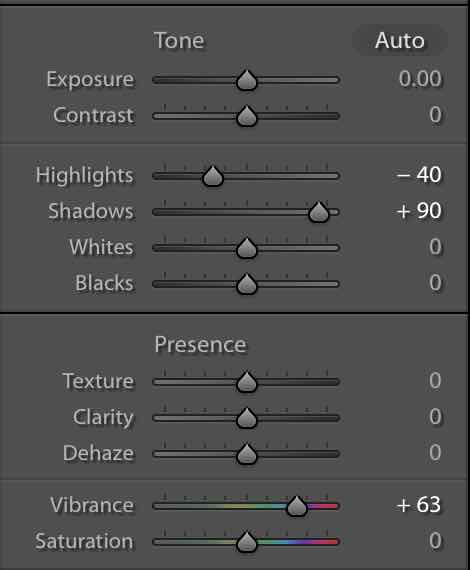
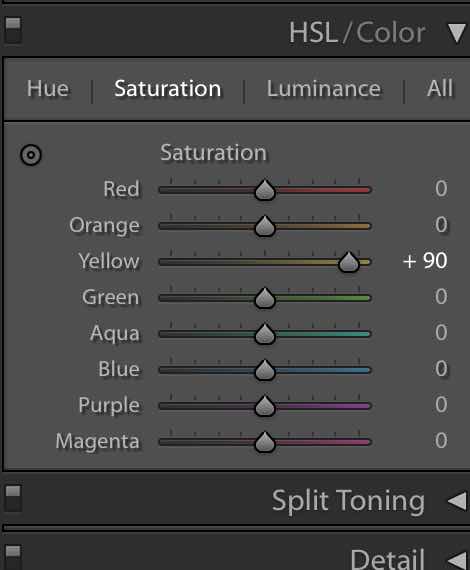
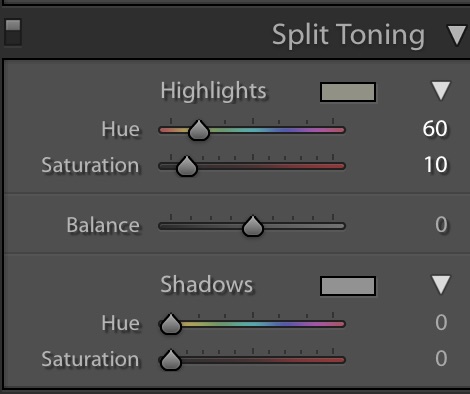
2. Edit Neon colors
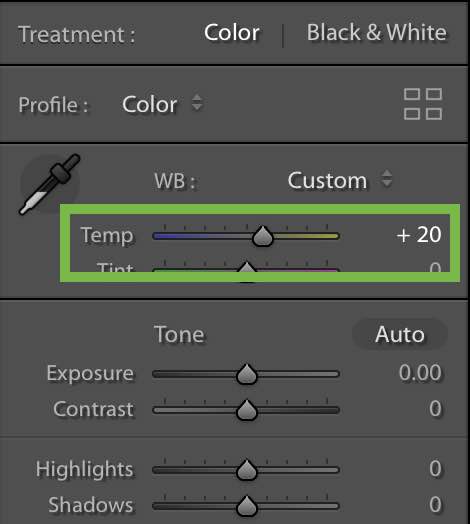
When you edit photos, the aim must be to produce a photo that is real and better. This can be fixed through going to picture- Adjustments- Vibrance.
Move a slider for saturation towards the left side and the Vibrance slider towards the right side.
If the above does not fix the issue, go to picture- Adjustments- Saturation or Hue. Pick the odd color from a drop-down menu and balance hue. You should also move the slider for saturation towards the left side.
3. Edit heavy vignettes
If an image gets surrounded by black clouding which affects its beauty, edit photos using software to remove it.
The fixing can be done in photoshop by going to filter and then to lens correction.
On the custom tab and under Vignette, move the amount to the right side and push the midpoint to the left side.
But editors can easily prevent heavy vignettes because they are created by the software. So, when you edit a photo, avoid vignette that is heavy.
4. Remove highly lighted shadows and highlights which are blown out
Shadows which are too lightened can make a photo appear weird. The same applies to highlights which are blown out. But this can be corrected when you edit photos using the software.
For those shadows which have so much light, simply add blacks and midtones by using curves or levels. For the blown-out highlights, you should use MCP’s Photoshop. With just a single click, you will edit it correctly.
Also, whenever you produce a photo whose shadows are over-lighted, ease off the shadows tool. Editors should always selectively light sections such as the ears and the eyes which lack catchlights or details without lightened shadows.
Blown out highlights are normally due to a problem with exposure in a camera. Ensure you use the right metering mode for scenes and avoid high contrast when you edit white pets, bright day and so forth.
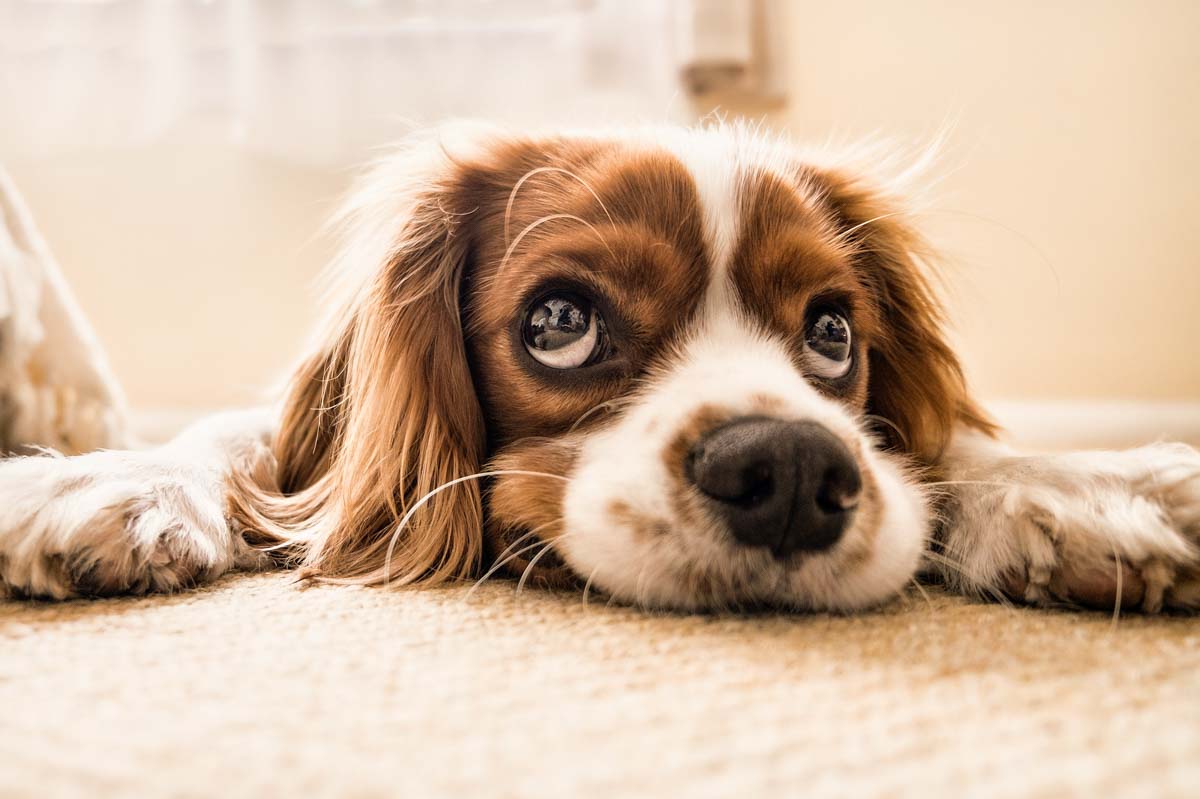
5. Crispy sharp
Nobody wants their eye to get poked out in a photo. So, when you edit photos in Photoshop, use MCP HD sharpening. It will edit the photo nicely leaving it looking beautiful. You should avoid using sharpening tools such as Sharpen more and Straight Sharper.
Conclusion
That is how to edit photos for pets. You can also try finding more ways of editing from this website. Did you find our article useful? Feel free to write to us if you have a question or a suggestion.
About the author
Betti Wilson has written several other great articles about how to edit human beings photos using Photoshop. Besides taking photos and writing, she likes traveling, playing with her kids, watching movies and making new friends.