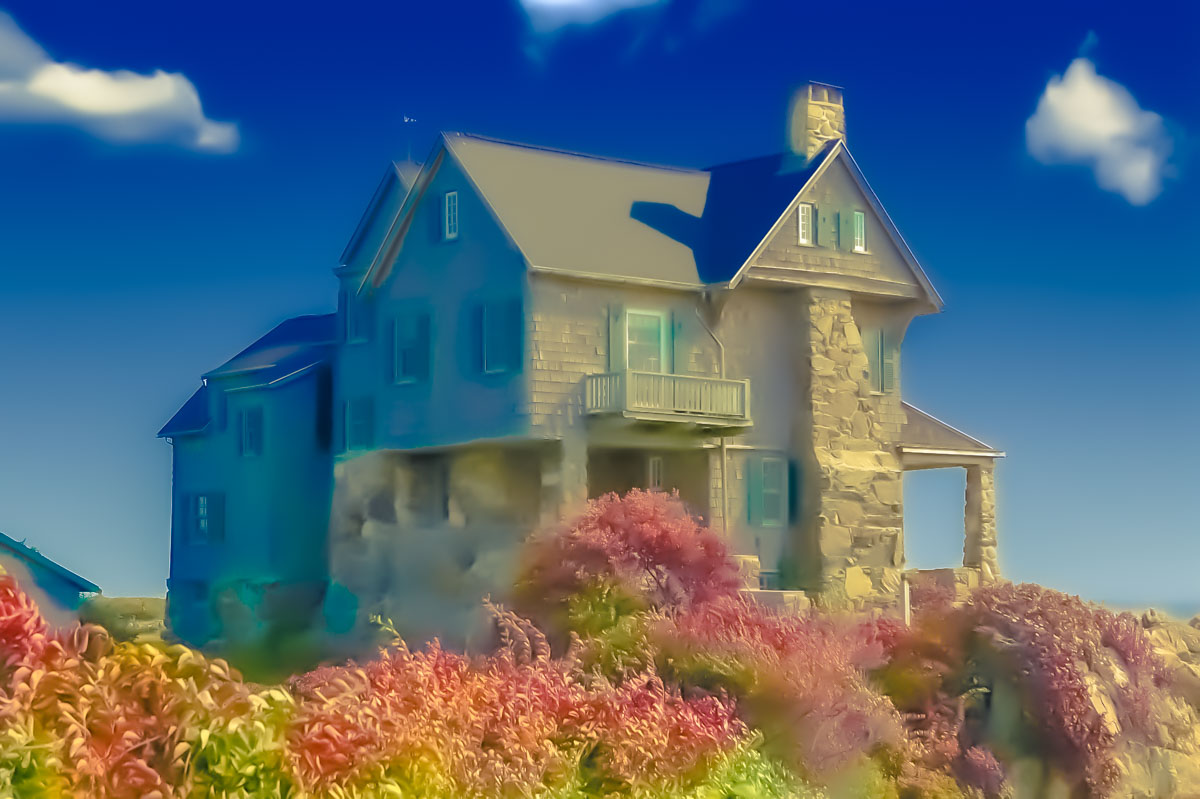
Creating a sepia effect in Lightroom does not only mean to drag the Temp slider. You also need to take care of the Shadows, Highlights, Contrast, and HSL. I am going to show you exactly the same. Let’s see how to create a sepia effect in Lightroom.
This is going to be a short tutorial. Almost all Lightroom tutorials are the short one you only play with sliders.
Oh yes, if you want to download the preset, I have it here for you. No sign up is required.
Download Lightroom Sepia preset
This link will scroll you to the bottom of the tutorial. If it doesn’t, scroll to the bottom. You can see more Lightroom presets here.
Let’s see the before and after.
Before

After

Let’s begin.
Step 1: Increase the temp
This is the first step and the most important one. Sepia effect basically means that your photo should have a yellowish tint.
- Increase the temp slider to +20.

This will add a yellowish effect to your photo. This is not everything. We need to do a lot more things.

Step 2: Adjust the tone
Time to adjust the tone.
The goal is to make the shadows bright and dim the highlights. Also, increase the colors in the photo.
- Decrease the Highlights to -40
- Increase the Shadows to +90
- Increase the vibrance to +63

This will make the photo brighter.

Go to the HSL panel.
I am asked by some of you that they don’t see the Hue, Saturation, and Luminance tab. This is because you’re in the “Color” panel. Click on the “HSL” in the title and you’ll see them.
- Increase the saturation of the Yellow color to +90

This will slightly increase the yellowness in your photo.

Step 3: Adjust the split toning to create a sepia effect in Lightroom
The shadow is already having the sepia tint. We need to give the highlights a sepia tint.
Go to the Split Toning panel.
- Increase the Hue to 60
- Increase the Saturation to 10

Your photo should look like this.

Download the Lightroom sepia preset
As I promised at the starting of this tutorial, here’s your preset.
![Create a Beautiful Sunset Effect in Lightroom [Presets Included] 6](https://tricky-photoshop.com/wp-content/uploads/2019/06/6-1.jpg)



![[Action Included] Create Instagram Aden Filter in Photoshop Final](https://tricky-photoshop.com/wp-content/uploads/2019/01/Final.jpg)
![[Action Included] Create Instagram Perpetua Filter in Photoshop Final](https://tricky-photoshop.com/wp-content/uploads/2019/02/Final.jpg)
![Create Instagram Charmes Filter in Photoshop [Action Included] filtered photoshop tool](https://tricky-photoshop.com/wp-content/uploads/2019/05/After.jpg)
