STEP 4
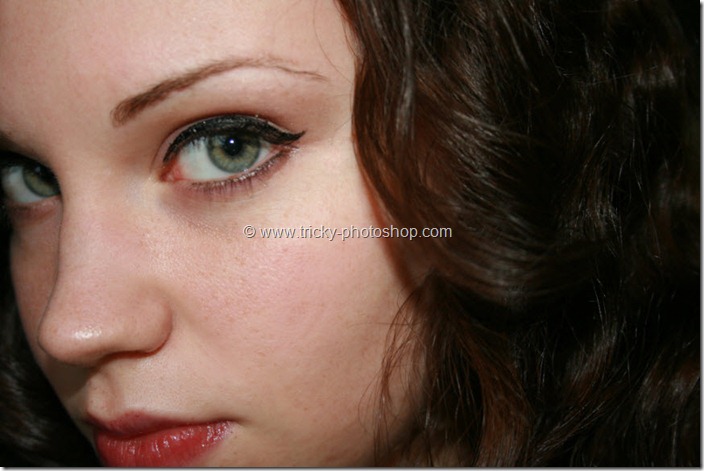
After defining your source, paint over the stray hair that was encircled with yellow color in step 3. Once you start over painting, you’ll notice that two new pointers will appear. By taking below image as reference, the pointer that is encircled with yellow color is your main brush and the pointer that is encircled with red color is the is the area which Photoshop is using as reference to clone the area you are painting.
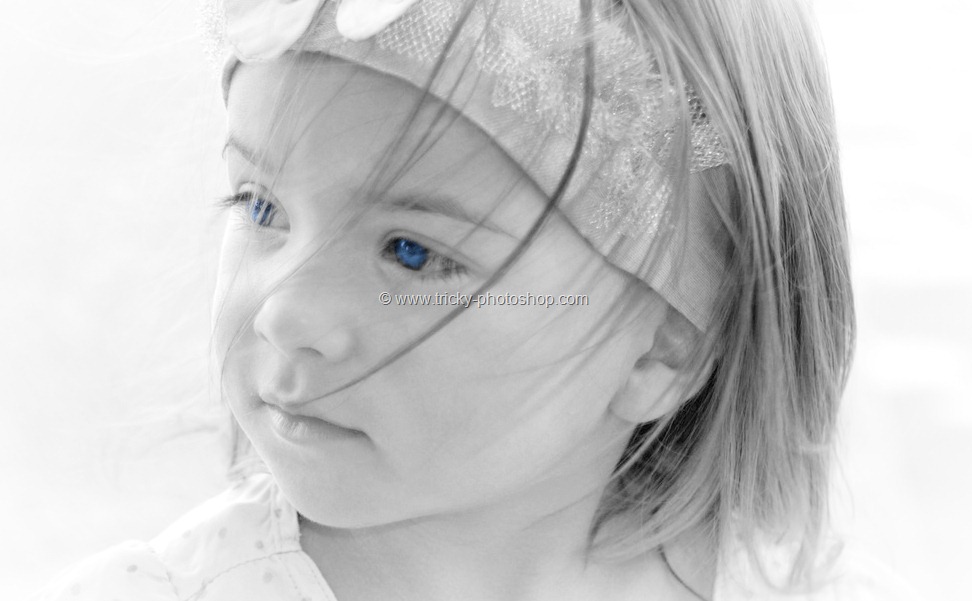
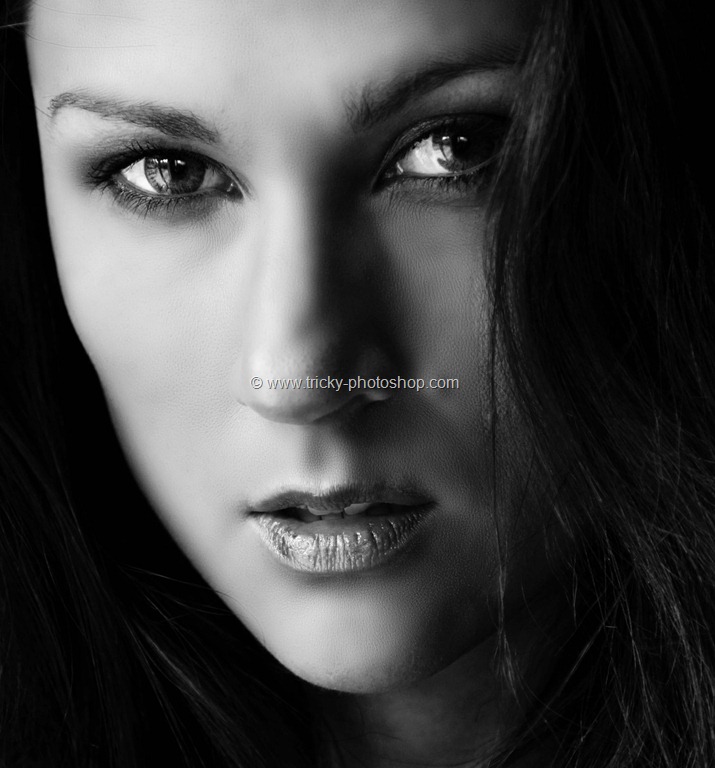
Your image should look like this.


