We’re going to use two filters and blend modes to create a water reflection in Photoshop. The approximate execution time is written just about this paragraph.
I shot a photo of the mountain last year and there was a beautiful lake by the mountain. The lake was not showing mountain’s reflection and there’s nothing I could do about it. So, the only option left to me was to artificially create a water reflection.
I played in Photoshop for a while and found these steps to create water reflection. I’ll show you how to create it.
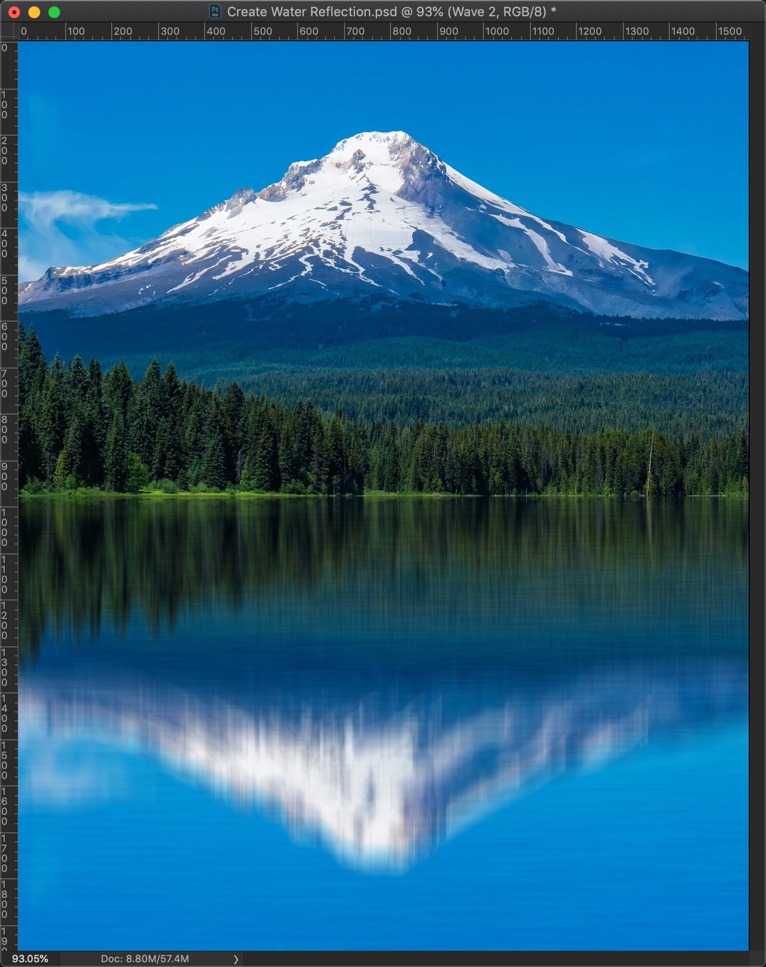
Below are the before and after photos. This is not the photo that I shot. I downloaded this photo from Pexels.
Before

Photo from Pexels.
After

Let’s start.
Sidebar: If you want to know how to remove glare from glasses or remove reflection from glasses, check our tutorial on how to remove glare from glasses.
Video
If you like watching videos, here’s the video for you.
Step 1: Crop the photo
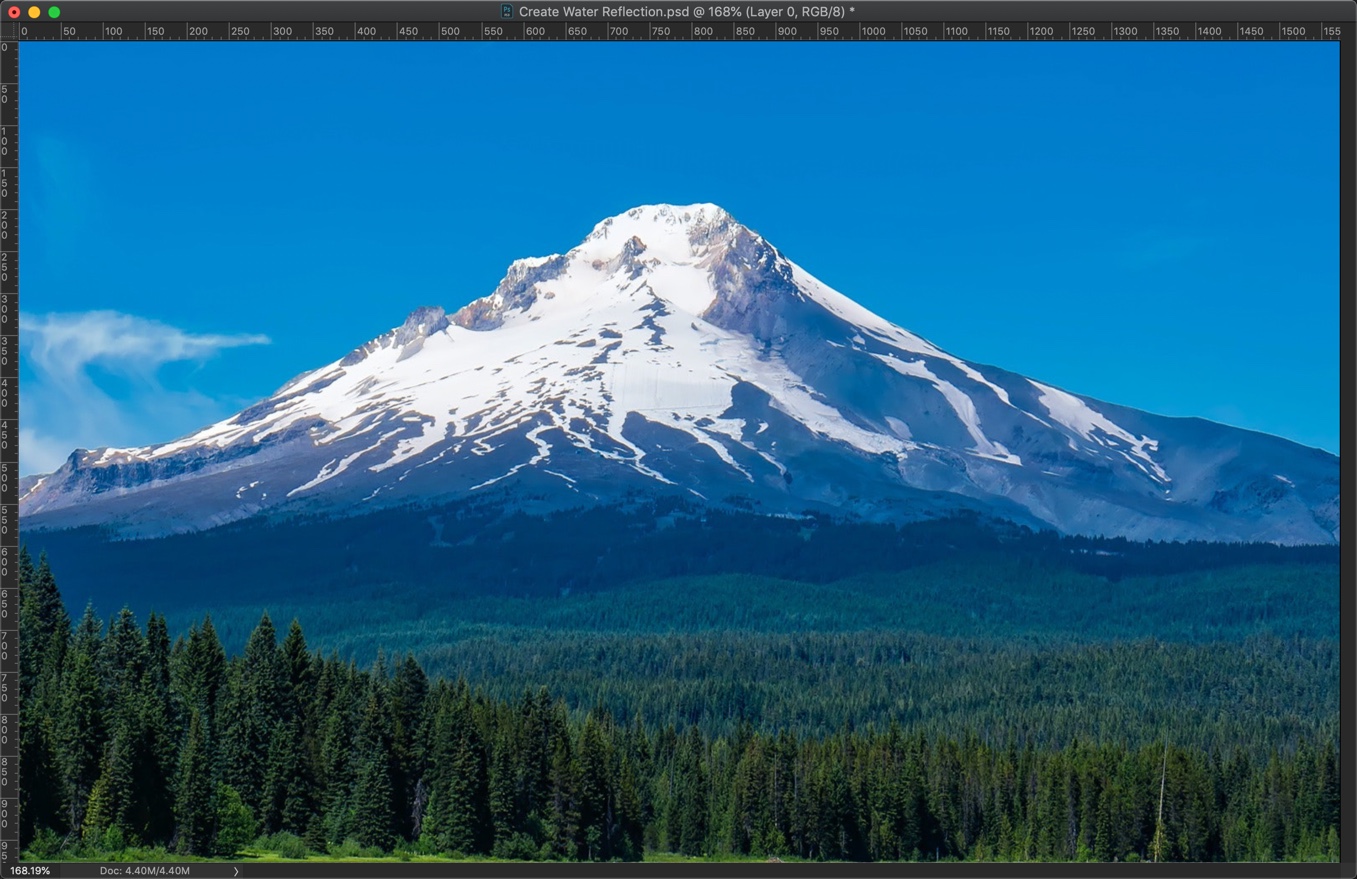
Here’s the photo. I am going to crop out the water.
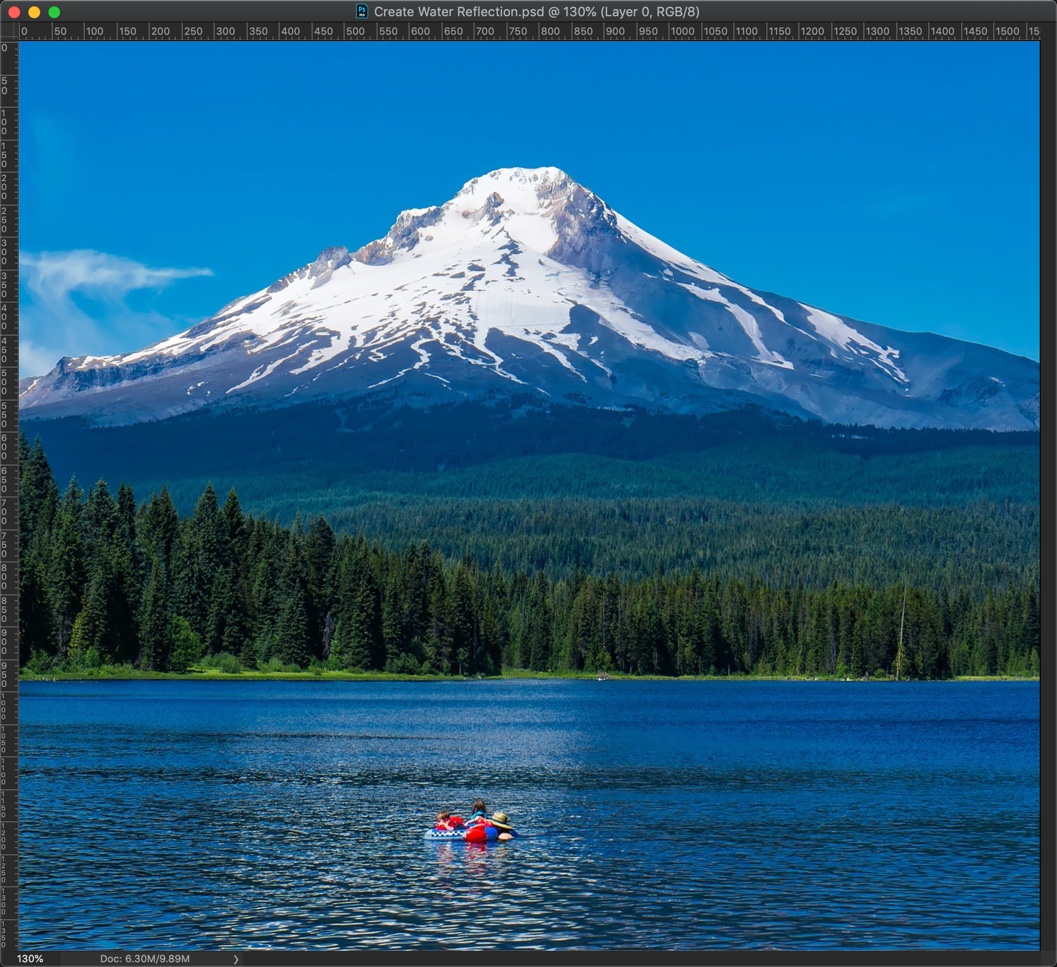
Grab the Crop Tool from the tool panel or press C.

Make sure “Delete Cropped Pixels” is turned on.

Grab the handlebar ar the bottom center and drag it to the point where water is cropped out.
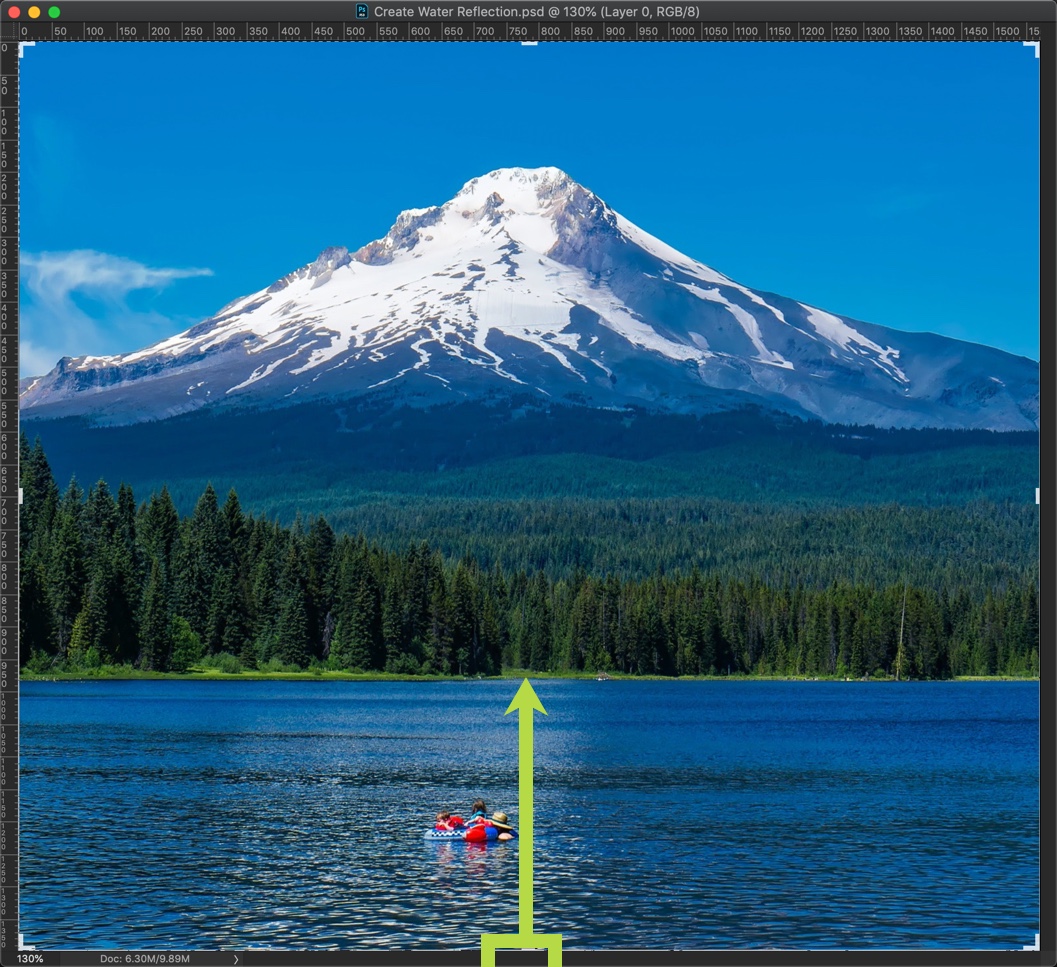
Here’s the photo.
Step 2: Create Water Reflection in Photoshop
Now we’re going to create a reflection.
We’re going to increase the space at the bottom of the photo. Space would the same as the height of the photo.
Open the Canvas Size box by pressing Cmd + Opt + C / Ctrl + Alt + C.
Change the scale to percent and write the height as 100. In the Anchor point, click on the top middle box. This notifies Photoshop that canvas will only increase at the bottom. Press OK
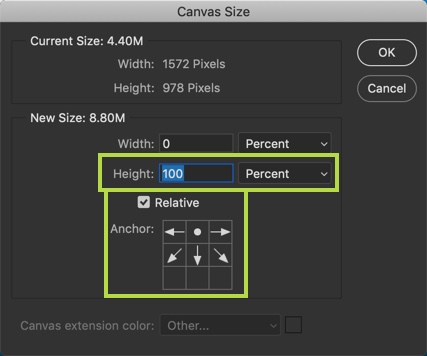
And, here’s our photo.

Press F7 to open the layer panel. Duplicate the layer by pressing Cmd + J / Ctrl + J.
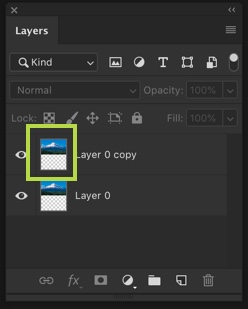
Name the bottom layer as Reflection.
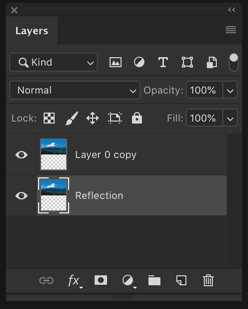
Make sure that the Reflection layer is activated.
Go to Edit > Transform > Flip Vertical.
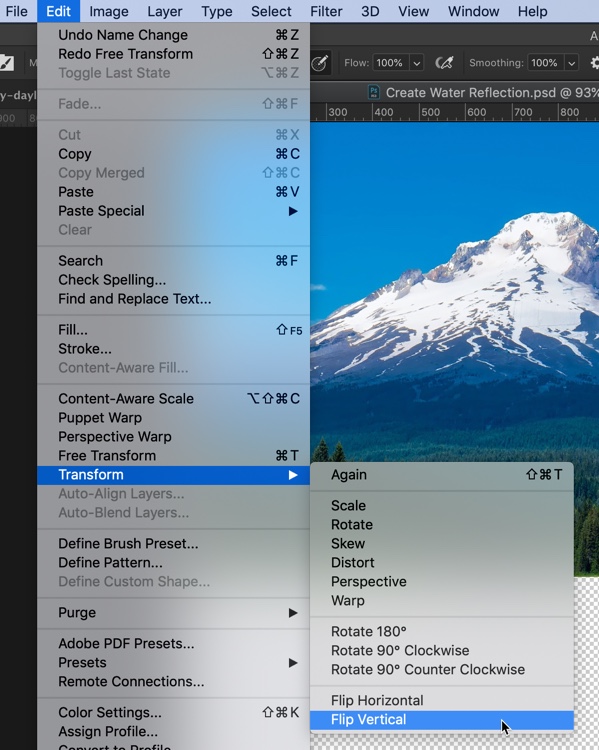
Activate Free Transform Tool by pressing Cmd + T / Ctrl + T. Now drag the photo from the top to the bottom.
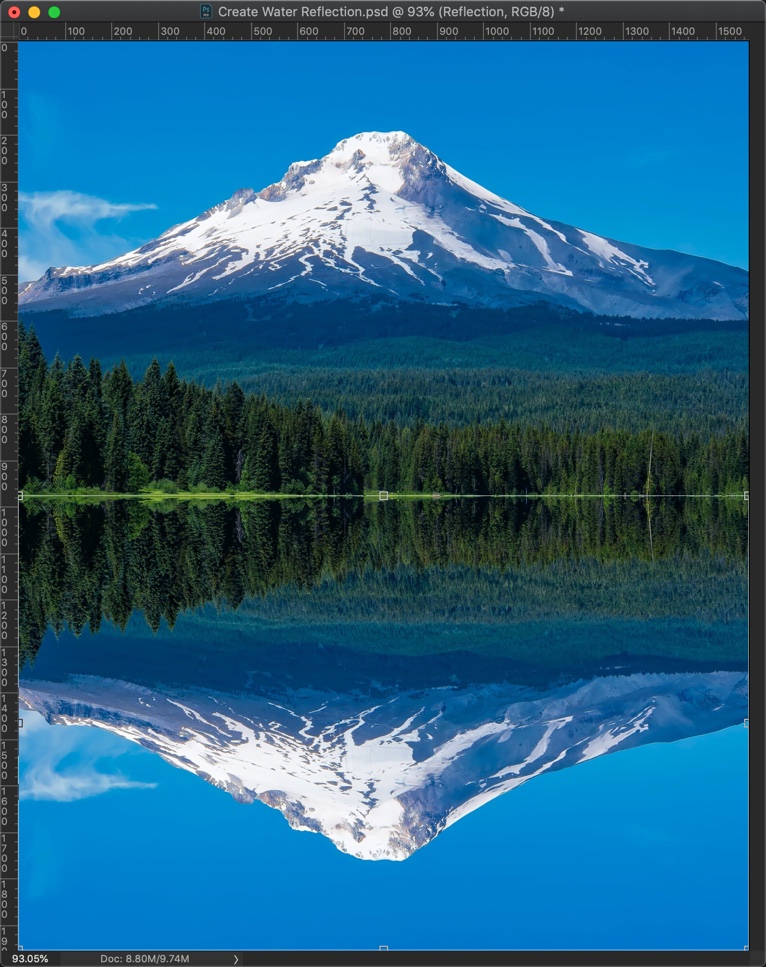
Here’s a GIF for you.
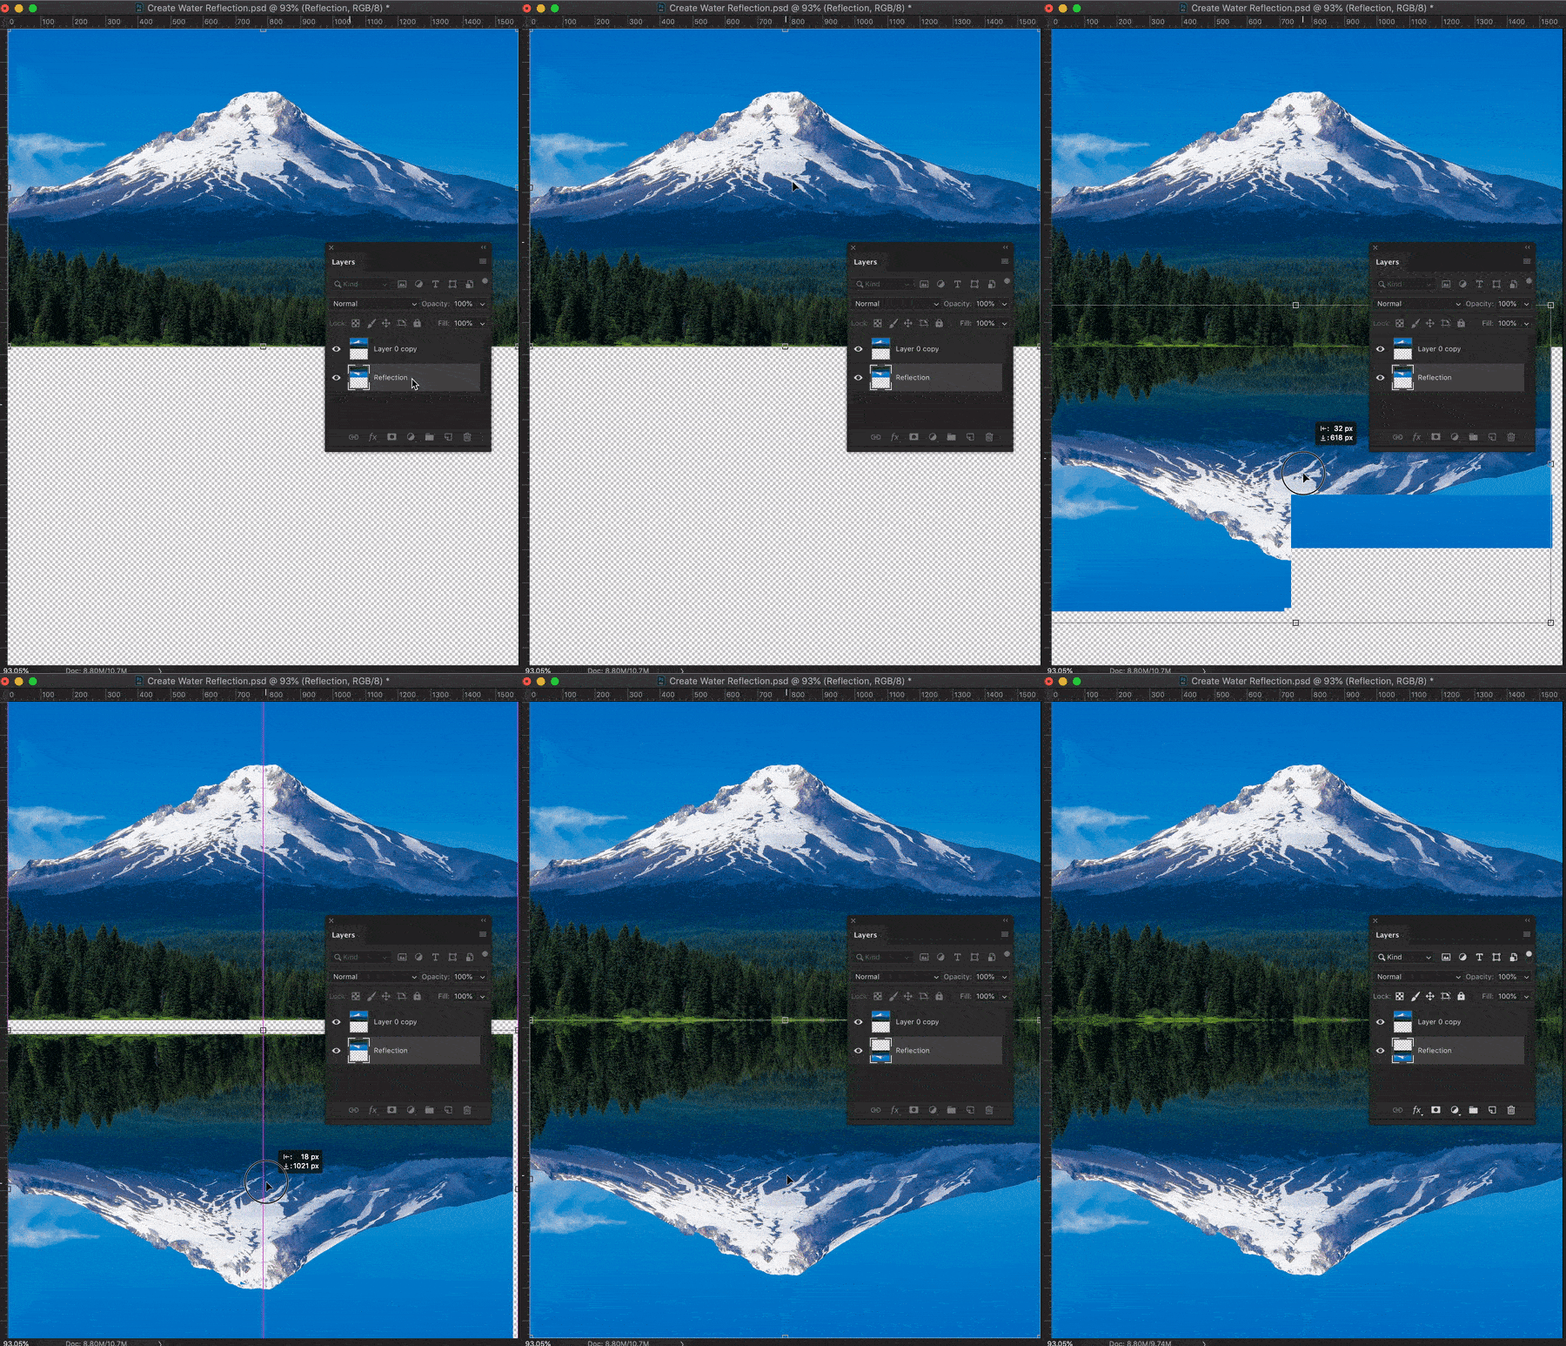
Step 3: Time to give it add some effects
Duplicate the Reflection layer by pressing Cmd + J / Ctrl + J. I am naming this layer Reflection 2.

Make sure that the Reflection 2 layer is activated.
Go to Filter > Blur > Motion Blur.
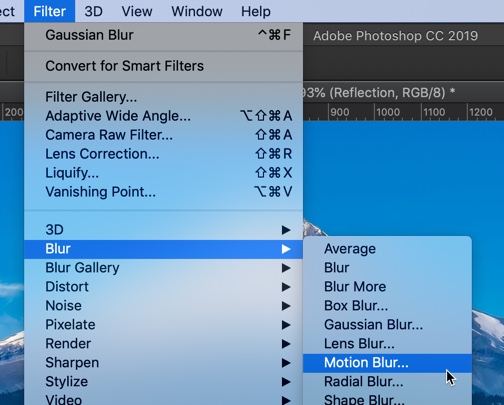
Change the angle to 90 degrees and increase the distance which gives a nice effect. The distance depends on the size of the photo. I am choosing 75. My photo is 1956 pixels in height. Press OK.

Step 4: Create Waves
Time to create some waves.
Create a new layer above the Relfection 2 layer by pressing Cmd + Shift + N / Ctrl + Shift + N.

Make the background color white.

Fill the Wave layer with the background color by pressing Cmd + Delete / Ctrl + Backspace.

Go to Filter > Noise > Add Noise.
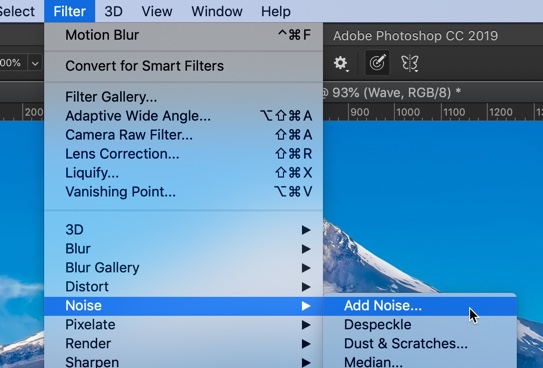
Increase the amount to 400%. Change the distribution to Gaussian and turn on Monochromatic. Press Ok

Time to give it a wave effect.
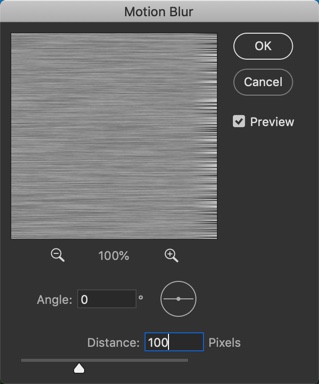
Go to Filter > Blur > Motion Blur.

Change the angle to 0 this time. Increase the Distance to such an amount that noise starts looking like waves.
Here’s what the photo would look.
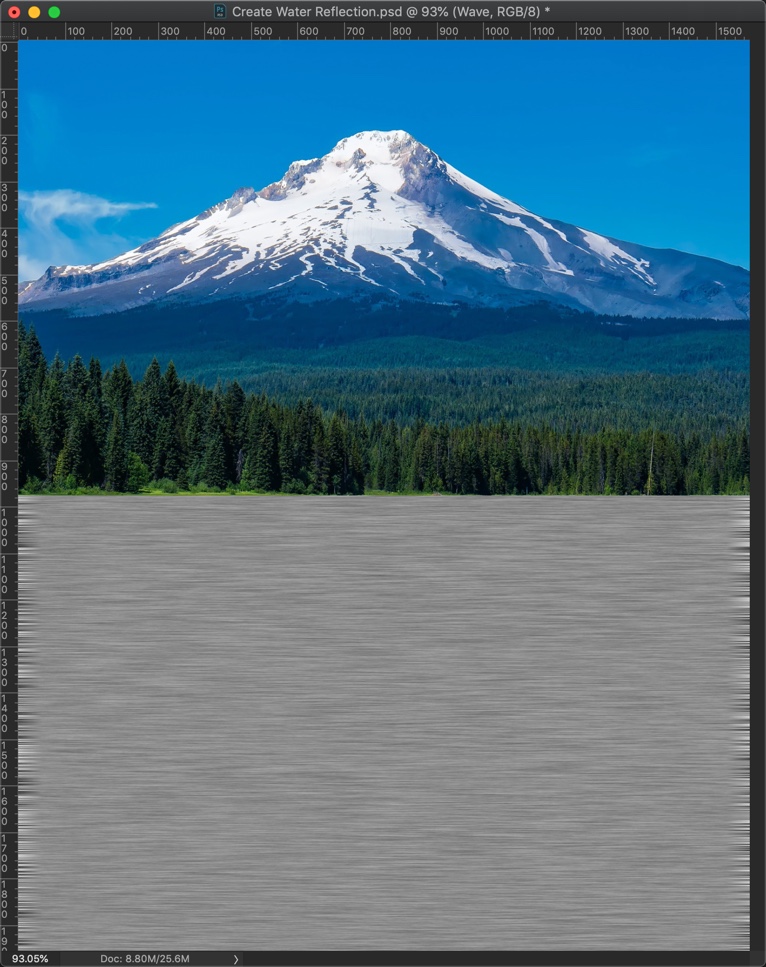
Step 5: Giving the Final Touch
Zoom out the photo a lot by pressing Cmd + (-)/ Ctrl + (-).

Go to Edit > Transform > Perspective.

Drag the bottom left handlebar towards the left. Later, drag the top left handlebar towards the right. Make sure that the middle handlebar is exactly at the center.

Here’s a GIF for you.

Duplicate the Wave layer by pressing Cmd + J / Ctrl + J. Name it Wave 2. Invert the layer by pressing Cmd + I. Change the blend mode to Overlay and reduce the opacity to 20%.
This wouldn’t give any change in appearance to your photo.

Activate your Wave layer. Change the blend mode to Soft Light and reduce the opacity to 20%.

Here’s the photo.
