I know that you don’t like dark circles and you’re using all kinds of creams and home remedies to remove them. You already have reduced by a small percentage but they’re still visible. Before posting a photo. you do all kinds of things to reduce them. But, if you want to remove them completely, you’ve come to the right place. I am going to show you how to remove dark circles in Photoshop.
This is a fairly simple tutorial. I am going to use the Clone Stamp Tool to remove them. I’ll also add a bonus step where I’ll show you how to reduce them by 80% (or any other percentage).
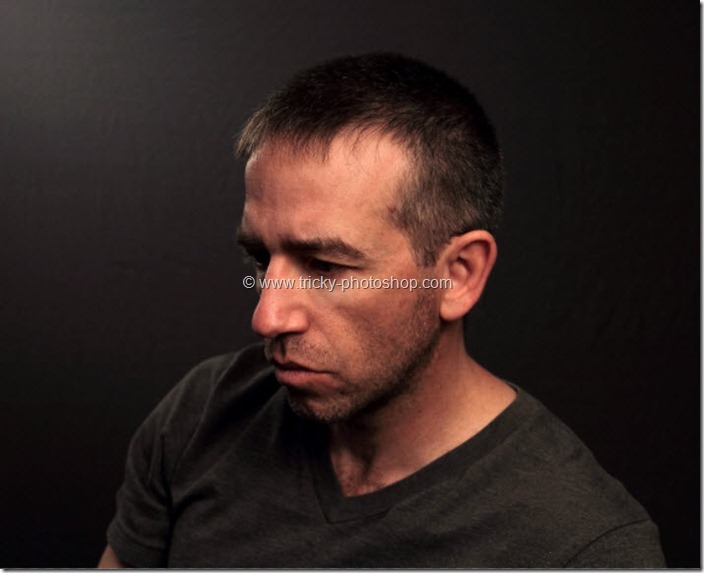
Before we begin, I want to show you the before and after photo.
Before

After

Photo by Beta-J on Flickr.
If you’re looking forward to removing the dark circles, you can also hire me. The cost will be $10 for one image and will go down as number of images increases. Mail me at hello@tricky-photoshop.com.
Video
If you like watching videos, here’s the video tutorial for you.
Step 1: Create a New Layer
We are creating a new layer. We’ll use this layer to remove the dark circles.
Go to Layer > New > Layer or press Cmd + Shift + N / Ctrl + Shift + N to create a new layer.

We’re going to name this as Removing Dark Circles.

Step 2: Use the Clone Stamp Tool to remove Dark Circles in Photoshop
We’re going to remove the dark circles using the Clone Stamp Tool.
Grab the Clone Stamp Tool from the tool panel or press S.

In the option panel, change the blend mode to lighten and turn off the Align.
Lighten blend mode compares each pixel of the current layer and the layer below it, and shows the pixels that are brighter. You’ll understand later in this tutorial.

Clone Stamp Tool is used to copy pixels from one part of the image and paste them on another part. To use the Clone Stamp Tool, you first need to define the source pixels. This will be pixels are going to be copied. You can do them by holding down the Opt / Alt key.
Select the cheek as the source pixels.

Right click on the photo. Set the hardness to 0.

Now brush on the dark circles. See the below GIF.

Here’s the photo. I know that it’s too much. We’ll make it natural.

Finding it difficult? You can also hire me. The cost will be $10 for one image and will go down as number of images increases. Mail me at hello@tricky-photoshop.com.
Step 3: Reduce the Opacity
Change the opacity to 60% in the layer panel.

Here’s how the photo will look.

Do the same thing for the other eye also.

Couldn’t do? You can also hire me. The cost will be $10 for one image and will go down as number of images increases. Mail me at hello@tricky-photoshop.com.
