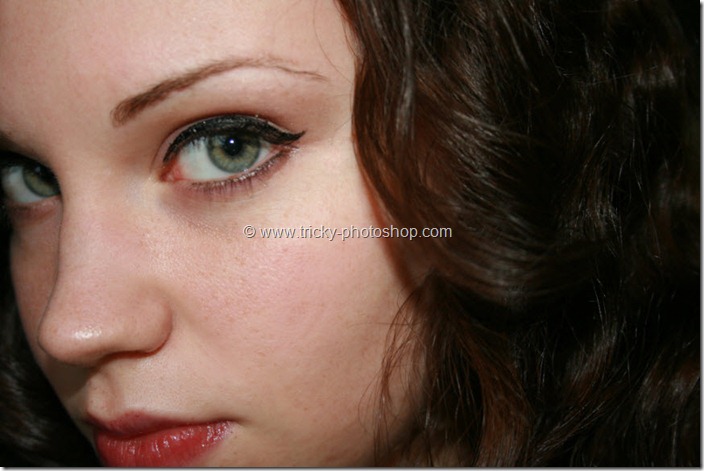
Although most people find freckles cute, but there are some who hate it. Long exposure to sun sometimes does a little more than tanning. This tutorial shows you how to remove freckles in Photoshop. Complete removal of freckles will be a tedious job and takes ample amount of time, and that’s why we’ll not try to completely remove it but minimize it as much as possible.
This tutorial, How to Remove Freckles in Photoshop, is written for beginners. The prerequisite is nothing more than basic knowledge of Photoshop.
So let’s begin.
Step 1
Since freckles is a part of skin, we need to select skin such that other areas can stay intact. We’re going to do this with the help of Color Range box.
Go to Select>Color Range. In the Select option, choose Skin Tones. Adjust the Fuzziness so that it only selects your skin. Once you are done, press OK. I have also written a tutorial on selecting skin using Skin Tones feature. In case you are interested, you can find it out here How To Select Skin using Color Range Box.
Please note that this feature is not available on Photoshop CS5 and below versions.

Step 2
Now that we’re ready with our selection, we need to refine it. I am going to do it with the help of Refine Edge Tool. Go to Select>Refine Edge Tool. Adjust the settings so that only your skin will be selected. In Fig. 2, teethes are also selected but it’ll be fixed later. I have written an article on Refine Edge Tool that you can refer if you want to learn about Refine Edge Tool in depth. If done, press OK.

Step 3
Now we’re going to blur the skin. Go to Filter>Blur>Gaussian Blur. Set the radius in such a way that it only blurs the freckles. Please ignore that it is also blurring eyes and teethes for now.

Step 4
Grab the Brush Tool from the tool panel. Open layer panel by pressing F7. Click on the layer mask as shown in Fig. 4. Make Black as your foreground color, and start brushing on the areas that have become blurred but they are not supposed to like eyes, lips etc..

This also includes nose outline, eyebrows etc.. Your image should look like Fig. 5 once done.

Step 5
Create a new layer at the top of layer panel by pressing Ctrl+Shift+N. Grab Eyedropper Tool from the layer panel or press Shift+I again and again until it comes. Now we’re going to paint the skin. For that we need to choose the color. Place the Eyedropper tool on the area that you want to choose as your skin color. I am going to use forehead’s.

Step 6
Now grab the Brush Tool from the tool panel, and start painting on her skin. Make sure that you decrease the opacity.

Once done, you image should looks like Fig. 8

And now we’re done. I hope that you like this tutorial.
Please support TrickyPhotoshop by sharing this tutorial with your family and friends on Facebook, Twitter, and Google+.
