A Post-production workflow can be complex, if we want to do the job to a professional standard, making it essential to move past the basic elements offered by software like Lightroom, if we intend to excel as professional designers.
But how can we introduce more elements to each image for a custom look, beyond using sliders? Advanced features in form of tools, such as Graduated Filter, Radial Filter and Adjustment Brush, come to the rescue, provided by Lightroom to dedicated users who know what they want. With the help of them, we do selective adjustments in Lightroom.
Let’s explore in detail every single option designed for selective adjustments in Lightroom, and enjoy the many things they can give us through the process.
Graduated Filter Tool
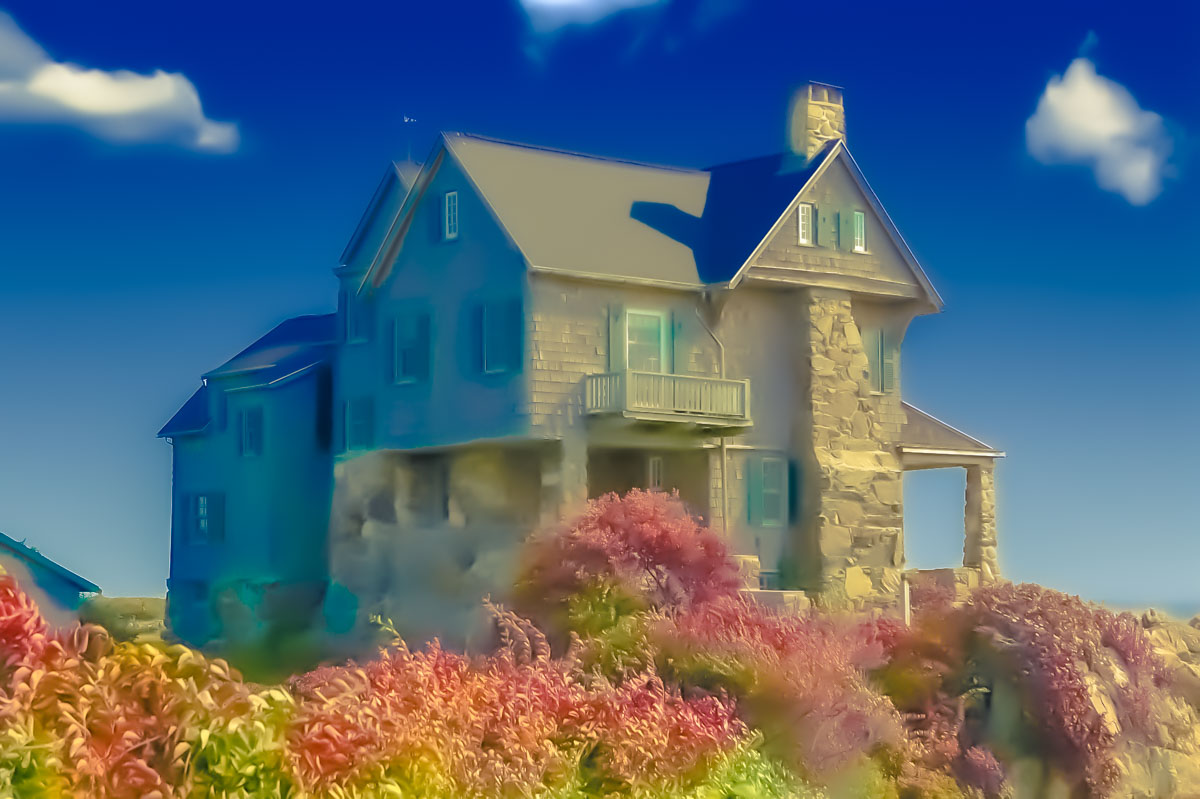
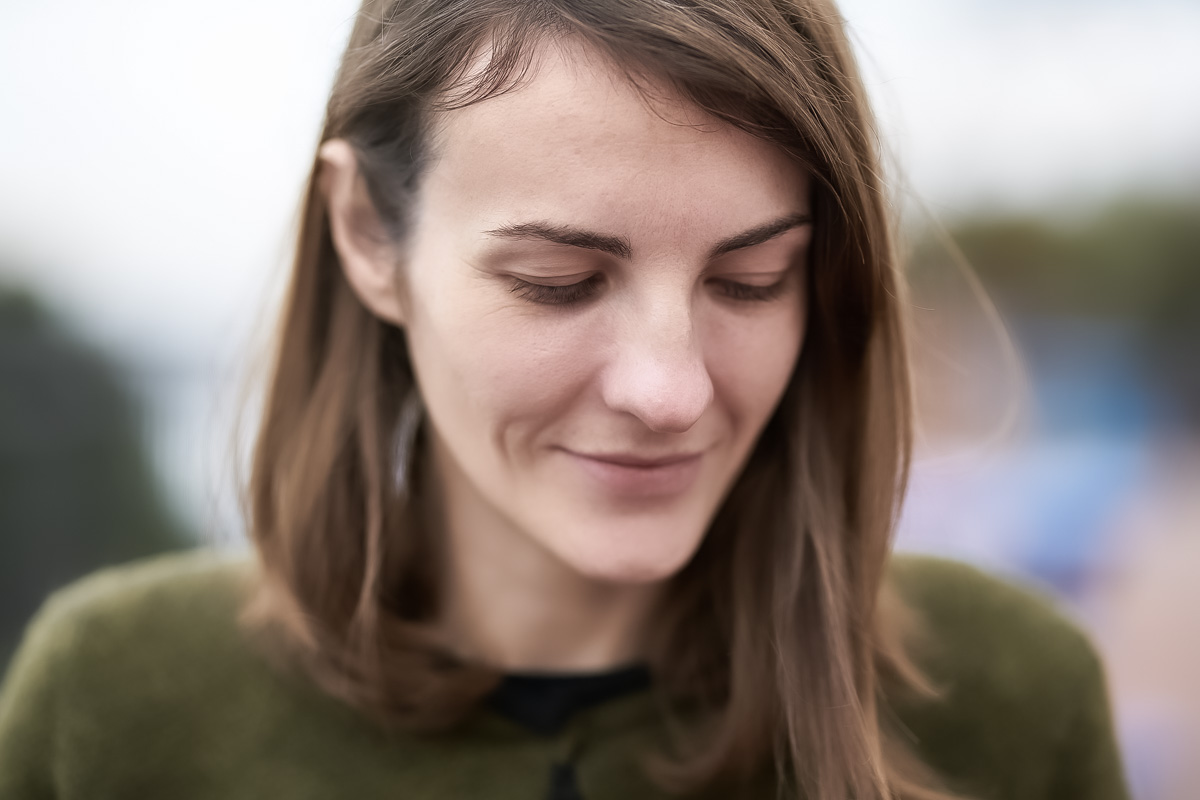
Prior to talking about the Graduated Filter tool in detail, let’s picture ourselves in a post-production scenario, where we need to bring out more detail in a picture that looks similar to the image below.
Notice the two main elements in the scene (the subject and the background) and define the area where you want the adjustment to be applied, as well as the parameters needed.
For instance, I may decide that this subject requires a bit more Clarity in order to make the model appear closer to the camera, and that I should increase Contrast a little bit – but I don’t need those adjustments to be applied to every single area of my scene. This is where the Graduated Filter tool comes in handy.
By selecting the Graduated Filter tool, you will be applying changes to a selected rectangular area, which will have a fading effect near the edges of the area where it is applied, making it blend neatly with the elements around the adjusted area.
Select the adjustments you want to apply to your image, and click then at one point while dragging with the mouse at another point. That will create an application area, which you will notice, if you enable ‘Show Selected Mask Overlay’, is likely to affect the area to the left of the selection you made as well.
After hitting ‘Done’, you can view the adjustments you applied, and if you need to correct any parameter, simply select the tool again, click on the tiny gray button that shows up on the main Develop area, and correct the parameters shown in the slider area.
You can use the Before/After mode to compare the changes applied to the image.
Radial Filter tool
This tool works in a very similar way to its ‘brother’, the Graduated Filter tool, although you have much more control over the selection made, and the applied changes won’t affect the selected area, but rather everything else that is not included in your selection.
Of course, these settings can be changed, if you go to the bottom of the tool panel and hit ‘Invert Mask’.
The Radial Filter tool is likely to become a part of your post-production routine by giving you the liberty of adjusting nearly every single aspect of your image, while discarding everything else that does not needed to be adjusted.
The effects made with this tool are often soft, since you will have exact control over which area you want the parameters to cover, rather than setting an overall value.
Adjustment Brush tool
And what if you need even more freedom to adjust your image? What if I tell you that you can just click on tiny selected areas and apply changes, exactly like you do it inside Photoshop?
The Adjustment Brush tool is intended for extremely specific purposes, such as bringing detail/giving tint/correcting values of tiny, hard to reach areas where precision is a must.
This tool is often overlooked by users, who consider it useful only for ‘beauty jobs’, but the Adjustment Brush tool can do much more. With the right set of presets, you can simulate sunlight in your post-production project!
As you can see, the sky is the limit with these advanced features. Designers work hard in order to provide quality products for these kinds of features, such as brush presets, but the truth is that brushes can work with the previously mentioned tools as well, making your post-production experience much broader.
The only thing Lightroom will demand from you is that you practice to be able to use such advanced retouching tools; but in the end, the effort will be worth it, as you take the first steps on the path of professional photography.


