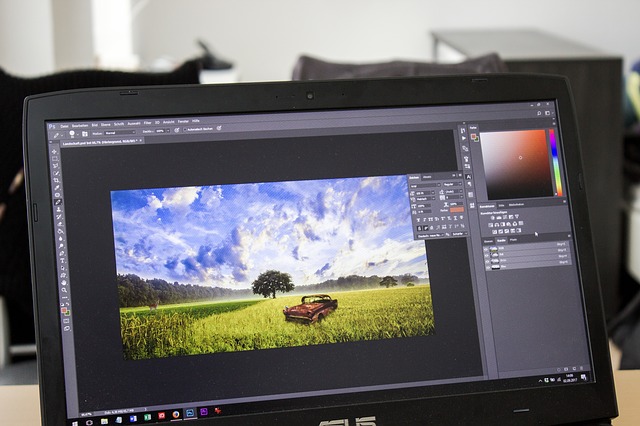
You can modify your image by including diverse items of various colors, shapes, styles, and themes. Using the horizontal or vertical type tools you can create and alter the text.
9 Steps to Follow When Adding Text in Photoshop

You don’t have to be an expert or watch endless tutorials on how to include texts on this subject, the steps below will guide you on how use Photoshop like a pro.
- What to Know about the Text
There are 2 types of tools used to design or format text the vertical and the horizontal. You begin by entering a text in a new word layer. It can either be a paragraph or a single word. You will notice that every word changes by growing or shrinking, but it doesn’t combine with other texts or jump to the next line. This happens because every text is separate. Click the Enter option to start a new text. Paragraphs will wrap around the bounds you state.
- Adding the Text
Go to the toolbar and press on the horizontal or vertical type tool depending on the one you prefer. If you want to design a word, tap anywhere in the photo to establish the location of your text. To develop a paragraph, utilize the mouse to form a rectangle that acts as the textbox. You will notice a tiny outline going via the I-beam; this identifies the alpha position. Choose the kind of texts, lettering, dimensions, color, and style. Print your word and choose to commit.
- Create Different Styles
There are several options and tools to craft your desired outcome. You can change the font of your words as many times as you wish and apply new approaches to existing or new words. Alter the size and color and create spaces between the lines.
The faux bold and italic options enable you to italicize or make your texts bold. You can align the text left or any other position. There are also underline and strikethrough options.
- Utilize the Text on Shape Tool
Choose the word on shape tool and press on the figure on which to add the word. Move the mouse through the photo to develop the form. To add the word to the picture, waft the mouse until the sign turns to text mode, choose to add a word then select commit. Sometimes the word has to be in the figure. To do this, move the words via the path, or hold Cmd-click and move the mouse simultaneously.
- Text on Selection Tool
When you click on commit, your selection changes to a path where you can type your words. Choose the text on the selection option and place the mouse on the item in the photo then move the cursor until you make your selection. The offset slider helps to adjust the size of your selection. Confirm the selection to change it to a path. Hover the mouse along the path until it switches to text mode. Add your words and modify them normally. Finish with commit.

- Text on Custom Path
This tool will allow you to draw and include text along on the custom path. Click the custom tool to effortlessly alter your current text to do this, on the click option and choose the current tool. Create a path through the photo then click the cursor to add a word end by committing.
- The Masked Style
The type mask tool allows you to create a text from an image. This activity will require you to use the expert mode. Choose the layer where you would like your words to appear. To ensure that you get good results, avoid creating the type border over a word layer. Click on the horizontal or vertical tool, include other options, and then add your text. The type border will appear in the photo on the layer. A reliable essay writer will give you a detailed article on how to use this tool whenever you feel stuck.
- Save your Files
Select where you want the files to be saved on your device. When you click ‘file’ a dropdown menu will appear, click ‘save as’ choose a name for your document and save. You can save your image anywhere on your device, in the documents, photos, or even the desktop.
- Quick Tips
Adobe Photoshop allows you to quickly add words by typing ‘T’ which takes you to the type tool. In case you experience difficulties with the type tool, make another layer, and if this fails, go to the text tool. You will notice that using the shortcuts on your keyboard does not work; this is because Photoshop uses the keyboard for typing only.
Conclusion
Most people think that Photoshop is challenging to master, but what they do not know is that there are several ways to use this app. Adding text to Photoshop is one of the easiest ways to use this tool to make your images stand out and look professional.
How often do you use Photoshop? Share with us your experience.
Author Bio:
Mollie Porein is a freelance writer who is obsessed with technology, especially Photoshop since it enables us to create unique scenes and mini-worlds. She writes tutorials on how to improve our lives using technology and digital tools. Her work is based on extensive research and her failures that led to success.


