Instagram is growing day by day and so are the number of Instagram filters. I see that Instagram regularly adds new filters in its app. LoFi is still one of the most popular filters in Instagram, but there are other filters also that people use. Today we’re going to see how to create Instagram Charmes filter in Photoshop.
Chames filter gives a retro look to the photo which basically means desaturating the image, adding a yellow tint, and adding some noise. We’re going to do the same thing in Photoshop. But, we’re going to do it in a better way.
And yes, don’t forget to download the action.
Download the Instagram Charmes Filter Photoshop action – click here to download the action. It will scroll you down to the bottom of the page.
Before we go ahead, let me show you the before and after image.
Before
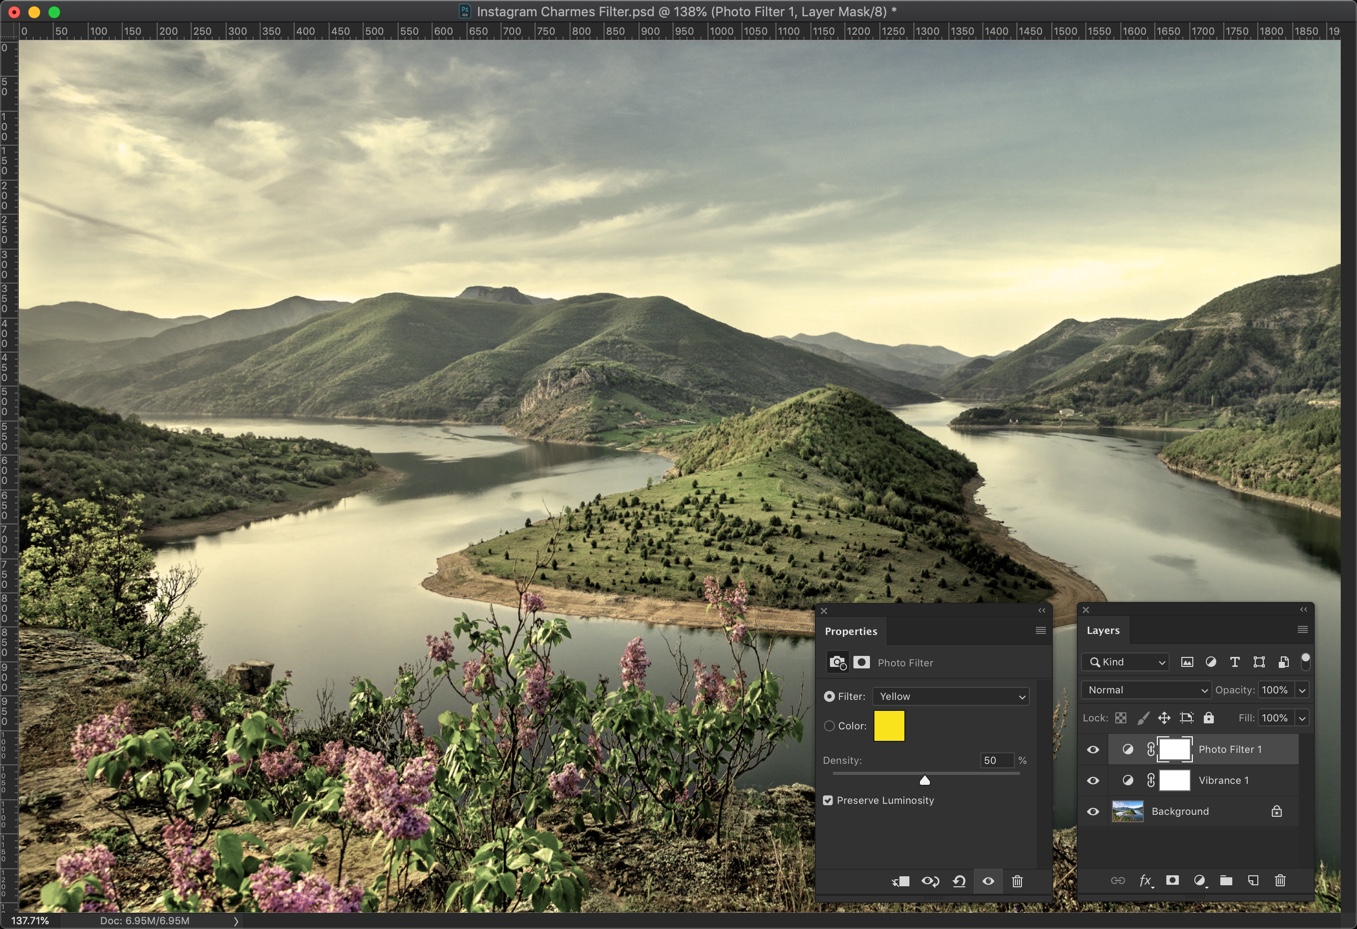
After

Video
If you like watching a video, here’s the video for you.
Step 1: Reduce the colors
The very first thing that you and I are going to do is to reduce the colors. This is the first step to give a retro look to an image.
Go to Layer > New Adjustment Layer > Vibrance. Reduce the saturation to -55.
If your layer panel is not opned then press F7 to open or you can go to Window > Layers.

Step 2: Give Yellow tint
The second step in giving a retro look is to give a yellow tint. This is a very important step in creating Instagram Charmes filter in Photoshop.
Go to Layer > New Adjustment Layer > Photo Filter. Change the Filter to Yellow and increase the denisty to 50%. Make sure that Preserve Luminosity is turned on otherwise your photo will get dark.
This will give a good looking yellow tint to your photo.
Step 3: Decrease the Contrast
The next step in creating Instagram Charmes filter in Photoshop is to reduce the contrast.
Go to Layer > New Adjustment Layer > Brightness/Contrast. Reduce the contrast to -41.
This will reduce the harsh contrast in your image.

Step 4: Give Magenta Tint
The next step is to give magenta tint.
Go to Filter > New Adjustment Layer > Photo Filter. Change the filter to Magenta and increase the desity to 25%. Make sure that Preserve Luminosity is turned on otherwise your photo will get dark.
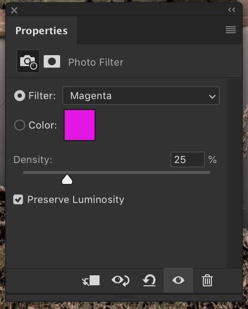
This will add a magenta tint to your image.

Step 5: Complete Creating Instagram Charmes Filter in Photoshop by Adding Noise.
The last thing that we need to do it to add noise.
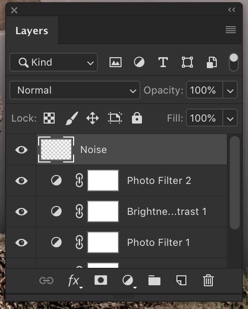
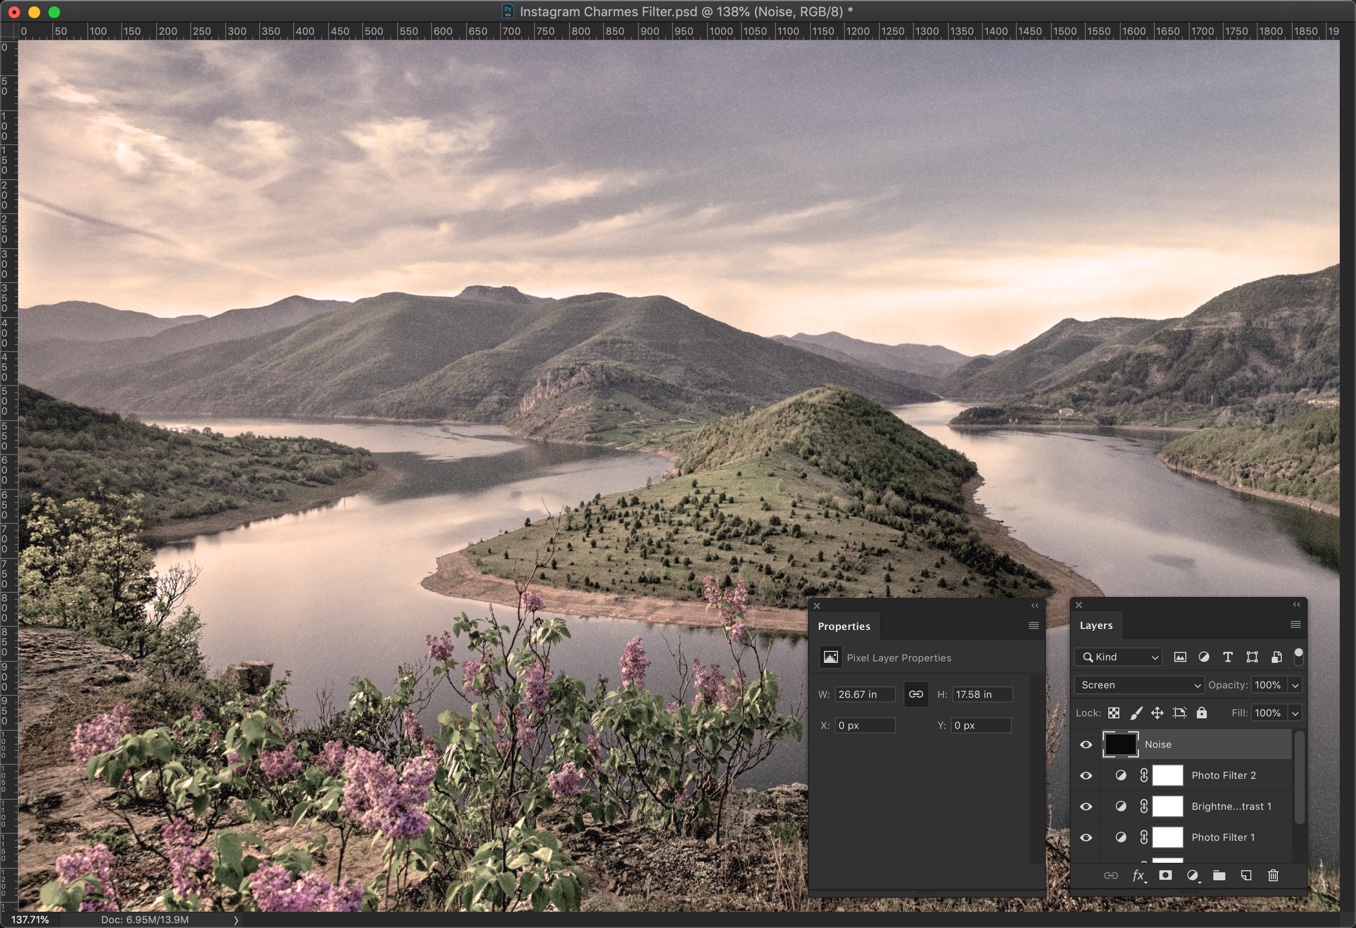
Create a new layer by pressing Cmd + Shift + N / Ctrl + Shift + N or go to Layer > New > Layer. Name that layer Noise.
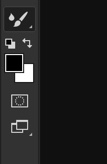
Change the foreground to black. You can also press D to make black as your foreground color.
Press Opt + Delete / Alt + Backspace to fill the newly created layer with the foreground color which is black.

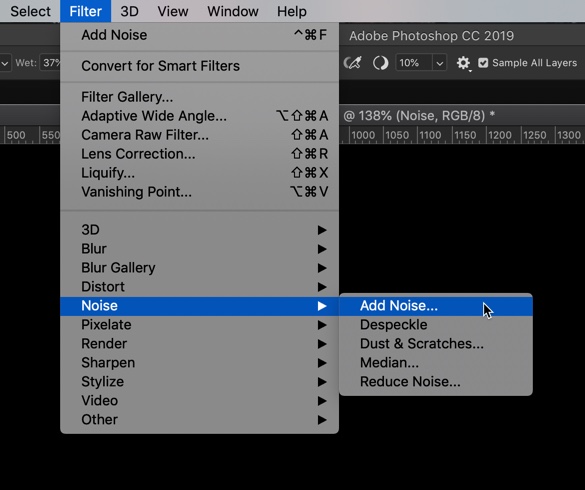
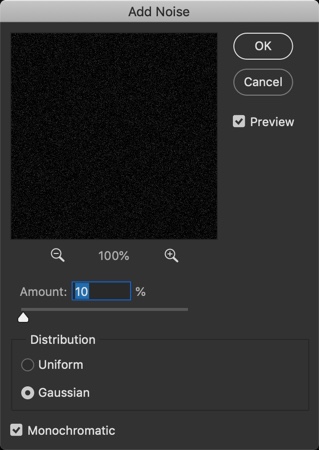
Go to Filter > Noise > Add Noise.
Change the Distribution to Gaussian and turn on Monochromatic.
The Amount depends on how big your image is. My image is 1920 by 1080 pixels and I am going to choose 10%. If your image is lesser in dimension, choose a lower value and if your image is larger in dimension then choose a bigger value.
For example, if your image is 3600 pixels wide then you may want to go with 20%.
Press OK
This will add Noise to your photo.

Change the blend mode to Screen.
Screen blend mode looks at each channel’s color information and multiplies the inverse of the blend and base colors. The resulting color is always a lighter color. Screening with black leaves the color unchanged. Screening with white produces white. The effect is similar to projecting multiple photographic slides on top of each other.
Here’s The Photoshop Action For Instagram Charmes Filter
If you’re interested in the Photoshop action for the Instagram Charmes filter, download it from the below link.


