
Apple launched portrait mode a few years ago. You can buy an iPhone to shoot portrait photos. But what if you don’t have iPhone but want to shoot portrait mode? Also, what if you have an iPhone but you shoot photos with your DSLR. Let’s see how can you create a fake iPhone portrait effect in Photoshop.
This is going to be a short tutorial because this effect is quite easy to achieve. All, I’ll be doing is to put the human on a separate layer and blur the background. Let’s do it.
But before we begin, I want to show you the after and before
After
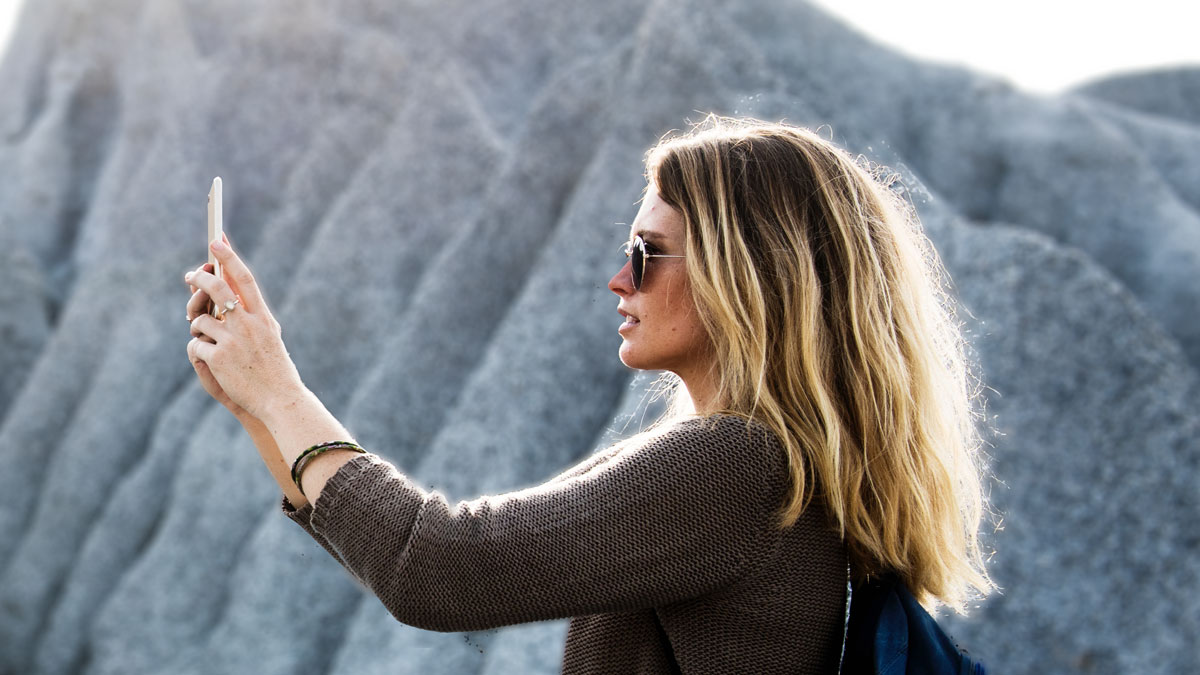
Before

Photo from Needpix.
What’s the actual name if iPhone portrait effect?
iPhone portrait effect is not new. It has been in DSLRs for years. The actual name is Shallow Depth of Fields.
So, if you ever come across a DSLR photographer and don’t want them to laugh on you, never say that you want to capture iPhone portrait effect from your DSLR. Say them how can I achieve beautiful shallow depth of field from my DSLR.
Yep, that’s the correct term
Now, let’s start the tutorial.
Step 1: Select the person in Photoshop
The first thing we need to do is to select the person in Photoshop.
I am going to use Select Subject in the Quick Selection Tool. Grab the Quick Selection Tool from the tool panel or press Shift + W again and again until it activates.
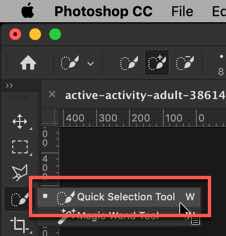
Click on the Select Subject.

This will select the person.

Note: you can use Select and Mask and to refine the selection and make the selection perfect. Go to Select > Select and Mask to activate it.
Step 2: Copy the person to a new layer
Press Cmd + J / Ctrl + J to copy the person to a new layer.

Step 3: Blur the background
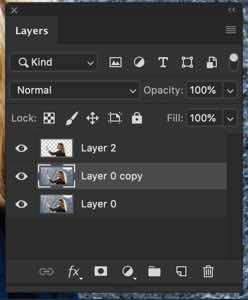
Time to blur the background. But before that, we need to duplicate the background layer so that we can revert in case we mess up.
Click on the background layer and press Cmd + J / Ctrl + J.
Go to Filter > Blur > Lens Blur.

Tweak the sliders in such a way that it gives a nice looking blur effect. Press OK.

Here’s the photo.

Step 4: Finalize the iPhone portrait effect in Photoshop
You’ll see that there are some impressions of the blurred background that are leaking from the edges of the person. See the below screenshot.

This is happening because we blurred the background and the edges are no sharper. They are (kind of) fused with one another.
We’ll fix this with the Clone Stamp Tool.
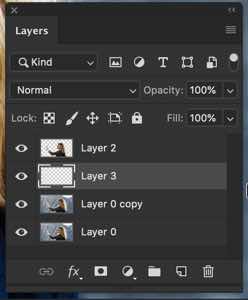
Create a new layer by pressing Cmd + Shift + N / Ctrl + Shift + N and drag it to the second position.
Grab the Clone Stamp Tool from the tool panel or press Shift + S again and again until it comes.

Hold down Opt/Alt to select the source and start brushing on the edges. See the below GIF.
Below GIF is of 3.5 MB. Give it some time to load.
That’s all.