5 Ways Photoshop Will Help You Get More Business

In a world where marketing is driven by the high-quality visual content, Photoshop can help you in so many ways to get more business and overcome competition in a crowded niche. The knowledge of essential features and functionalities of Photoshop is enough to turn a boring stock image into professional and share-worthy visual illustrations. From entrepreneurs and startups to SMEs and freelancers, it does not matter which type of business you are in, Photoshop will help you get more reach and leads. Starting from eye-catching social media images to professional product photography, the following are the top five ways Photoshop will help you get more business than usual.

Social Media Images – There is no doubt that social media is the best marketing platform for all local and global businesses. Most of the businesses post general photos that are taken from the internet which the targeted audiences have already seen before or they use the boring stock images that are way too professional to grab attention. Instead, you can use Photoshop to design stunning custom images that are absolutely new to everyone and promote your brand. They are the ones that get shared the most and grab the eyeball instantly. You can also make your social media profiles super attractive with mind-blowing cover photos, banners, and other visual illustrations wherever required. Naturally, your targeted audiences will be interested in checking out your products and land on your website.
Website Images – When online users land on your website, it is up to you to impress them immensely and convert them into customers and clients. The first thing any user checks out on a website is its visual content. Therefore, your visual illustrations have to be top-notch to hook the attention of the user and they should consider your brand premium. Your images should have originality, creativity, and the x-factor that will make you stand out easily. Photoshop is the only tool that has all the required features to create amazing sliders, exceptional product photography, and even high-quality website layouts. This will increase your conversion rate and get you more sales.

Ad Banners – Paid advertisement campaign is one of the best ways to get potential customers easily. But most of the people on the internet ignore ad banners that they come across as they fail to attract attention. This is where Photoshop can help to design that most creative and innovative ad banners that are extremely eye-catching and the online users will check them out in details to understand the creativity and hence, you are going to get more clicks. This is a super way to outshine your competitors and drive relevant traffics who are likely to be your repeat or permanent customers.

Flyers and Brochures – Not only online marketing, Photoshop is highly essential for offline marketing as well. Flyers and brochures are popular marketing items that companies give out to the targeted audiences to let them know about their brands and products. But people come across so many such flyers and brochures every day from different companies and those items eventually end up in the trash bin without people checking them out. This is where Photoshop can help you design flyers and brochures that can intrigue people and force them to check them out instantly. There are so many awesome flyer and brochure templates available that you can customize and get your business flyer and brochure ready like a pro. You can impress your targeted audiences immensely and generate more leads effortlessly.

Infographics – The reason why email marketing fails for most of the companies is not due to the popularity of social media but lack of innovative ideas for writing such promotional emails. Instead of just promoting your product and brand, you should include some cool infographics that not only promote your product indirectly but also educate your targeted audiences so that they start considering you a trustable brand. Embedding stunning informative graphics in the email body makes it exigent otherwise your emails will end up in the trash bin and spam box just like others. Photoshop has so many graphics templates available that you can customize and create outstanding infographics and innovative illustrations like never before.

There are so many tutorials available on the internet to learn Photoshop and make exceptional designs for marketing. You can also hire Photoshop experts to do it for you so that your business can grow exponentially.

This article is provided by Pamela from Custompapersonline
Photoshop – How to Achieve a Nice Bokeh in Your Photos?

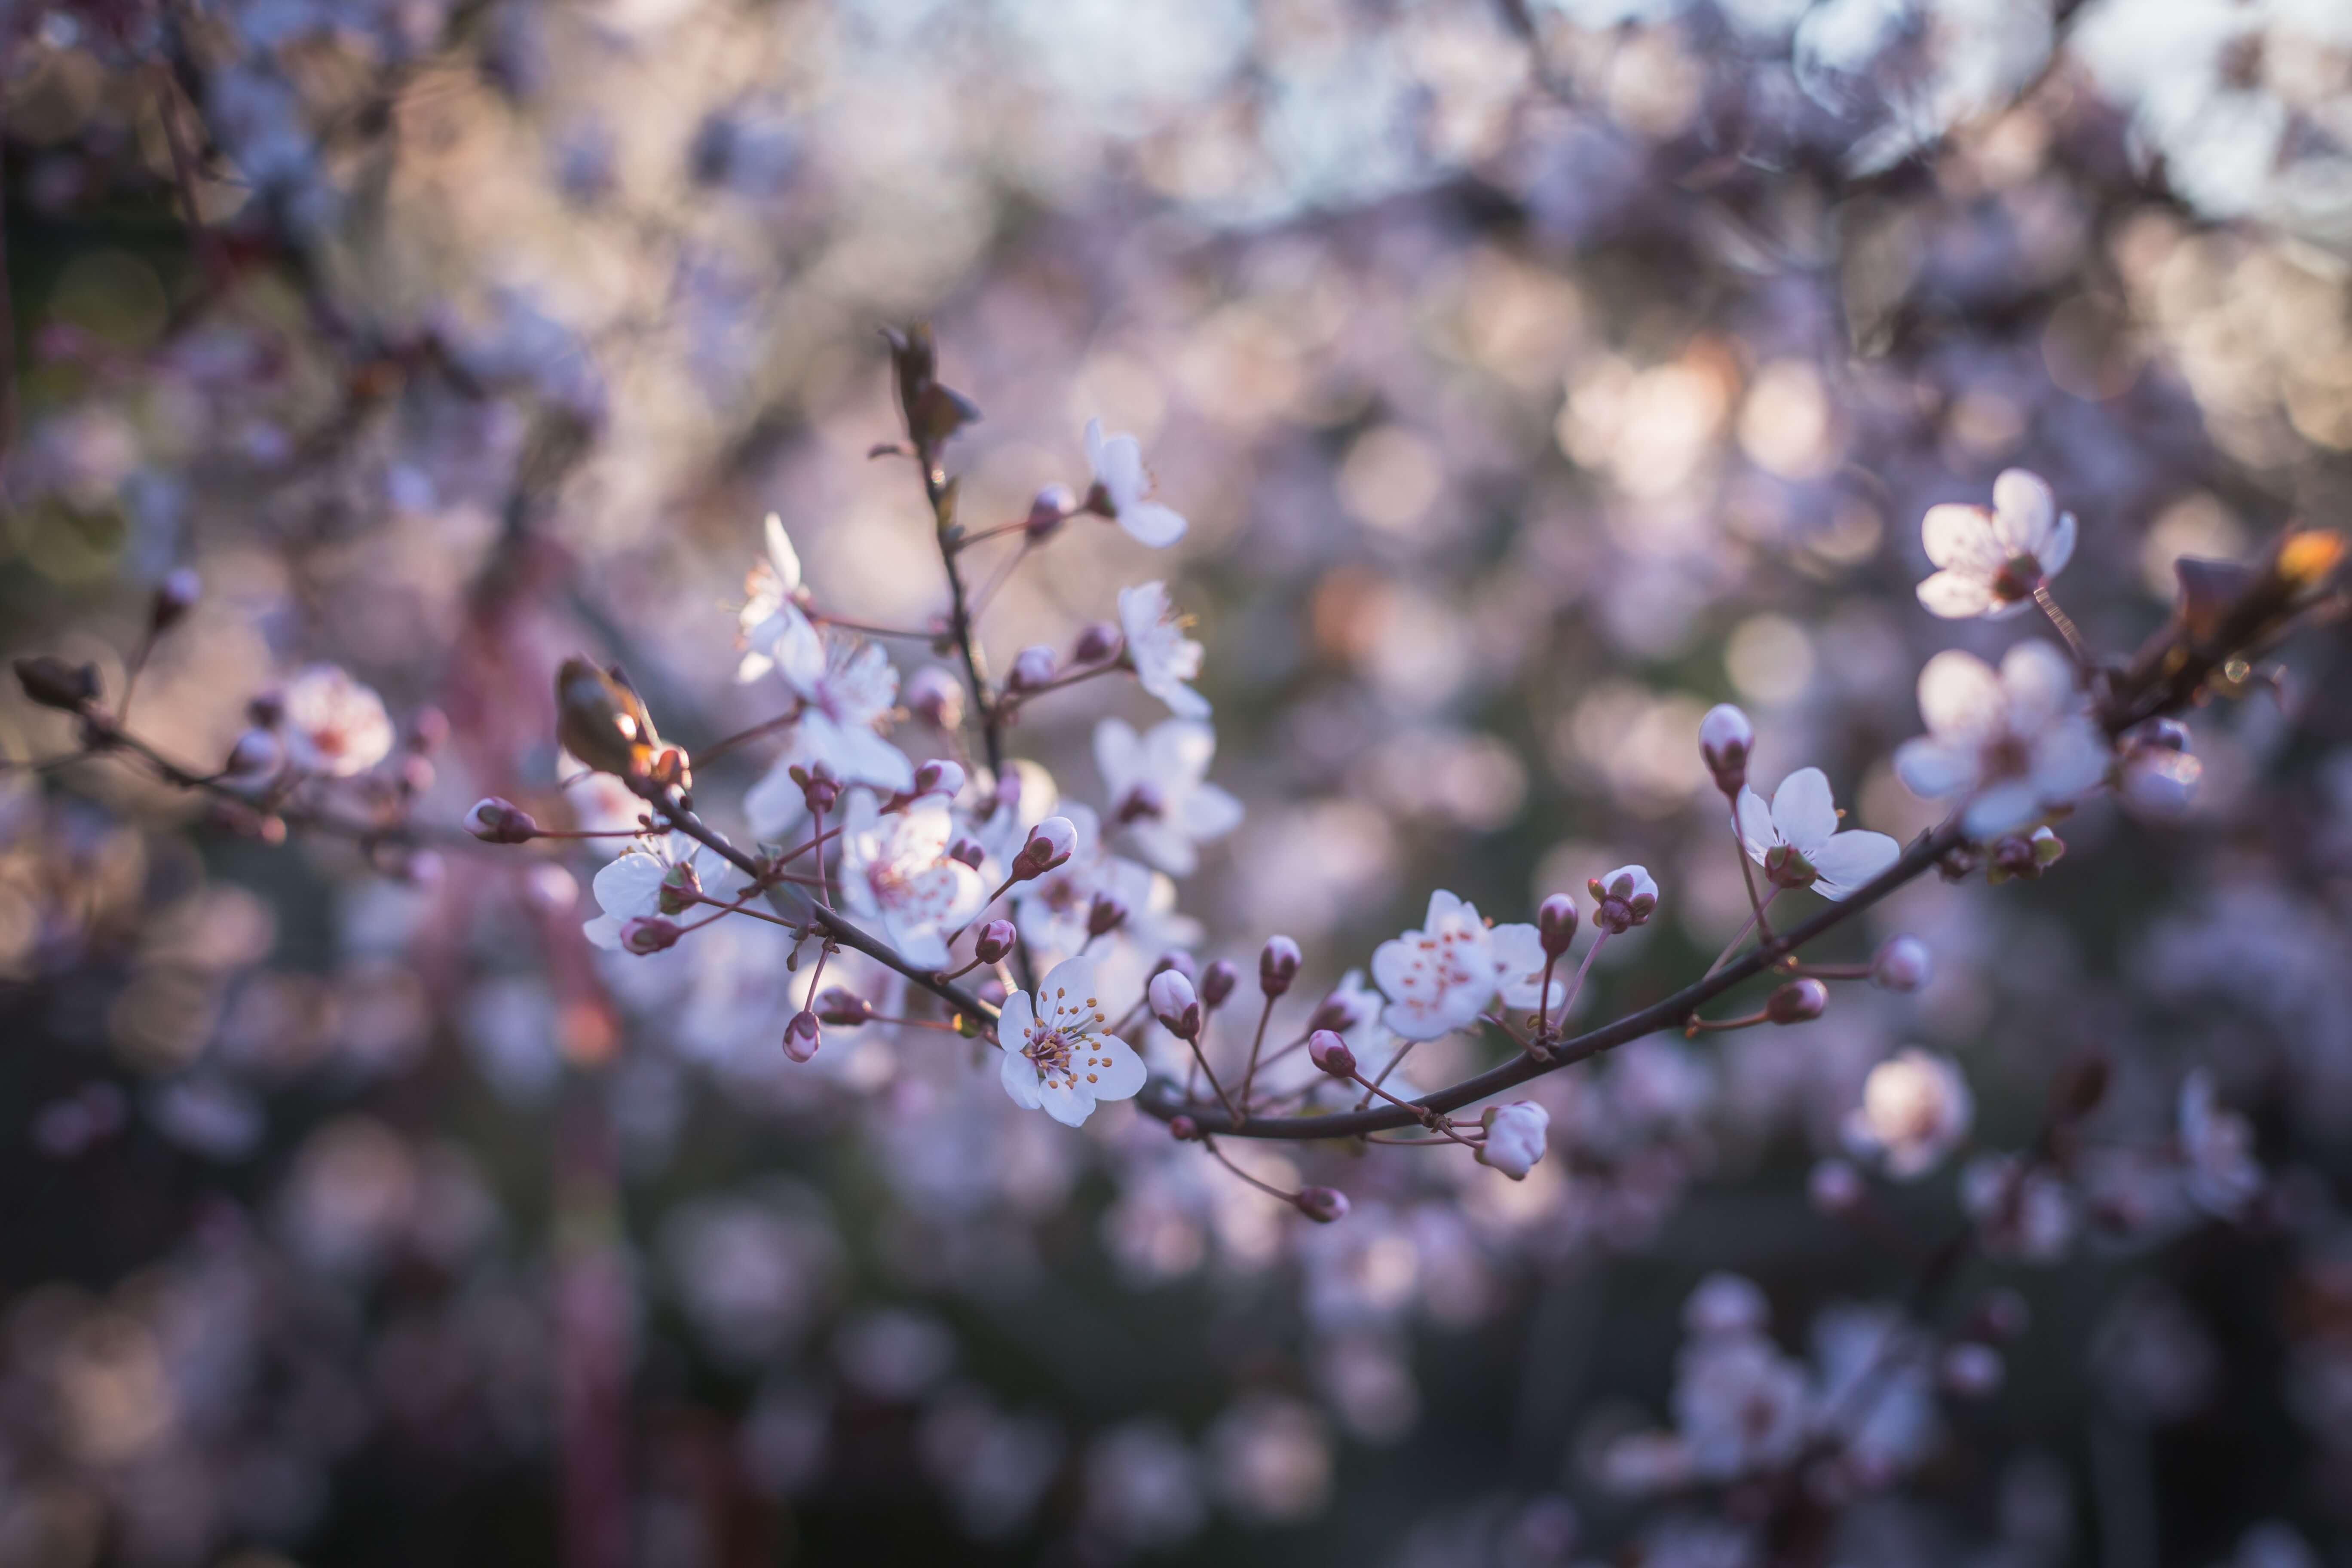
Bokeh is a common word used in photography that describes the blurry areas in a photo, or basically the area which are out of focus. Some people find it as a mistake but for most, they find bokeh as an attractive effect that gives more drama on the photo.

Credit – Photo by Anton Atanasov from Pexels https://www.pexels.com/photo/pink-peach-blossoms-close-up-photogrpahy-211451/

If you’re interested to do bokeh, you probably have this question in mind. The answer lies in the 5 tips below:

1 – Get close to your object

Distance is one key to achieve a nice bokeh. The closer your camera lens gets to your subject, the more the background will be blurred. So, it’s ideal to know the right distance between your camera lens and subject.

If you use a fast lens then minimize your distance to your subject to create a uniformly illuminated disk in the background. But if you don’t use a fast lens, it’s all right; just ensure to reduce the distance between your camera lens and your subject.

Doing this will increase the distance between the background and your subject. This is important because the further the background is to the camera lens, the more it’ll be out-of-focus.

2 – Choosing the proper lens

The lens is the main player of creating a beautiful bokeh as it determines bokeh’s size and shape. Though every camera has the capability to create a bokeh, only few can make it virtually appealing.

To know if your camera lens is a good lens for bokeh, check its diaphragm blade. The diaphragm lens is the one that determines bokeh’s shape. A lens with 7-straight blades creates a heptagon-shaped bokeh; while 9-rounded blades create a circular bokeh.

If you have 9 rounded blades, a prime lens is an ideal choice to use. But if you have a zoom lens, it’s advisable to zoom to its maximum focal length (200mm or more) to create an even greater blurred effect.

3 – Judge the depth-of-field

The depth of field is the one that indicates how much is in focus on your subject, front or behind. In determining what’s good for your subject, you need to remember 2 things: the wider your focal length, the deeper the DOF gets; while the longer focal length, the narrower the DOF gets.

The usage of these 2 will depend on the type of photography you’re doing. Choose a longer focal length if you’re shooting landscape or architectural exterior. While, if you want more details to be in focus, choose a shorter focal length.

4 – Relating the foreground with the background

Two types of bokeh are the background and foreground bokeh. These two acts similar, their only difference is its size. We all know that the closer the lights onto the lens, the larger it will look. Since the background details are far from the lens, its bokeh is smaller compared to foreground bokeh.

To add a dramatic appeal to the image, it’s ideal to have both bokeh in it. This is possible by positioning your subjects farther, so you can get some good quality foreground details.

5 – Select the large aperture

Lastly, the secret to creating a stunning bokeh is by using a fast lens with large aperture. Why? This is to decrease the DOF to a narrow area. The ideal lens to use must have an aperture of f1.4, f/1.8 or f/2.

These are the secrets of getting the bokeh effect. Let me know if you have anything else in your mind.

Photoshop: Change the Sky in 1 Minute

Hey, welcome to my another tutorial. Today I am back with my another tutorial from the 1-minute series. I am going to show you how to change the sky in Photoshop in 1 minute.

I will keep this tutorial short because you are going to achieve the result in just 1 minute. Everything will be crisp and short.

You’re reading this tutorial means that you already have an image of which you want the sky to be changed. That’s good. You will also need an image from where you can copy the sky. If you like free things then Unsplash is a great place. If you don’t then there are some good sites like Shutterstock, Adobe stock, etc. where you can buy the images.

Related: Soften the Skin in 1-minute in Photoshop

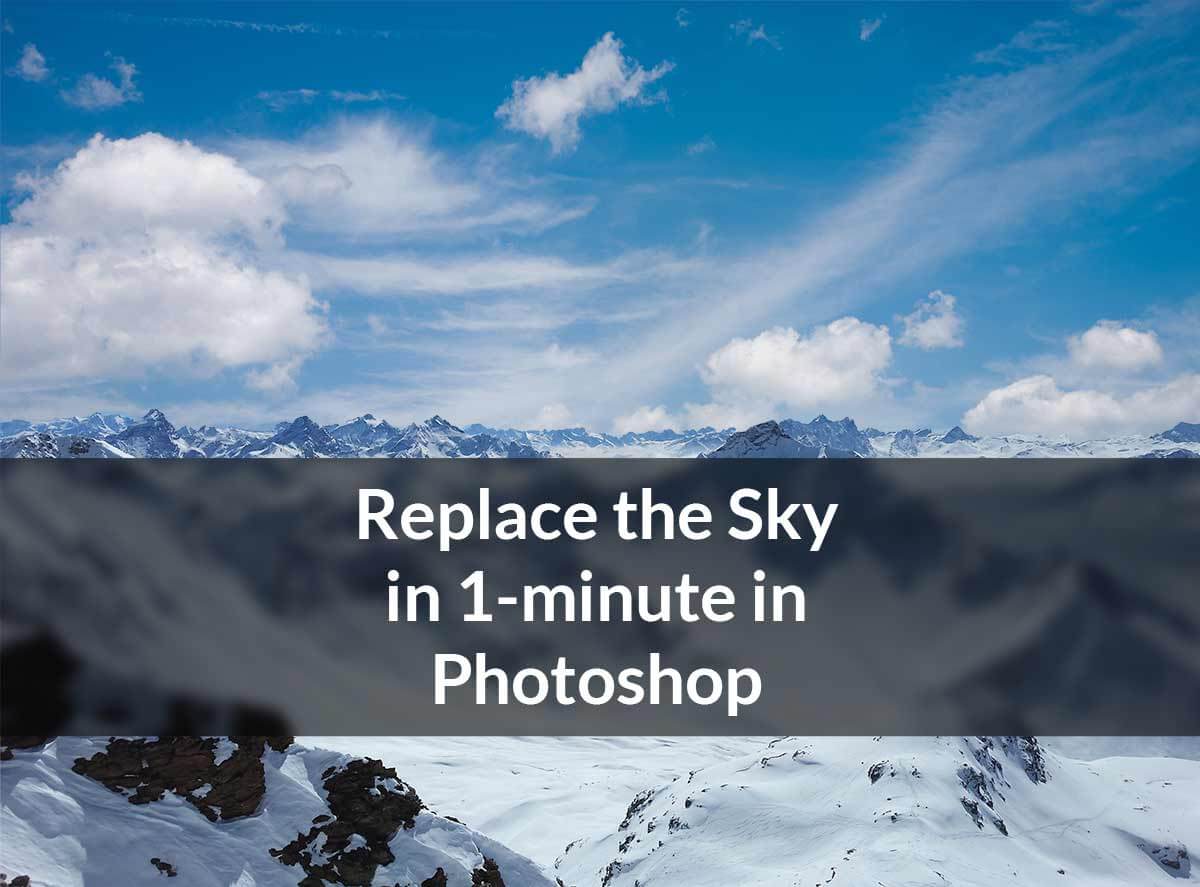
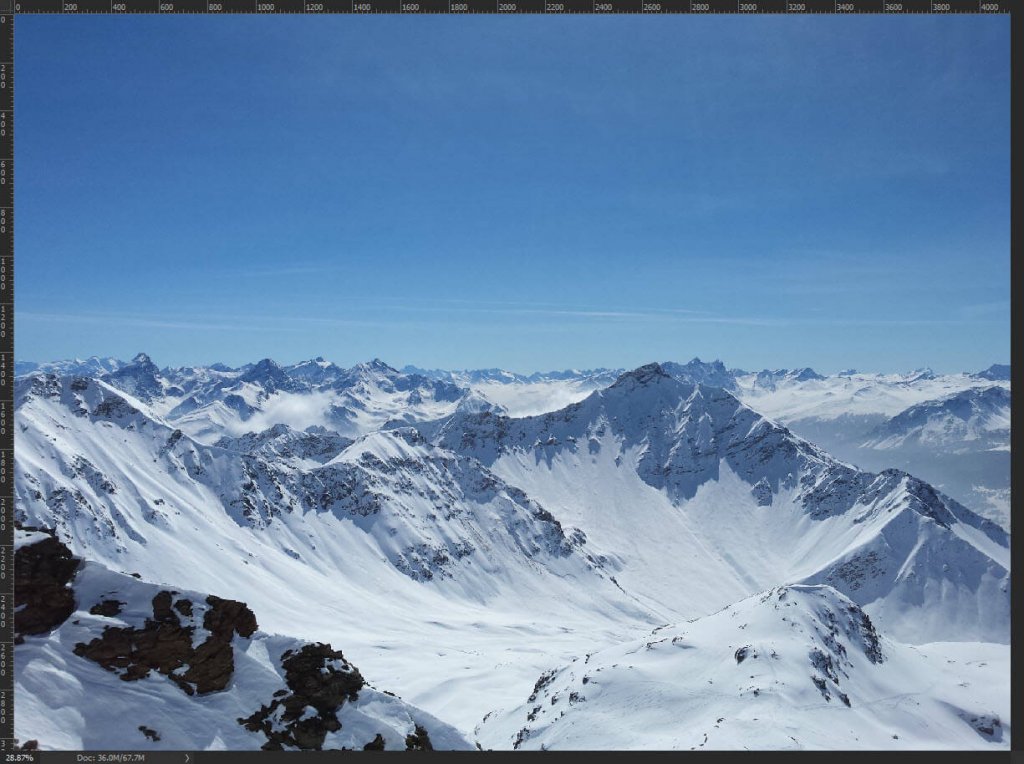
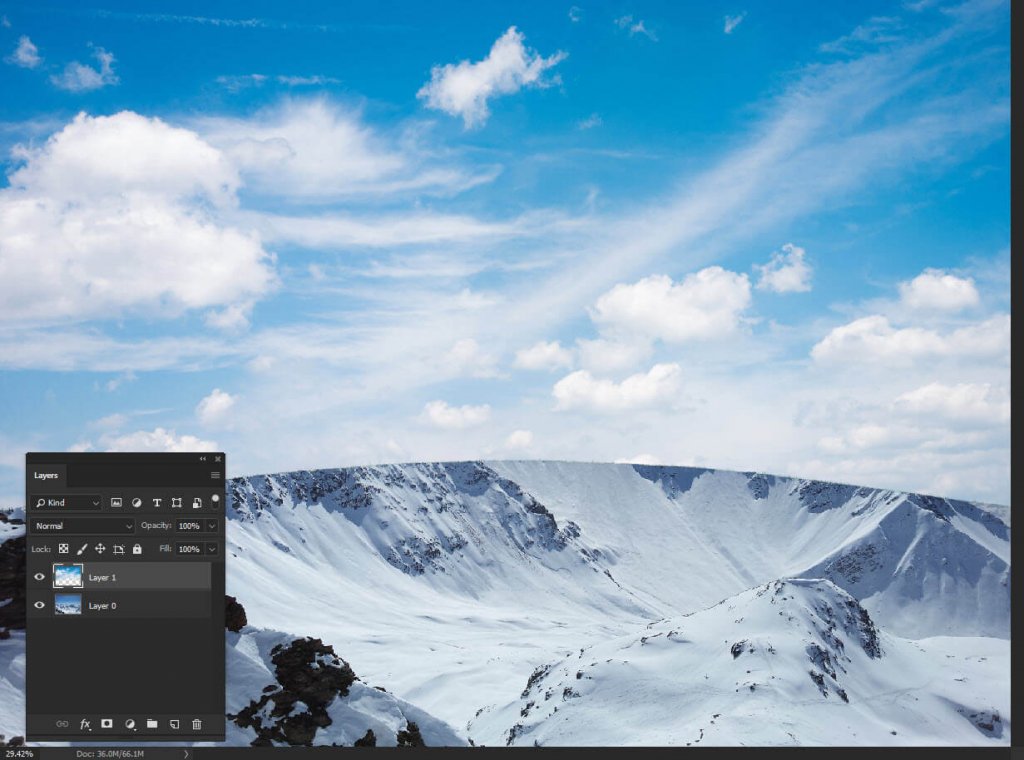
Let’s start the tutorial. But I would like to show you the before and after image before we start the tutorial.

After

Before

Did you see the sky in the after image? I didn’t like the sky in the before image so I changed it with the one which has clouds.

Step 1: Copy the Sky from the Source Image

You need to copy the sky from the source image. Let’s select the sky from the source image. You can use Quick Selection Tool for that. I am not explaining how can you select with Quick Selection tool for the time being but you can learn it by clicking on the link. Here you go – Quick Selection Tool.

Press Cmd+C/Ctrl+C once you have made the selection. This will copy the are which is selected.


Step 2 – Change the Sky in Photoshop

Go to the original image and press Cmd+V/Ctrl+V to paste it to change the sky.

You need to align the image so that it replaces only the background, nothing else. I’ll show you how you can do it.

Step 3 – Select the Sky in the Source Image

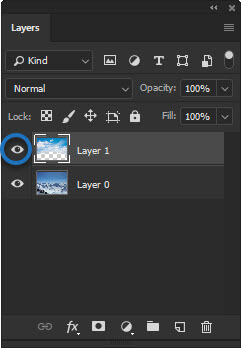
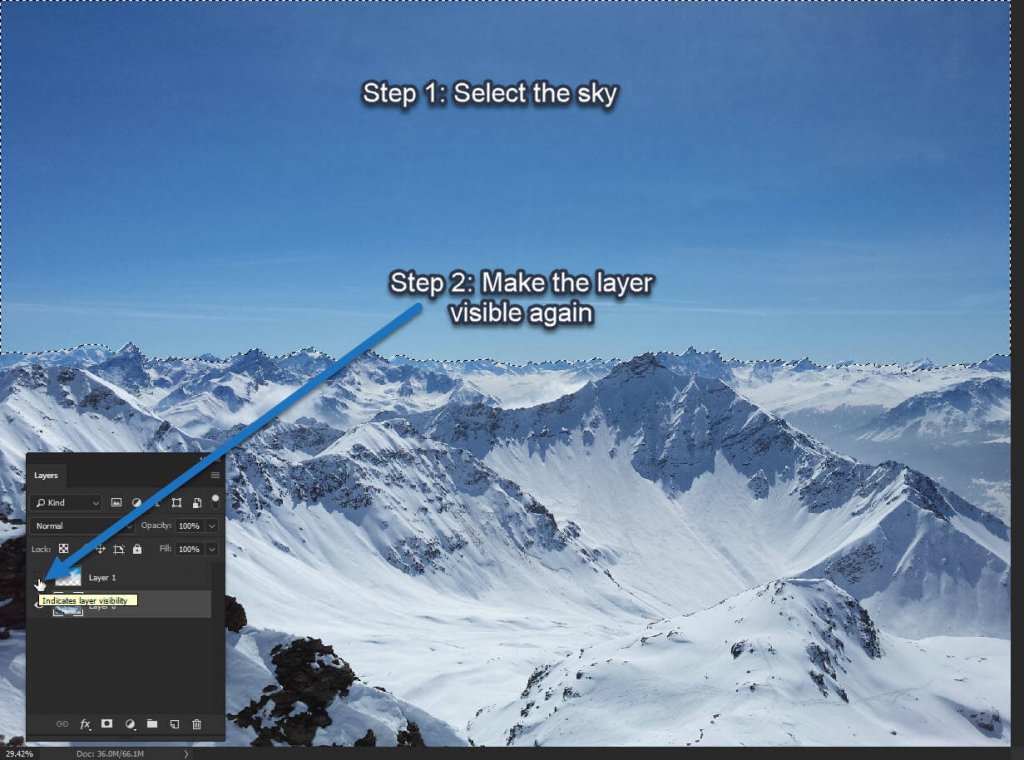
Hide the layer of the new sky so that you can see the original sky. Click on the “eye” icon of the layer of the new sky. This will hide it.


Select the original sky. You can use Quick Selection tool again. Once selected, unhide the layer you just hide.

Step 4 – Add Layer Mask

Make sure that the layer with the new sky is activated. Go to Layer>Layer Mask>Reveal Selection. This will reveal only the selected area.


Step 5 – Tweak the Sky

I think that the new sky is brighter as compared to the original sky. So, I am going to reduce the brightness.

Go to Layer>New Adjustment Layer>Brightness/Contrast. I am going to reduce the brightness. But I need to make sure that it will affect only the new sky, not the entire image. So, I’ll turn on “Clipping Mask” which is encircled with the blue color in the below image. This will ensure that the brightness will only affect the layer that is present just below it.

Here’s the final image again.