Day 16: Patch Tool in Photoshop – How to Use it

Hey, guys! Welcome to my 30 Days to Learn Photoshop series. Last time we discussed Healing Brush Tool which is a pretty awesome tool if compared to Spot Healing Brush Tool. But this time, we’re going to learn even a more awesome tool that is Patch Tool in Photoshop.

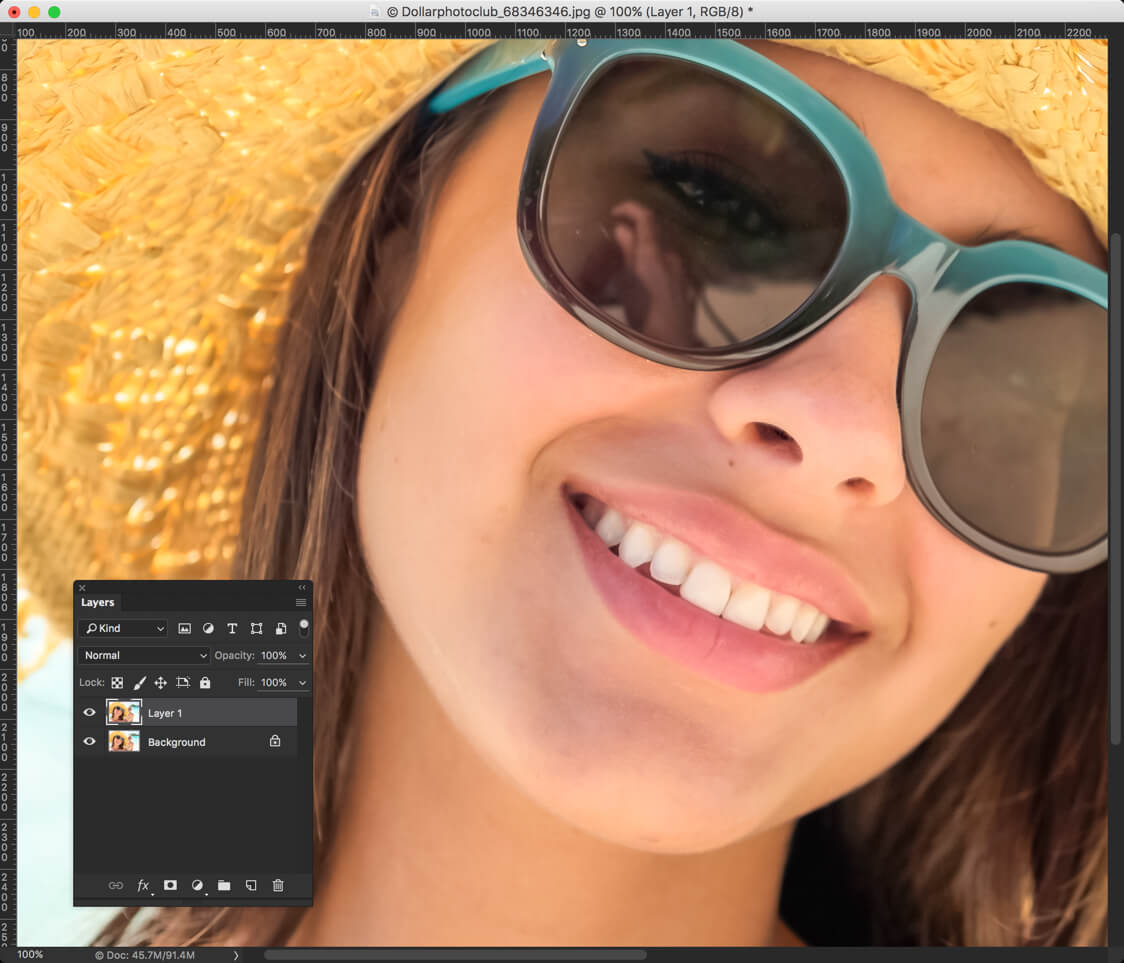
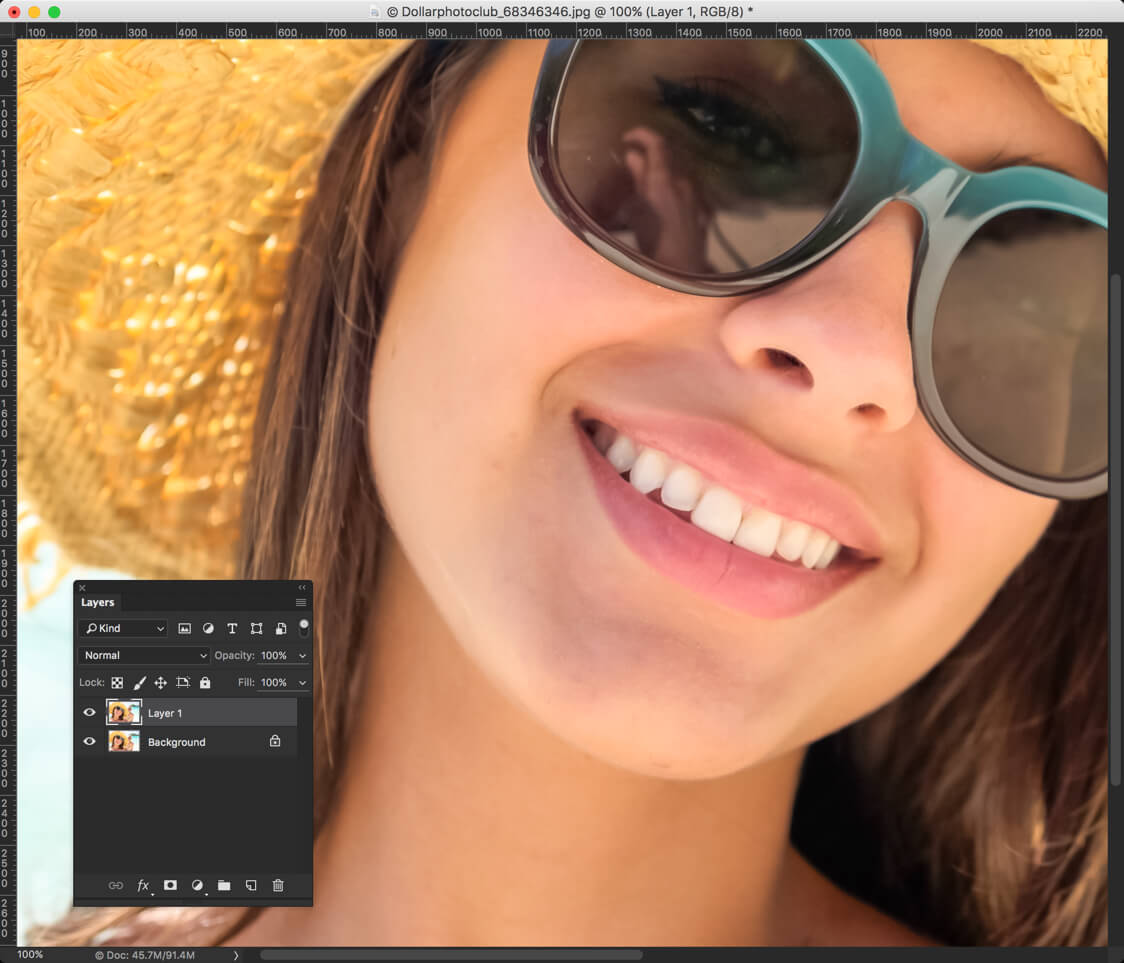
If you ask me the algorithm behind the Patch tool, I have no idea. But, I do know that whatever it is, it works like a charm. To prove this, I am going to remove 3 moles from this beautiful lady’s face. I know that those moles are adding beauty to her, but for the sake of this tutorial, let’s remove them.

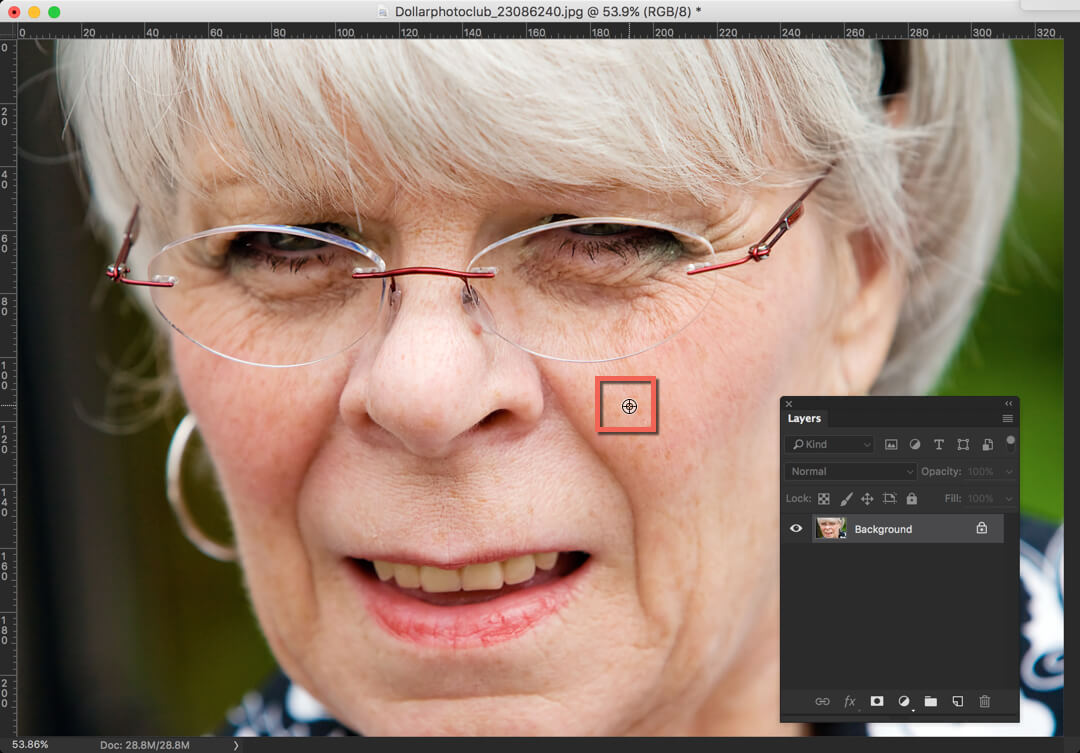
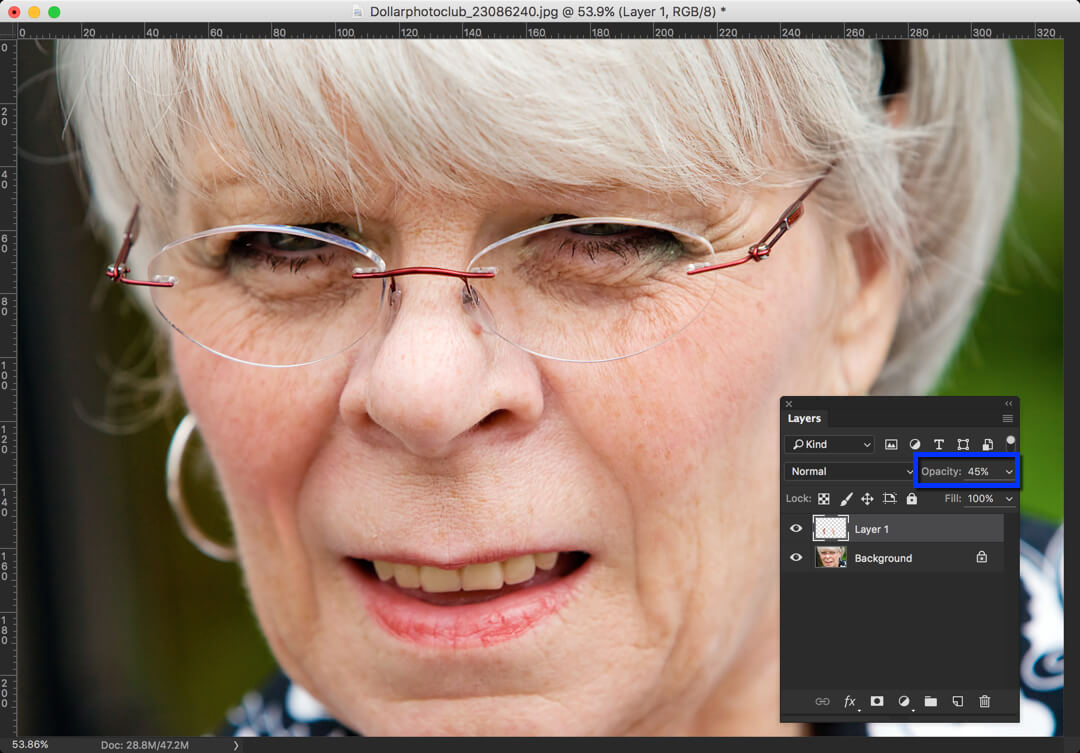
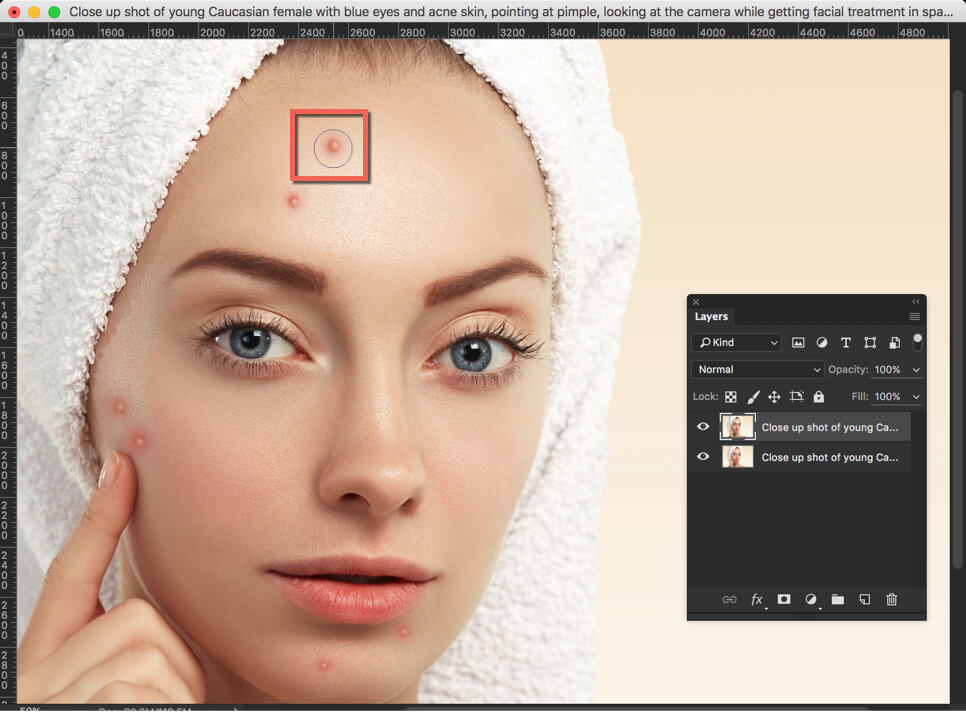
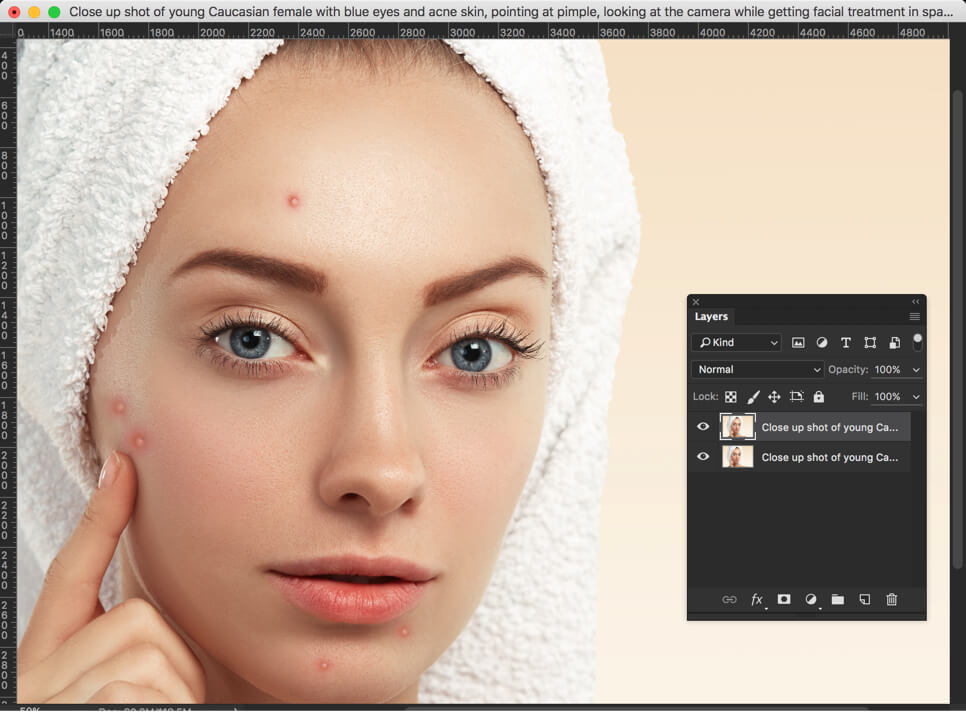
As usual, before we proceed, let me show you before and after images.

Before

Initial.jpg

After

Final.jpg

Let’s begin the tutorial:

What is Patch Tool in Photoshop?

Patch tool in Photoshop is a tool that creates a pattern on the applied area either by using Photoshop’s Content-Aware technology.

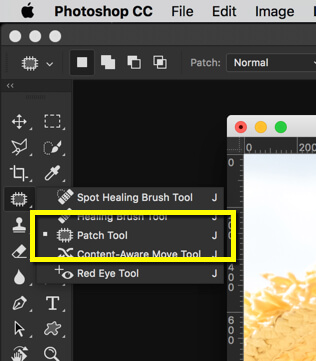
Where is Patch Tool Located in Photoshop?

You can activate Patch tool in Photoshop either by grabbing it from the tool panel or press Shift+J again and again until it comes.

1.jpg

How to Use Patch Tool in Photoshop?

Now, let’s learn how to use the Patch tool.

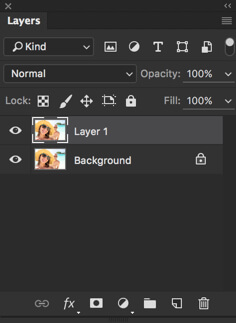
Step 1: Duplicate the Background Layer

First of all, you don’t want your work to be destructive. You always want to work non-destructively so that you can go back to original image whenever you have made any mistake.

To do so, we need to duplicate the background layer. Press Cmd+J/Ctrl+J to duplicate your background layer.

2.jpg

Note – Unlike Healing Brush, Patch tool doesn’t work in transparent layers. It is yet to have “Choose Layers” functionality.

Step 2: Encircle the Flaw

Now encircle the area you want to remove.

3.jpg

Step 3: Move the Selection

Now, gently move the selection to the area that you want to fill the flaw.

4.jpg

Step 4: Deselect the Selection

Now release the mouse. Press Cmd+D/Ctrl+D to deselect the selection.

5.jpg

Ist’s it looking cool?

Let’s remove other two moles also. One is below her right nostril and another in on her left cheek.

6.jpg

Now that we know how to use Patch Tool, let’s understand this tool a little bit deeper.

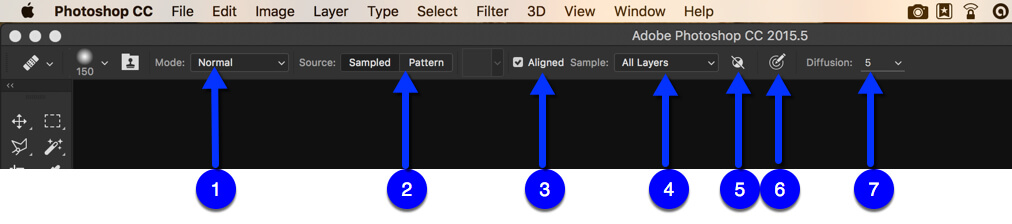
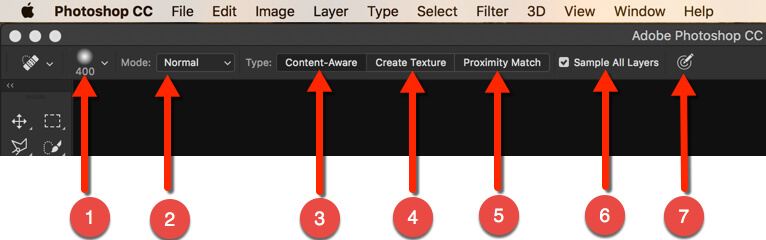
Option Bar of Patch Tool in Photoshop

7.jpg

Let’s learn each option one by one.

1. Patch

This defines the technology that Patch Tool use. “Normal” lets Patch Tool use the old technology by matching the source pixels against target pixels and then fills the source pixels. “Content Aware” uses the new Photoshop Content-Aware technology. To be frank, I have faced any situation where I needed to use Content-Aware technology. “Normal” technology has always worked for me.

2. Source/Destination

The demo that I showed you is demoed with the “Source” option. In the option, you can encircle the flaw and move it to the area of where you want the pixels of. In “Destination”, you just do the opposite. You encircle the destination and move it on the flaw. The generally saves time when you want the same pixels to placed in several places.

3. Transparent

This is something you always want to turn off. If your image has transparency, you may want to turn it on. If you don’t know what is transparency in the image, just skip to the next point.

4. Use Pattern

This feature allows you to use pattern along with the blending of pixels.

5. Diffusion

Diffusion slider controls how quickly the pasted region adapts to the surrounding image. As a general guideline, low slider values are good for images with grains or fine details whereas high values are good for smooth images.

That’s all for today.

Check out other tutorials from 30 Days to Learn Photoshop series.

Please support TrickyPhotoshop by sharing this tutorial with your friends on Facebook, Twitter, and Google+.

Day 15: How to Use Healing Brush Tool in Photoshop

Healing Brush Tool in Photoshop

Hey, guys! Welcome to my another tutorial from 30 Days to Learn Photoshop Series. In this tutorial, I am going to show you how to use Healing Brush Tool in Photoshop. For the demo, I’ll be removing wrinkles from this beautiful lady’s face.

Unlike Spot Healing Brush Tool in Photoshop, Healing Brush is a tool is not only for minute flaws but also works for removal bigger imperfections. To demo this, let’s remove the wrinkles together.

Before I go further, let me show you the final image. Note that I could have easily taken the whole wrinkles out but that would’ve made the image looks unnatural.

Before

Healing Brush Tool in Photoshop

After

Healing Brush Tool in Photoshop

Let’s begin with the tutorial.

What is Healing Brush Tool in Photoshop?

Healing Brush tool in Photoshop is a brush tool that creates a pattern on the brushed area either by using Photoshop’s Content Aware technology or by matching its nearby pixels.

Where is Healing Brush Tool located in Photoshop?

You can activate this tool either by grabbing it from the tool panel or pressing Shift+J again and again until it comes.

1.jpg

How to Use Spot Healing Brush Tool

It’s pretty much simple to use Healing Brush Tool in Photoshop.

Step 1: Activate Healing Brush Tool

As shown above, you need to activate it by either grabbing from the tool panel or press Shift+J again and again until it comes.

Step 2: Select Source

To use Healing Brush Tool, you need to select “Source” first. By choosing the source, you are telling Photoshop that you need this area to be used on the flaws.

In the below image, I need to use the area on which I have placed the cursor. Now, when I remove the wrinkle, Photoshop will know that it needs to take this part as a reference to remove the wrinkle.

2.jpg

To select source, you need to hold down Option/Alt key.

Step 3: Brush on the Flaw

Create a new layer so that you are doing non-destructive editing. Now brush on the flaw. In the below image, the blue rectangle shows our brush and yellow rectangle shows our source.

3.jpg

Photoshop calls the brush that is surrounded by:

  • Blue color as “Target”
  • Yellow color as “Source”

Step 4: Decrease the Opacity

Let’s decrease the opacity to 45% to keep this image looking natural.

4.jpg

Option Bar of Healing Brush Tool in Photoshop

As soon as you activate this tool, you might have noticed that the option bar has changed. To make this tool even more effective, we can make use of this option bar.

Let’s understand each tweak one by one.

5.jpg

  1. Mode: This is something that we had already discussed in details on Blend Modes. This option lets you choose blend mode of the picture.
  2. Source: If we choose Sampled, Photoshop lets us choose the source that it can use as a reference to remove the flaw. This is what I chose the demo the above tutorial. If we choose Pattern, Photoshop will create a pattern to remove the flaw. In my opinion, it makes the image even more of flaw.
  3. Aligned: This is what I keep turned on most of the time. What this keeps is that it keeps the Source brush and Target brush aligned. In case you are having difficulty understand this feature, simply turn it off and try to use Healing brush tool.
  4. Sample: This lets you decide which layer to choose while taking your source as a reference. If you work non-destructively like me, it’s better to go with “All Layers”.
  5. Ignore Adjustments: If turned on, Photoshop will ignore adjustment layers when painting on your target. Generally, brightness, contrast, vibrance, etc. are called as adjustment layers. We’ll read more about it in later tutorials.
  6. Pressure: This is something you can use when you use pressure sensitive pads like Wacom tablets. If turned on, the harder you press, the harder your target gets brushed.
  7. Diffusion: Diffusion slider controls how quickly the pasted region adapts to the surrounding image. As a general guideline, low slider values are good for images with grains or fine details whereas high values are good for smooth images.

Time to wrap up this tutorial. I hope that you have enjoyed it. If you have any doubt, don’t forget to ask it in the comment section below.

Please support TrickyPhotoshop by sharing this tutorial with your friends and family on Facebook, Twitter, and Google+.

Day 14: Spot Healing Brush Tool in Photoshop

Hey, guys! Welcome to my another tutorial from 30 Days to Learn Photoshop. In this tutorial, I am going to show you how to use Spot Healing Brush Tool in Photoshop. In the last tutorial, I showed you how to use Crop Tool in Photoshop.

Spot Healing Brush tool in Photoshop is mainly used to remove tiny flaws or unwanted things. One of the greatest use of this tool is to remove acne. Spot Healing Brush tool is widely used for that. To keep this in mind, today’s tutorial is aligned with the removal of acne.

Before we begin, I would like to show you the final image.

After.jpg

This is what initial image looks like.

Initial.jpg

Let’s begin with the tutorial

What is Spot Healing Brush Tool in Photoshop?

Spot Healing Brush tool in Photoshop is a brush tool that creates a pattern on the brushed area either by using Photoshop’s Content-Aware technology or by matching its nearby pixels.

Where is Spot Healing Brush Tool located?

You can activate this tool either by grabbing it from the tool panel or pressing Shift+J again and again until it comes.

1.jpg

How to Use Spot Healing Brush Tool

It’s pretty much simple to use Spot Healing Brush Tool in Photoshop.

Step 1: Activate Spot Healing Brush Tool

As shown above, grab it from the tool panel

After grabbing it from the tool panel, just put it on the acne or the thing that you want to remove.

3.jpg

Step 2: Paint on it

Now paint on it. Make sure that the size of your brush is comparatively larger than the acne.

4.jpg

Step 3: Do it One More Time

As soon as you lift your mouse button, Photoshop fills the acne with regenerated pixels. In case you notice any strange kind of pattern being created, simply paint on the area one more time.

5.jpg

After painting it one more time, here’s the result.

6.jpg


Option Bar of Spot Healing Brush Tool

As soon as you activate this tool, you might have noticed that the option bar has changed. To make this tool even more effective, we can make use of this option bar.

Now let me explain you each tweak one by one.

2.jpg

  1. Size: This functionality lets you increase or decrease size of your brush. It also lets you decide the hardness of your brush. Harder the brush is, sharper are the edges.
  2. Mode: This is something that we had already discussed in details on Blend Modes. This option lets you choose blend mode of the picture.
  3. Content-Aware: In CS5, Photoshop introduced a new feature called as content-aware. What it does is that it fills the area with computed pixels. In other words, it recreates the pixels based on its surrounding.
  4. Create Texture: It takes the texture from its surrounding, and puts it on the brushed area.
  5. Proximity Match: You can better call it as less advanced version of Content-Aware tool. It takes the surrounding pixels and blend it into the brushed area
  6. Sample All Layers: If you have multiple layers, you better turn it on. If turned on, it will take all the layers into consideration to create pixels rather than the current layer you’re working on.
  7. Pressure Size: Works when you have a pressure sensitive tablets like Wacom tablets.

Time to wrap up this tutorial. I hope that you have enjoyed it. If you have any doubt, don’t forget to ask it in the comment section below.

Please support TrickyPhotoshop by sharing this tutorial with your friends and family on Facebook, Twitter, and Google+.