Today is such a remarkable day in the US as U.S. Supreme Court ruled that same-sex marriage is now considered a fundamental constitutional right guaranteed under the 14th Amendment. Shortly after the news, Facebook has launched Celebrate Pride tool that lets users blend their images with Pride Flag.
To honor this fundamental constitutional right, I am writing a tutorial on creating Facebook Celebrate Pride Effect in Photoshop. This is not a tough tutorial and will take only 5-10 precious minutes of your lives.
Read my previous tutorial where I discussed How to Remove Tattoos in Photoshop.
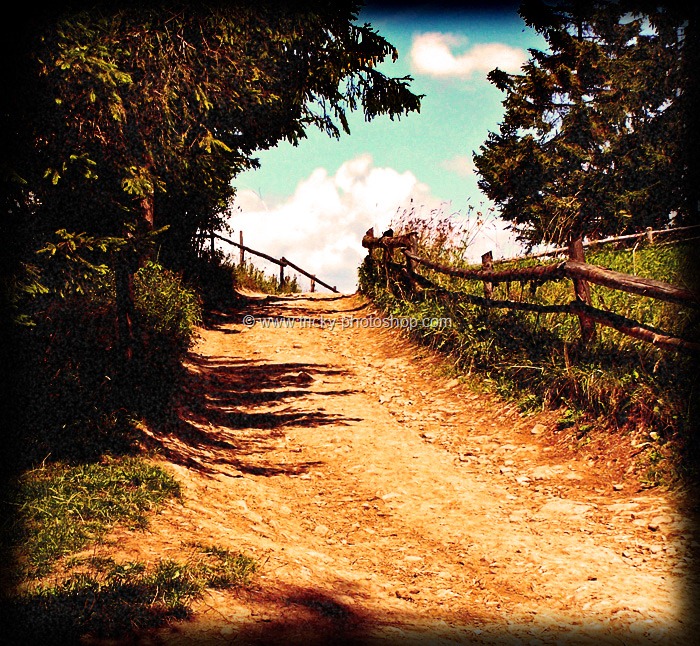
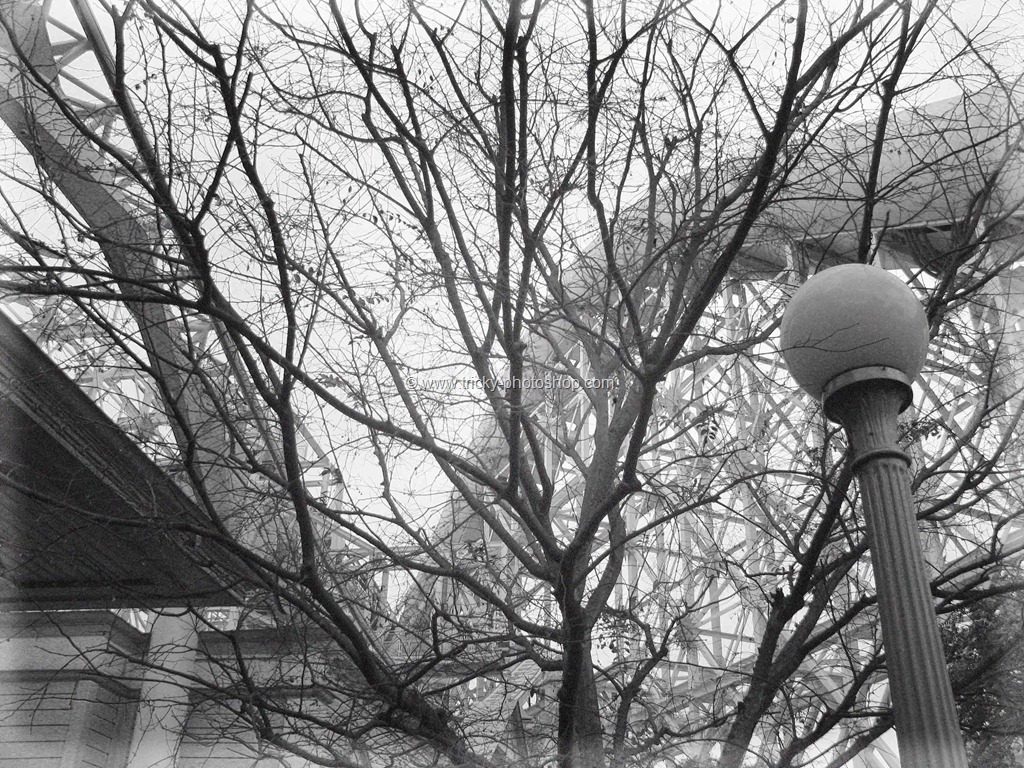
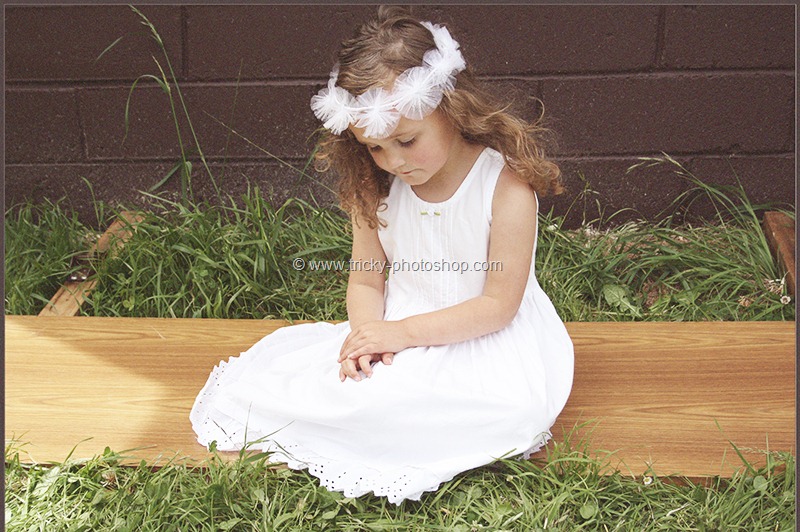
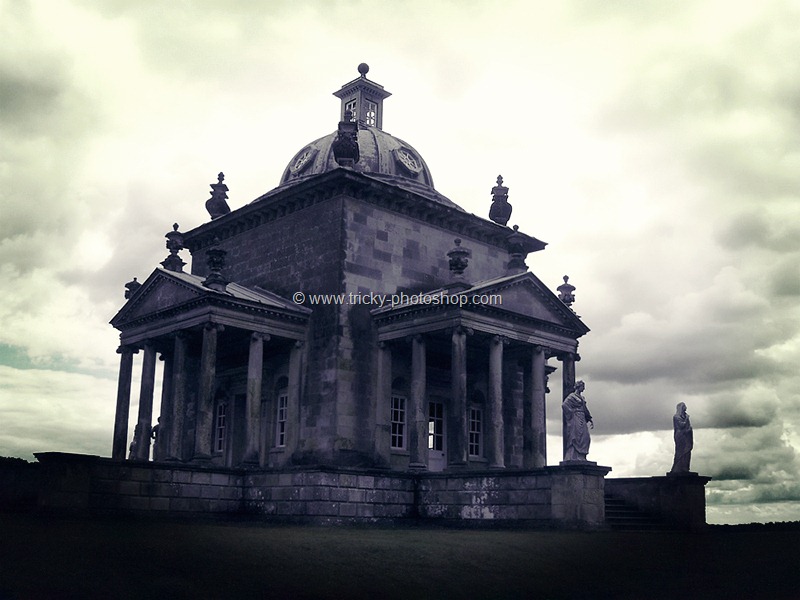
Here’s the image that we’ll achieve after the effect.

So let’s begin the tutorial.
Step 1: You Need to Make your Image a Little Worse First
That’s right! First, you need to lower down the contrast.
Go to Layer>New Adjustment Layer>Brightness/Contrast. Slide your contrast way down to –50.

Still, we’re not set. We still need to decrease contrast. So I pressed Ctrl+J/Cmd+J to duplicate the current Brightness/Contrast Adjustment layer.
Please note that the same value may not work for you. You just need to make sure that the contrast in your image is not properly balanced, it needs to under-balanced like Fig. 3.

Step 2: Get it Little Noisy
Time to add noise to the image. Create a new layer by either going to Layer>New>Layer or by pressing Ctrl+Shift+N/Cmd+Shift+N. Make Black as your foreground color by pressing D. Now fill the newly created layer with the foreground color by pressing Alt+Backspace/Opt+Delete. Finally, change its blend mode to Screen.
Phew! That was a hell lot of things we did in a single step.

Now go to Filter>Noise>Add Noise. Choose settings that work best for you like mine. Press OK.

Step 3: Copy the Pride Flag
Google out the pride flag, and you’ll find a bunch of them. Download any of them where there’s no copyright issue and watermark.
Open it in Photoshop. Now we are going to copy the flag. Press Ctrl+A/Cmd+A to select the whole flag, and press Ctrl+C/Cmd+C to copy it.

Move back to your original image tab and press Ctrl+V/Cmd+V to paste it.

Step 4: Enlarge the Flag and Change its Blend Mode
Press Ctrl+T/Cmd+T to activate the Free Transform Tool. Now enlarge the flag such that it covers the whole image. Fig. 8 shows that I am enlarging the image.

This is how the image supposed to look once you’ve enlarged the flag.

Now change its Blend Mode to Color and you are ready to go.

I’ve completed mind, and I am sure that you have also completed yours too. Don’t forget to post that photo on other social networking sites like Twitter, Google Plus, and Pinterest.
Please support TrickyPhotoshop by sharing this article with your friends, family, and colleague.

