Hey, folks! How are you all? I hope you are having a great weekend. You might remember the article that wrote last time i.e. Creating Instagram Juno Effect in Photoshop. This time, I am going to write another tutorial on Instagram effect. How about writing on How to Create Instagram Slumber Effect in Photoshop?
When you have used Instagram Slumber effect, you must have noticed that it generally gives yellow to an image and reduces the contrast but it manipulates an image much more than that. It adds a vignette, reduces colors, adds black & whitish effect (not much visible though).
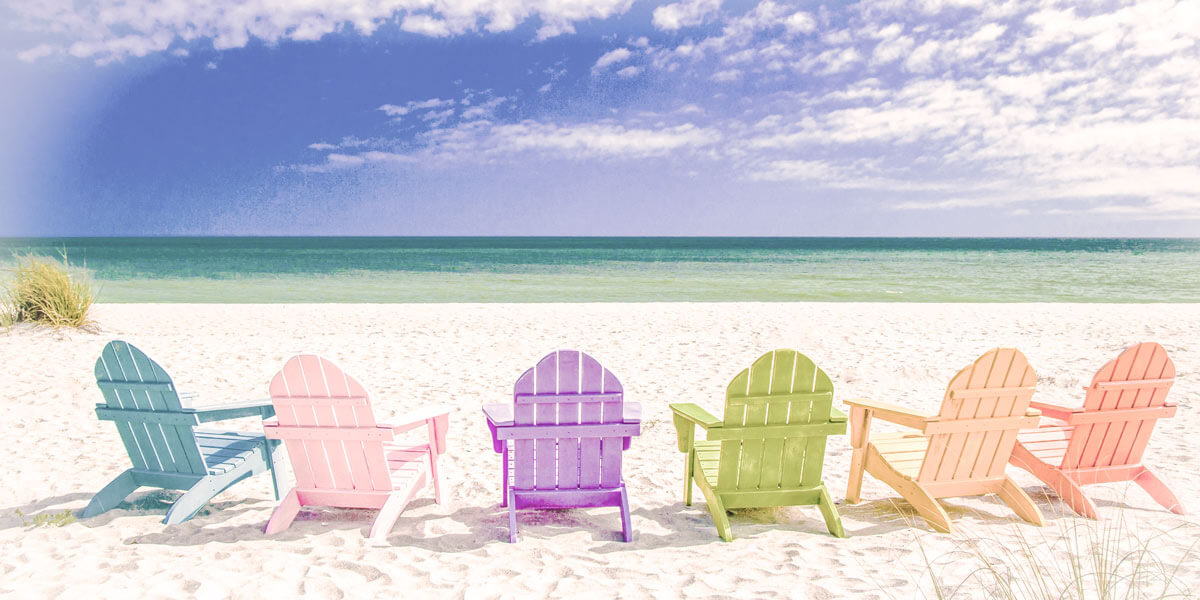
So let’s dive into the steps. But before we proceed, I’d like to show you the final image.
FINAL
Step 1: Reduce Contrast
The first we need to do is the reduction of contrast. Go to Image>Adjustments>Brightness/Contrast. Reduce the contrast to -50.
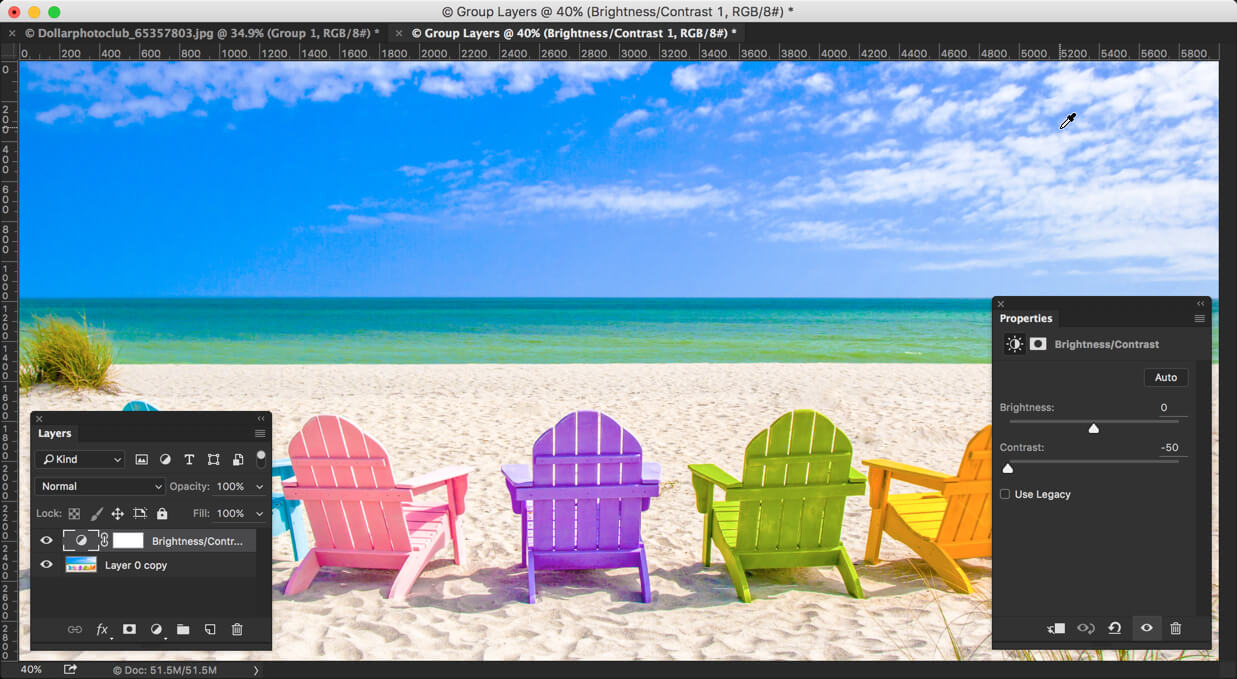
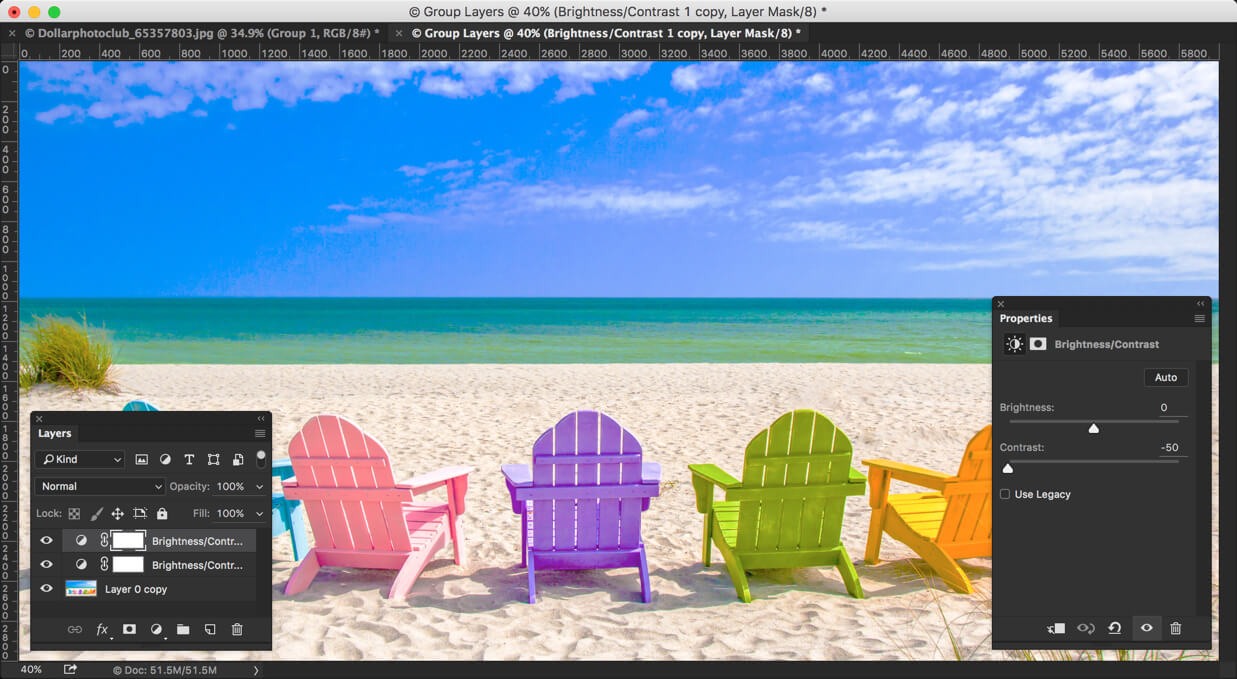
We still have too much contrast. Let’s duplicate the layer so that our contrast minimizes more with least effort. Press Cmd+J/Ctrl+J to duplicate a layer.
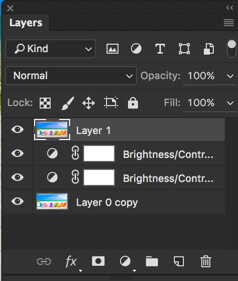
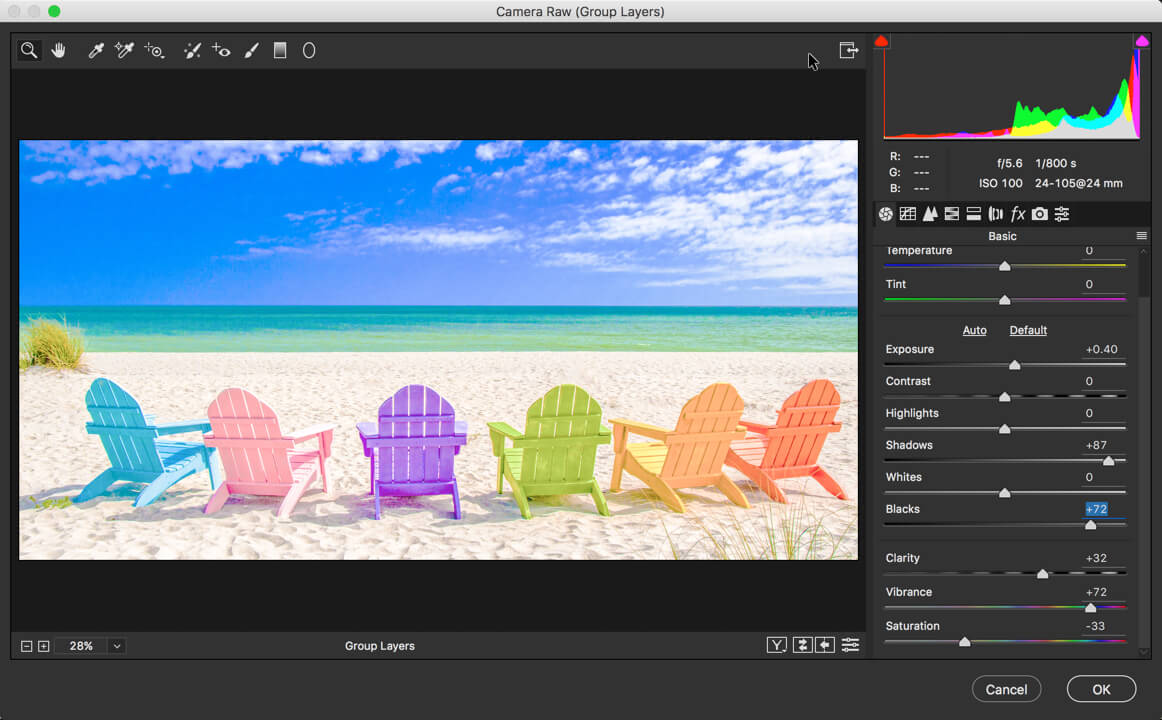
Step 2: Let’s Play with Adobe Camera RAW
Time to stack all the layers onto a new layer. Press Cmd+Opt+Shift+E/Ctrl+Alt+Shift+E for that. This will create a new layer at the top.
Go to Filter>Camera RAW filter. Give your image a nice and soothing effect. This can only be done if you don’t have too much contrast.
Don’t close the Camera RAW now.
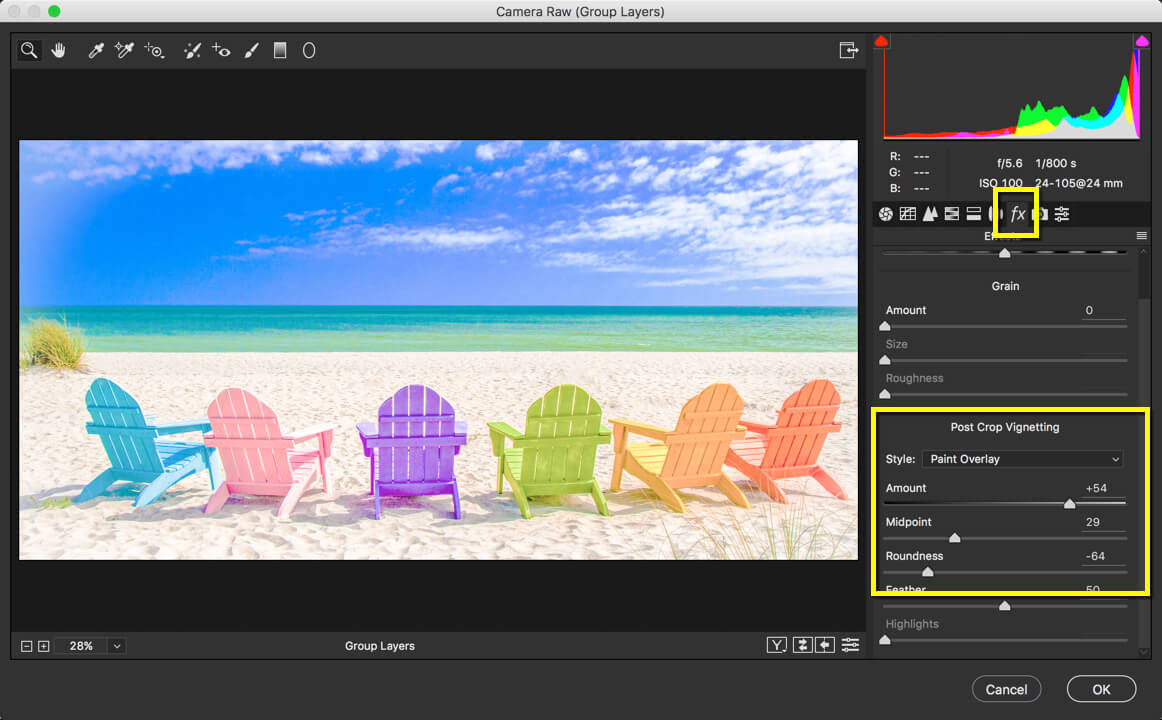
Step 3: Add White Vignette
Let’s add a white vignette to the image. Keeping the Camera RAW opened, head over to “fx” tab. Add a nice looking white vignette.
Change the Style to “Paint Overlay”. Sliding the Amount slider to the right adds white vignette and sliding it to left adds a black vignette.
Step 4: Add Warm Effect
Time to give warm effect to the image.
Go to Image>Adjustments>Photo Filter. Change the filter to Warming Filter 85 and increase the density to 37%.

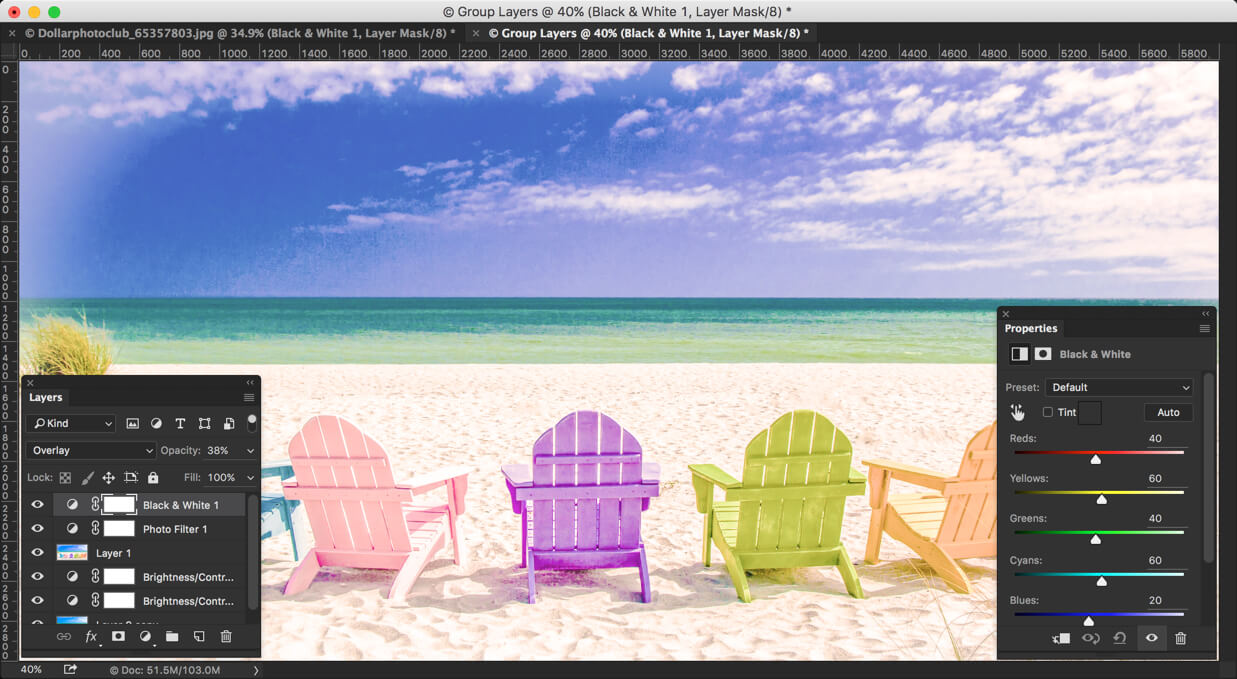
Step 5: Let’s give Black and Whitish Effect
Go to Image>Adjustments>Black and White. Now you need not do anything but change the blend mode to Overlay and Reduce opacity to 38%.
Step 6: Final Step of How to Create Instagram Slumber Filter in Photoshop
Time to decrease the Vibrance again. Go to Image>Adjustments>Vibrance.
Decrease it to -37.
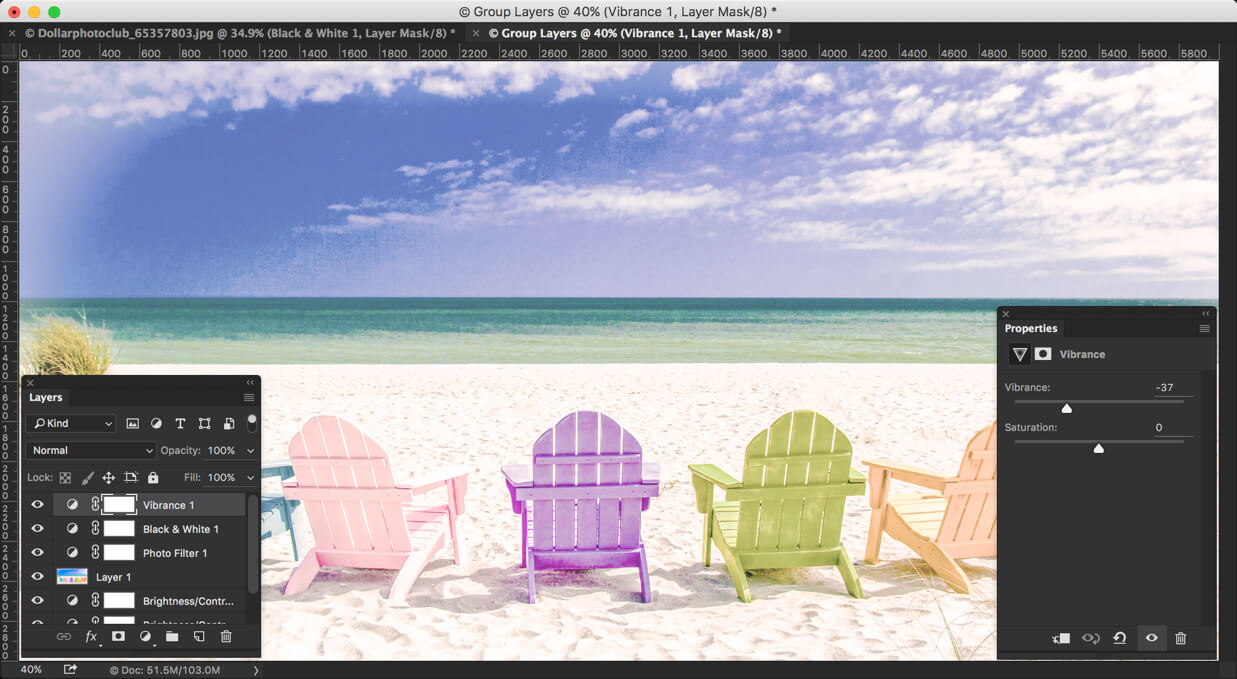
And now we’re done.
Now that you have enjoyed this tutorial, the next thing you can do is to share it on Facebook and Twitter.
Here’s the final image again.


