Hey guys, today I am going to show you how to Change Lips Color in Photoshop. Last time I discussed Creating Glossy Lips in Photoshop which is a recommended tutorial if you are a studio or fashion photographer.
For this tutorial basically what I am going to do is to create a new layer and then I will paint that layer with a new color. After that, I will change the blend mode of that layer to achieve the desired effect. I am going to use Layer Panel, Blending Mode, Brush, etc.
Stock: http://www.sxc.hu/photo/1405047/
FINAL
INITIAL
Video
If you like watching videos, here’s the video tutorial for you.
STEP 1
Open your image in Photoshop. After opening your image the first thing that you need to do is to create a new layer. You can create a new layer by going to Layer>New>Layer or you can press Ctrl+Shift+N/Cmd+Shift+N as a keyboard shortcut. Rename the new layer to “Shade”.
Change the Blend Mode of “Shade” to Color. I have written a whole tutorial on Blending Modes in Photoshop and you should check out that tutorial if you are not aware of the power of Blending Modes in Photoshop.
STEP 2
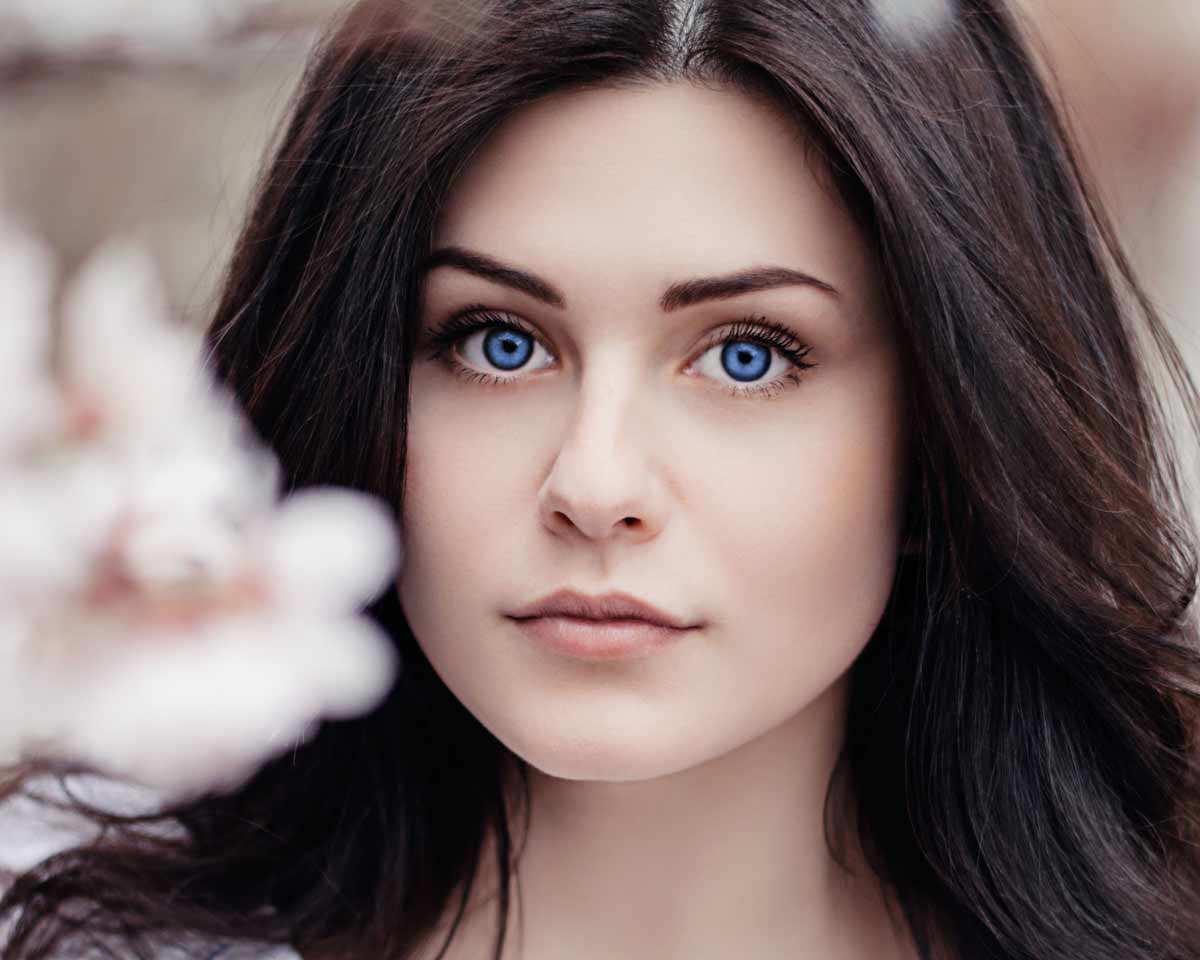
Now I am going to change the shade of the lips to orange because she is wearing an orange dress. So I am going to choose #b05025 as my foreground color. Press OK.
Grab the Brush tool from the tool panel or you can press Shift+B again and again until it comes. Set the hardness to 0%.
STEP 3
Start Brushing on her lips. You need to brush very accurately for the best result and for accuracy I suggest you to zoom in a lot.
Your image should look like this.
STEP 4
I think that the shade is too much vibrant. So I am going to decrease the saturation. Go to Layer>New Adjustment Layer>Hue & Saturation. First thing that we need to do is to turn on the Clipping Mask. By turning this on, the changes will only apply to the layer below it. To turn it on click on the Clip icon which is encircled with blue color in the below screenshot. Now decrease the saturation to -28.
And your image should look like this.
And we are done here.
Read my next tutorial where I will be discussing Sharpening of Portraits using Photoshop.
Thank you for reading this tutorial. Hopefully, we’ll meet again in four days.


