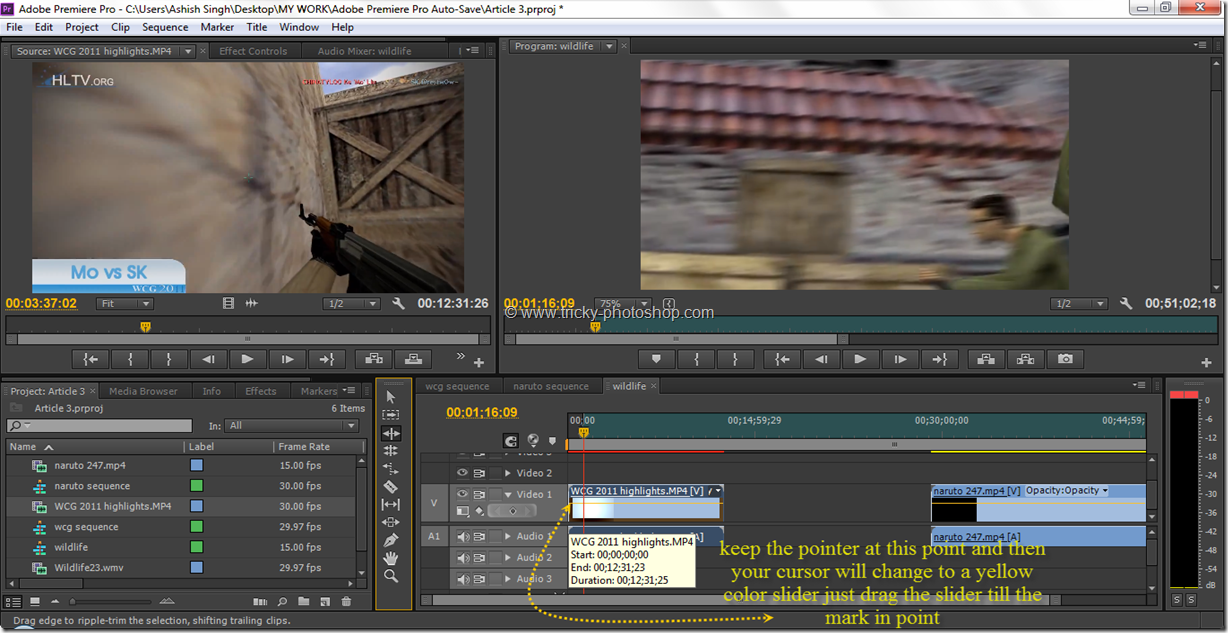
Hello guys welcome back to our Adobe Premiere Pro CS6 beginners tutorial. Today we are going to learn how to give a title to a composition/project. You must have watched it on TV or in movies but would have never realized it. For example you are watching your favorite serial/cartoon you see a pop up or a subtitle showing about the next serial which is coming. It not a big thing we are just scrubbing the basic idea of how to write a simple title. For this I have taken a wildlife video and uploaded it in the time line panel (I hope by this time you know how to do that). Once you have done that,click on the video in the timeline panel and go to the title option present in the window of Adobe Premiere Pro CS6 .
If you are not pressing the shortcut key you will see few options present in the title box select new title and then select default still. The reason why we are selecting default still is that we are just going to give a title to our project and not a credit role or special thanks to anyone associated with the composition/project.
Once you have done that you will see a pop up of title box .
Press the ok button in the new title box and press ok after giving a suitable name to the project/composition.
Once you have done that you will see a title editing panel with the photo of the part of the video from where your title will start to appear. Also there are various options of editing present on the left and right side of the title editing box. In the title editing box to write any title select the text button and then put the text box anywhere inside the rectangular boundary (but I would suggest you to be specific as where you put the title box because it could also hinder the video which I think is not good).
Well by default in Adobe Premiere Pro CS6 white color text box and text is present so you would face a problem of reading the title if you have a white background (for this purpose only I have intentionally taken a my text in the white background). So we have to change the text title color and font.
If you want your text in bold.
If you want to change the size of your text you can slide the change font slider present at the center of the panel.
Now if you want to add another text you can do that by selecting another text box and writing the text. The only thing you have to make sure is that you align both the text otherwise it will look a shabby work.
To add some more extra effect to the text and to make it more eye catchy we can go for a rounded rectangular tool.
If you want to get the rounded rectangle behind the text, just right click on the box then go to the arrange option and select send to back option( shortcut:- Ctrl+Shift+[).
Now you if your text is not clearly visible , reduce the opacity of the rounded rectangular tool (it’s present at the right side of the title panel). We are now done with the editing of the title, close the title editing box. Drag the tile from the project panel on to the timeline panel and play the video you will see the title appearing in your project/composition.


