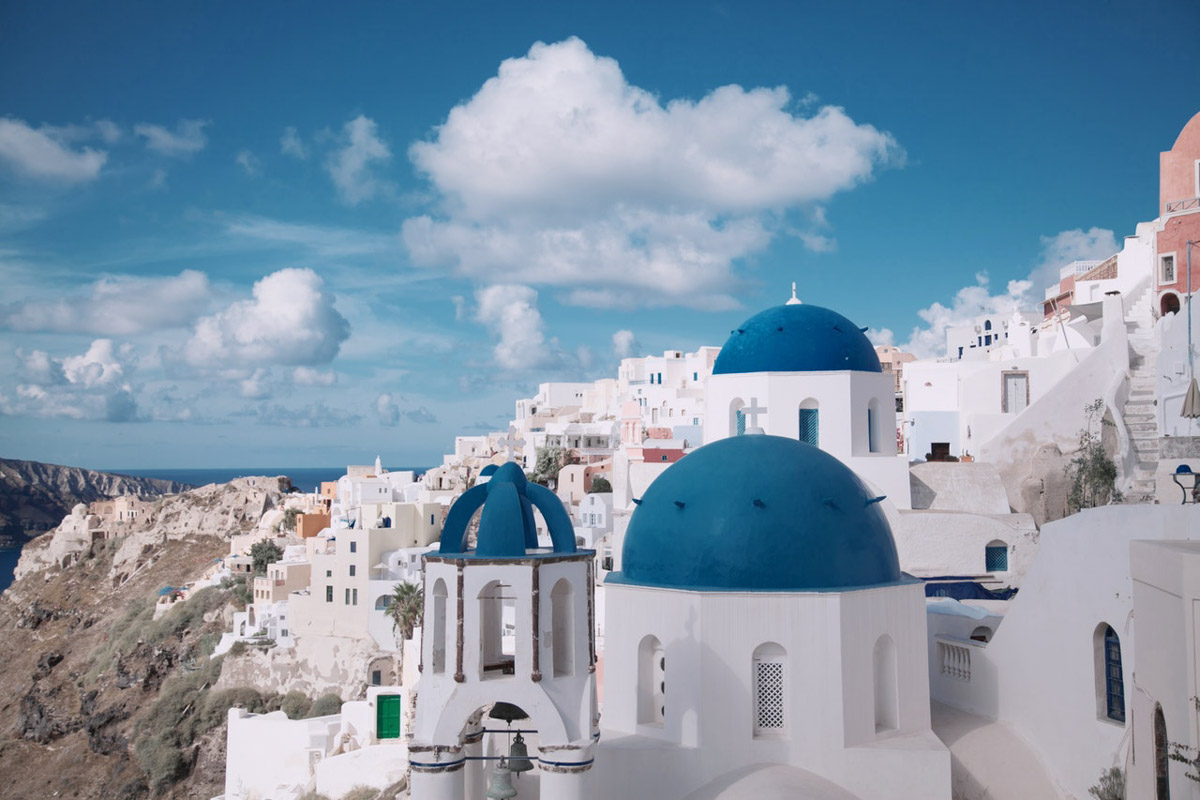
The first basic rule before giving a yellow tone to a photo in Lightroom is to increase the temperature and decrease the tint. Tint should slightly shift towards the green side.
Make the below adjustments in the Basic panel
Temp: +10
Tint: -10
Step 2: Adjust the whites and blacks
Now we’re going to adjust the whites and blacks in the Basic panel.
Hold down Opt/Alt key and drag the Whites slider towards the right till you see white hgihlights. Check the below GIF. Here I am ignoring the white because of the window because that area is already super-duper overexposed.
Here’s my value.
Whites: +32
Time to do it for the Black. This time move the Black slider towards the left.
Hold down Opt/Alt key and drag the Blacks slider towards the left till you see black shadows. Check the below GIF.
Here’s my value.
Blacks: -42
Here’s the photo.
Step 3: Increase the saturation
This is the last step. Time to increase the saturation.
Go the the HSL/Color panel.
Increase the below sliders
Orange: +35
Yellow: +35
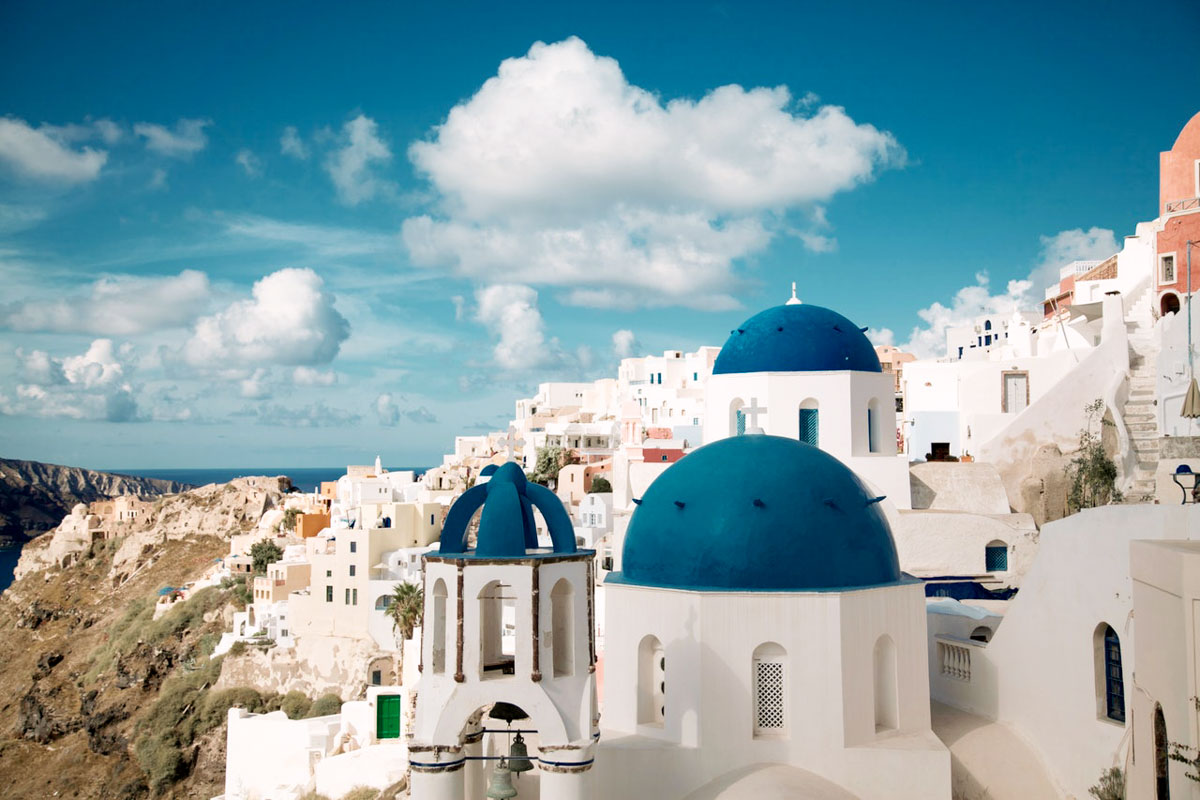
That’s all, guys.
Here’s the final photo.
If you want to download free Lightroom presets, you can download them on my download free Lightroom presets page.
If you want more tutorials on Lightroom, here’s the to the free Lightroom tutorials.