
I know that pain of not slowing down the shutter speed to capture the moving waterfall. I went to a national park to capture a waterfall and forgot to slow down the shutter speed. I felt so bad, but I am glad that I have Photoshop. I can create a silky and smooth waterfall in Photoshop.
I am going to use a filter and a selection tool to turn a regular waterfall into a silky and smooth waterfall.
Let’s start the tutorial. Before that, let me show you the before and after photo.
After
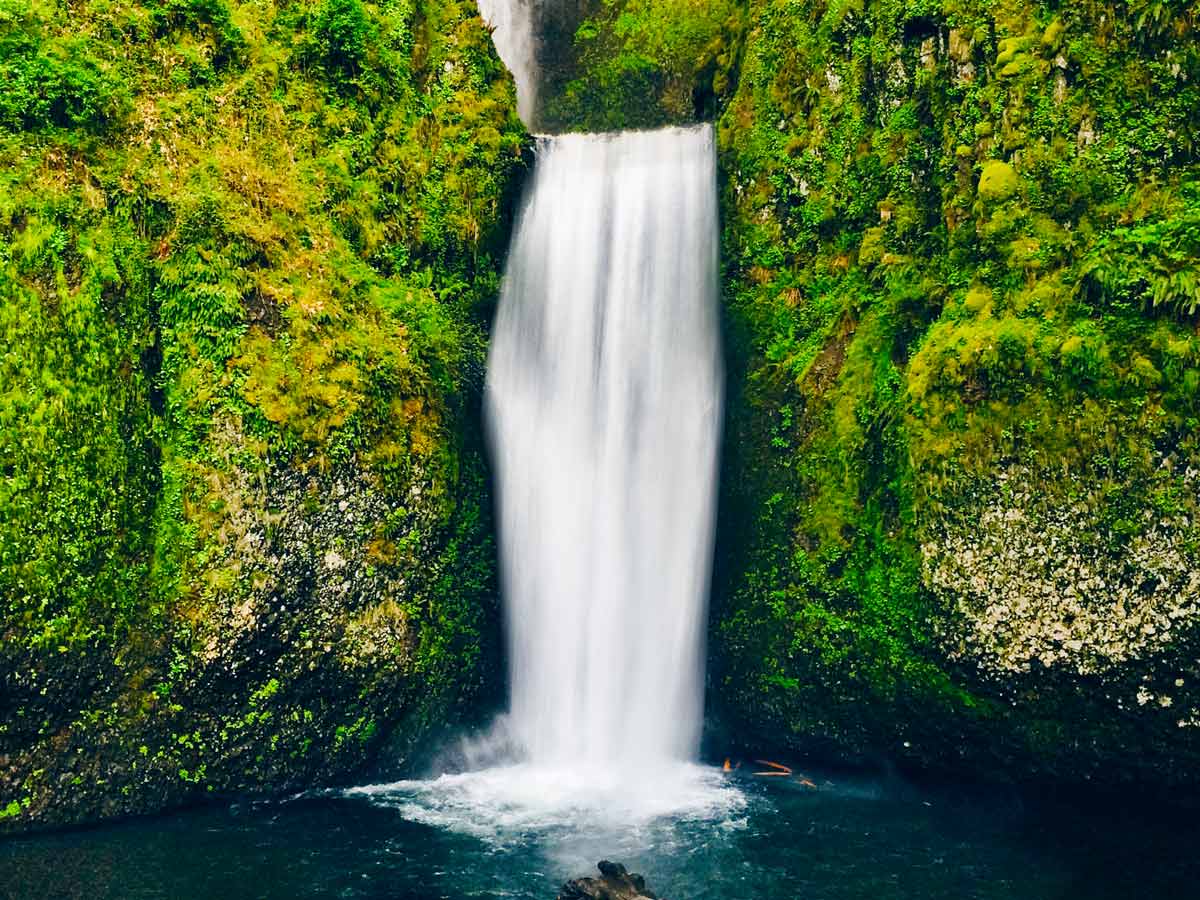
Before

Let’s begin the tutorial
Step 1 – Select the waterfall roughly
Grab the Polygonal Lasso tool from the tool panel or press Shift + L again and again until it activates.

Select the waterfall roughly. You don’t need to be accurate.

Duplicate the layer by pressing Cmd + J / Ctrl + J. This will create a new layer of the waterfall.
Press F7 to open Layer Panel to check the newly created layer.
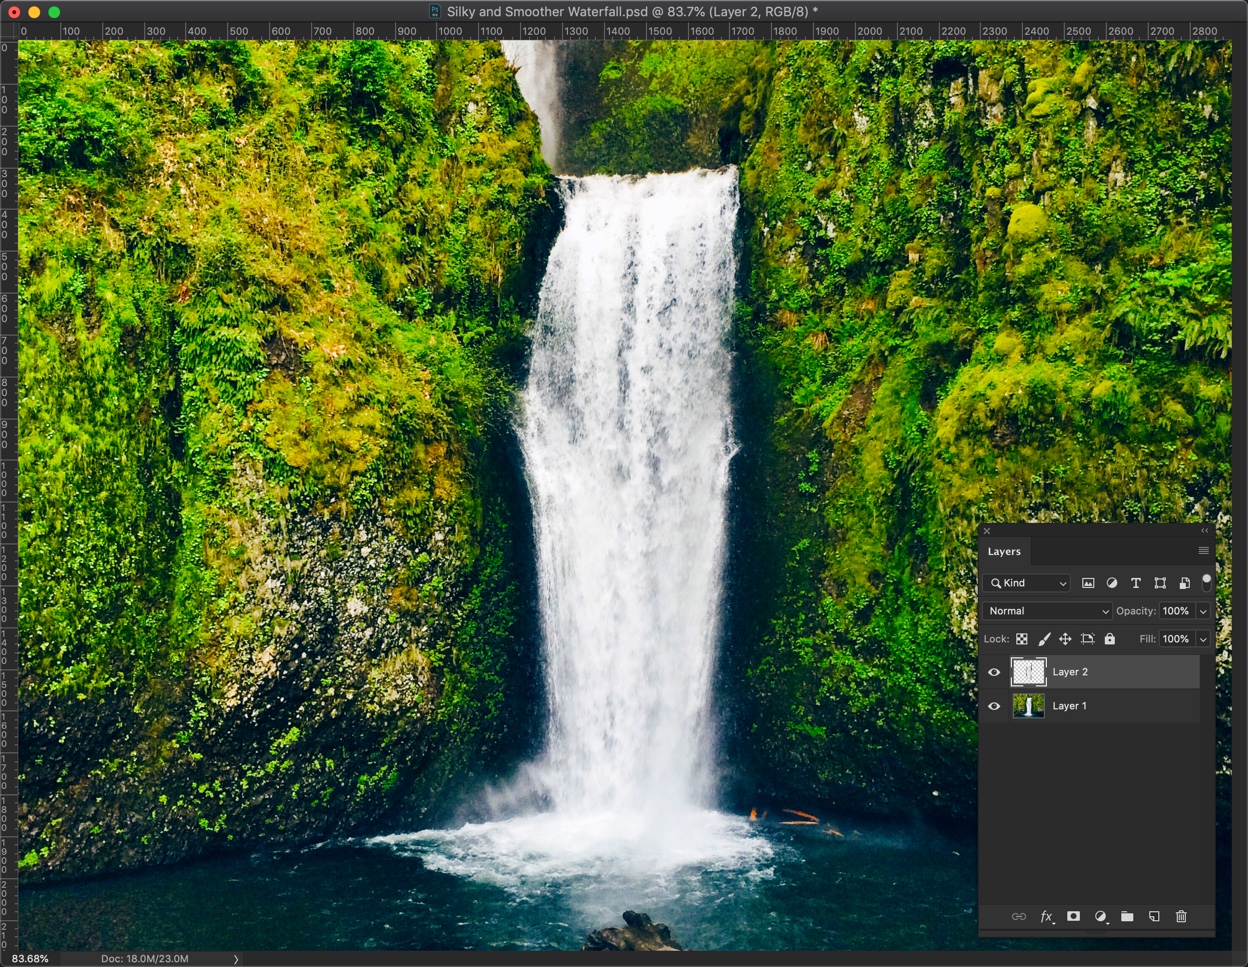
Step 2 – Blur the Waterfall in Photoshop
Go to Filter > Blur > Motion Blur.
Choose the Angle and Distance this way.
- Angle – This is along with the flow of the water. In my case, water is flowing at a 90 degree from the ground. So, I chose 90 degree
- Distance – This sets the amount of motion blur. More the value, the more the blur. In my case, 179 pixels in giving the correct amount of blur.
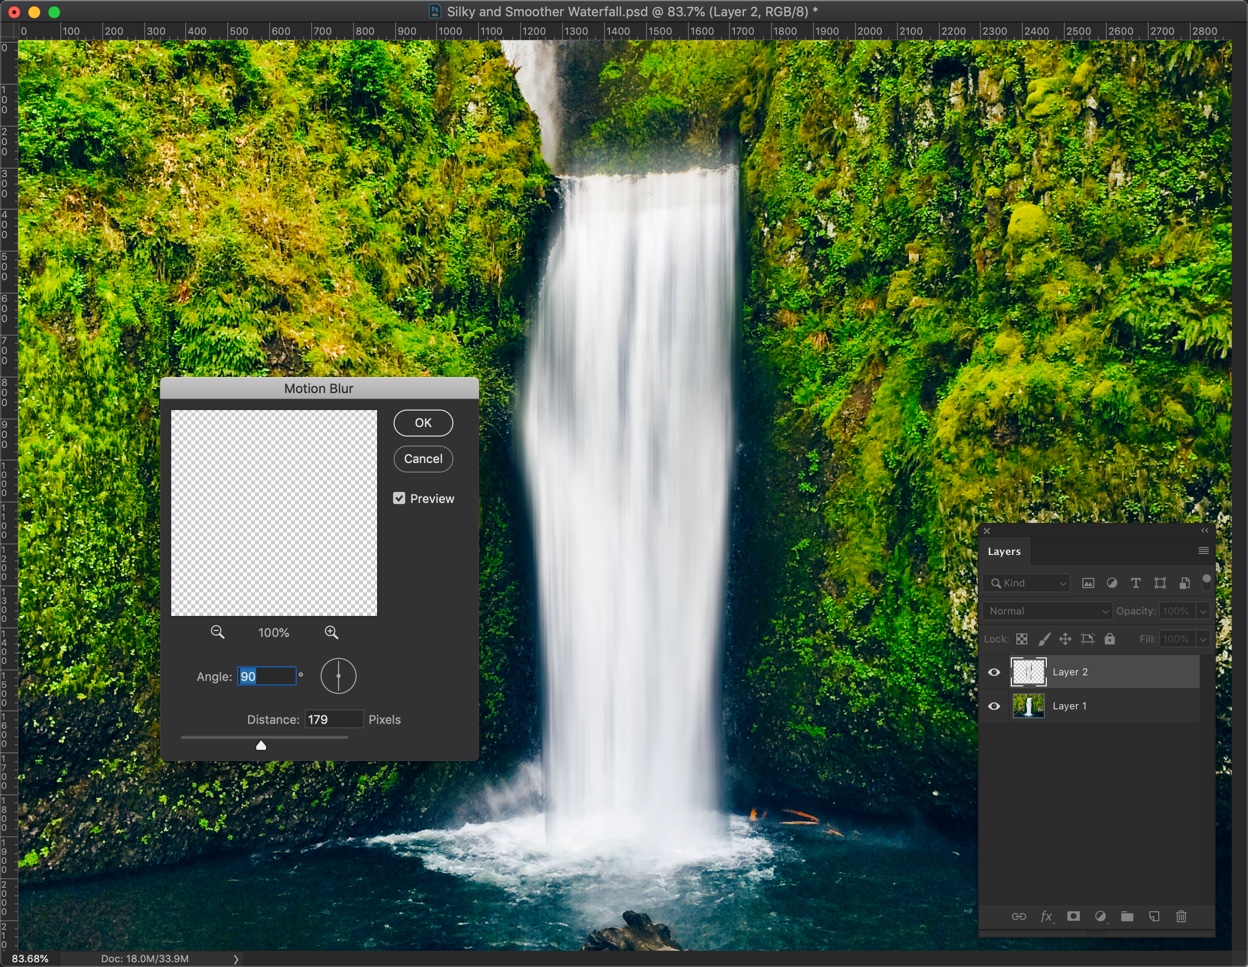
Press OK once done.
Press Cmd + D / Ctrl + D to deselect.
Step 3 – Mask the unwanted parts
Motion blur has created some unwanted area that is filled with water. Have a look at the below image where I have highlighted three areas which look photoshopped. We’re going to

We’re going to hide these parts using a layer mask.
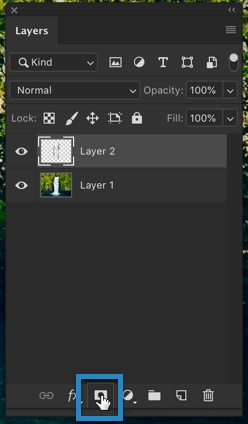
Press F7 if the layer panel is not opened. You can also open the layer panel from Window > Layers.
Click on the Add Layer Mask to add a layer mask.
Make black as your foreground color.
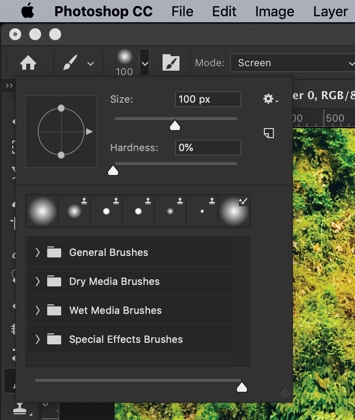
Grab the Brush tool from the tool panel or press Shift + B again and again until it activates.

Make the Hardness 0%. Choose the size you’re comfortable with. I am going with 100 pixels.
Brush the area that I highlighted with the blue rectangles.

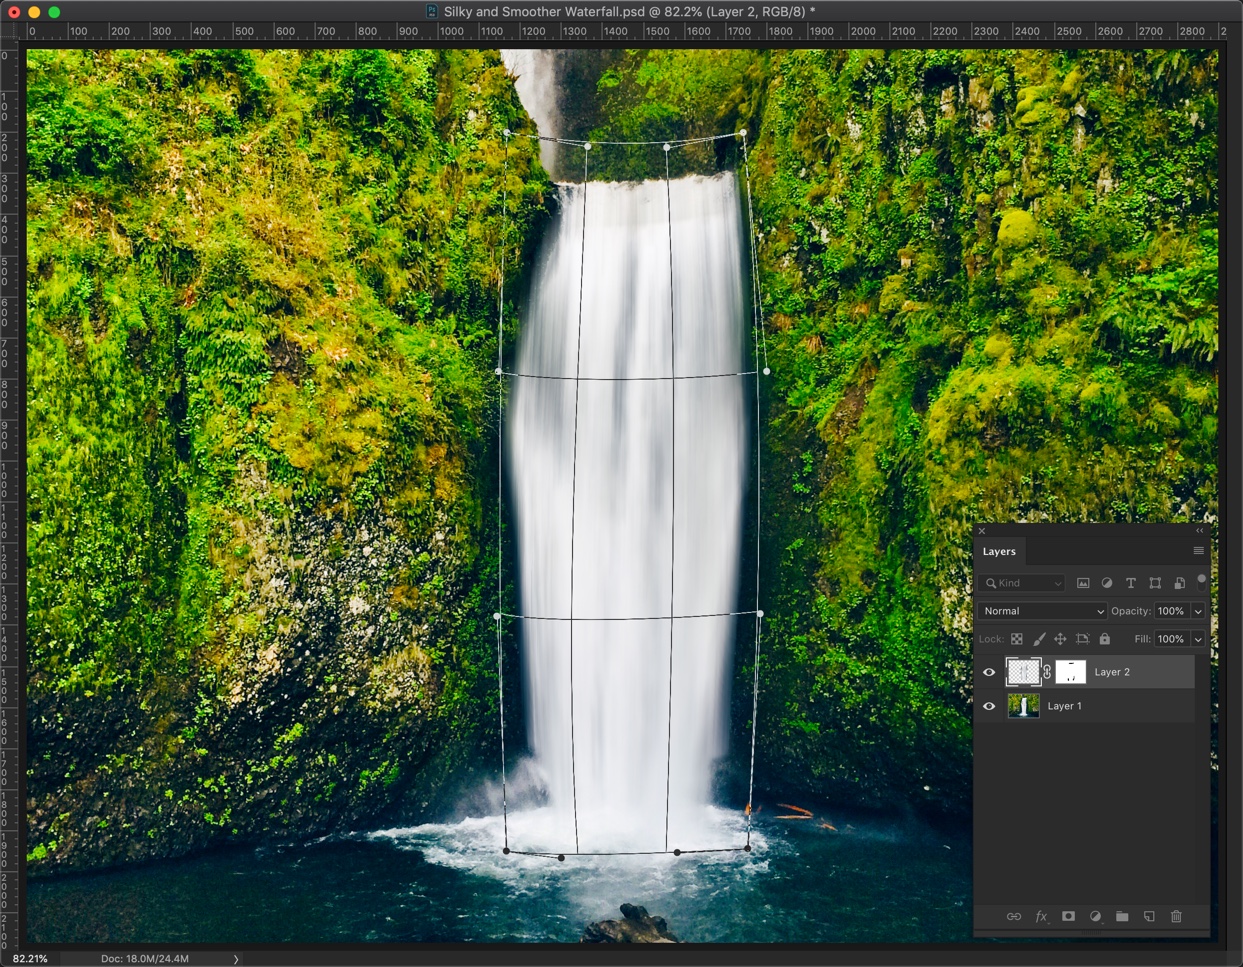
Step 4 – Warp the waterfall
Time to warp the waterfall.
Activate the waterfall layer by clicking on it.

Press Cmd + T / Ctrl + T to activate the Free Transform Tool. After that, click on the below button to activate the warp mode.

Look at the below GIF to watch how to transform a waterfall.

This is how my final waterfall looks.
This is all, guys.
Here’s the final photo.


