Today, we’re going to see how to flip a photo in Photoshop. We’re going to do it in two ways. One way will flip the entire photo and another will just flip a layer.
Let’s begin the tutorial.
Method 1 – Flip a photo in Photoshop
This is the easiest one. Suppose you have multiple layers on your Photoshop file, this method with flip all the layers.
Go to Image > Image Rotation > Flip Canvas Horizontal to flip the photo horizontally.
This will flip the photo horizontally in Photoshop.
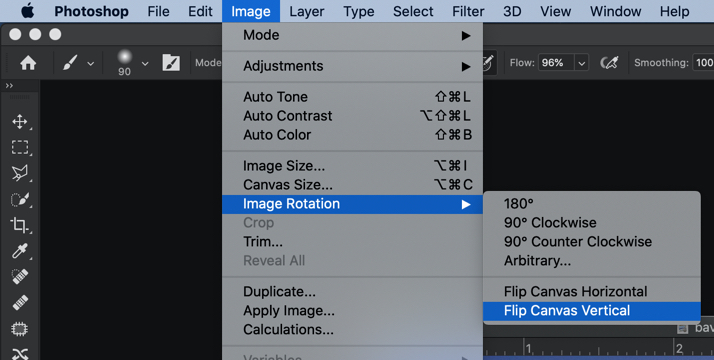
To flip the photo vertically, go to Image > Image Rotation > Flip Canvas Vertical
This will flip the photo vertically in Photoshop.
Method 2 – Flip selected layers in Photoshop
In most of the cases, you may not want all the layers to be flipped. You may just want one or two layers to be flipped. We can also flip layers in Photoshop.
Let’s say I want to flip the text in the below photo.
The text is present in a different layer.
Go to Edit > Transform > Flip Horizontal.
This will flip the layer horizontally in Photoshop.
Now, if you want to flip it vertically, go to Edit > Transform > Flip Vertical.
This will flip the layer vertically in Photoshop.
Bonus steps
If you want to rotate the photo by 90 degrees then you can do that also. Go to Edit > Transform > Rotate 90o clockwise.
This will rotate the photo. Your photo will look like this after the rotation.
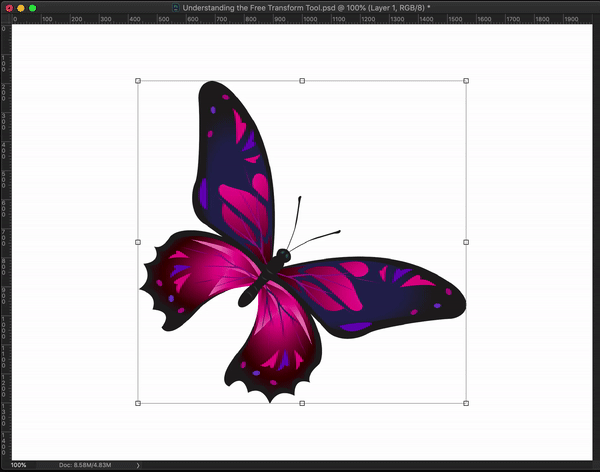
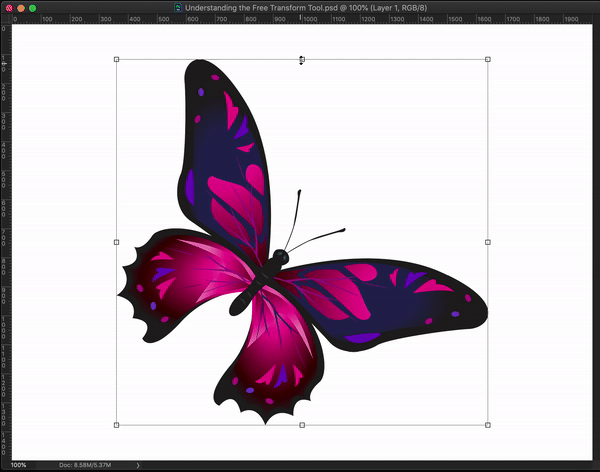
If you want to rotate the photo to any other angle, activate Transform Tool by pressing Cmd + T / Ctrl +T.
Now put the cursor next to any eight of the handlebars, and then rotate the layer. Your photo will look like this.
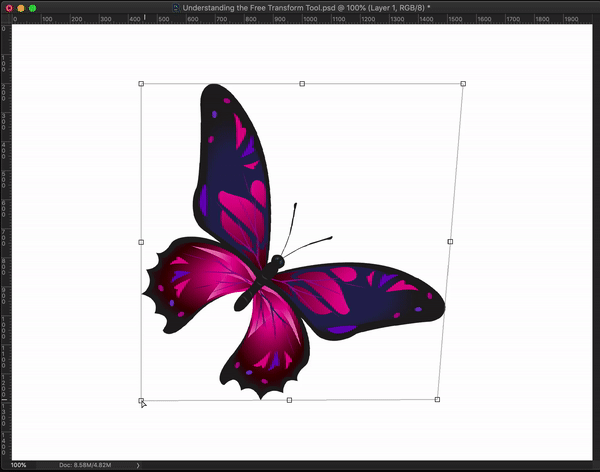
I am scaling the butterfly by dragging the handlebars. You can use any of the eight handlebars to scale the photo.
Scaling the photo from the center
You can scale the photo from the center also.
Hold down Opt/Alt key and drag any of the handlebars.
3.2 Skewing a photo using the Free Transform Tool
You can skew a photo using the Free Transform Tool.
For this, you need to use your keyboard and mouse at the same time.
Hold down Cmd/Ctrl. Now drag any of the handlebars that are present in the middle.
Dragging the handlebars that are present on the edges will distort the photo. I’ll talk about the section number 3.4.
3.3 Rotate a photo using the Free Transform Tool
You can rotate a photo using the Free Transform Tool.
Bring the mouse cursor next to the handlebar (don’t put it on the handlebar). You’ll see that the cursor is changed to a two-sided curved arrow.
Now drag it to rotate the photo. You can do it using any of the eight handlebars.
3.4 Distort a photo using the Free Transform Tool
You can distort a photo using the Free Transform Tool.
For this, you need to use your keyboard and mouse at the same time.
Hold down Cmd/Ctrl. Now drag any of the handlebars that are present on the edges.
Dragging the handlebars that are present in the centers will skew the photo. I had talked about this in the section number 3.2.
3.5 Changing the perspective of a photo using the Free Transform Tool
You can change the perspective of a photo using the Free Transform Tool.
For this, you need to use your keyboard and mouse at the same time.
Hold down Cmd/Ctrl. Now drag any of the handlebars that are present on the edges.
Check the below GIF. You need to drag one handlebar at a time.
3.6 Warping photo using the Free Transform Tool
You can warp the photo using the Free Transform Tool.
You need to click on one button before start warping.
After activating the Free Transform Tool, click on the Warp button. I have shown a screenshot below.
Note: This button will show only and only when the Free Transform Tool is activated.
Activating the Warp mode will divide your photo into nine blocks.
Now, start warping.
3.7 Flipping the photo using the Free Transform Tool
You can flip the photo using the Free Transform Tool.
Note: This is not the correct way to flip a photo. Because the photo will be flipped both horizontally and vertically. You cannot isolate them. But, I have added this option just to show you that you can flip the photo also.
You can flip a photo by dragging one handlebar all the way to the opposite side.
See the below GIF.
4. Summary
I am summarizing all the steps here.
Scale: Drag any of the handlebar.
Skew: Hold down Cmd/Ctrl and drag any of the four handlebars that are present at the center.
Rotate: Put the curson next to the handlebar and drag.
Distort: Hold down Cmd/Ctrl and drag any of the four handlebars that are present on the edges.
Chaging the perspective: Hold down Cmd/Ctrl and drag any of the four handlebars that are present at the center and do the same to the adjacent edge also.
Warp: Turn on the warp mode. Now start dragging with the mouse.
Flip: Drag one handlebar all the way to the opposite side.