Exposure is an important part of photography. It determines how light or dark your image is. It also plays a big part in the overall look of the photo. If you’re not familiar with the term, exposure is the amount of light (either from the flash or other light sources) that reaches the film or camera sensor.
It can be difficult to figure out the perfect amount of exposure for your shot. That’s why we’ve put together a list of tips that can help get the proper exposure for your photos.
Understand the Exposure Triangle
Without an understanding of the exposure triangle, you won’t be able to make adjustments to set the correct amount of exposure for an image. The exposure triangle refers to adjusting 3 camera settings: adjusting the shutter speed, ISO, and aperture settings.

Adjusting these settings according to the amount of light in your scene can allow you to get the perfect amount of exposure in your image. To understand how the exposure triangle works, you’ll first need to understand how the shutter speed, ISO, and aperture affect the outcome of an image.
Shutter Speed
The shutter speed is the length of time the shutter is open. This allows a certain amount of light to reach the camera sensor. You can adjust the shutter speed from slow to fast.

Slow shutter speed will allow more light to reach the camera sensor. This works best when you are dealing with poorly lit environments or when photographing at night. Fast shutter speed will give you less light, however, this is preferred to capture freeze motion images that are invisible to the eye.
Aperture
The aperture is the opening of the camera lens. This is how light moves into the camera. How large you adjust the aperture can allow more light to reach the camera sensor.

Aperture also contributes to the sharpness of a photo, which is also known as the depth of field. A small aperture gives you a wider range for the portion of the image that is actually in focus, while a large aperture only allows for a small portion of the photo to be in focus. While photos taken at f/1.2-1.8 look beautiful, you need to make sure you nail the focus.
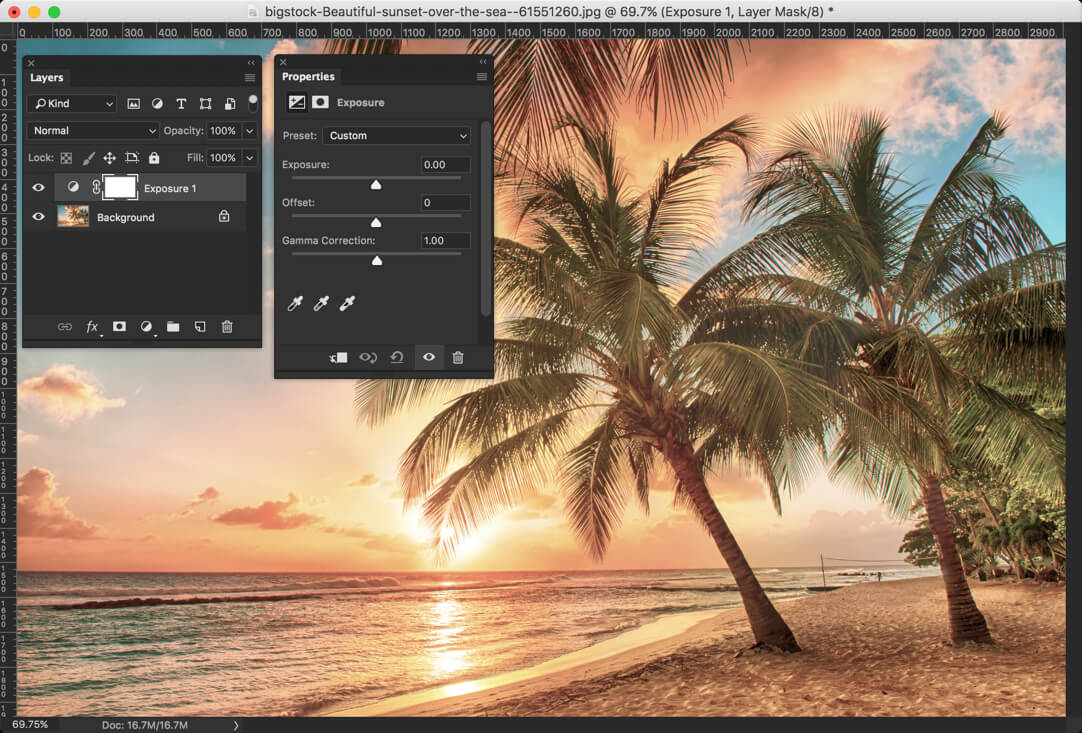
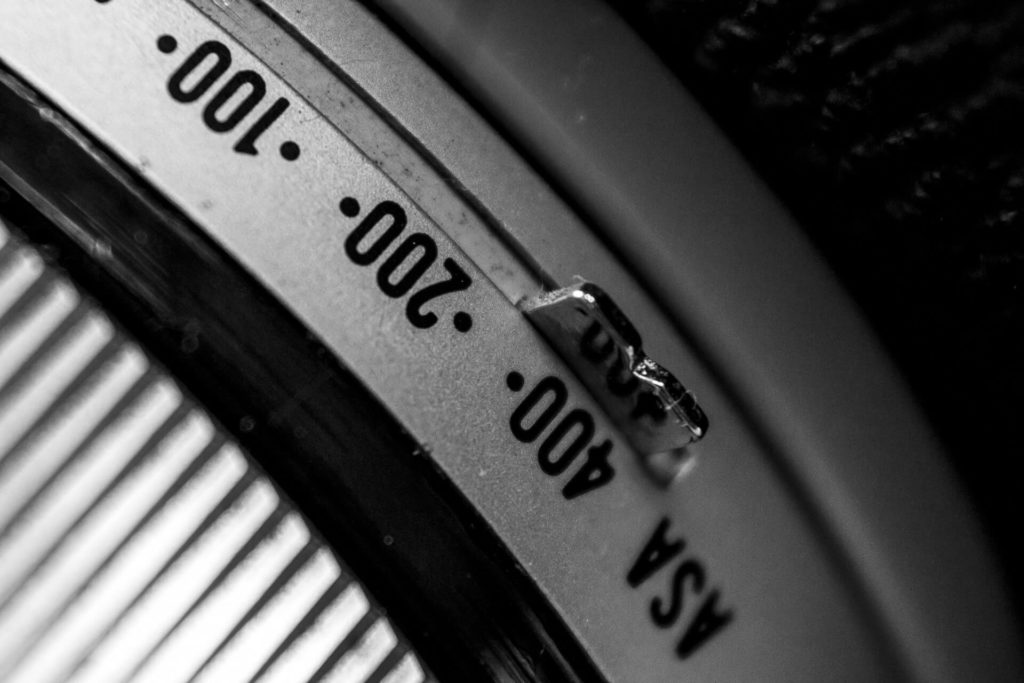
ISO
ISO is only used when you’re unable to brighten your shots with a wider aperture and a longer shutter speed. The ISO is adjusted by numbers. For a darker photo, adjust lower and for brighter photos, adjust higher. Just keep in mind, that raising the ISO will add more noise to your image which will result in a grainy look.
Adjusting all three of these together can give you the proper amount of exposure that can turn an image into art.
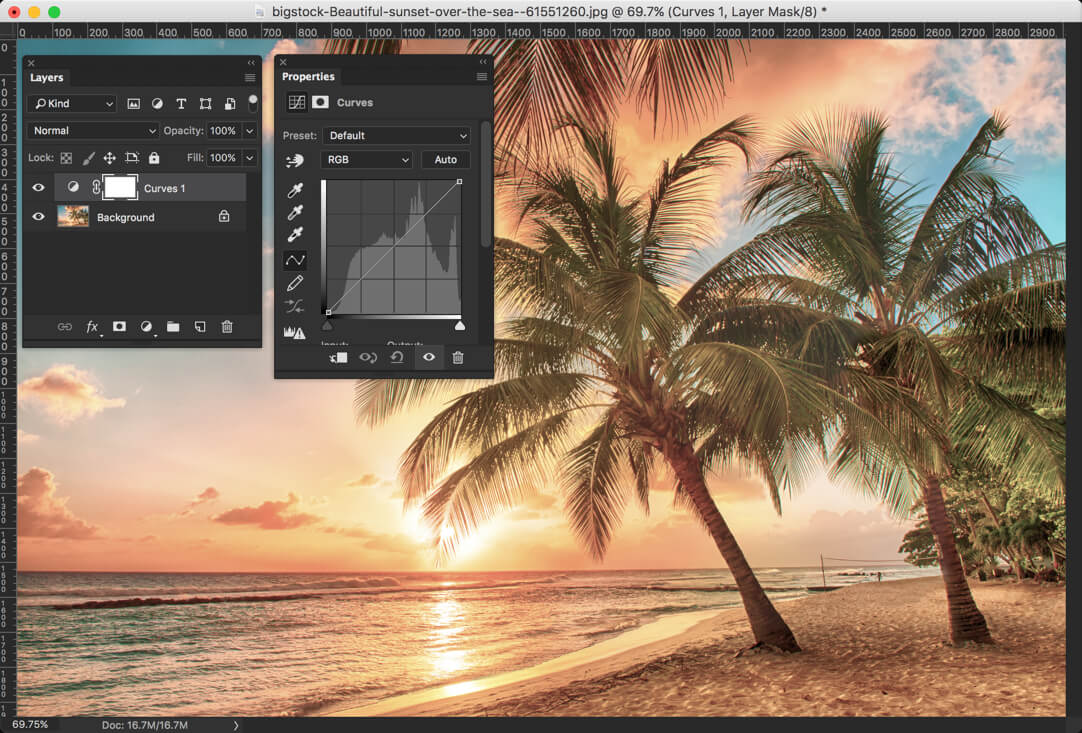
Check the Histogram
Most DSLR cameras are built with a histogram. This is basically a small horizontal graph that runs from 0 to 255, with 0 being black and 255 being white. This doesn’t mean that the middle of the histogram is perfect exposure. It all depends on the image you’re trying to capture.

The histogram will show you how light or dark your image is. With this information, you can adjust the exposure triangle, or lighting you’re using, to get a darker or brighter image.
The histogram is only meant to be a guide for you; you aren’t able to adjust it. You can simply use it as a guide to perfect the exposure in the next photo. However, there is another option. You can use Live View on your camera to view the histogram directly on your screen.
This will allow you to see the amount of exposure before you take the picture. With this option, you’ll be able to adjust the aperture, shutter speed and ISO to achieve a preferred histogram level for your shot.
Keep in mind that checking the histogram is more accurate than viewing the image on your LCD screen. Your screen is often too bright and will make the image appear brighter than it actually is. Never measure your exposure by viewing the image on the screen. It’s best to use your histogram and adjust exposure levels accordingly.
Use Exposure Bracketing
Exposure bracketing is an easy way to figure out how much exposure a photo needs. With this option, you can take 3 or more shots of the same image consecutively with different exposure settings.

You should be able to find this option in your camera. You can choose how many frames you’d like and adjust each one based on the amount of exposure you think is best for the scene.
The camera will then take 3 or more identical photos with different exposure levels. This is a very quick and simple way to get the proper amount of exposure when you aren’t sure how much is needed for the shot.
Keep Your Camera Steady
This is essential for long exposure shots. Using long exposure can give you stunning images, especially during the night. Likewise, keeping your camera steady can help you when using fast shutter speed, as well as with exposure bracketing.
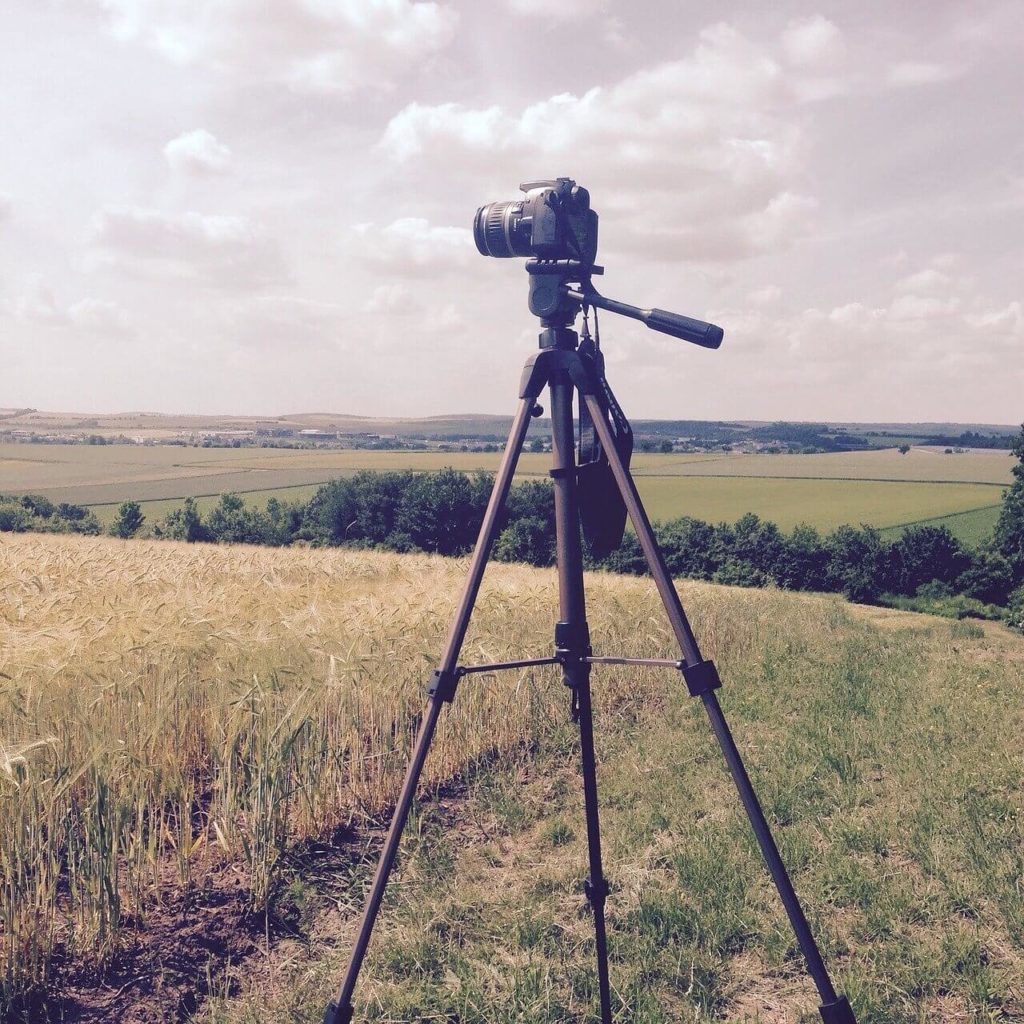
The best way to keep your camera from shaking is to use a tripod. Even the slightest movement can ruin a photo by causing blurriness. For long exposure shots, it’s best to use a timer or remote to capture the image. It’s also important to check the weather. A windy day could be able to cause movement within the tripod, ruining your shot.
Avoid Bright Lights
A bright light is able to reflect off the camera lens and cause an overexposed image. Even adjusting the exposure on your camera won’t be able to help avoid the lights.
Angling the camera might move the light source away from the lens, however, this isn’t always an option. Angling the camera in a different direction can completely change the style of your image.
Avoid taking pictures towards the sun. The sun can completely erase your image to where you won’t be able to recover it using any editing software. Use the sun as a light source, just make sure to keep the sun out of your image or off to the side.

Another light to avoid is the flash; sometimes it’s best to avoid it altogether. A flash can create unnatural lighting that might make your pictures look too sharp. Instead, adjust your ISO setting to a higher level, or set your aperture to the widest setting. This can give you lighting without a bright flash.
Conclusion
Getting the proper amount of exposure in your images might seem difficult, especially for beginners. However, with a little practice and adjustments, you’ll be able to understand how to properly expose your photos quickly and accurately.
Read more: Understanding the Exposure Triangle by Pixpa