
Lately, I have started posting more on Instagram Filters because I see a rise in people who want to create Instagram filters in Photoshop. More and more users are reading Instagram filters on my website every month. Today, we’re going to see how to create Instagram X-Pro II filter in Photoshop.
This tutorial is a part of Creating Instagram Filters in Photoshop.
And yes, don’t forget to download the action.
Download the Instagram Charmes Filter Photoshop action – click here to download the action. It will scroll you down to the bottom of the page.
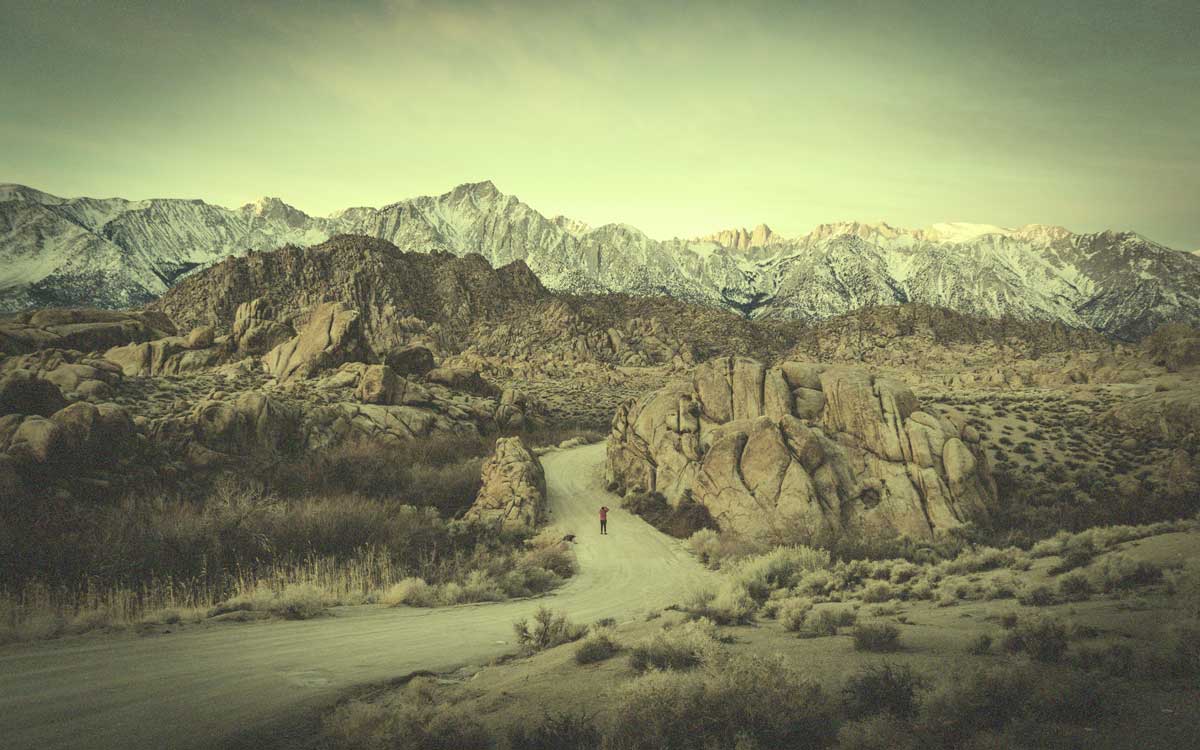
Let’s begin the tutorial. But before we begin, I want to show how the final image would look like.
Final
Initial

Video
If you like watching videos, here’s the video for you.
Step 1: Create a Black Vignette
Instagram X-Pro II filter has a black vignette. So, we’re going to create one. There are many ways to create a black vignette and we’re going to use the easiest way. Yes, we’re going to use the inbuilt Vignette slider in Camera RAW.
Duplicate the layer by pressing Cmd + J / Ctrl + J.

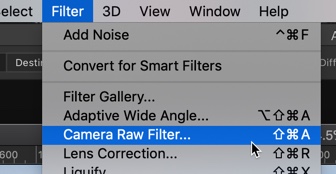
Go to Filter > Camera Raw Filter or press Cmd + Shift + A / Ctrl + Shift + A.
Go to the Effects tab. Decrease the Amount slider to -70. Press OK.

This will create a nice black vignette.

Step 2: Add Multiple Photo Filters
Instagram X-Pro II filter has a greenish yellow tint. Guess what? We’re going to give a similar tint to our photo.
Go to Layer > New Adjustment Layer > Photo Filter.

Change the Filter to Green and increase the density to 42.

This will give a nice green tint to our photo.

We’re going to give a yellow tint now. Go to Layer > New Adjustment Layer > Photo Filter.
Change the Filter to Yellow and increase the density to 77.

With an addition to the green filter that we added earlier in this step, this will give you a greenish yellow tint.

Step 3: Decrease the Saturation
I personally feel that the image is very saturated. I think that we need to decrease some saturation.
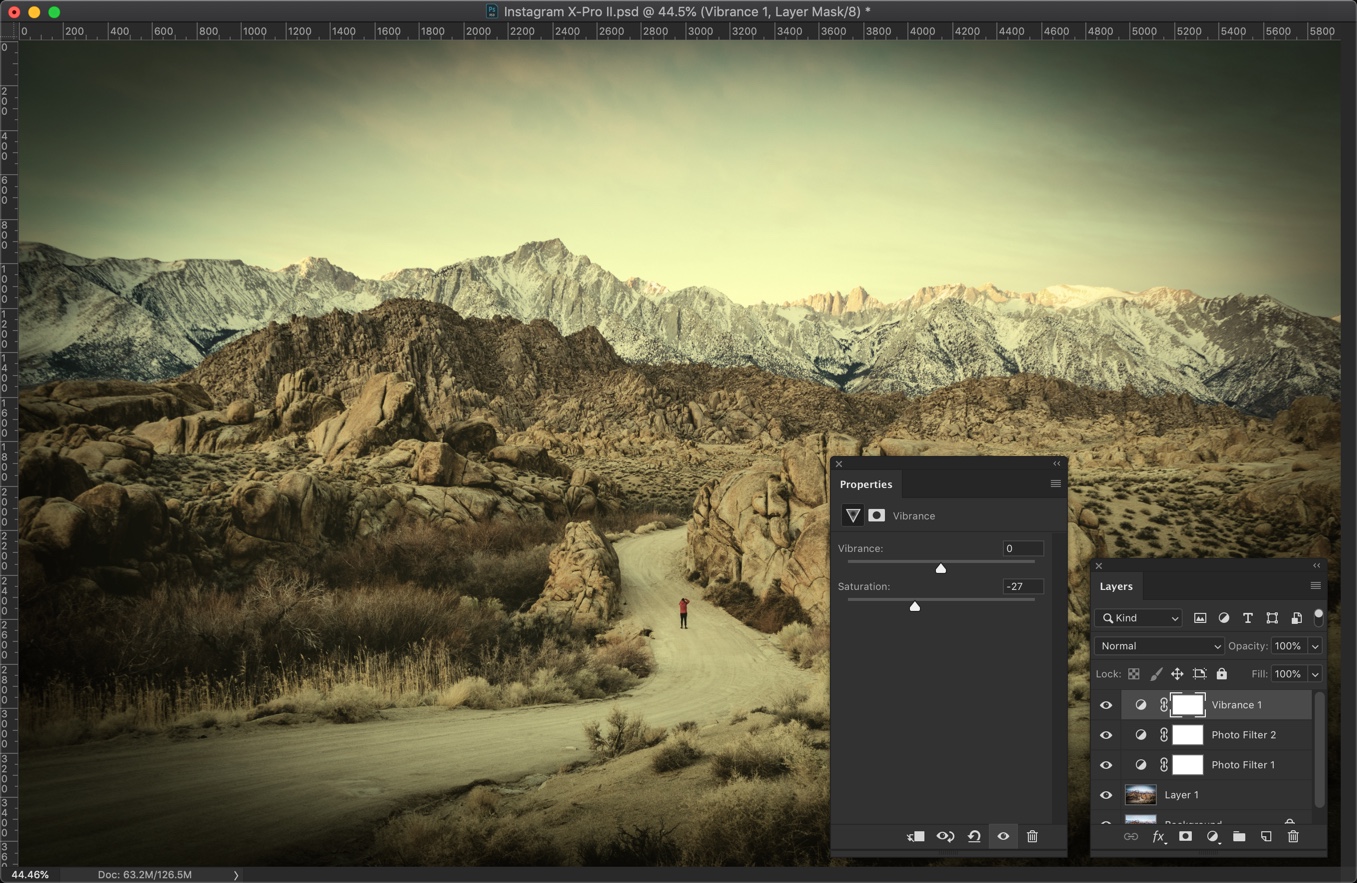
Go to Layer > New Adjustment Layer > Vibrance.

Decrease the saturation to -27.

This will desaturate the colors and give you a nice looking retro effect.
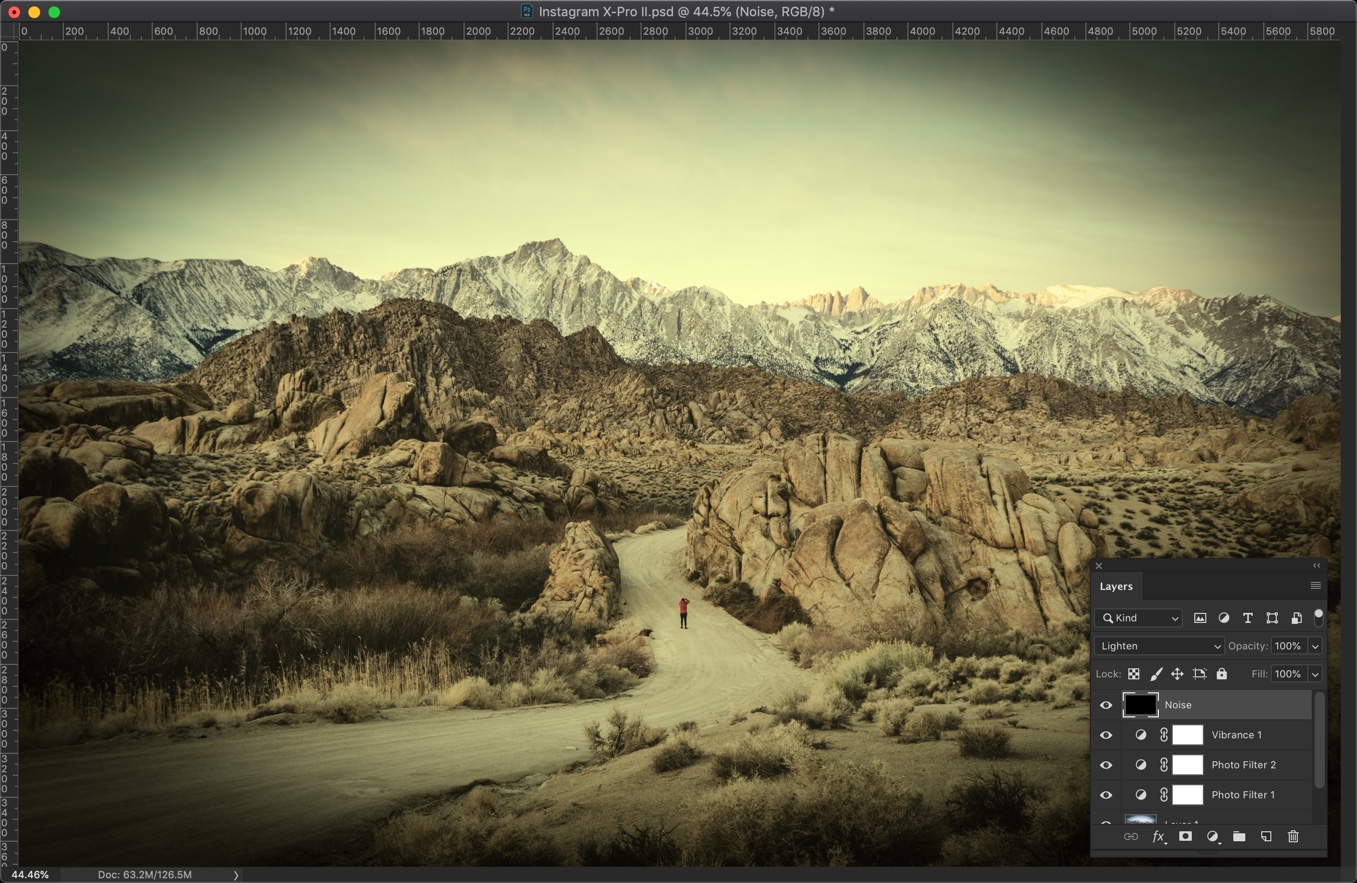
Step 4: Add Some Noise
The last step is to add some noise.
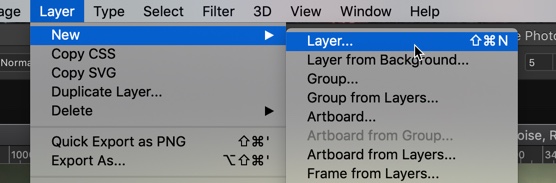
Create a new layer by pressing Cmd + Shift + N / Ctrl + Shift + N or by going to Layer > New > Layer.
Name it Noise.

We’re going to fill black color in this layer. Go to Edit > Fill.

Change the Content to Black. Press OK.
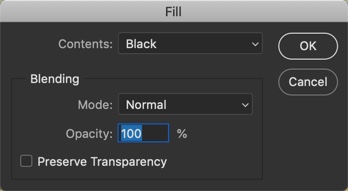
This will fill tha layer (and also the image) with black color.

Change the blend mode to Lighten.
Lighten blend mode compares each pixel of the current layer and the layer below it, and shows the pixels that are lighter. If you want to know more about Lighten blend mode, read the lighten subtopic (point #7) on blend modes in Photoshop.
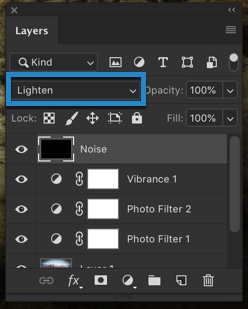
This will bring back the original color of the photo.
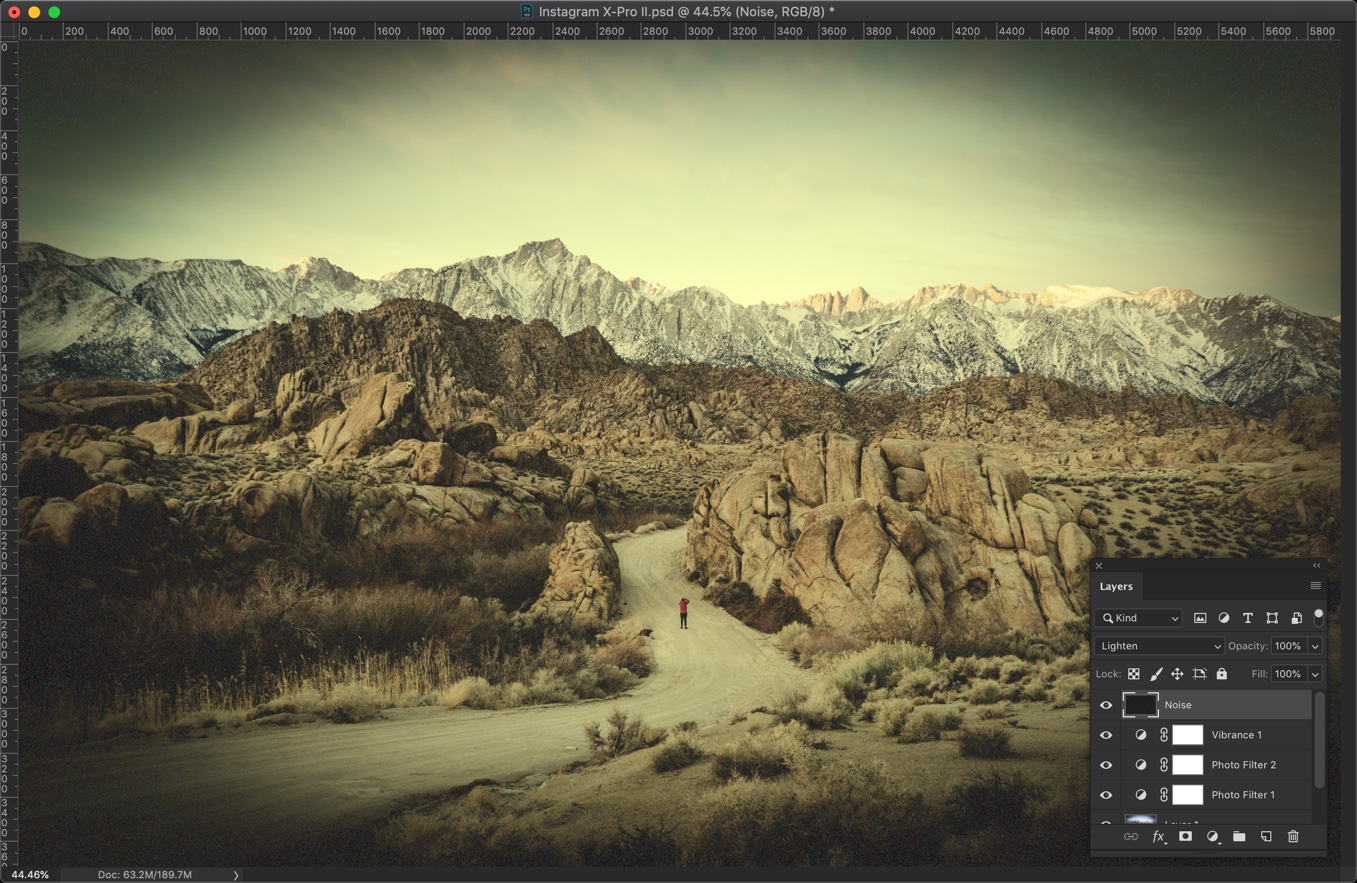
Go to Filter > Noise > Add Noise.

Change the distribution to Gaussian.
The amount depends on the size of the image. My photo is 5700 pixels wide. So, I am choosing 30%. If your image is bigger then choose a higher amount. If it’s smaller then choose a lower amount.
For example, if your image is 3000 pixels wide, you may want to go with 20.
Press OK.

This is how the image should look. The goal was to add the noise but made them barely visible.
Download The Photoshop Action For Instagram Charmes Filter
If you’re interested in the Photoshop action for the Instagram Charmes filter, download it from the below link.