Instagram has secretly launched new filters for your posts. I didn’t receive any notification in my app. I saw a few new filters when I was posting a photo. So, guess what? We’re going to write a tutorial on achieving those filters in Photoshop. Today, we’re going to learn how to create Instagram Aden filter in Photoshop.
Achieving Instagram effects are very easy in Photoshop. You don’t need to use any brush. Just a few adjustment layers will do the job.
I am also going to use just a few adjustment layers to achieve Instagram Aden filter in Photoshop. These will be basics like Brightness, Photoshop Filter, Hue and Saturation, and Gradient Map.
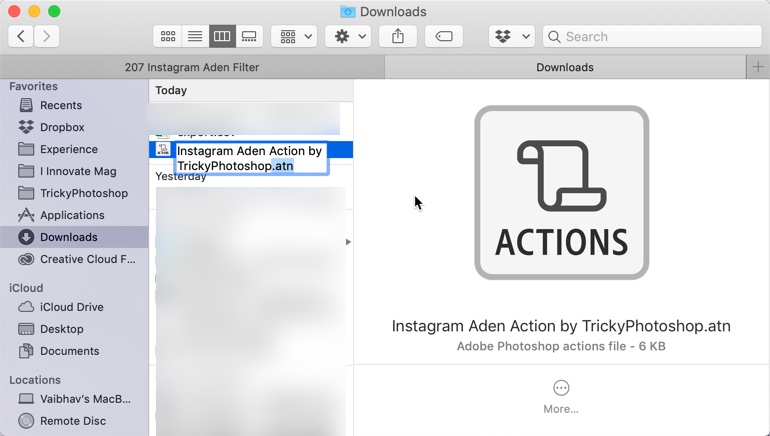
Download the action – click here to download the action
Before I proceed with the tutorial, let me show you the before and after photos.
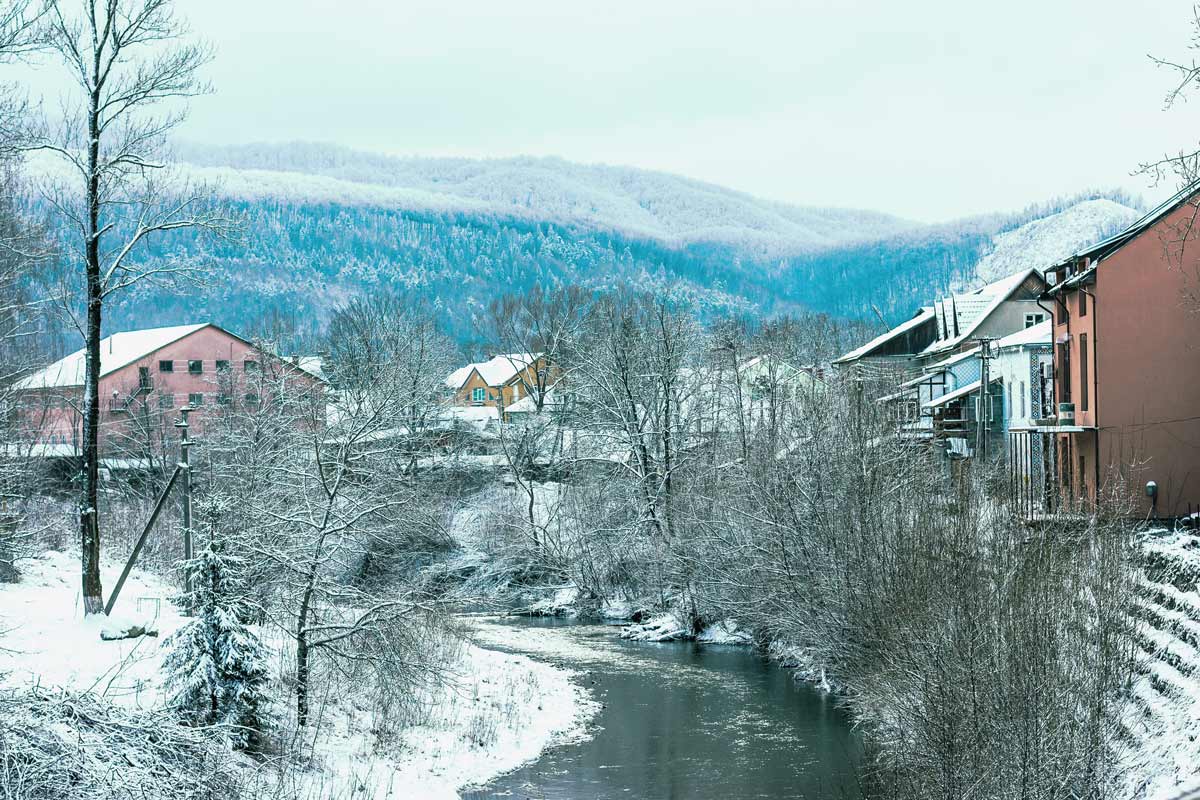
After
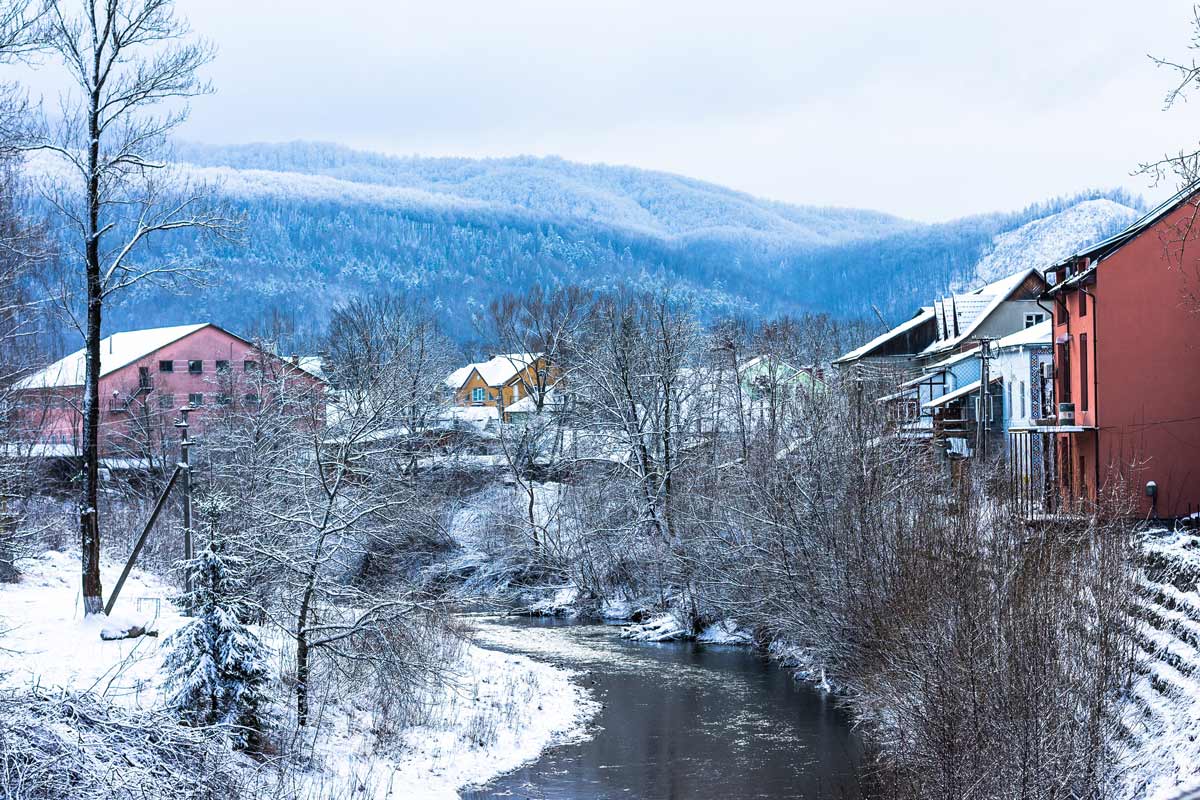
Before
Strategy
I analyzed that the Instagram Aden filter adds greenish tint to the dark areas and bluish red tint in the light areas. Overall, it also reduces the contrast and decreases the brightness by a few points. Let’s do the same.
Video
If you like watching videos, here’s the video for you.
Step 1 – Add a green tint
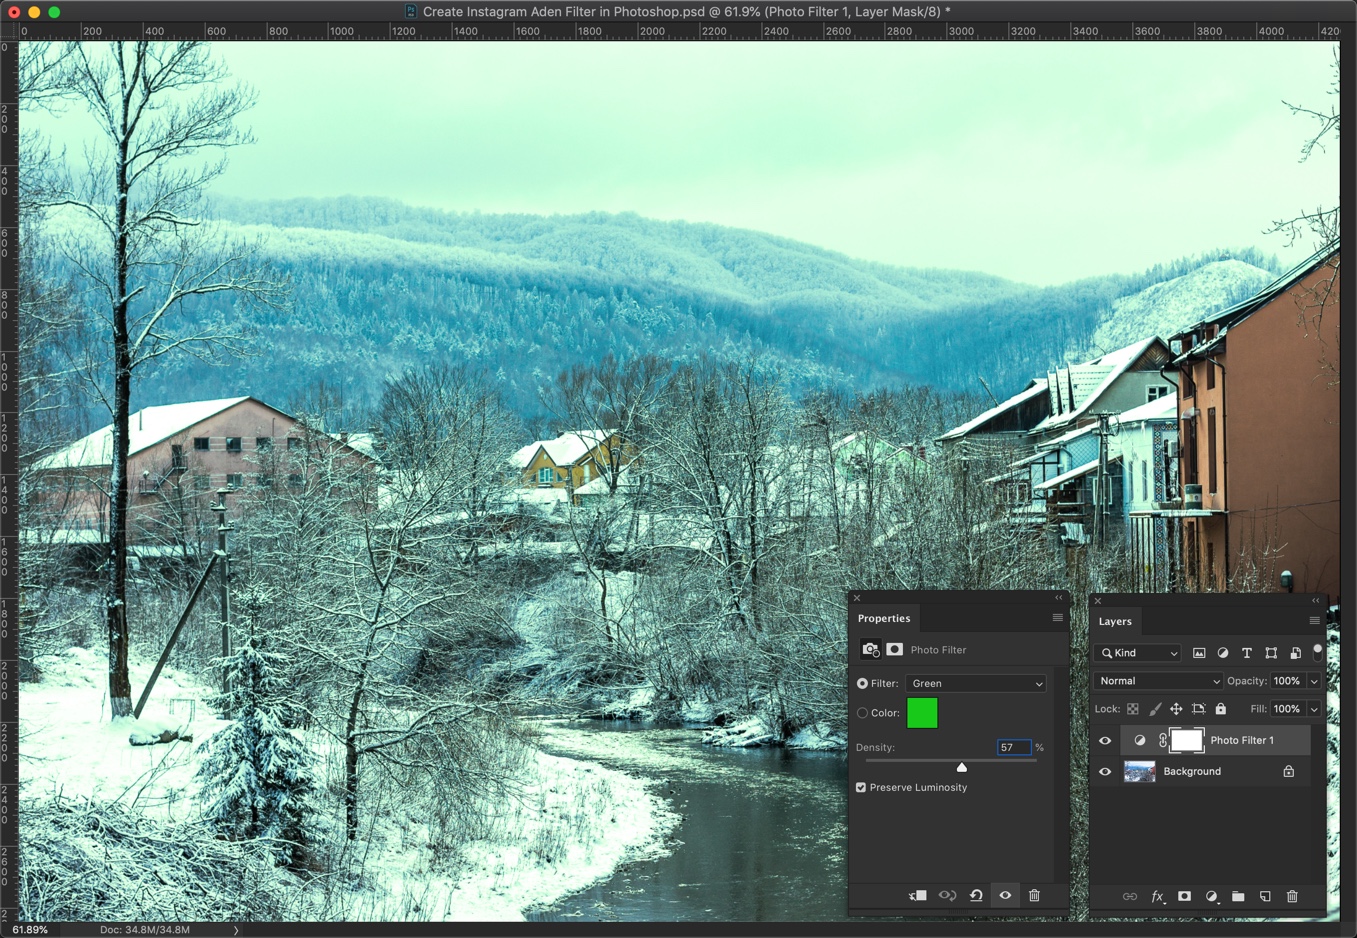
Go to Layer > New Adjustment Layer > Photo Filter.
Change the Filter to “Green” and increase the Density to 57%. Make sure that “Preserve Luminosity” is turned on.
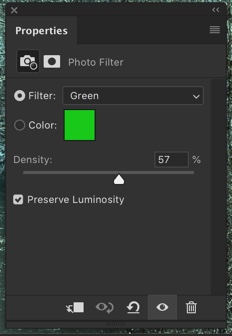
This will add a green tint to the image.
Step 2 – Add a faded blue tint
Again, we’re going to add a tint with the Photo Filter.
Go to Layer > New Adjustment Layers > Photo Filter.
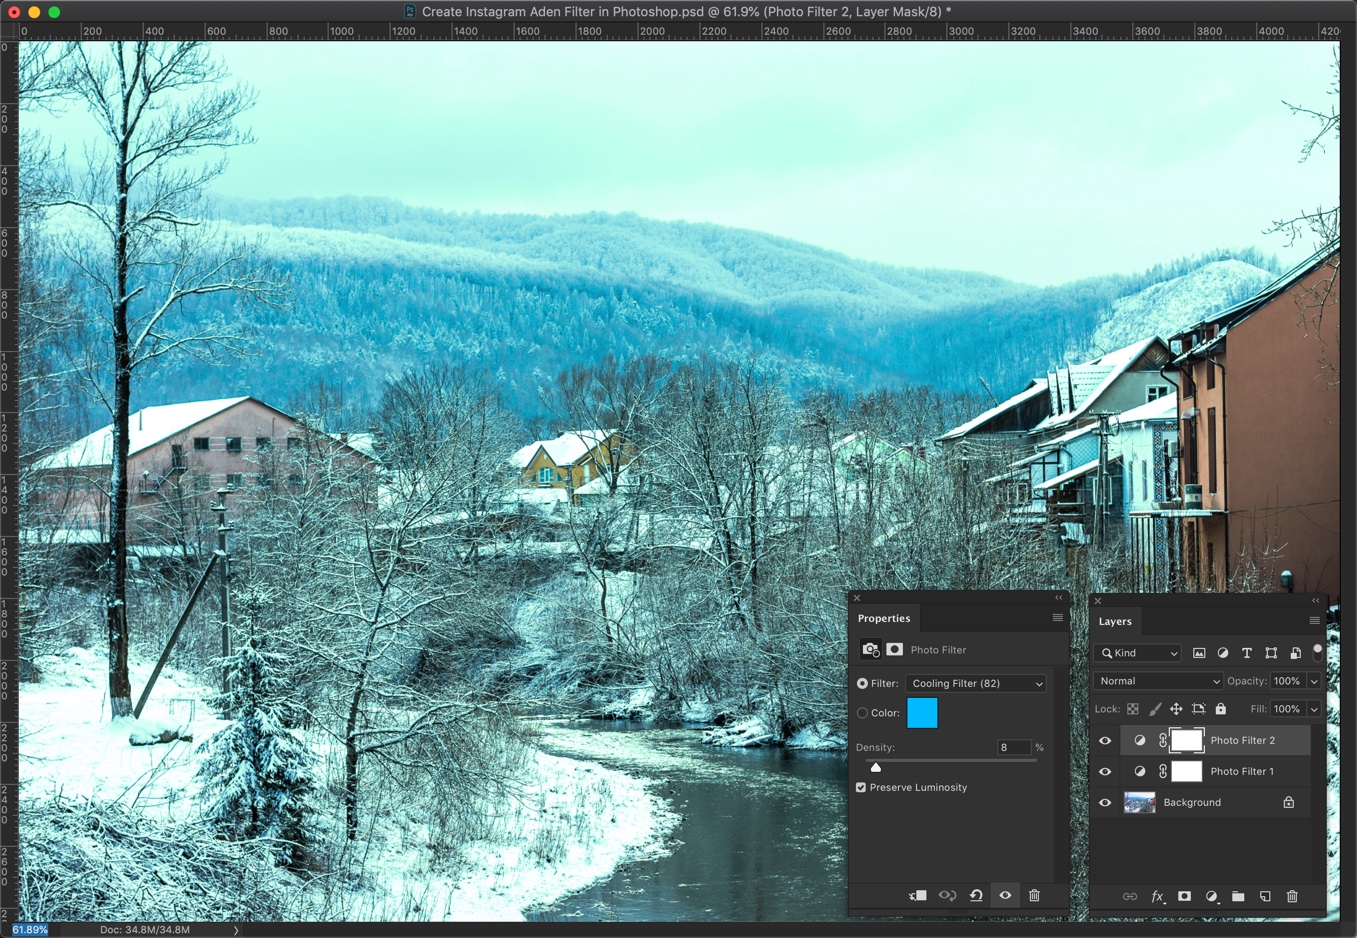
Choose “Cooling Filter (82)” this time, and increase the Density to 8%. Make sure that “Preserve Luminosity” is turned on.
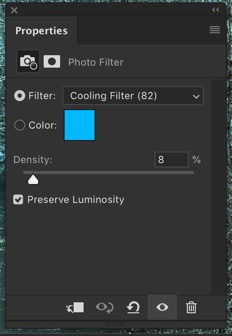
This will add a faded blue tint to the image.
Step 3 – Change the color of highlights and shadows
Time to add green tint to the dark areas and red tint to the light areas.
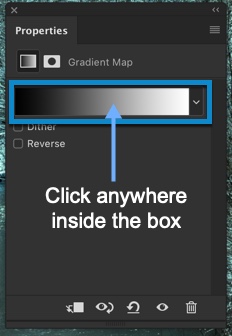
Go to Layer > New Adjustment Layer > Gradient Map. A panel will open. Click anywhere inside the box where a gradient is present. You can refer the below screenshot. There’s a chance that you’re seeing a different than Black and White. It doesn’t matter. Click on the box.
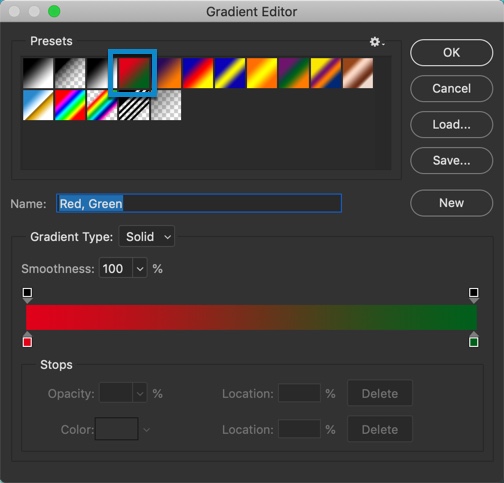
Click on the Red to Green gradient. Now, the red color is present at the left which means that the dark areas of the photo will be colored with the red. Similarly, bright areas will be colored with the green. Press OK.
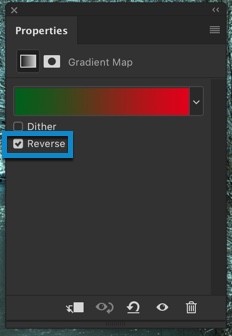
Click on “Reverse”. This will reverse the gradient. Now, dark areas will be colored with green and bright areas will be colored with red.
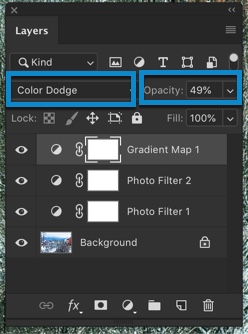
Change the Blend Mode to Color Dodge. Decrease the opacity to 49%. Press F7 to open the layer panel if it’s not opened.
This is how your photo will look.

Step 4 – Time to decrease the highlights in the photo
The photo is quite bright. You can see that the sky a bit overexposed than the Instagram Aden Filter standard. We’re going to tone it down.
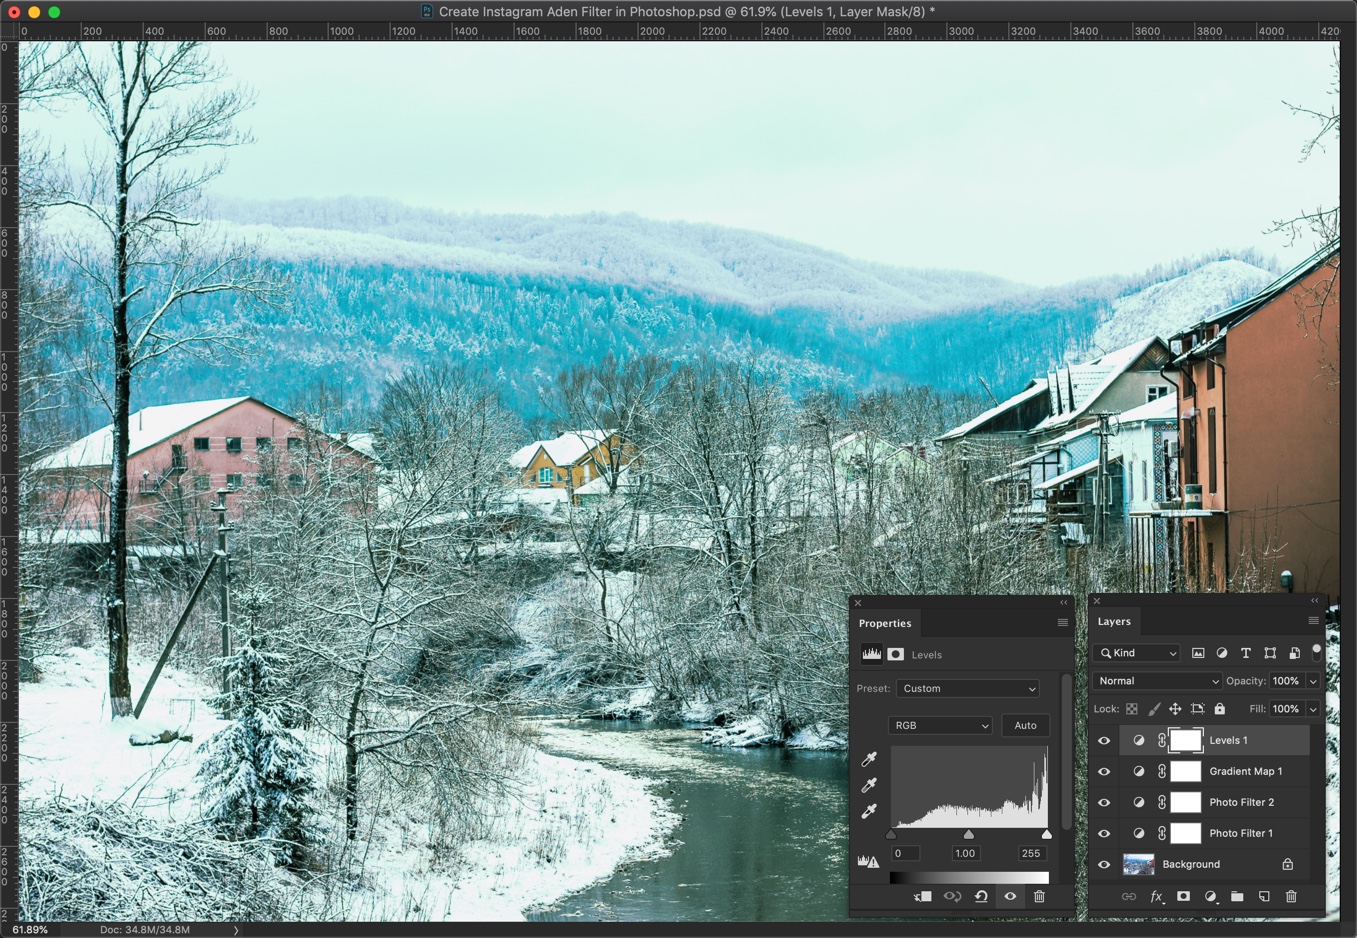
Go to Layer > New Adjustment Layer > Levels. Drag the slider that is highlighted in the below screenshot towards left. I am going to stop at the point where the reading is 244.
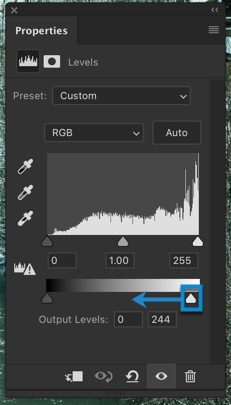
The change would be very subtle. Here’s the image.
Step 5 – Decrease the contrast
Almost all Instagram filter decreases the contrast. Instagram Aden filter also does.
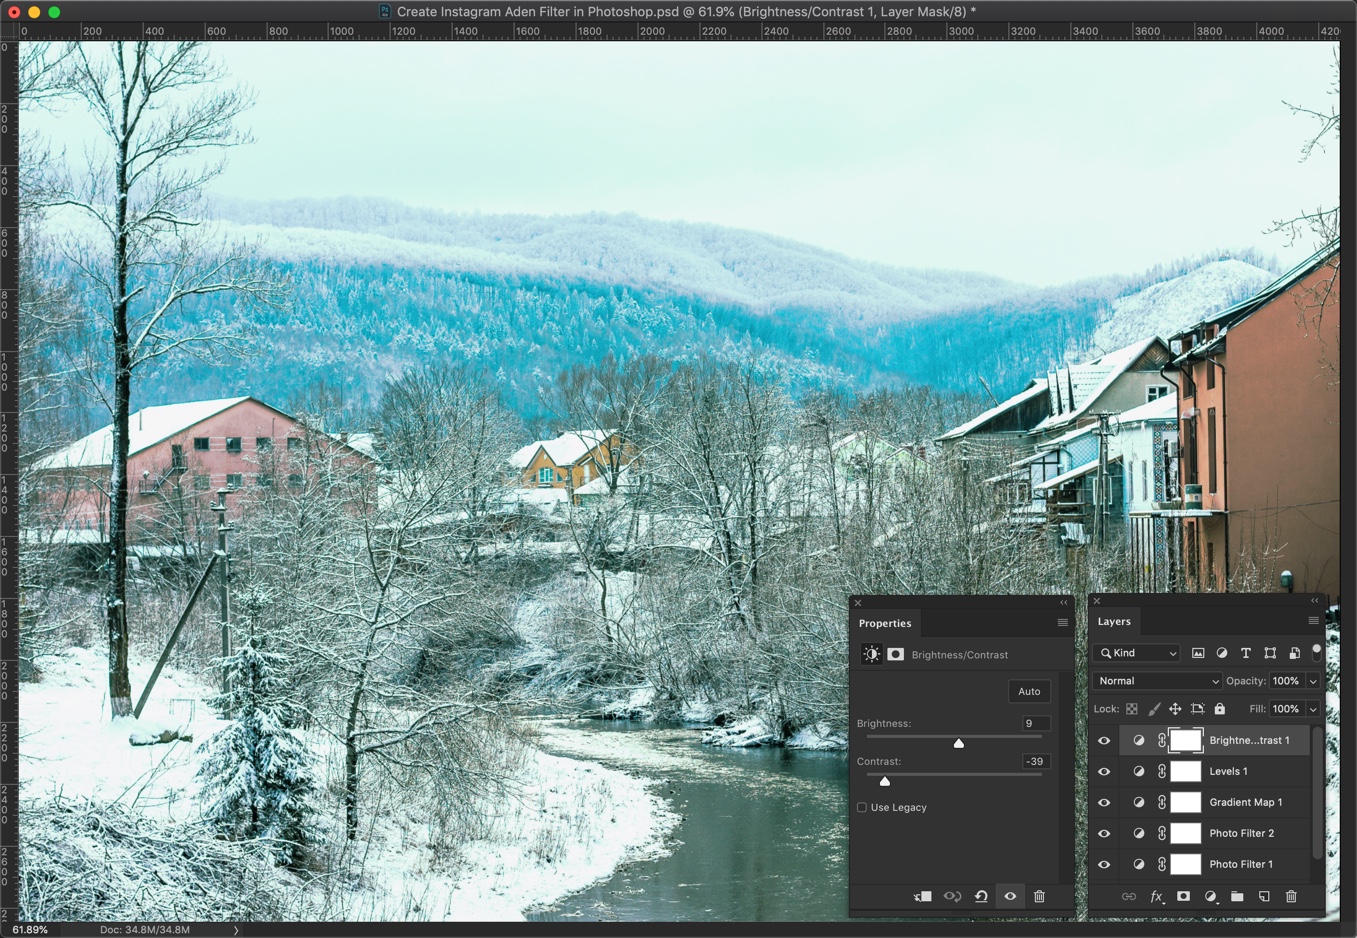
Go to Layer > New Adjustment Layer > Brightness and Contrast. Decrease the contrast to -39 and increase the brightness to 9.
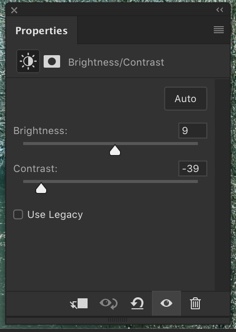
Your photo should look like this.
Step 6 – Add a blue color
Here’s the last step. Time to give a blue tint to the photo.
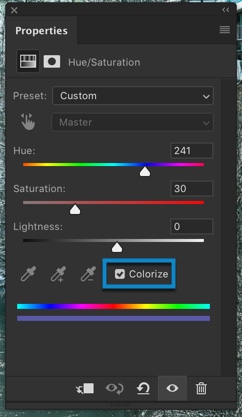
Go to Layers > New Adjustment Layer > Hue and Saturation. Click on the “Colorize”. Increase the Hue to 241 and increase the saturation to 30.
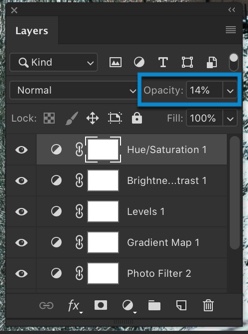
Decrease the opacity in the layer panel to 14%. Press F7 to open the layer panel if it’s not opened.
Your photo will look like this.

This is all guys.
Here’s the Photoshop Action for Instagram Aden Filter
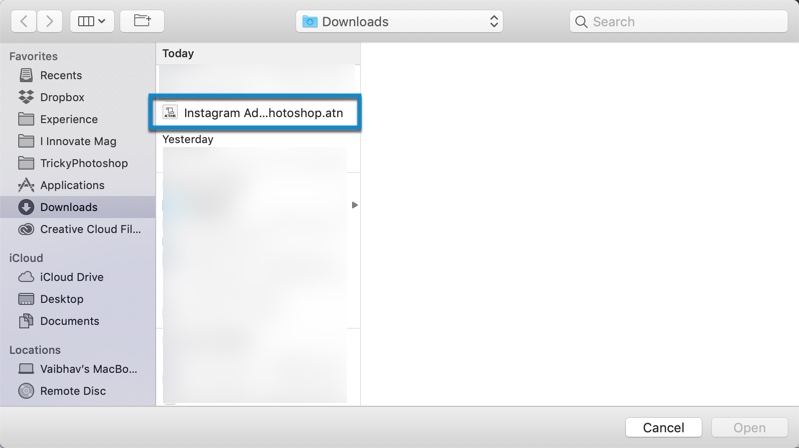
If you’re interested in the Photoshop action for the Instagram Aden filter, download it from the below link.
Download Instagram Aden Filter Action for Photoshop
Final
Here’s the final photo again for you.