
Hey, folks! How was your weekend? Pretty exciting, huh? Mine was also. I hope that you also followed my last tutorial on Camera RAW. Why not? It was an amazing tutorial. I explained everything about Camera RAW. Today, we’re going to learn Adjustments Layers in Photoshop.
To apply tweaks like brightness, exposure, contrast, saturation, or etc. you don’t need to open Camera RAW every time. Photoshop gives you a nice and clean way to change it on the go. All of this can be done with the help of adjustment layers.
So, let’s begin with the most basic question.
What’s Adjustment Layer in Photoshop?
The Adjustment Layers in Photoshop are a group of some useful, non-destructive image editing tools that add color and tonal adjustments to your image. Did you read the word “non-destructive”? Yeah, all of the changes will be done without harming the original image. Means that you can go back to any point of time without any loss. It’s like a Time Machine in macOS and Win7 backup in Windows.
Where are Adjustment Layers Located in Photoshop?
Adjustment layers are located at the bottom of layer panel (press F7 to open).
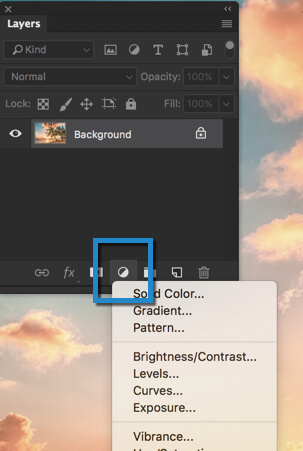
All the things that you’d use daily are present here. Be it Brightness, Color Balance, Photo Filter, Gradient, or even Invert are present here.
Now that you what and where of the Adjustment layer, let’s explore it. I am going to explain each layer in a two separate tutorial. In the tutorial, I’ll cover Solid Color, Gradient, Pattern, Brightness, Levels, Curves, and Exposure. The rest of the things will be covered in the next tutorial.
What is Solid Color in Photoshop?
Solid color fills the image with one color and you get to decide the color.
Go to Solid Color and choose the color you like and press OK. I chose a shade of Blue.
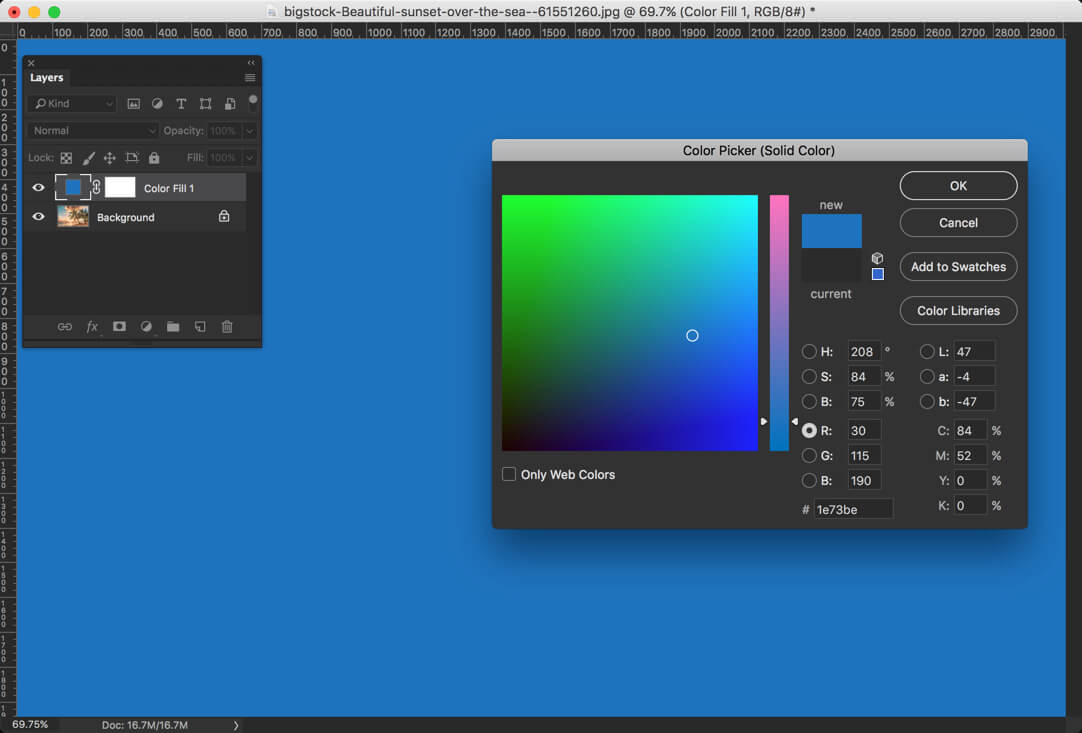
You see that the entire image is filled with the color that you chose.
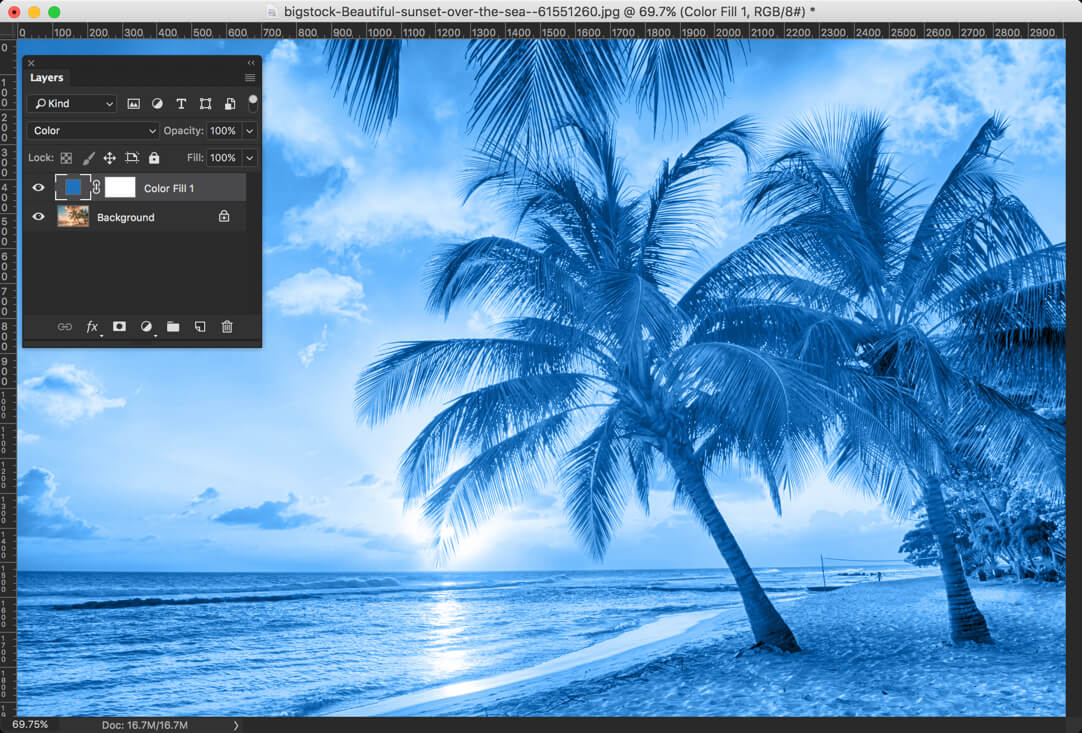
You think that what the hell. Why would I fill my entire image with a color? Hold on! You can do some artistic effects. If simply change the Blend Mode to color, I get Blue tint. Isn’t it looking nice? I know it doesn’t but don’t be rude and say yes… haha…
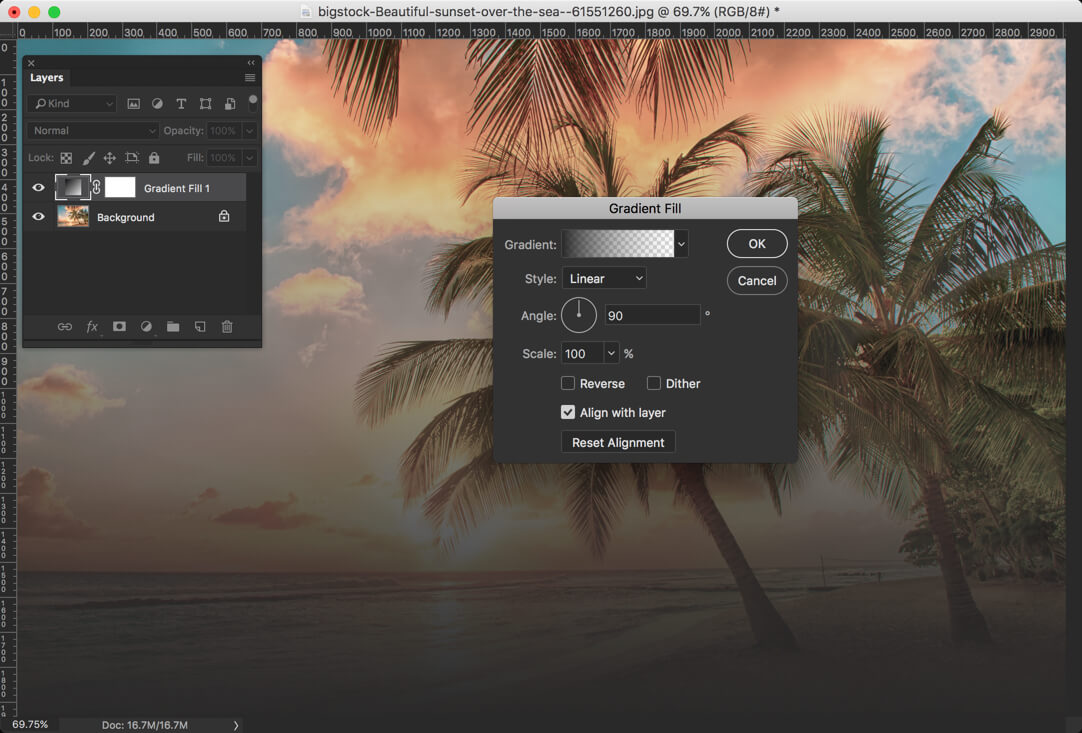
What is Gradient in Photoshop?
This adjustment layer works exactly similar to the Gradient Tool that we learned a while ago. So, I am not going to much details on this. Click on it and you’ll figure out how to use it.
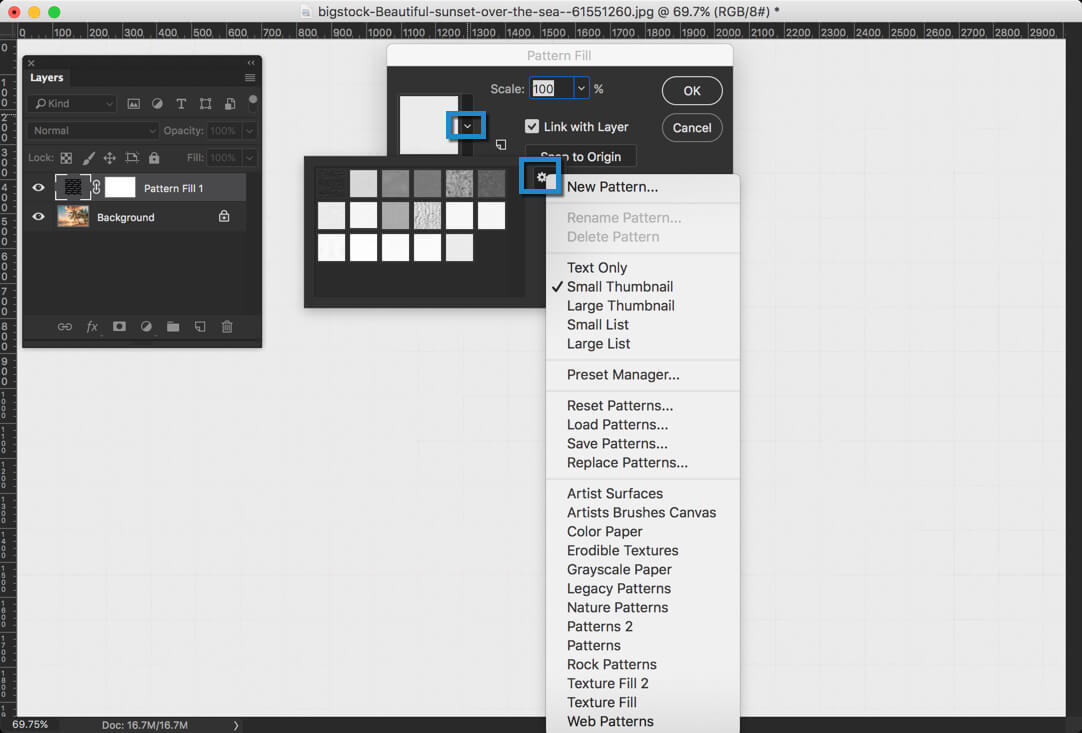
What is Pattern in Photoshop?
This option lets you fill your image with the patterns of your choice. The pattern will fill the entire image.
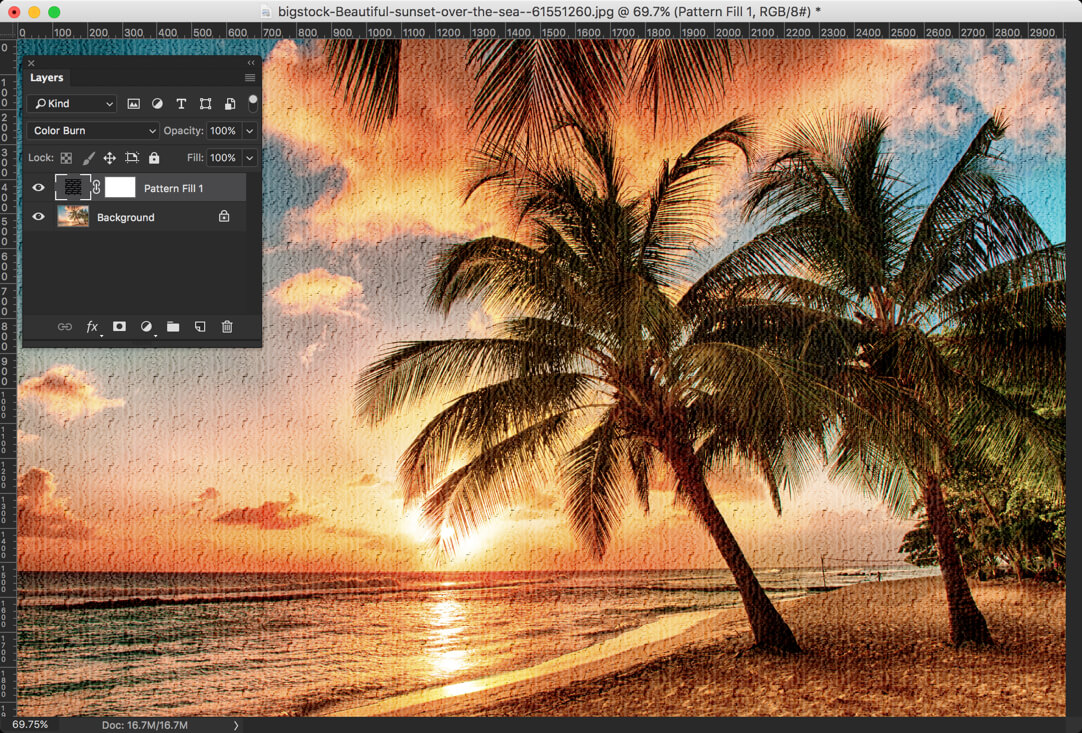
Like Solid Color, you can play with Blend Modes this time also. I chose Color Burn this time.
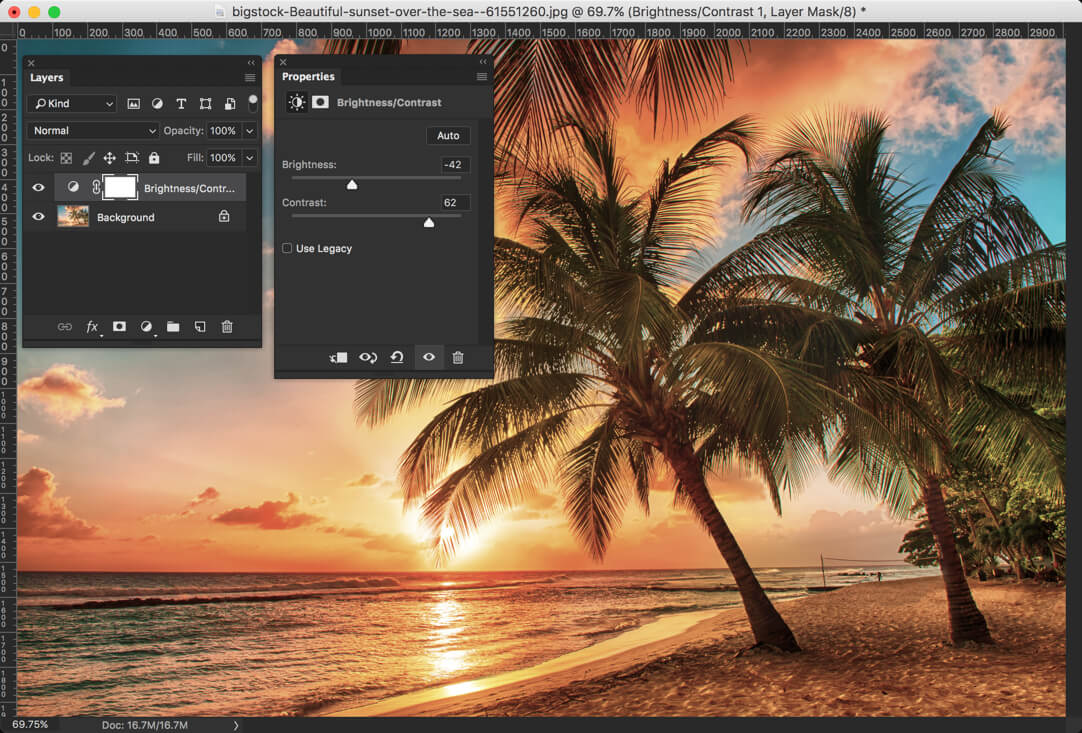
What is Brightness and Contrast in Photoshop?
I am damn sure that I don’t need to explain these two. You did tweak these two when you edited your first digital photo around 10 years.
Ummm… Still, I’ll explain you.
- Brightness brightens or dims the image
- Contrast increase the difference between the whites and blacks of the image
What is Levels in Photoshop?
This is a bit tough to explain. There is one slider with three control points named as A, B, and C in the below image.
A: Drag it to the right to increase the black
B: Drag it to the right to increase contrast and drag it to the left to decrease contrast
C: Drag it to the left to increase white
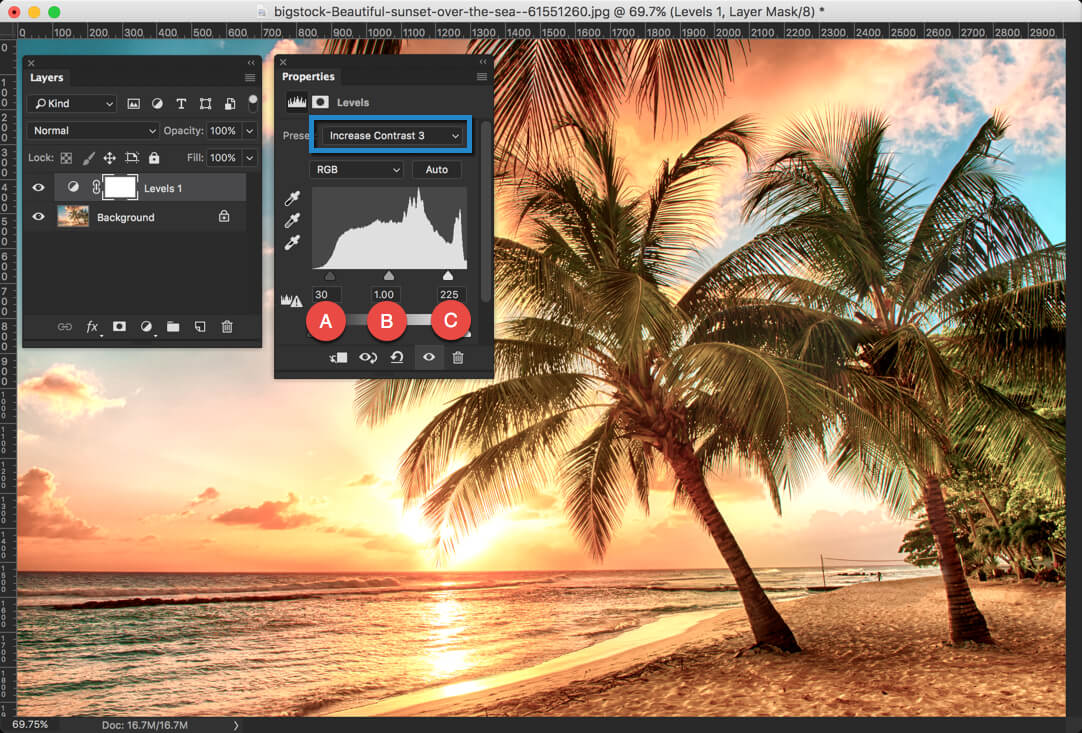
To make things simpler, Photoshop provides presets also which are highlighted with a blue rectangle. You may want to use it.
What is Curves in Photoshop?
If you see the graph, the y-axis is divided into 4 parts. Each part represents a region. Upper parts demonstrate the light and lower parts demonstrate the shadow.
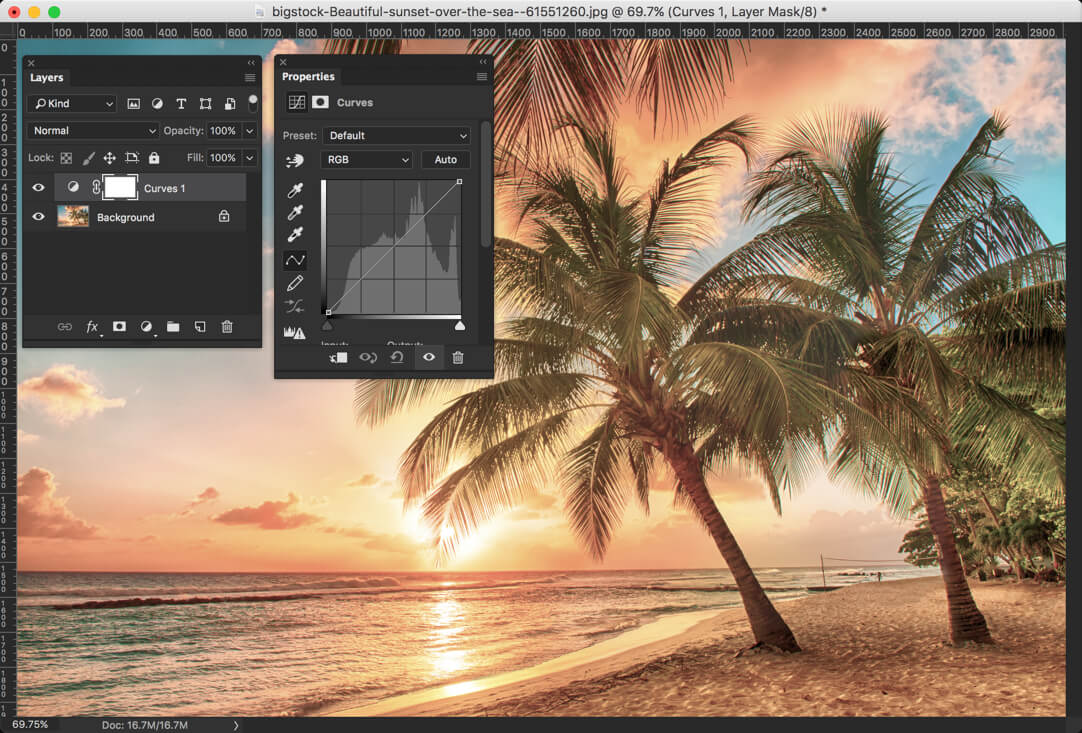
- Highlight: It affects only the upper regions
- Light: It mainly affects the upper two regions but slightly affects lower two regions as well
- Darks: It mainly affects lower two regions but slightly affects upper two regions as well
- Shadows: It only affects lower two regions
What is Exposure in Photoshop?
The Exposure slider is probably the least mystically named of the control sliders and unsurprisingly it allows you to adjust the exposure of your photo. Dragging to the right will lighten an image while dragging to the left darkens it.
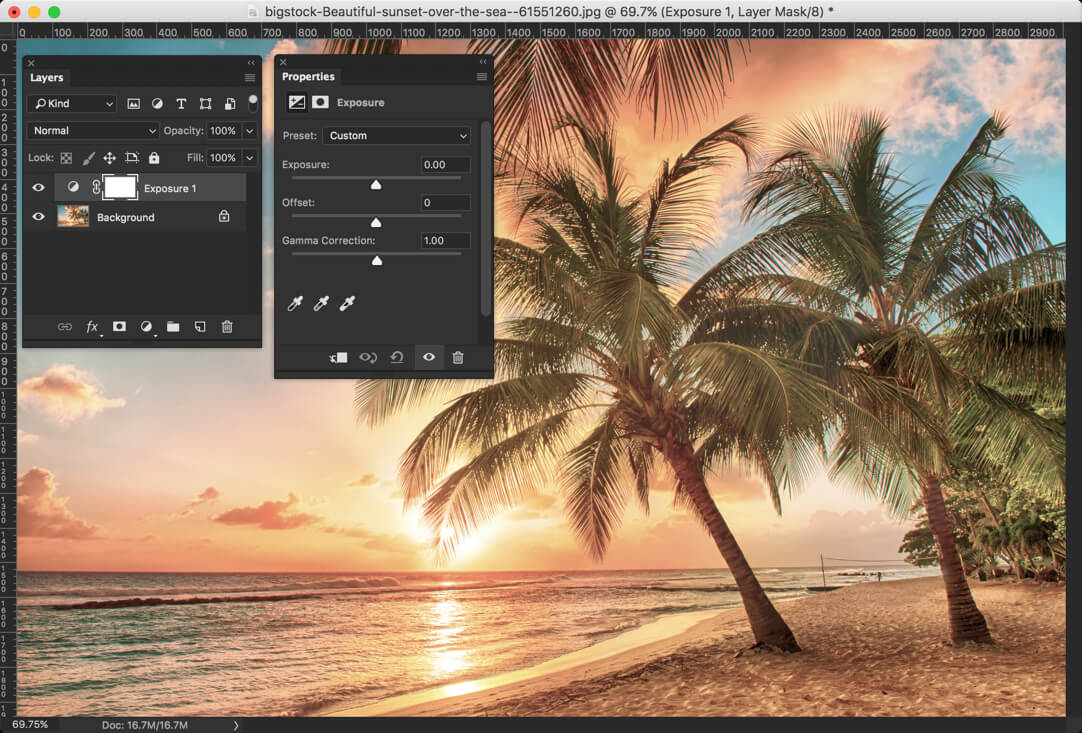
The Offset slider isn’t obviously named, but this control has the greatest influence over the dark tones of photos. Sliding it to the right will lighten shadow areas, but you should take care as you’ll quickly see that images can start to look washed out as this is adjusted in this direction. Sliding to the left will darken your shadow areas and if you overdo this, you will start to see some unnatural color shifts occurring.
The Gamma slider has the greatest effect over the mid-tone range of your images, though the direction that you adjust the slider is counter-intuitive. To darken the image, you need to slide it to the right and vice-versa to lighten it.
This is all for today. I hope that you enjoyed the tutorial.
Check out the other tutorials from 30 Days to Learn Photoshop series.