
Hey Guys, welcome to my another tutorial on creating Instagram Effects in Photoshop. This time, I will be showing you How to Create Instagram Moon Effect in Photoshop. Couple of weeks ago, I wrote a post on Creating Instagram Gingham effect and I must say that I received a big cheer on that post, and that motivated me to write my another on Instagram.
Moon effect is pretty much subtle like almost all other Instagram effects are. But what makes it different is that it is unsaturated which means it is Black and White.
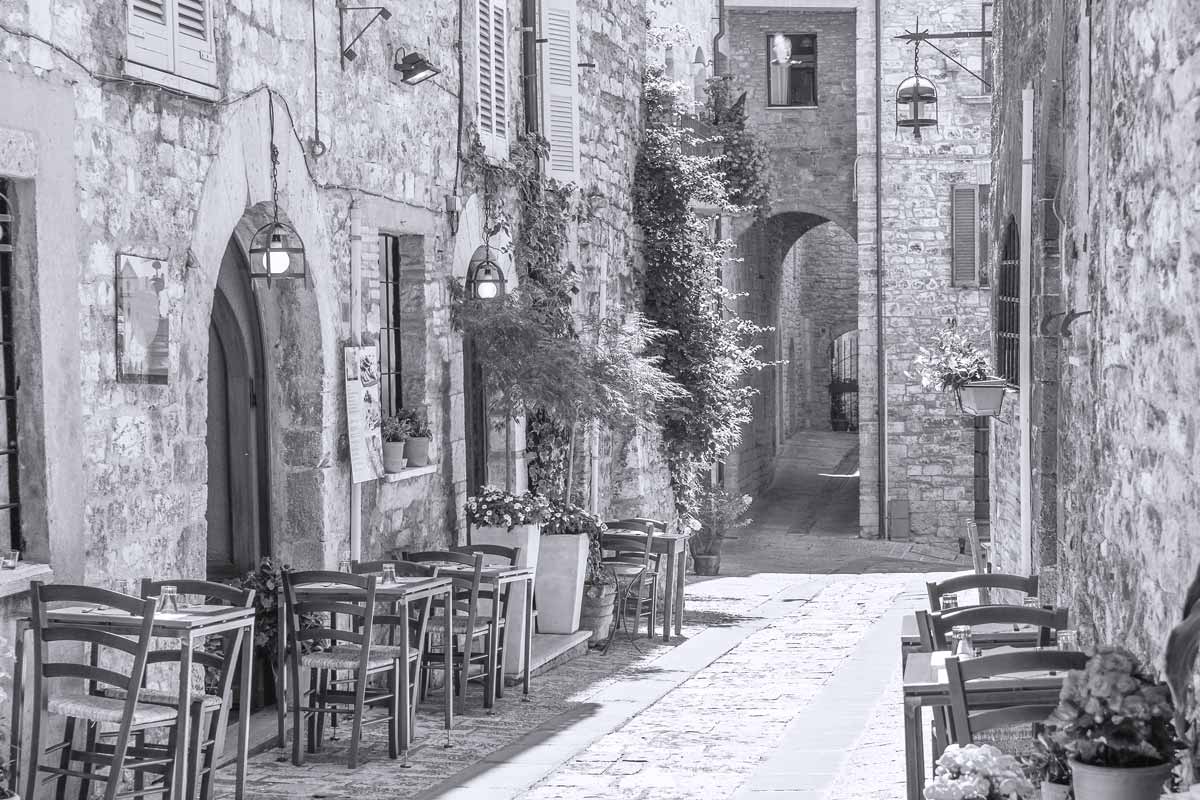
Before we go further, I would like to show you the final image of the effect when applied on an image.
Final
So let’s begin the tutorial.
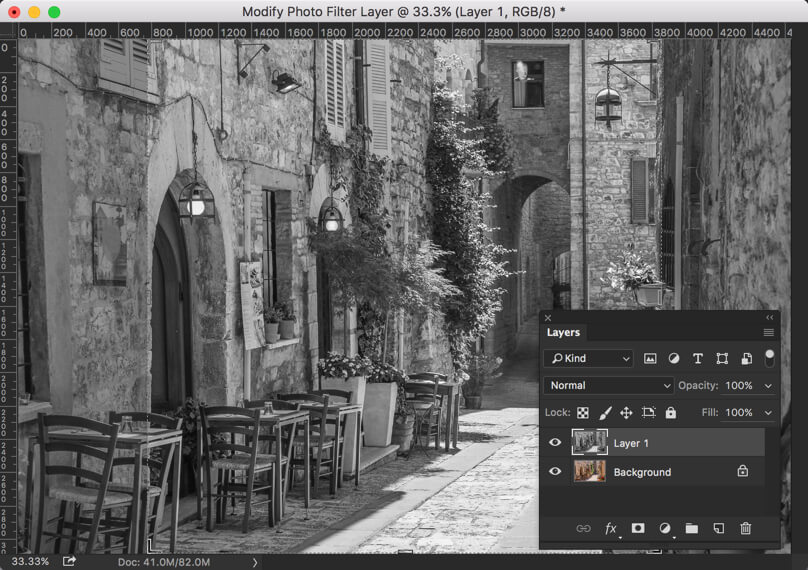
Step 1: Desaturate the Image
The first thing we need to do is to desaturate the image. Duplicate the layer by pressing Cmd+J/Ctrl+J. Press Cmd+Shift+U/Ctrl+Shift+U.
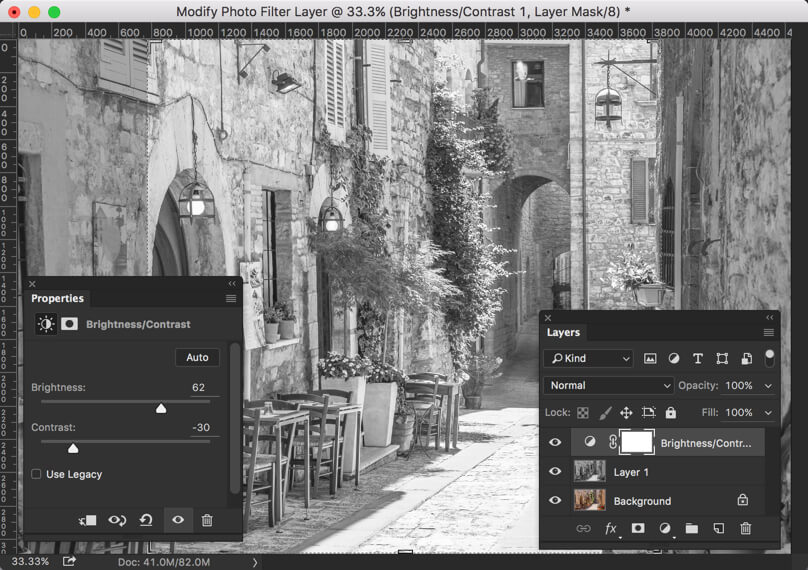
Step 2: Play with Brightness and Contrast
Moon Effect generally brightens the image and decreases the gap between highlights and shadows. We are going to do the same. Go to Image>Adjustment>Brightness/Contrast.
Increase the brightness to 62% and decrease the contrast to -30%.
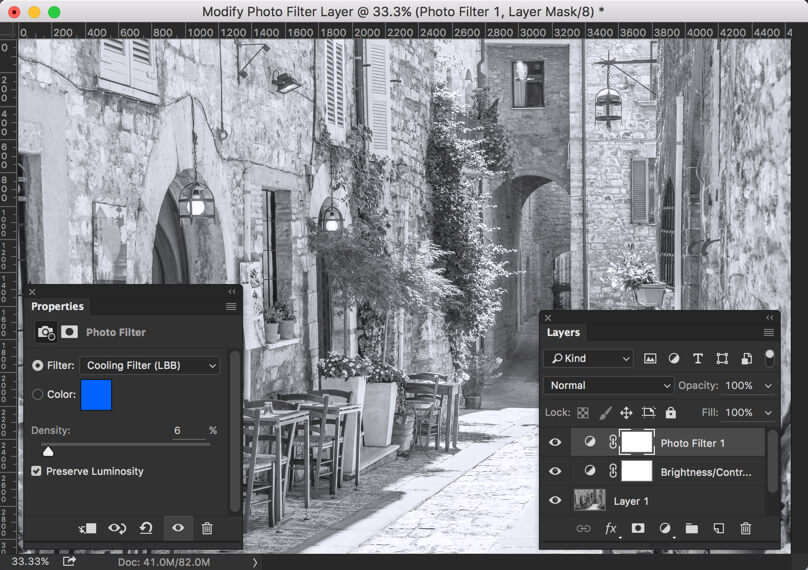
Step 3: Add Blue Tint
Time to add a very subtle, even unnoticeable blue tint. Go to Layer>New Adjustment Layer>Photo Filter.
Choose the filter as Cooling Filter (LBB). Keep the density at 6%.
Step 4: Add Vignette
Time to add nice looking black vignette.
Press Cmd+Opt+Shift+E/Ctrl+Alt+Shift+E to stack all the layer into a new layer in Photoshop. Go to Filter>Camera Raw Filter.
Switch to Effects tab. Decrease the amount o -45. It will add a nice looking black vignette.

And we are done.
I hope that you have enjoyed this tutorial. Don’t forget to check my other tutorials on Instagram effect in Photoshop.
Please support TrickyPhotoshop by sharing this tutorial with your friends and family on Facebook, Twitter, and Google+.
Here’s the final image for your reference.
FINAL