Hello guys I am Vaibhav and today I am going to discuss about preparing a grayscale image for printing. Last time I discussed about Adding Cinematic Portrait Effect in Photoshop which is recommended tutorial if you are a studio or fashion photographer.
Stock: http://somadjinn.deviantart.com/art/London-Lights-317662033
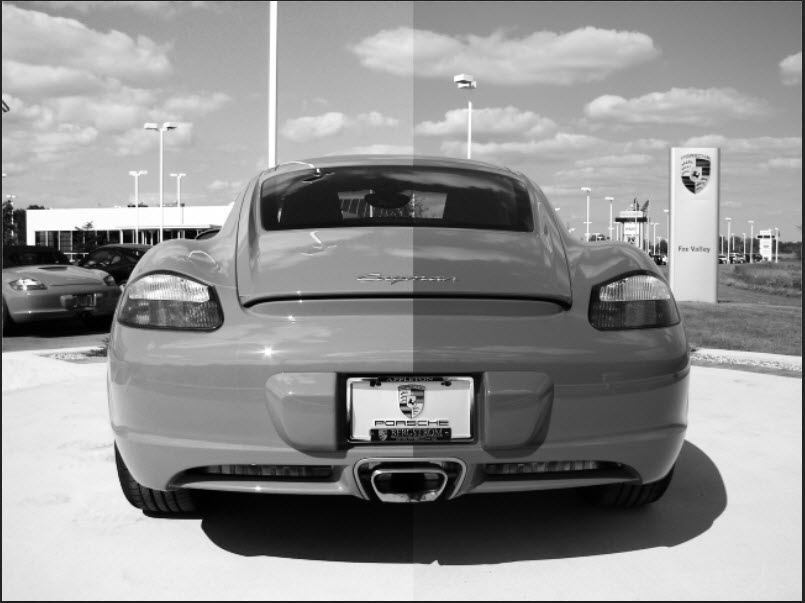
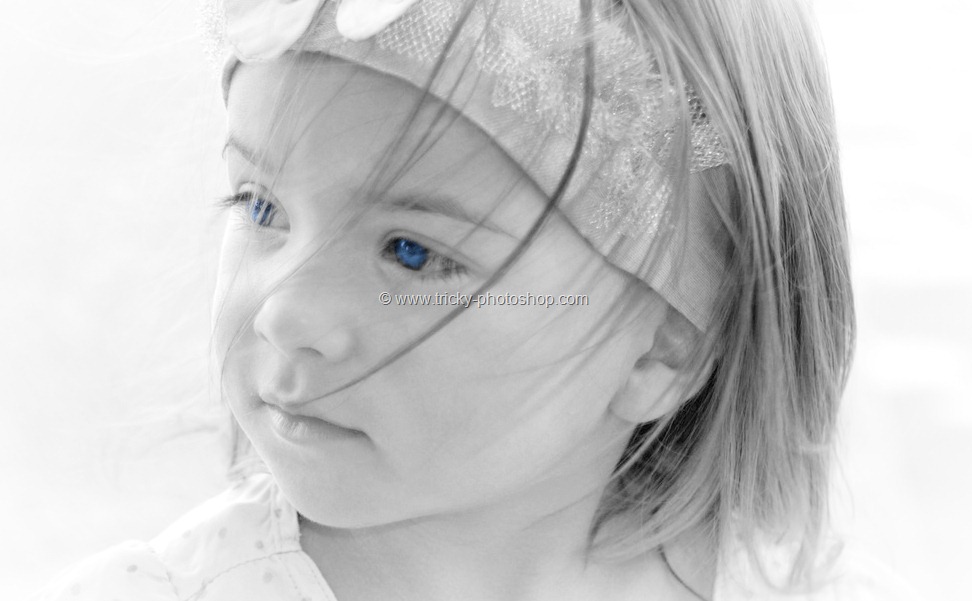
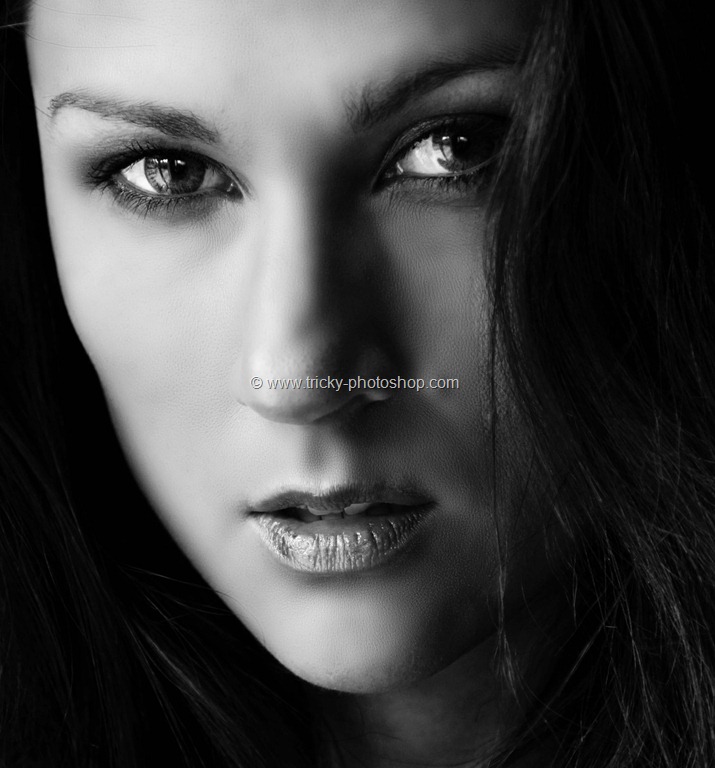
Assume your color image is part of a document going to a professional printing press, and you want to transform it to a grayscale image. In addition to using one of the five techniques covered that I covered in “5 different ways to Convert and image into Black & White”, you need to perform one more step: To make it a real, live grayscale image, you have to change the document’s color mode to Grayscale. ( Not required for an inkjet printer or destined for posting on the Web.
That’s right: Even though your image looks grayscale onscreen, it’s still made from colors that have had their saturation values lowered to zero (saturation is the degree of color strength). If you are disagree, open the Channels panel by choosing Window>Channels, and you’ll find color channels (what those channels are depends on which color mode you’re working in).
If you don’t change the mode to Grayscale before you send the image off to a printing press, the image will print with the colors listed in the Channels panel instead of with black ink alone. While the result still looks like a grayscale image, it’s actually made from color, which costs a lot more to print (the more colors you use on press, the higher the cost). So to prepare a grayscale image for a printing press, start by using one of the 5 methods then I discussed earlier. Otherwise, Photoshop will do it for you when you switch to Grayscale mode—with mediocre results like those you’d get using the Desaturate command. Next, save your document as a PSD file by choosing File>Save As (press Ctrl+Shift+S/Cmd+Shift+S) to preserve any Adjustment layers (like a Black & White Adjustment layer) you may have added. Then, change the document’s mode to Grayscale by choosing Image>Mode>Grayscale. Photoshop pops open a dialog box asking if you’d like to flatten your layers. Click OK and yet another dialog appears asking if you’d like to discard the other channels (in other words, throw away all the color info in the document.) Click OK and you’re left with a real grayscale image that contains only a single channel named Gray. If you want to check whether it is really grayscale or no then go to Window>Channel. This time you will not see any Red, Green and Blue Channel.
I hope you enjoyed it. See you later.
Read my next tutorial where I will be discussing about Adding Instagram Sierra Effect in Photoshop.
Thank you for reading this article. Hopefully we’ll meet again in four days.


