
Luminosity masks are an advanced technique in Photoshop that allows you to manipulate an image based on the tonal values, from the deepest Shadows through to the brightest Highlights and all the range in between.
They can be used to creatively select areas of an image adjusted. Examples of using luminosity masks are when blending exposures to create correct high tonal ranges (similar to HDR). They can also be used to make Image Adjustments to only select areas – such as Hue/Saturation, Color Replacement, etc. – really any circumstance where you want to fine-tune a selection based on tonality.
Creating Luminosity Masks is a manual process – but one that is relatively straightforward. I recommend creating an Action of this process so that you can reuse these steps in any document in the future.
Let’s start
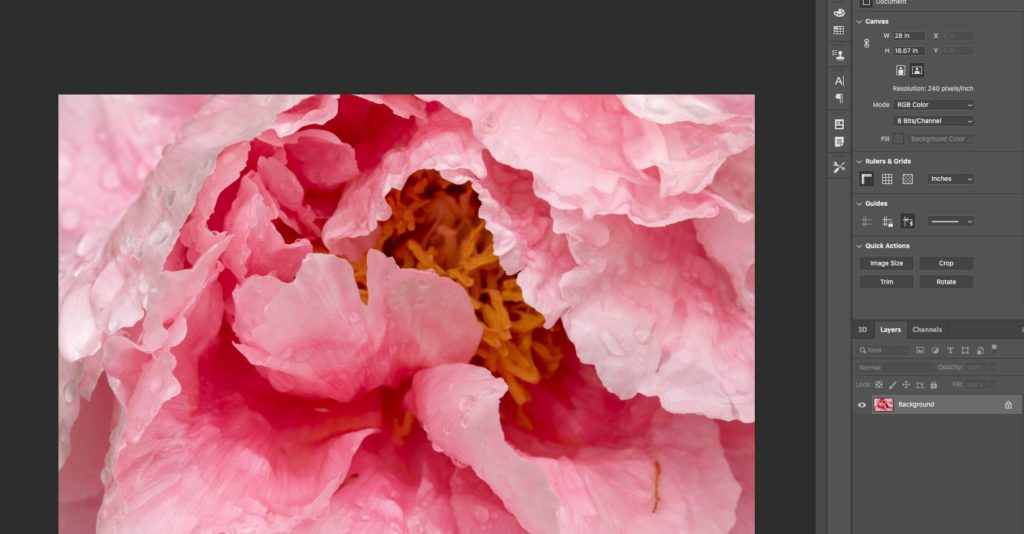
Open a document.
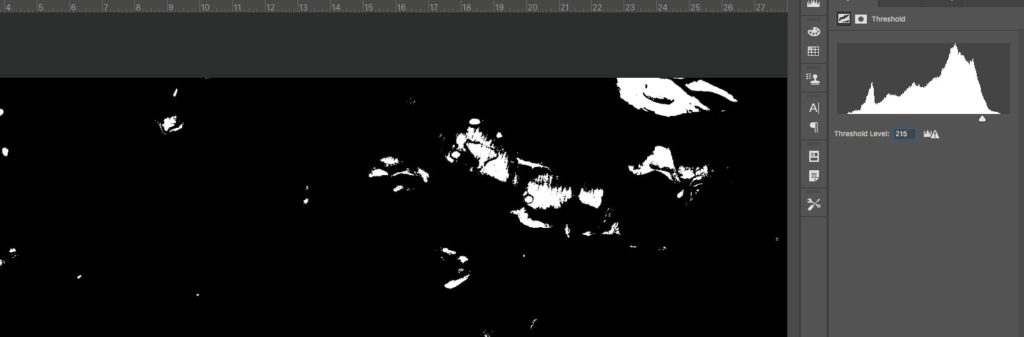
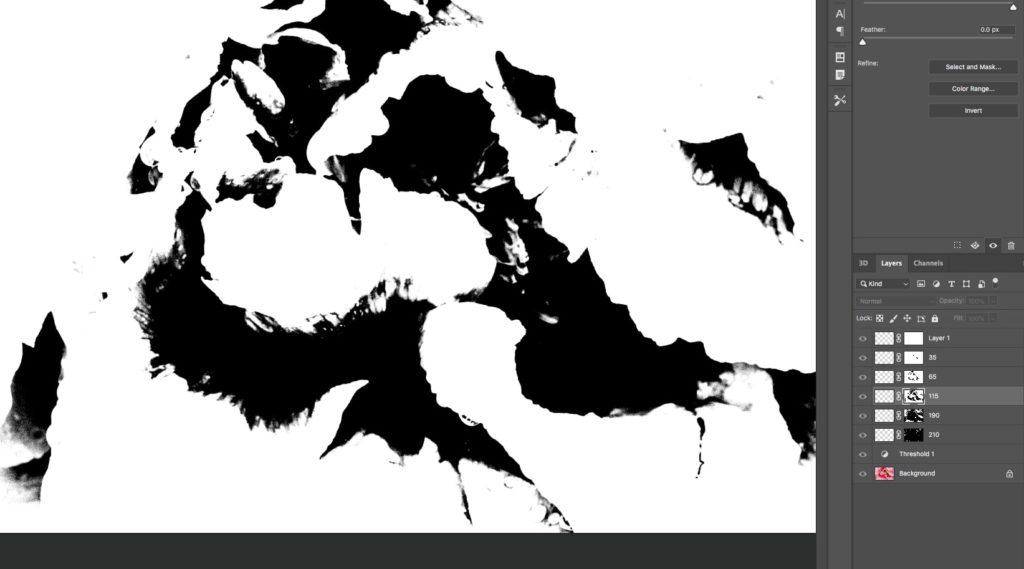
Choose Layer – New Adjustment Layer – Threshold. Set the Threshold Level to 215. This will create a selection of the deepest shadows in the picture as illustrated below.
Next, we want to create a layer mask that using only the white areas that correspond to the deepest shadows by using Select – Color Range on Shadows with Fuzziness at 20% and Range at 65.

Create a New Layer and ALT-Click on Mac (or Option-Click on Windows) on the mask icon in the Layers panel to create a black mask with the selected areas colored in white.
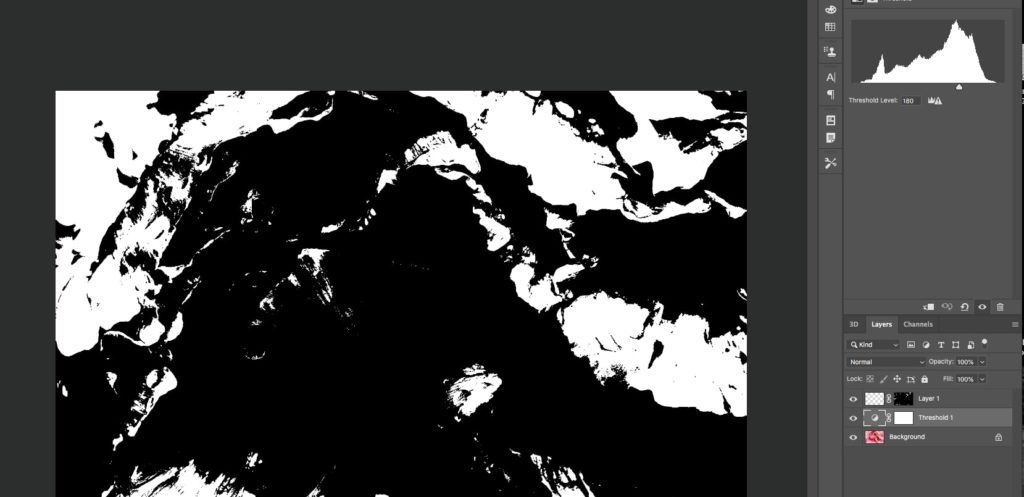
Now we want to repeat the steps above creating selections that move down the tonal range from shadows to highlights. Start by adjusting the Threshold Layer to a Level of 180, select the color range, and create a new layer and mask. Continue to adjust the Threshold Layer and creating new layers and masks with Levels of 115, 65, 35, and 15.
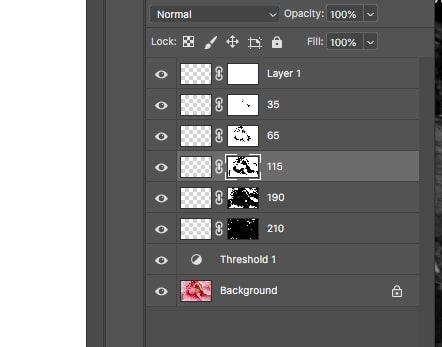
Delete or turn off the Threshold Layer. Now you are ready to use your new Luminosity Masks.
To load a tonal range to work with, CMD- Click (WIN-Click on some windows keyboards) in the MASK section of any layer to load that selection. To display what is on each layer, ALT-Click (or Option-Click) on the mask icon – only the areas in white will be affected by your actions.
By placing the Tonal masks on individual layers, you are also free to take actions – like painting – on any layer and are guaranteed to only affect that tonal range.
A Luminosity Mask can be a powerful tool in post-processing images – and now you have a straightforward way to create and manipulate them.
Karen Foley is a freelance photographer and frequent contributor to dreamstime.com.