
Lossy vs lossless compression is one of the most searched phrases among photographers and web designers. Choosing one over another can save your hard drive space, make your site faster or even degrade the quality of your photo.
I am asked so many times the differences between lossy and lossless compression, and which one is better. So, I thought that I should write one article on it so that I can give this link to all the people who ask me the differences between lossy and lossless compression.
1. What is lossy compression?
Lossy compression reduces the size of the file by removing some of the details and colors.
Some similar type of data is grouped or averaged out and make the resulting file smaller. For example, there are 10 pixels side by side in a photo and they all have similar but slightly different shades of blue. Lossy compression would average out that blue color and the result would be somewhere around 1 shade of blue.
The changes are normally not visible to the human eyes for a low compression value because human eyes are more sensitive to the brightness rather than colors. So, unless the brightness is altered, you will be having a hard time to find out if the images are compressed because lossy compression does not alter the brightness of the photo.
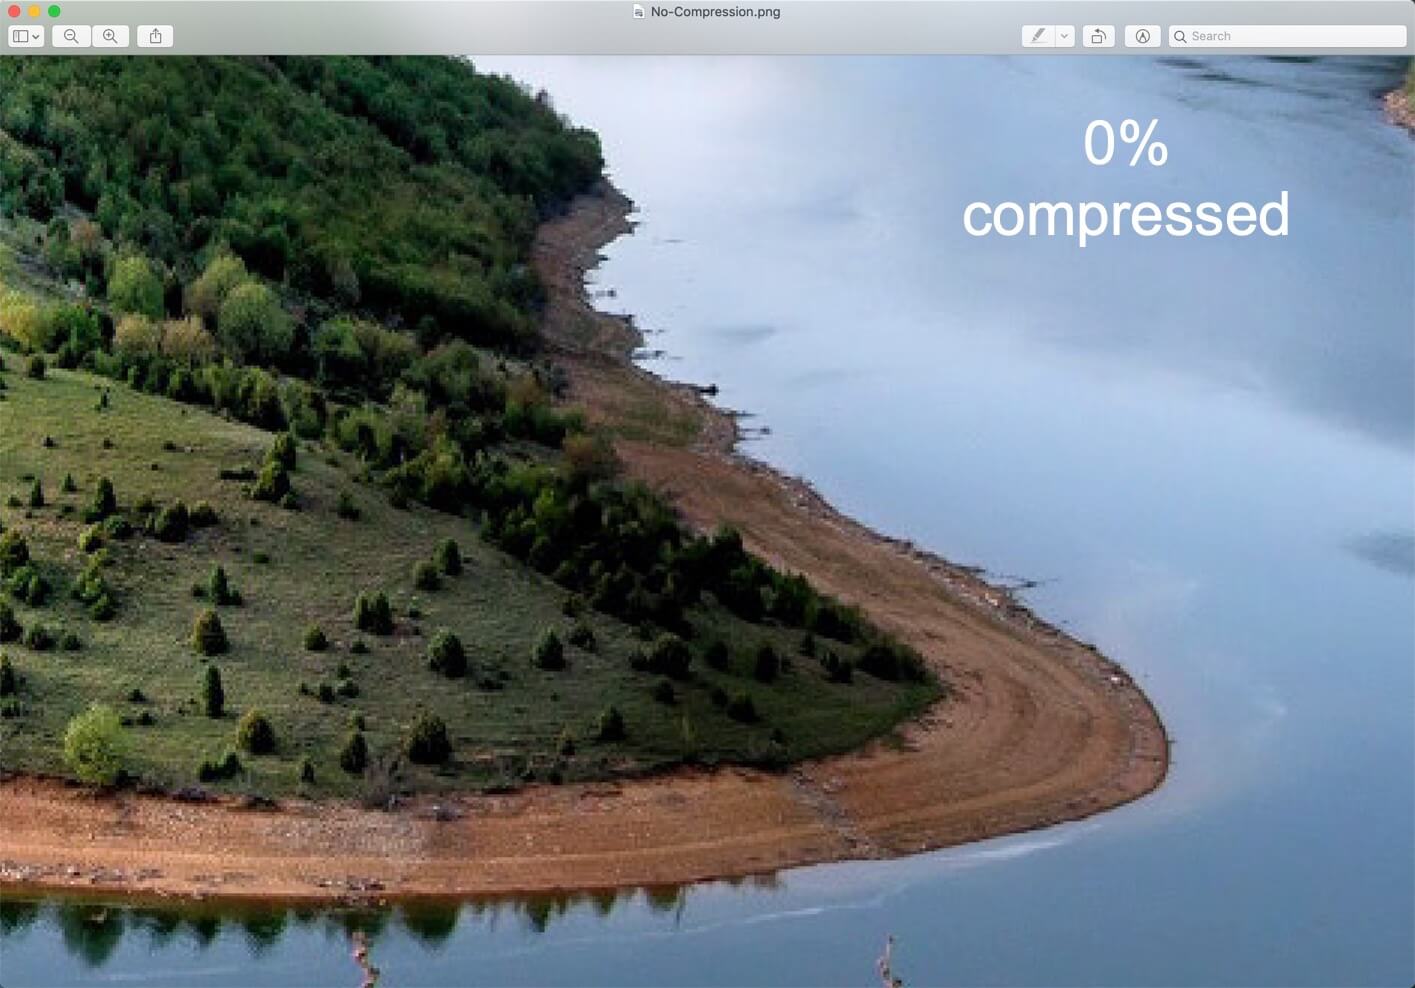
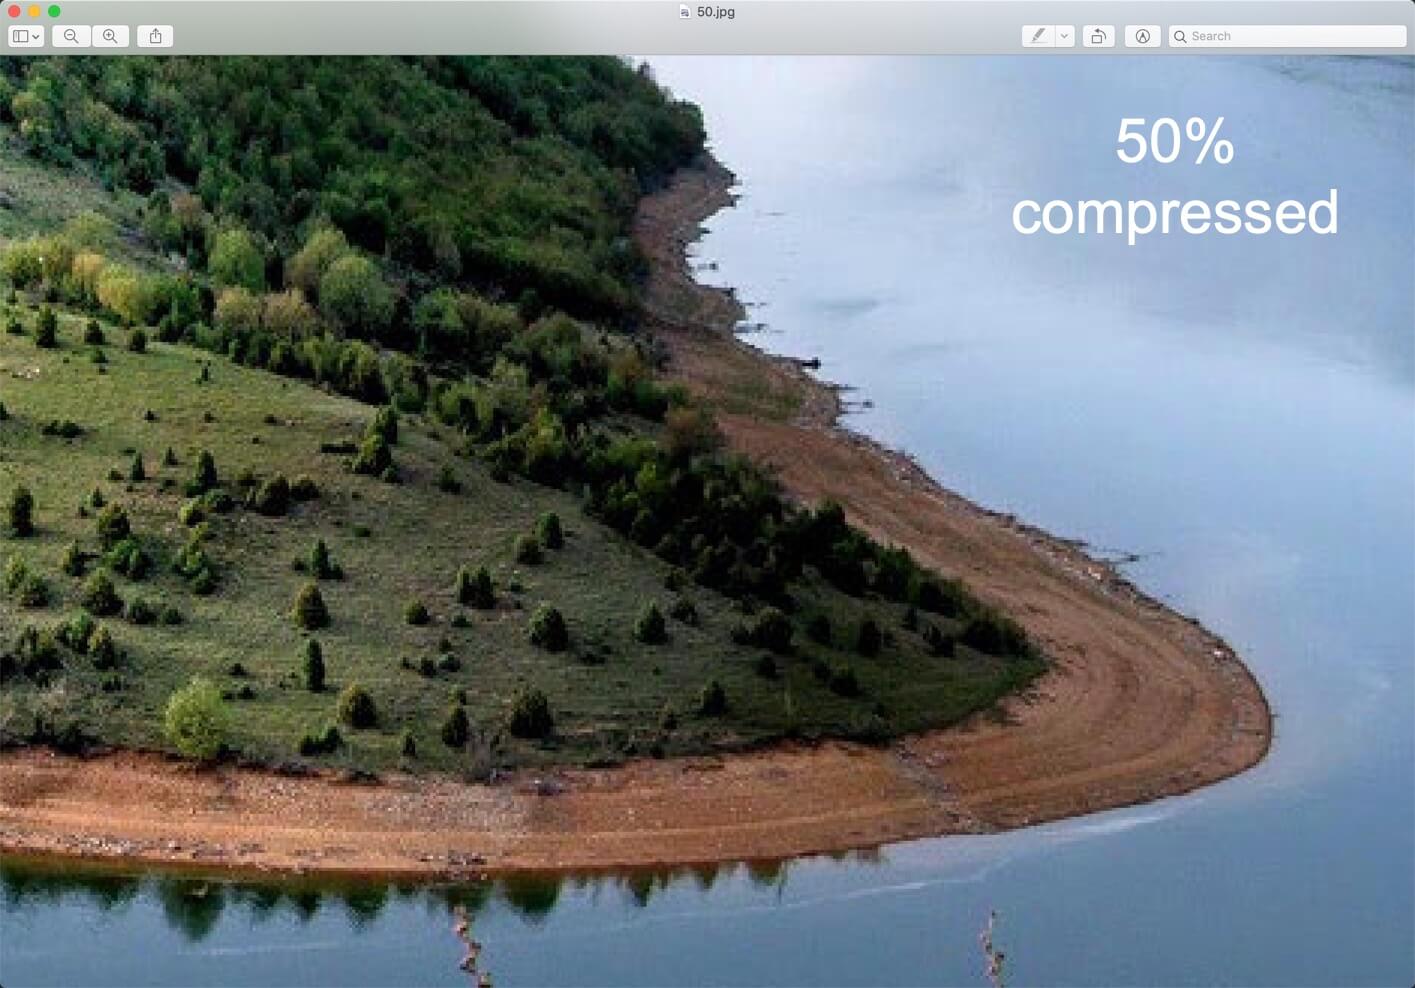
1.1 Example of lossy compression
Here’s a screenshot of lossy compression. The images are 300% zoomed in. You can clearly see the difference in quality.
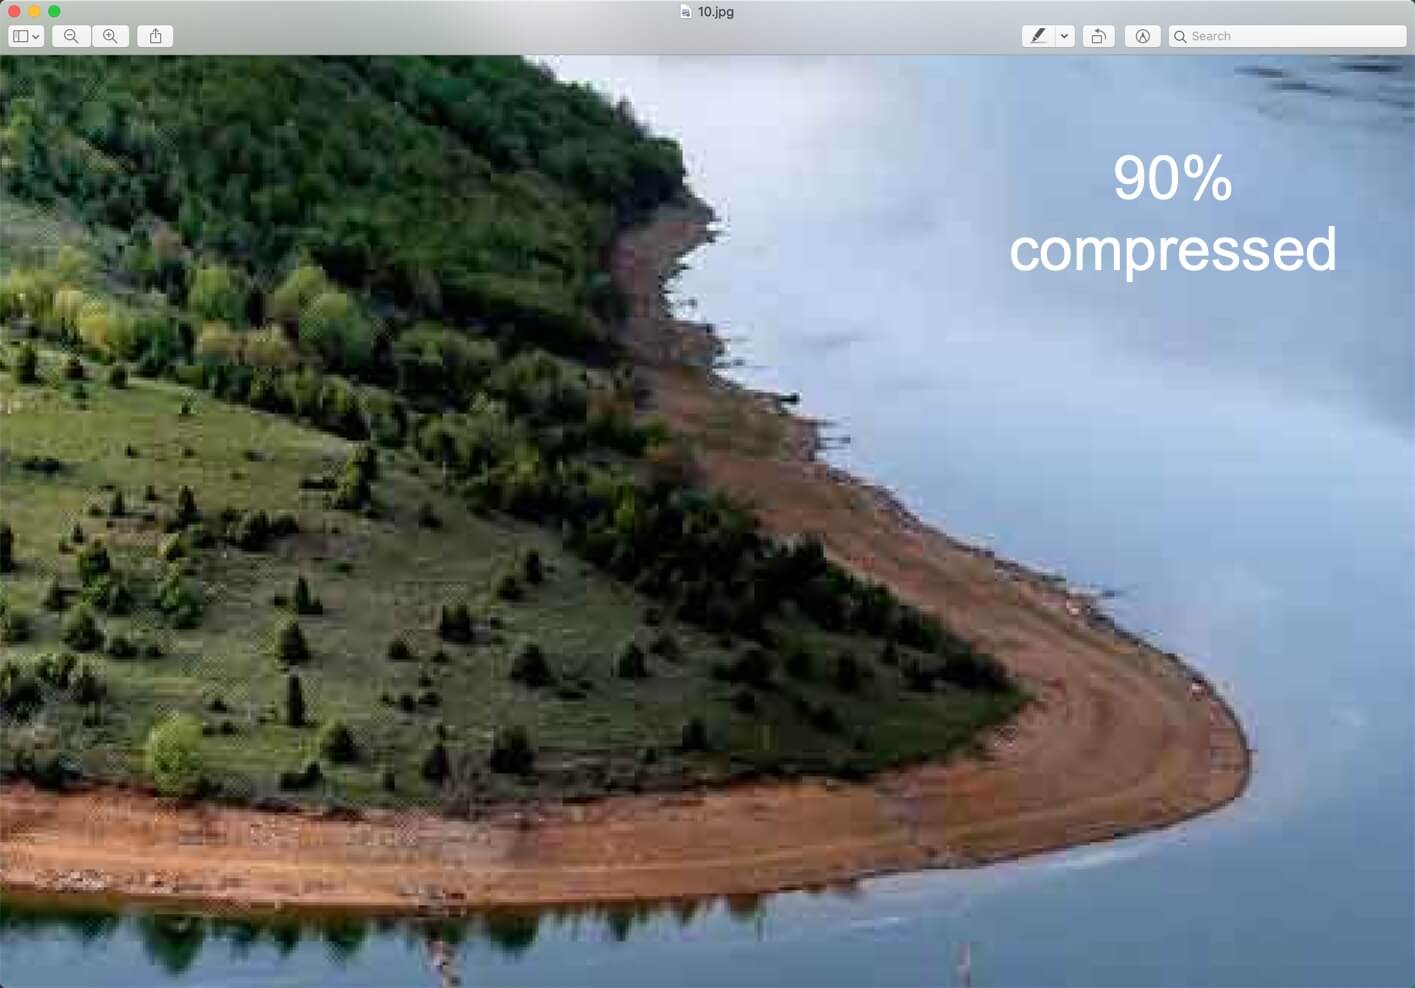
1.2 How to decide the compression value in lossy compression?
The amount of details and colors that we can remove from a photo depends on the compression value. When you use any tool like Photoshop or online websites to compress an image, you’ll see a slider where you can decide the value of the compression. Higher the value of compression, smaller the file size and lessen the details and colors.
Examples of lossy files – JPG/JPEG, audio and video files.
1.3 Each time you save a lossy file, some amount of details is lost
Yes, you read it right. Suppose you have printed photo and you took a photo of it from your iPhone. Now, the photo you’ll see on your iPhone will not have 100% of the details that are present in the printed photo. Already, some details are lost.
Now, you took a photo of the same photo on your iPhone from your Android phone. Now, this Android phone’s photo will have even lesser details.
The same thing happens when you edit a lossy file like JPG. When you edit it for the first time and save it, some of the details are lost but that’s OK. When you can again edit it and save it, more details are lost. So, basically, every time you edit and save a file, some details are lost.
1.4 How to avoid lossy compression?
The only way to avoid lossy compression is to use lossless file types like PNG, TIFF, and PSDs. If you know that you need to keep every single of details and colors, save the photo in PNG or TIFF format. The file size will be larger, but you get to keep the details.
1.5 Who should and should not use lossy compression?
Should use when:
- If you’re going to send the image to someone and he’s not going to print it
- For emails so that the receiver can see the image in lesser time.
- For webpages (but up to a certain amount; don’t overdo it) so that it decreases the page load time. You should also make sure that your images’ dimensions are complying with the width of your site. For example, there’s no point in adding a 1600 pixels wide image to a site which is 960 pixels wide because the image will be realigned to 960 pixels.
Shouldn’t use when:
- You need to re-edit the image because the quality decreases each time you save it
- You need to print the photo
- You’re a photographer
1.6 Google also encourages lossy images for websites.
Do you use Google PageSpeed Insights? If so, you’re probably familiar with the warning that says to “Optimize Images.” Back in 2017, Google updated their documentation and recommend using lossy compression as a way to further speed up your site.
2. Lossless compression
Lossless compression does not remove the details in the file, so your file size does not reduce.
A typical example of lossless compression is text files, spreadsheets, etc. You definitely don’t want your financial data from the spreadsheet to be edited out.
Example of lossless files PNG, TIFF, PSD, RAW files, and so on.
2.1 Who should and should not use lossless compression?
Should use when:
- You need to re-edit the image because the quality decreases each time you save it
- You need to print the photo
Should not use when:
- If you’re going to send the image to someone and he’s not going to print it
- For emails so that the receiver can see the image in lesser time.
- For webpages (but up to a certain amount; don’t overdo it) so that it decreases the page load time. You should also make sure that your images’ dimensions are complying with the width of your site. For example, there’s no point in adding a 1600 pixels wide image to a site which is 960 pixels wide because the image will be realigned to 960 pixels.
3. Lossy vs Lossless (Tabular comparison)
| Lossy filetypes | Lossless filetypes |
|---|---|
| Reduces the size of the file by removing some of the details and colors. | Does not reduce details and colors. |
| Takes less space in your hard drive | Takes more space in your hard drive |
| Should use when you need the photo just to show like for emails and websites | Should use when you need to re-edit the photo multiple times or you need to print the photo |
| Example: JPG, audio files, video files, and many more | Example: PNG, TIFF, RAW, PSD and many more |