Are your eyebags bothering you? Do you want to remove your eyebags? Do your puffy eyes look ugly to you?
Worry no more. I’m here for you. I’m going to show you how can you remove eye bags or puffy eyes in your photo fabulously. We’re going to use an app for it. Plus, removing puffy eyes is totally free.
Before we show you, let me show you what info you can get from this tutorial.
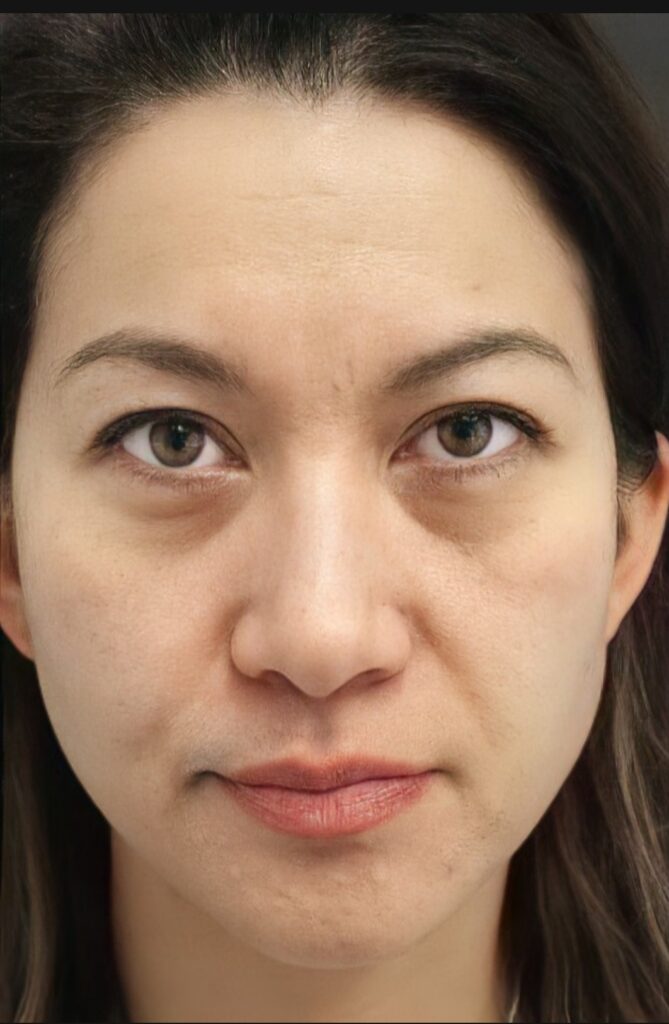
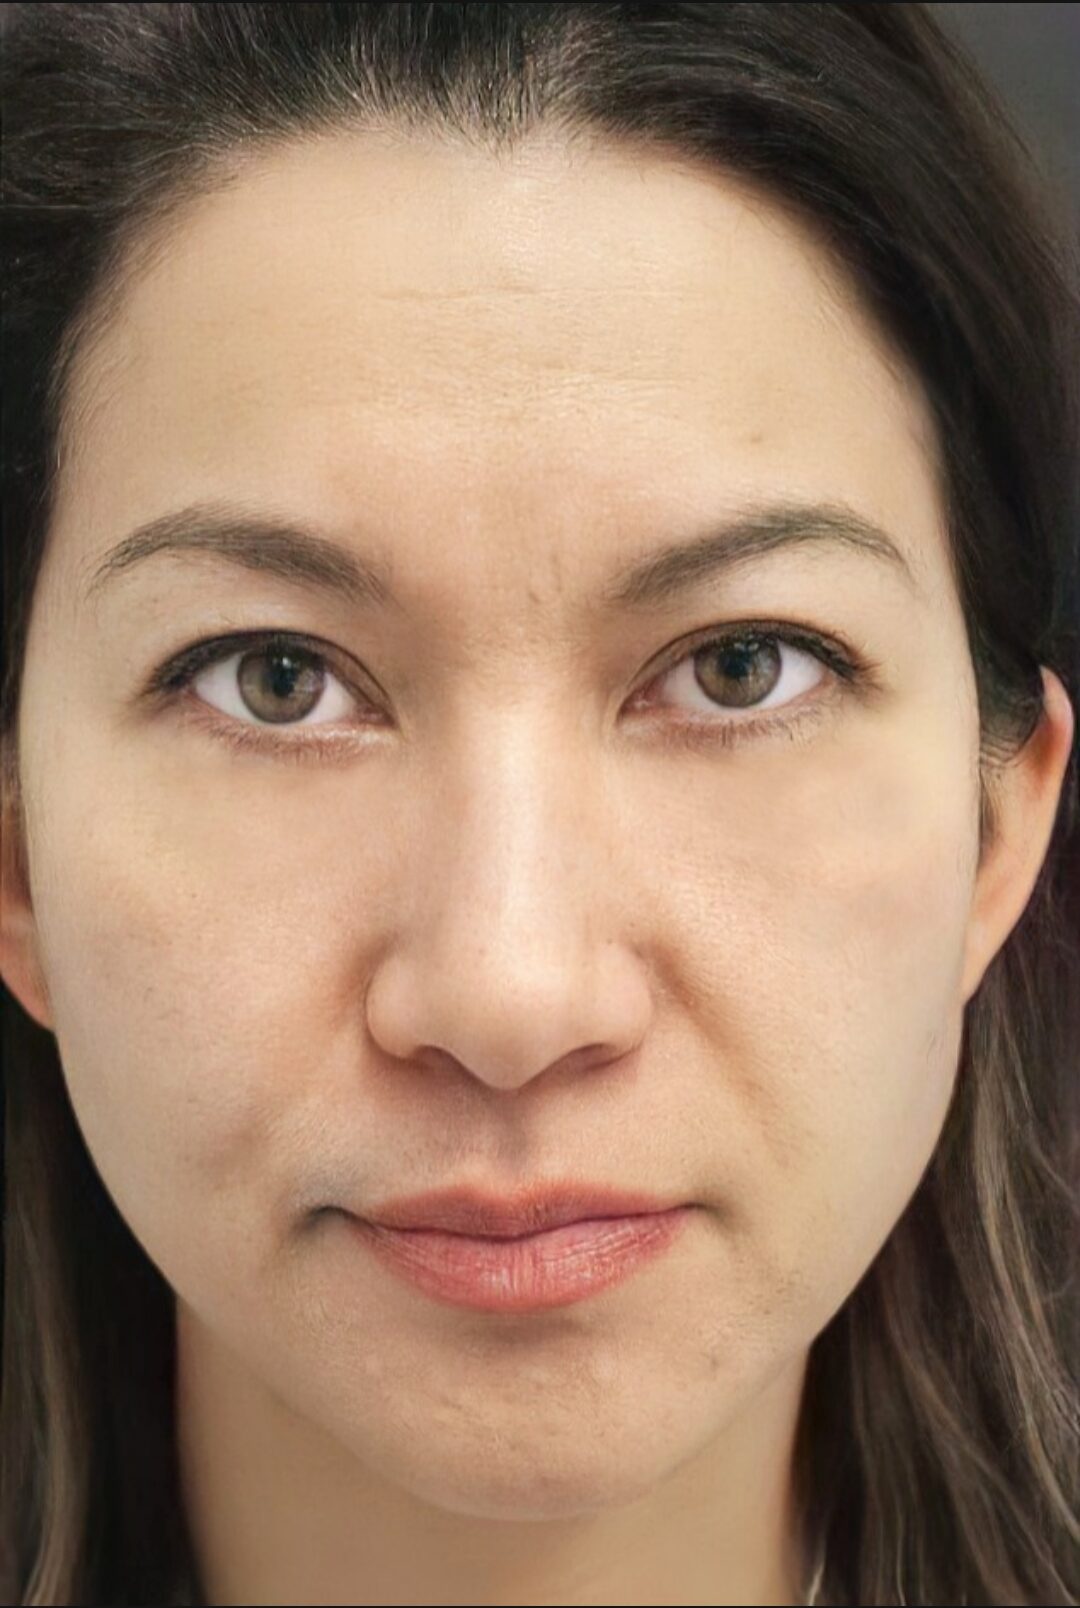
Here are the before and after photos.
Before
After
What causes eye bags in photos?
The obvious answer is that you have it.
The other reason is the light source. If the light is there just above you then your eyebags create harsh shadows on your cheeks. This makes eyebags look even bigger than they originally are.
How to avoid eye bags in photos?
You already know the answer as you’ve read what causes eye bags.
It’s not possible to completely hide them. But you can make them less visible.
Make sure that the light source is in front of you, not about you.
How to remove eye bags in an app for free?
You’ve already seen the before and after photos.
Time to show you how can do it yourself.
Which apps remove eye bags in photos?
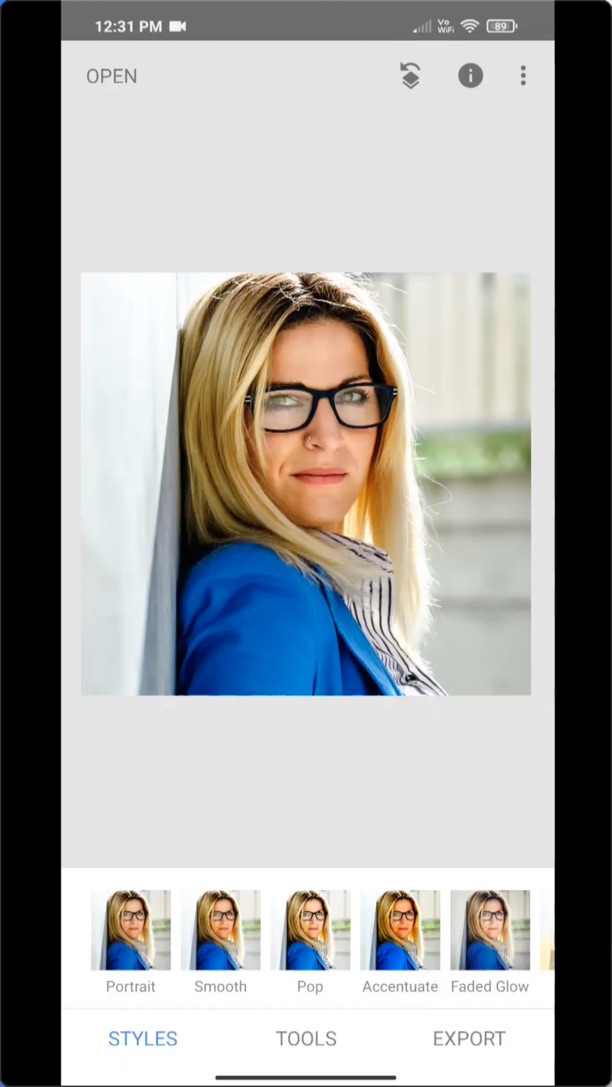
There are many apps that remove eye bags. But we’re going to use PicsArt. It’s one of the most popular photo editing apps.
It’s a free app. And you can download it on Apple App Store and Google Play.


We have a tutorial on removing eye bags on YouTube. Let me put that video here first.
If you like to watch a video tutorial, go ahead and watch the video I put above.
If you’re like me who likes to read, keep on reading. I’m going to show you a step-by-step tutorial on how to remove eye bags in PicsArt for FREE.
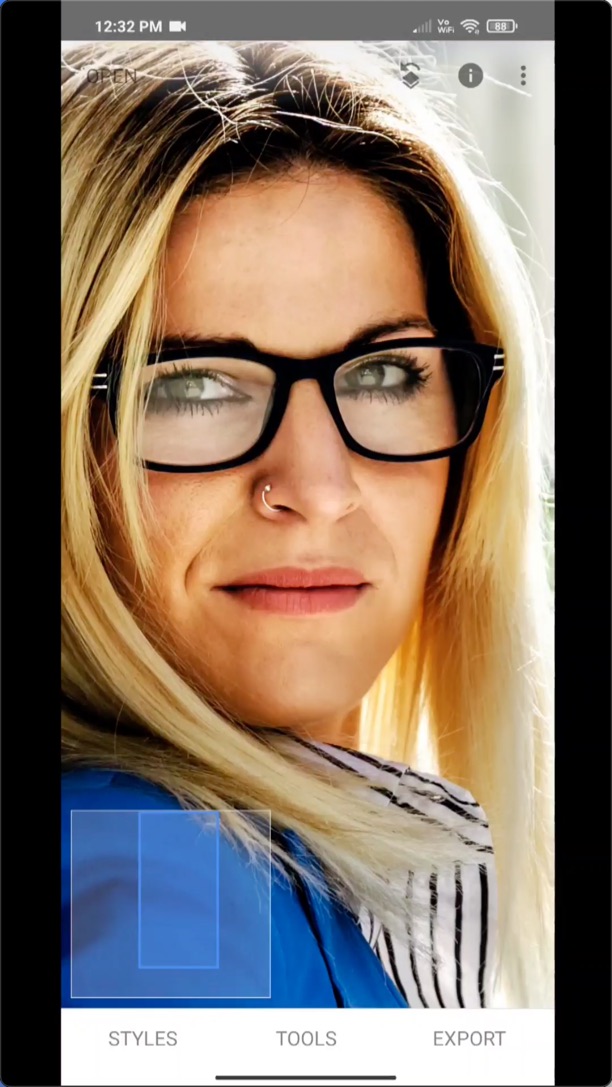
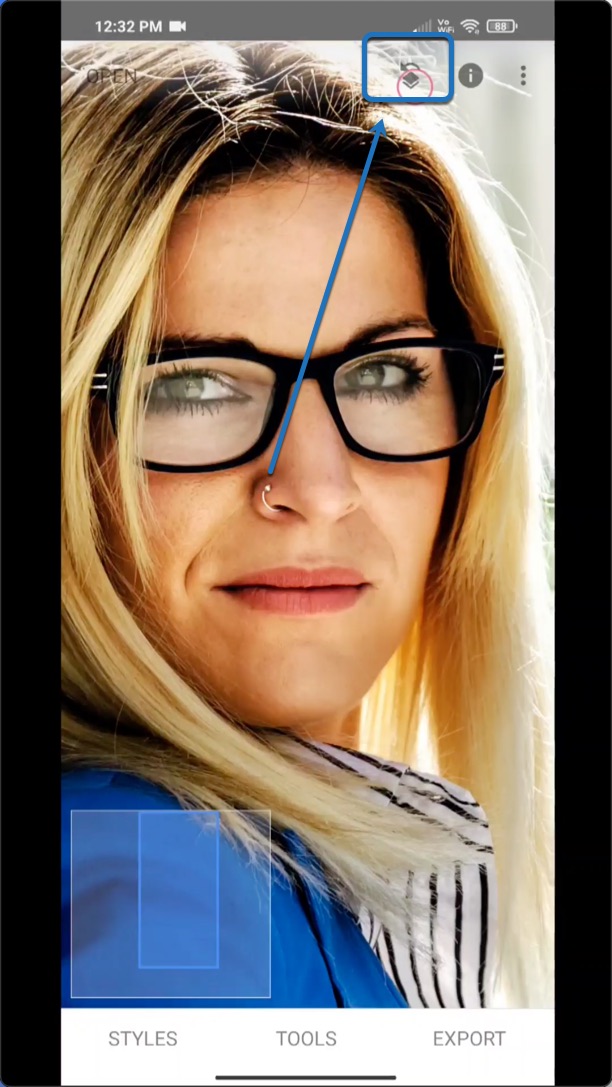
Step 1 – Open the photo in PicsArt
The first thing we need to do is to open the photo in PicsArt.

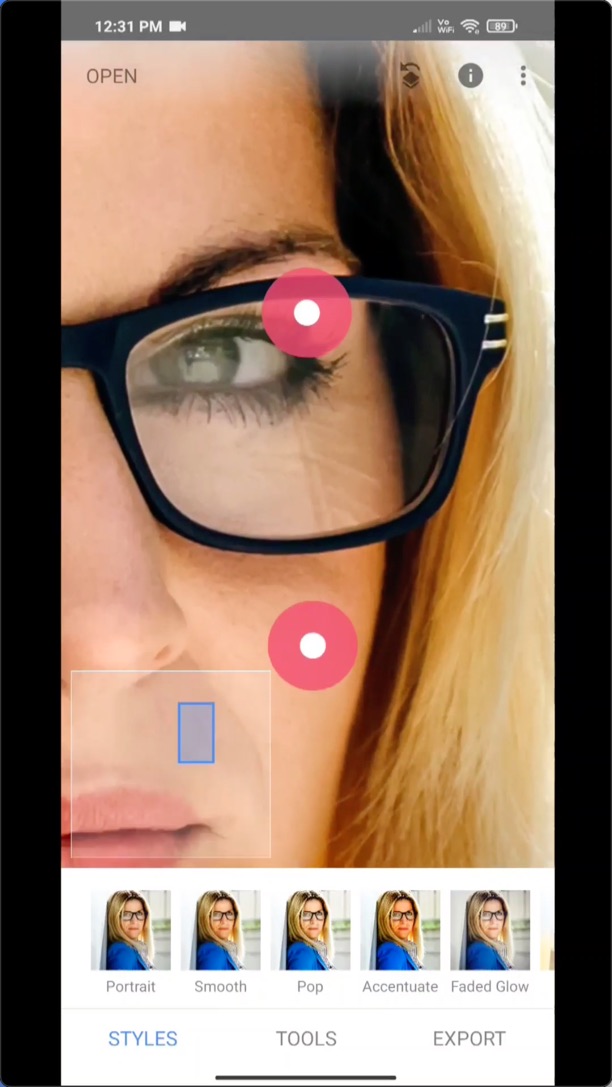
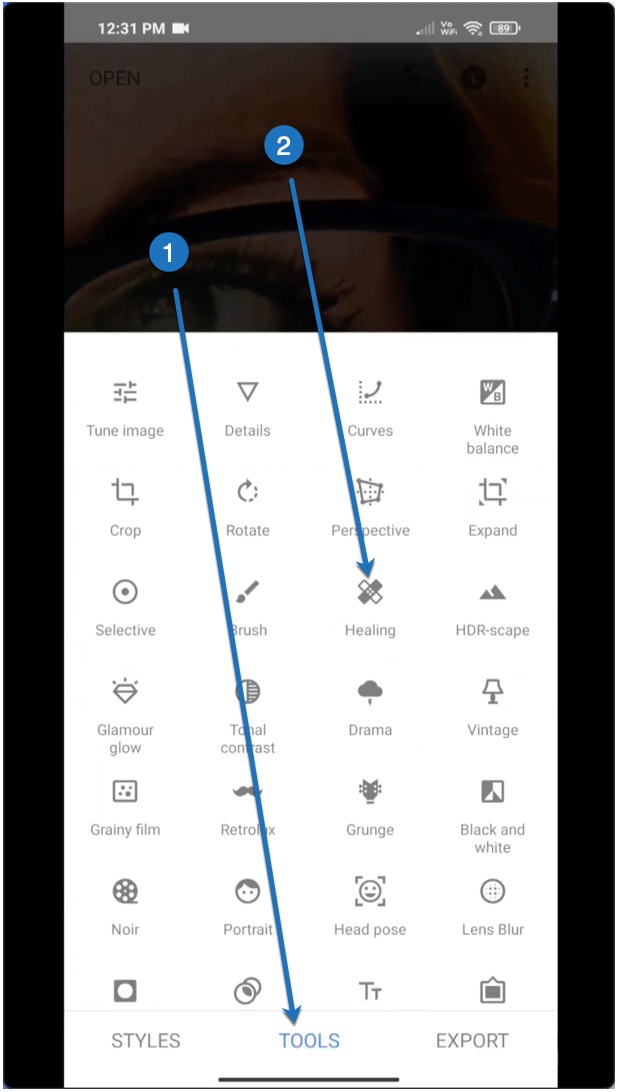
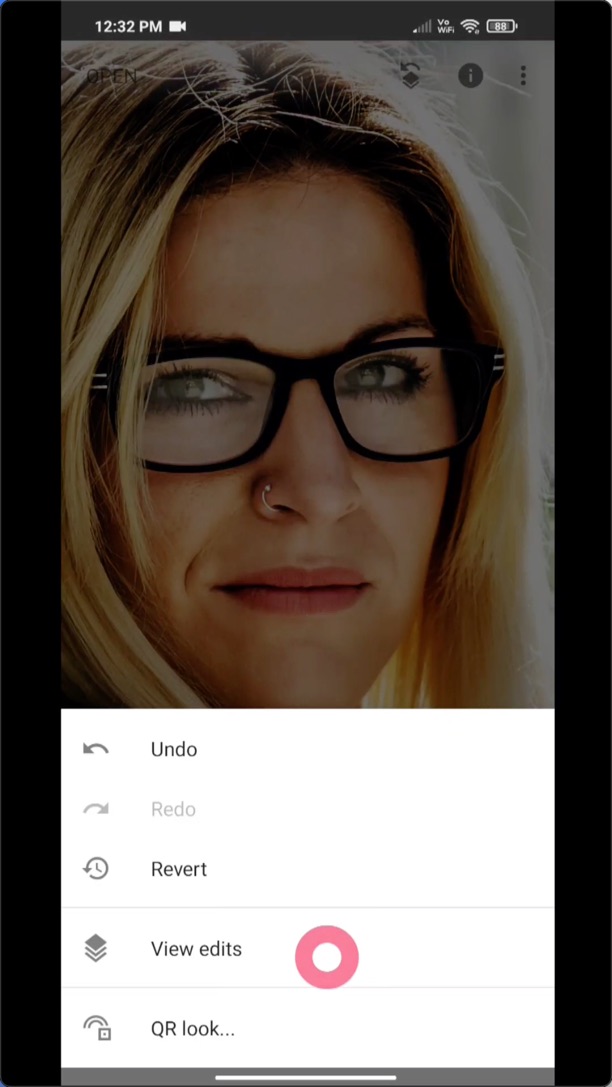
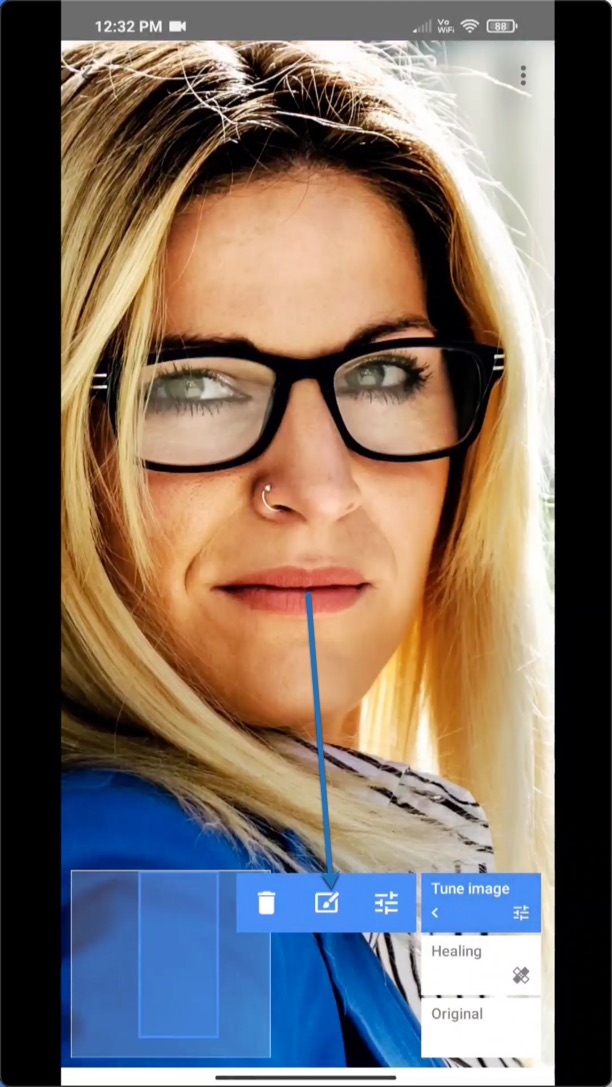
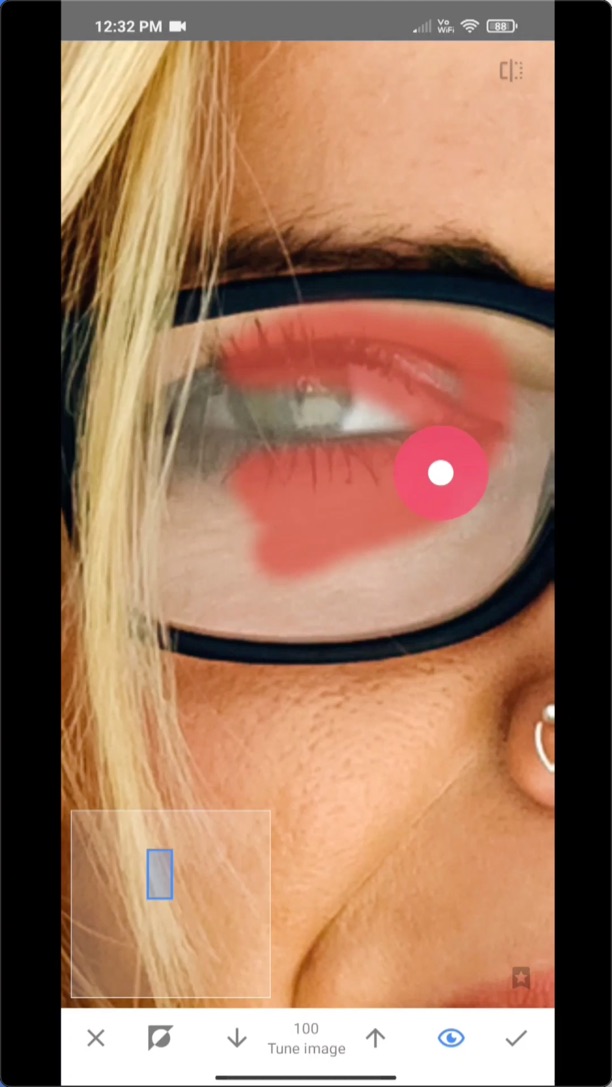
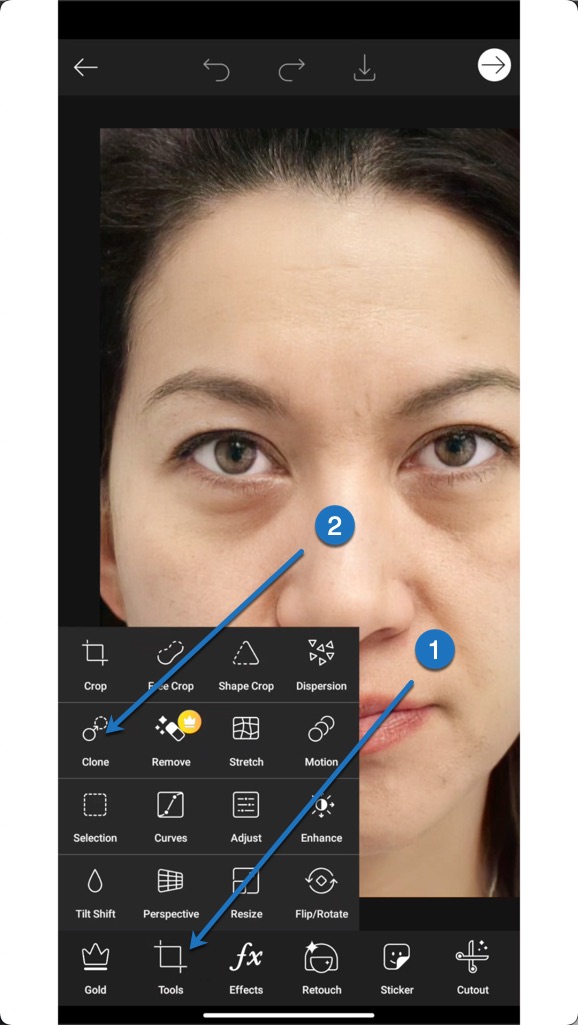
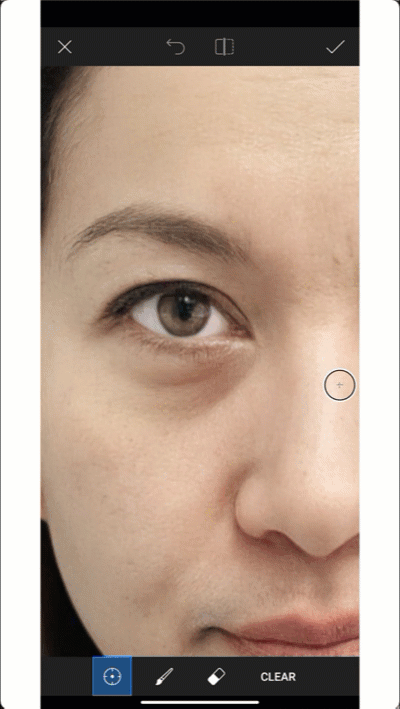
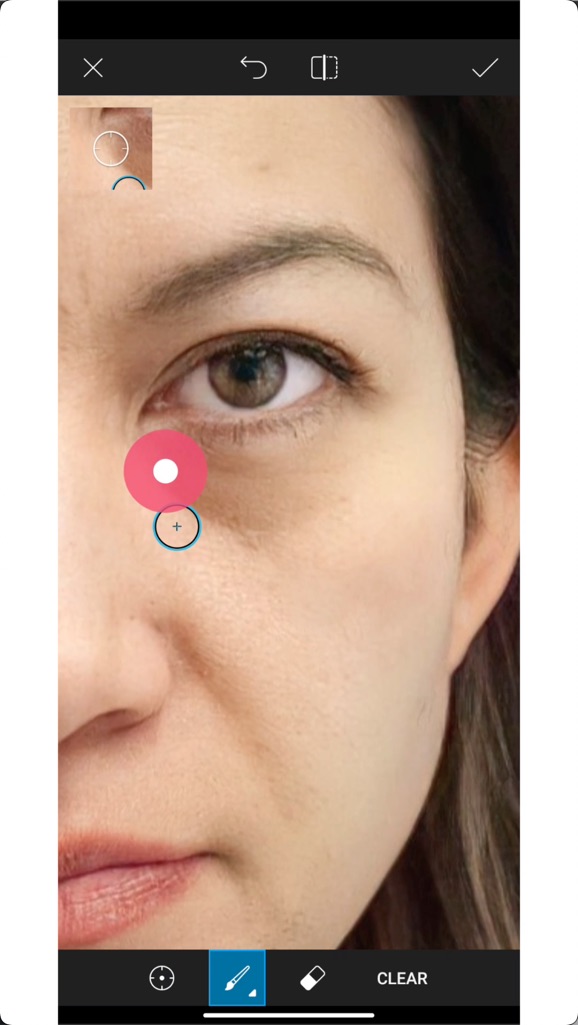
Step 2 – Use Clone Tool to remove eye bags in a photo
Go to Tools > Clone.
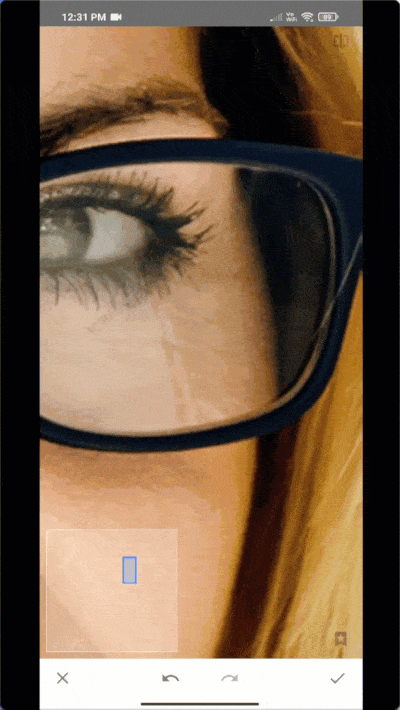
Step 3 – This is how you remove eyebags in a photo
Zoom in to the left eye bag.
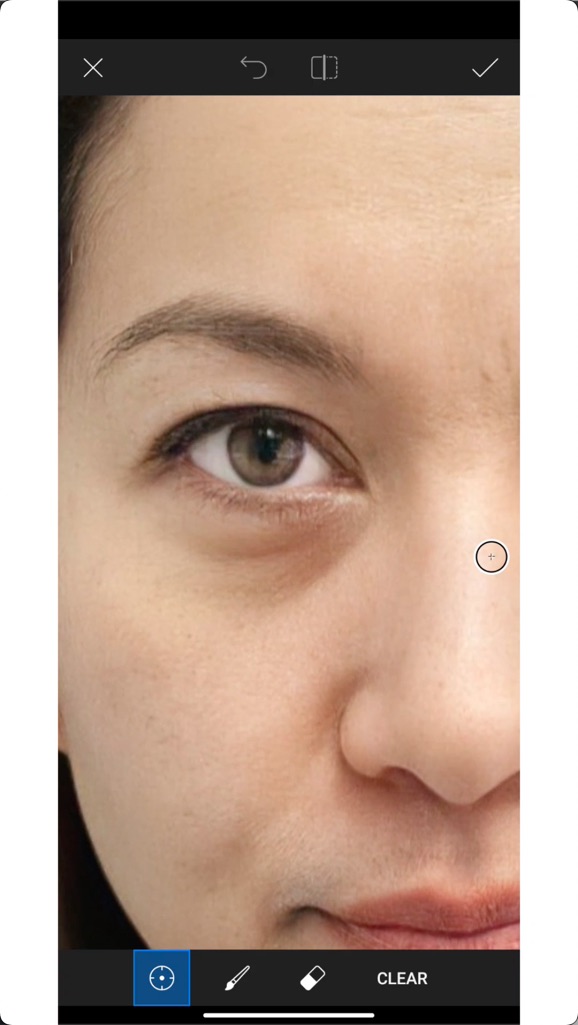
Change the settings to this.
- Size – as per your need
- Opacity – 100%
- Hardness – 25 – 35
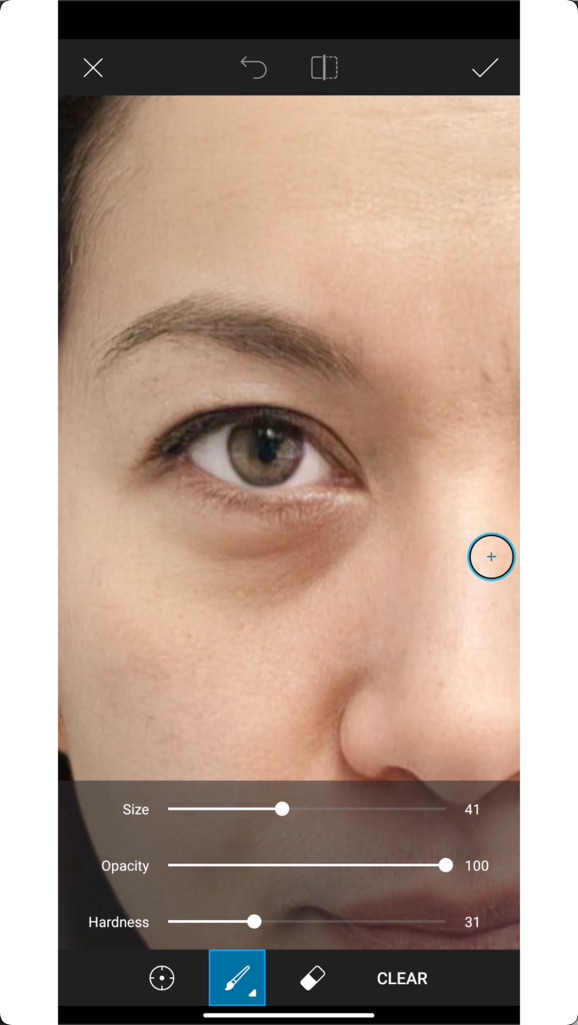
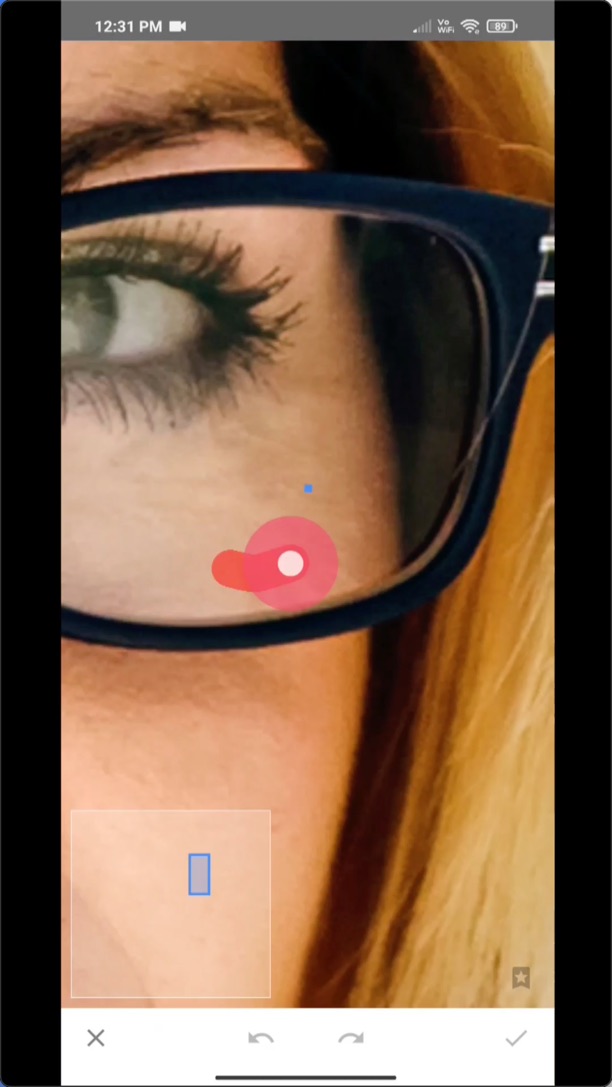
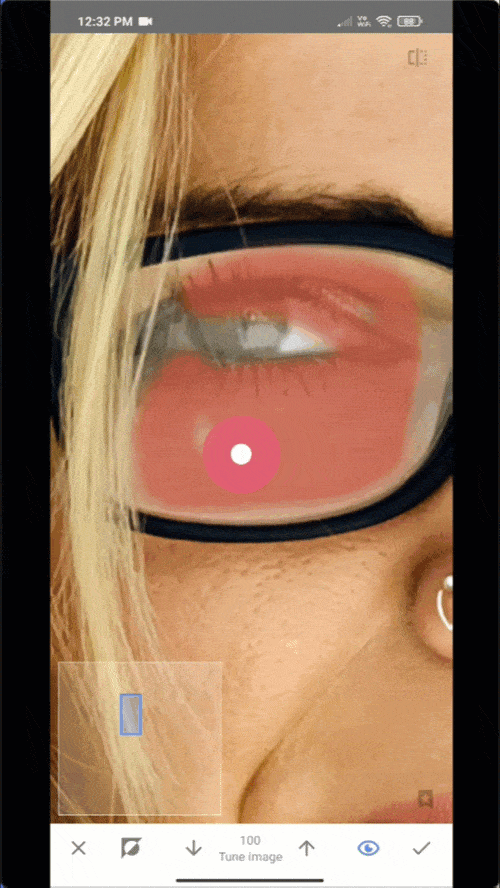
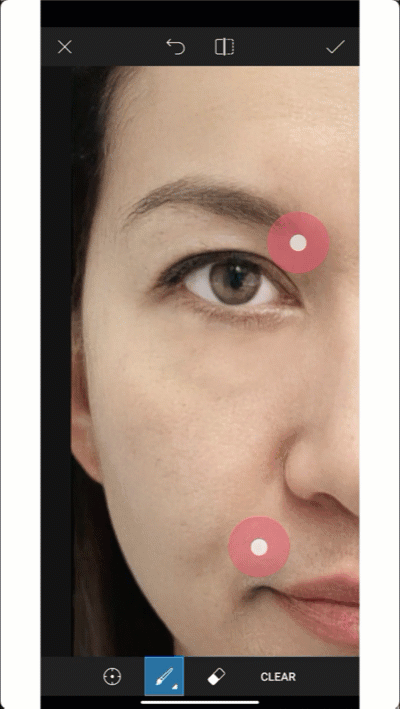
Now, start brushing on the eye bag.
I’ve added a GIF below.
Keep on doing it for one eye.
It takes time. If you’re not getting a good result or you don’t want to do it yourself, feel free to reach out to us. We’ll remove the eye bags for you. Try Us for FREE. Get Your Free Demo.
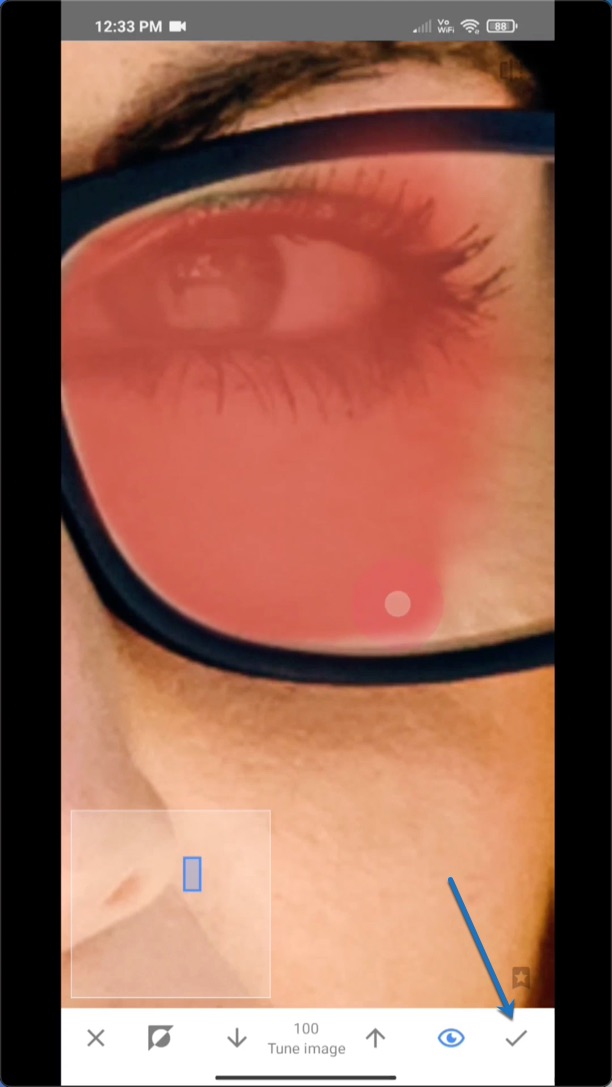
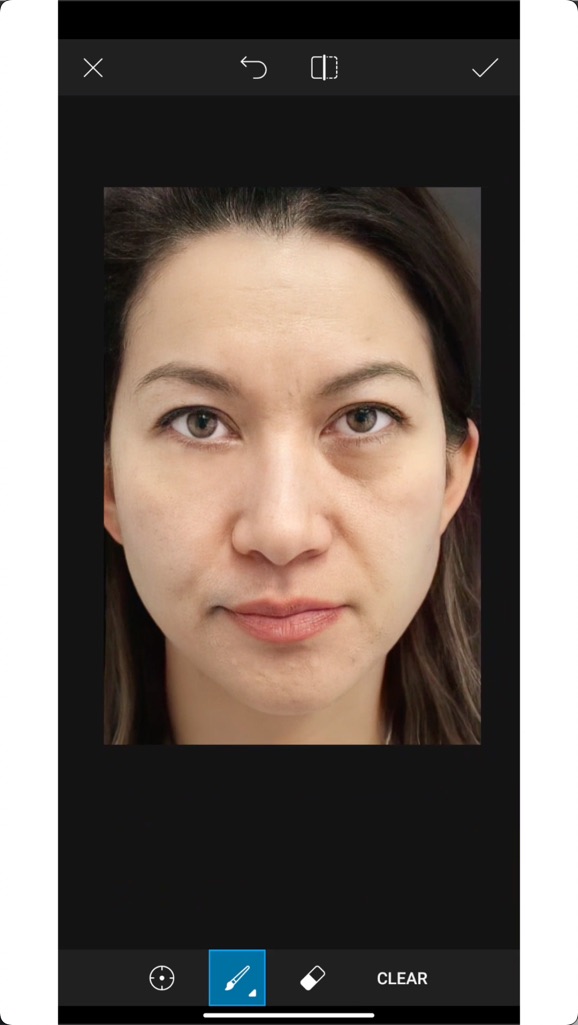
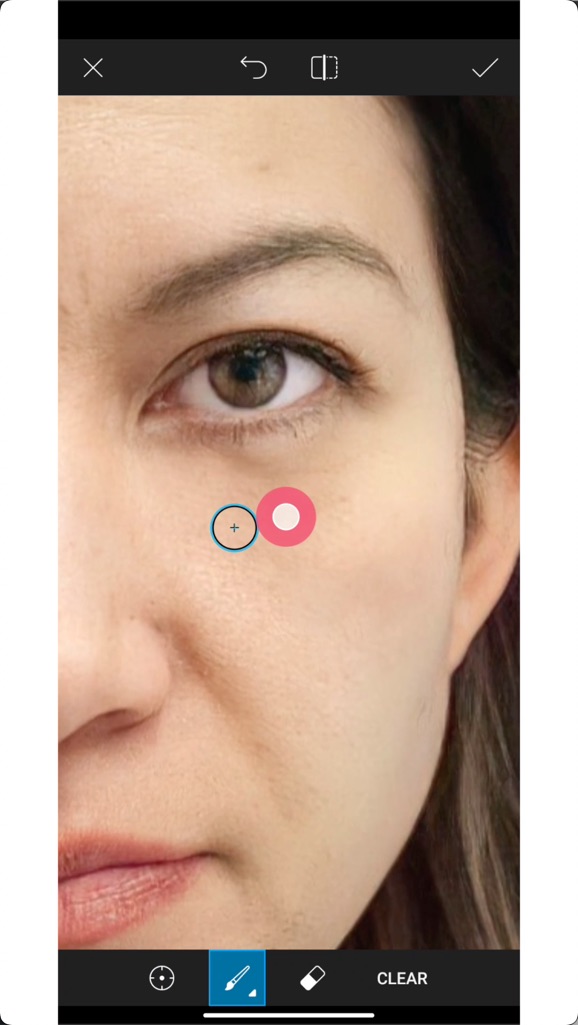
I’ve removed the eye bag of the left eye.
See the result.
You may be seeing some minute shadows where the eye bag was. I’ll remove them when I’ll be giving the final touch to the photo.
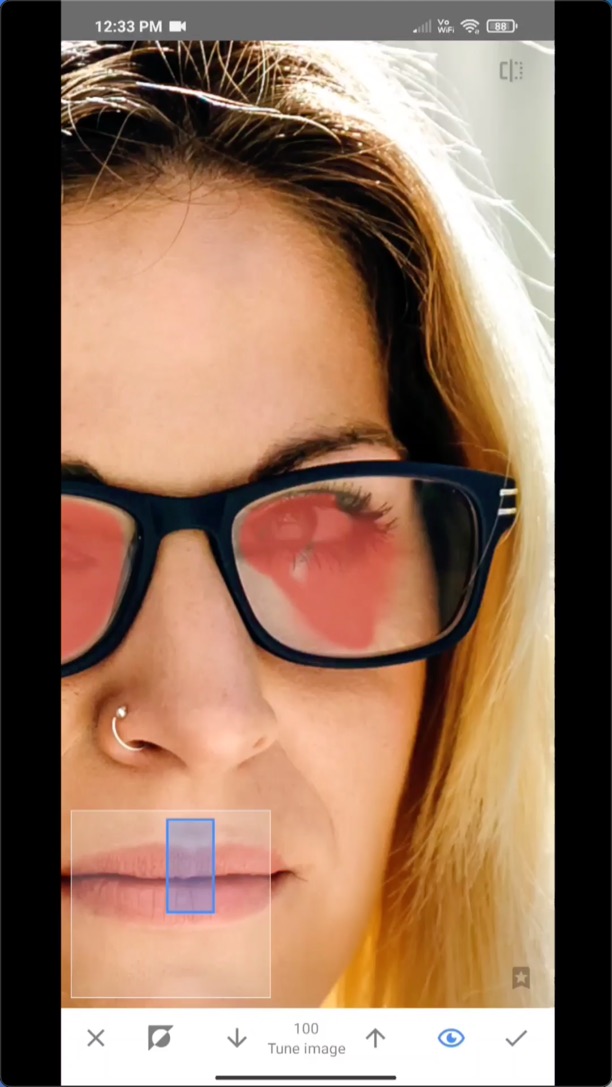
Step 3 – Remove the other eye bag
Follow the same way to remove the other eye bag.
I know it takes time. But keep on doing it.
If you’re not getting a good result or you don’t want to do it yourself, feel free to reach out to us. We’ll remove the eye bags for you. Try Us for FREE. Get Your Free Demo.
Now, we’re almost there.
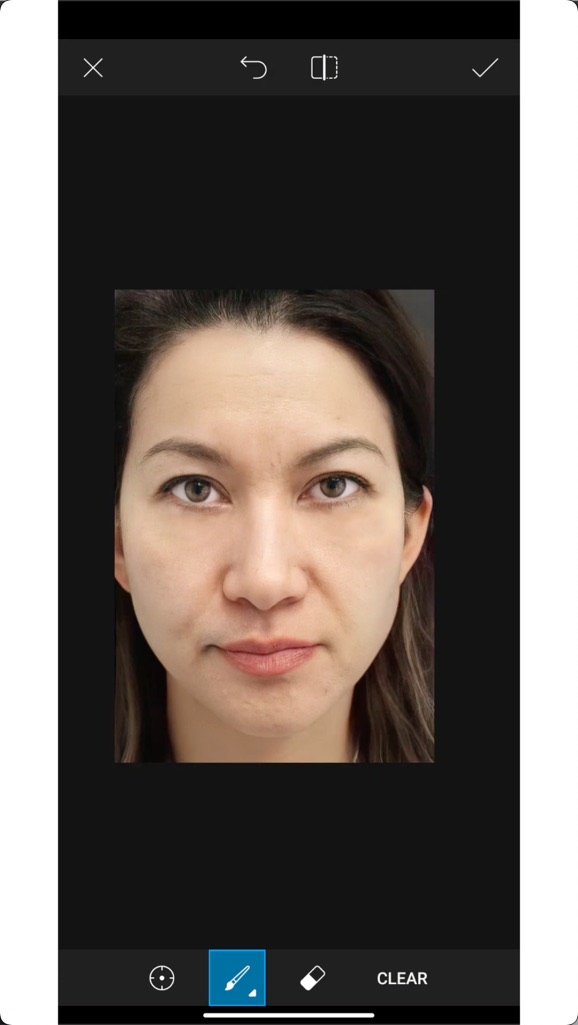
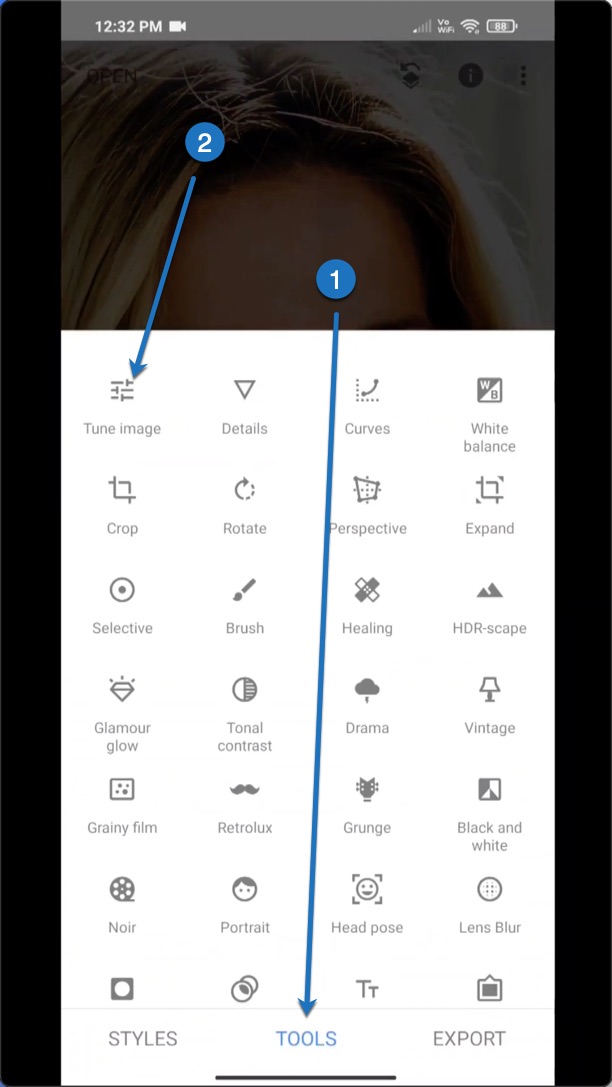
Step 4 – Make some other essential adjustments
Go to Tools > Adjust
Make the following changes.
- Brightness – +2
- Contrast – +8
- Shadows – +26
These values may be different for you. My goal is to make the photo aesthetic.
Here’s the final photo.
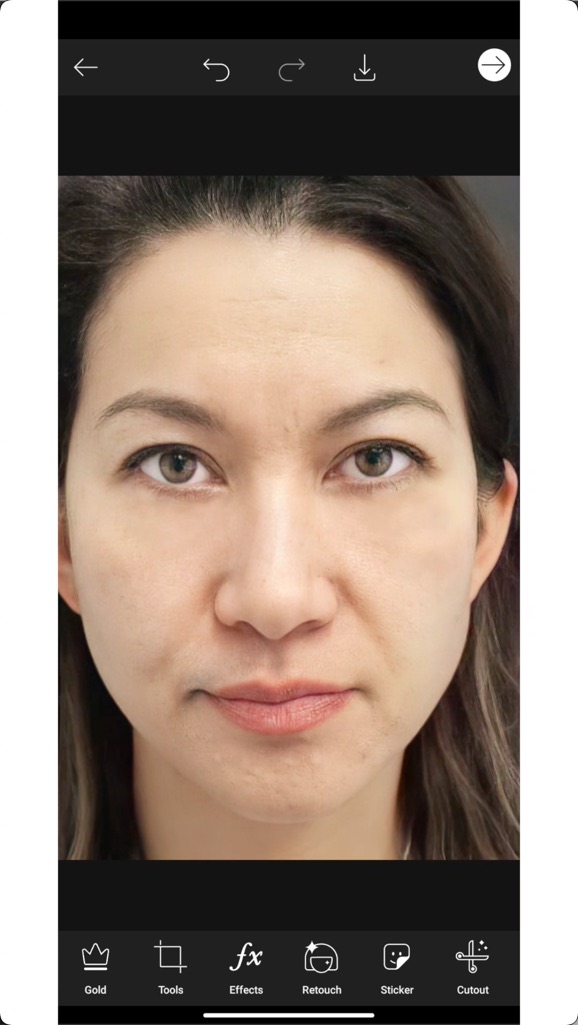
Step 5 – Save the photo after removing the eye bag

Other apps you can use to remove eye bags
If you don’t use PicsArt, you can use these apps also.
The steps will be the same. Only the UI will be different.
- Snapseed
- Photoshop Express
Let TrickyPhotoshop remove the eye bags in your photos
I understand if you’re not getting a good result. This is a complex tutorial for many of us.
I’m here to help you. My team will remove eye bags from your photos. Try Us for FREE. Get Your Free Demo.
What causes eye bags?
I’m not a health expert.
There are tons of reasons. Some of the most common causes are:
- Normal aging – As a person grows older, the skin around the eyes becomes thinner and may swell or droop.
- Crying – The salt in tears may cause fluid retention in the eye area.
- Sleep deprivation – Interrupted sleep cycles are common causes of eye puffiness.
- Fluid retention – Many conditions (including pregnancy and hormonal variations with menstruation) can lead to the retention of fluid. These conditions can cause swelling around the eyes to be more prominent. (This cause can partly alleviated by raising the head of one’s bed.)
- Diet – Too much dietary sodium encourages fluid retention and may lead to puffy eyes.
- Alcohol and tobacco use – Alcohol and tobacco may lead to stress, fatigue, and hormonal changes; all of which may lead to fluid retention and swelling around the eyes.
- Allergies – Allergic reactions can lead to leaks in the subcutaneous capillary beds which can cause swelling in the face, including around the eyes.
Source – Wikipedia
What are the ways to remove eye bags?
Wikipedia says that following these things will most likely remove your eye bags.
- Elevating the head while sleeping can prevent the gravitational redistribution of fluid that is associated with eye swelling.
- A low-carb diet can prevent eye puffiness by preventing water retention.
- Eating foods rich in vitamins, especially A, C and E, helps to reduce eye puffiness and to maintain clear, moist skin.
Cost of surgeries to remove eye bags
I’m not a doctor. So, please consult with a doctor before proceeding.
I found one surgery on Healthline. It’s blepharoplasty.
It’s a cosmetic procedure that helps correct lose skin, excess fat, and wrinkles in the lower eye area.
According to the American Society of Plastic Surgeons, the average cost of eyelid surgery is $3,026. This price can vary by region, the experience of the surgeon, and other factors.
If I were you, I wouldn’t use this surgery to remove my eye bags. Nutritious food and sleep would be good enough for me.
Conclusion
- You saw how to remove your eye bags for free in a photo using an app.
- You can make eye bags less visible in photos by making sure that the light source isn’t above you.
- Or you can use us to remove your eye bags for you. Get Your FREE Demo.