7 Reasons Why You Should Acquire Photoshop Skills While at College

Whether we like it or not, we live in a digital world. Photos, videos, advertising, and visual stories have become an inevitable part of web content. We receive a tremendous amount of information from these sources. Speaking about visual content, perhaps, there isn’t a person who hasn’t heard about Adobe Photoshop.

While studying at college, you might have already thought about acquiring Photoshop skills. But a lack of time or motivation can stop us from a lot of things. Let’s try once more together. In terms of time, you can save yourself several hours for training when you delegate your college assignments to professional writing services such as https://essaypro.com/. Then, you can spend that time on something that matters to you.

Adobe Creative Cloud Students

What about motivation? Let’s try to figure it out too. Why do you need to spend time on learning such a complex software package like Photoshop? What is the practical use of mastering the intricacies of this program to an ordinary student, who is far from the design realm? The best reasons are gathered below.

1. Editing Shots

The internet, which has invaded our everyday life, seems impossible without raster images. Even if you are just communicating with your friends on a social network, sooner or later, you will want to share some pictures. Exchanging photos, memes, and even emojis is a part of our daily life. That’s where Photoshop will become an indispensable tool.

This editor helps correct the photographer’s mistakes. Adjust lighting, shadows, remove the “red-eye” effect, fix the horizon line, or remove extra objects from the frame. You can quickly make shots black and white, or add brightness in 1-2 clicks using filters, color or tone correction.

At the moment, the development of Photoshop impresses with its functionality. It allows you to process images, radically transforming them. But it also gives a solution to such simple tasks as making yourself a cool avatar or editing some Instagram pics.

2. Career Possibilities

Knowing the basics of editing will be a useful skill for those who study in the field of digital marketing, visual communications, event management, advertising, or SMM. As running pages on socials is an important part of their job, Photoshop skills will surely prove their worth. With unique visual content, it will be easier to create a post or article on Facebook or Instagram, and attract a larger audience.

There are also a lot of highly paid professions that require Photoshop skills. So, if you are interested in working as a graphic designer, web designer, or mobile app designer, it’s time to go ahead and acquire solid editing skills.

3. Self-Expression

With Photoshop and its tools, it’s easy for anyone to express their creativity. You no longer need to be Leonardo da Vinci or Pablo Picasso to create impressive art. This editor helps you realize your graphic projects, edit images, and even make greeting cards.

4. Saving Money

The editing skills allow you not to spend additional costs on simple design services. If you run a website, you will no longer have to pay for images or poster design. Also, in your future career, you can make business cards and advertising materials yourself. Both quickly and for free.

5. Developing Business

Photoshop can help you develop a business based on your own artistic product in the future. Today, in the era of technology, the e-Commerce business is rapidly growing. Beautiful and fancy shots are a very important factor in attracting customers nowadays. You can make your products’ pictures more glamorous and thus help them stand out on the market.

6. Creating Family Album

Besides professional opportunities, Photoshop skills can help you solve the problem of a family gift. How much disk space do your pictures occupy? And how many can you proudly show to your guests? Definitely not all of them. But these shots can become a wonderful material for creating masterpieces in Photoshop.

With this editor, you can fix anything: framing, color, brightness, contrast, sharpness. Then, you can save everything in a more compact format without losing quality. Moreover, do not rush do delete the shots that seem completely failed they can become a great basis for collages.

7. Earning Money

There is a fairly large group of people for whom working with pictures has become not only a pleasant hobby but also a good way of making a living. There are lots of online stock image marketplaces where you can sell your creations. Why do people buy those pictures? Mainly for website design or promotion materials.

Conclusion

Photoshop has unlimited possibilities, hundreds of tools, thousands of functions, and millions of effects. It is almost impossible to learn it perfectly, but it is quite possible to master it at a decent level.

This editor is not just a toy or a fancy program for a small cohort of professionals. It’s an excellent and practical tool for any modern person, which allows you to realize the boldest idea and radically transform an ordinary picture to a masterpiece. Does it sound like a reason to start learning now?

Is 8 GB Enough for Photoshop? Our analysis says “No”

Is 8GB Enough for Photoshop? The answer is a big NO.

If you just wanted to know whether 8 GB is enough for Photoshop or not, you have the answer. If you want to know why then read further.

Photoshop is a resource-hogging software like Chrome. The reason behind is that it has to do many calculations to seamlessly edit a photo. The calculation gets bigger as the image size increases.

When is 4 GB RAM enough for Photoshop?

If the photos are fairly small (max 2000 x 2000 pixels) then 4 GB RAM shouldn’t create any problem.

Also, note that if you open multiple photos of this size then each photo will take some RAM. This ultimately reduces the available or free RAM which then makes Photoshop less responsive.

We already know that the bigger the photo is, the more RAM it requires.

Nowadays, all phones are coming with at least 12 MP camera. The current iPhone 11 also comes with a 12 MP camera. Photos taken by a 12 MP camera are 4000 x 3000 pixels in size.

DSLR cameras are of more megapixels. The most common ones have 24 MP and the photos taken from a 24 MP camera are of 6000 x 4000 in size.

This certainly means that you cannot edit even phone photos smoothly in Photoshop when your PC has only 4 GB of RAM.

A person on Reddit says that it can work with Photoshop on a PC with a 4 GB RAM but can’t save complex GIFs.

Card

Summary: If you edit one photo at a time that is smaller than 2000 x 2000 pixels then you can go for it.

When is 8 GB RAM enough for Photoshop?

I have used Photoshop in the Macbook Pro 2015 model which had 8 GB of RAM.

I could edit photos that were fairly large (8000 x 6000 pixels) on my MacBook Pro with an 8 GB RAM. But the problem starts happening when I open multiple photos and after using the filters.

My Photoshop also used to become less responsive when I do some calculation-intensive tasks like cloning using the Clone Stamp Tool or healing using the Healing Brush Tool.

I remember when I had to deliver a file within the next 15 minutes but the photo size was big. The photo was 12000 pixels wide. Even though the task was very simple (removing a cigarette from one hand), but I missed the deadline because my Photoshop was taking so much time when I was using the Clone Stamp Tool.

Other people also say the same thing. Here’s a comment on Reddit.

Card

Here’s one more comment. This was written 3 years ago.

Card

Summary: If you edit one photo at a time that is smaller than 6000 x 6000 pixels then you can go for it. Also, if you edit multiple photos that are very small in size then you can go for it.

When should I go for 16 GB of RAM for Photoshop?

When you edit big photos (8000 x 8000 pixels) or when you have a habit of opening multiple multiple photos at a time in Photoshop.

When I bought my current MacBook which has 16 GB of RAM, Photoshop started editing even big Photoshop smoothly.

I have a habit of opening multiple photos in Photoshop and then edit them one by one. My 8 GB MacBook pro was a bit laggy because of this. But, the things are working smoothly in my 16 GB MacBook Pro.

Here’s a very good answer by a Quora user.


Here’s one more comment on Reddit. If Photoshop sees that you have 16 GB, it’ll use most of the RAM so that it runs smoothly.
Card


Summary: If you edit one photo at a time that is smaller than 8000 x 8000 pixels then you can go for it. Generally, photos are not this big but the power of 16 GB RAM also shows up when Photoshop still runs smoothly even when you have opened multiple photos in Photoshop.


5 Tips for Properly Exposing Your Photos

Exposure is an important part of photography. It determines how light or dark your image is. It also plays a big part in the overall look of the photo. If you’re not familiar with the term, exposure is the amount of light (either from the flash or other light sources) that reaches the film or camera sensor.

It can be difficult to figure out the perfect amount of exposure for your shot. That’s why we’ve put together a list of tips that can help get the proper exposure for your photos.

Understand the Exposure Triangle

Without an understanding of the exposure triangle, you won’t be able to make adjustments to set the correct amount of exposure for an image. The exposure triangle refers to adjusting 3 camera settings: adjusting the shutter speed, ISO, and aperture settings.

Exposure triangle - aperture, shutter speed and ISO

Adjusting these settings according to the amount of light in your scene can allow you to get the perfect amount of exposure in your image. To understand how the exposure triangle works, you’ll first need to understand how the shutter speed, ISO, and aperture affect the outcome of an image.

Shutter Speed

The shutter speed is the length of time the shutter is open. This allows a certain amount of light to reach the camera sensor. You can adjust the shutter speed from slow to fast.

Effect-shutter-speed

Slow shutter speed will allow more light to reach the camera sensor. This works best when you are dealing with poorly lit environments or when photographing at night. Fast shutter speed will give you less light, however, this is preferred to capture freeze motion images that are invisible to the eye.

Aperture

The aperture is the opening of the camera lens. This is how light moves into the camera. How large you adjust the aperture can allow more light to reach the camera sensor.

Lenses with different apertures

Aperture also contributes to the sharpness of a photo, which is also known as the depth of field. A small aperture gives you a wider range for the portion of the image that is actually in focus, while a large aperture only allows for a small portion of the photo to be in focus. While photos taken at f/1.2-1.8 look beautiful, you need to make sure you nail the focus.

ISO

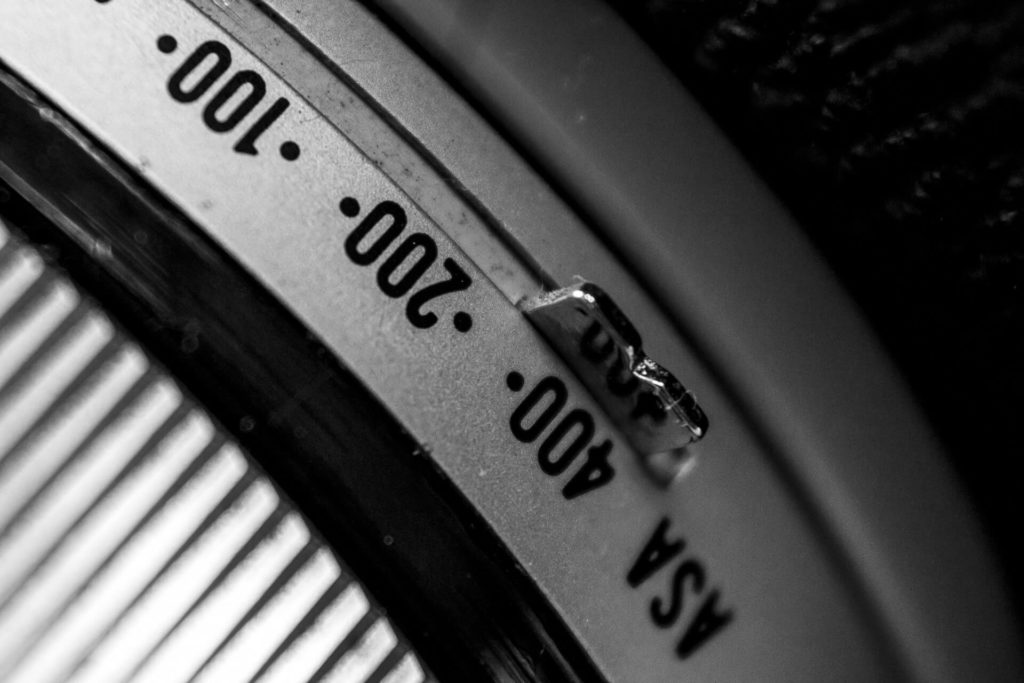
ISO is only used when you’re unable to brighten your shots with a wider aperture and a longer shutter speed. The ISO is adjusted by numbers. For a darker photo, adjust lower and for brighter photos, adjust higher. Just keep in mind, that raising the ISO will add more noise to your image which will result in a grainy look.

Adjusting all three of these together can give you the proper amount of exposure that can turn an image into art.

Check the Histogram

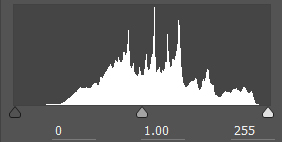
Most DSLR cameras are built with a histogram. This is basically a small horizontal graph that runs from 0 to 255, with 0 being black and 255 being white. This doesn’t mean that the middle of the histogram is perfect exposure. It all depends on the image you’re trying to capture.

Correctly exposed histogram

The histogram will show you how light or dark your image is. With this information, you can adjust the exposure triangle, or lighting you’re using, to get a darker or brighter image.

The histogram is only meant to be a guide for you; you aren’t able to adjust it. You can simply use it as a guide to perfect the exposure in the next photo. However, there is another option. You can use Live View on your camera to view the histogram directly on your screen.

This will allow you to see the amount of exposure before you take the picture. With this option, you’ll be able to adjust the aperture, shutter speed and ISO to achieve a preferred histogram level for your shot.

Keep in mind that checking the histogram is more accurate than viewing the image on your LCD screen. Your screen is often too bright and will make the image appear brighter than it actually is. Never measure your exposure by viewing the image on the screen. It’s best to use your histogram and adjust exposure levels accordingly.

Use Exposure Bracketing

Exposure bracketing is an easy way to figure out how much exposure a photo needs. With this option, you can take 3 or more shots of the same image consecutively with different exposure settings.

HDR example - exposure

You should be able to find this option in your camera. You can choose how many frames you’d like and adjust each one based on the amount of exposure you think is best for the scene.

The camera will then take 3 or more identical photos with different exposure levels. This is a very quick and simple way to get the proper amount of exposure when you aren’t sure how much is needed for the shot.

Keep Your Camera Steady

This is essential for long exposure shots. Using long exposure can give you stunning images, especially during the night. Likewise, keeping your camera steady can help you when using fast shutter speed, as well as with exposure bracketing.

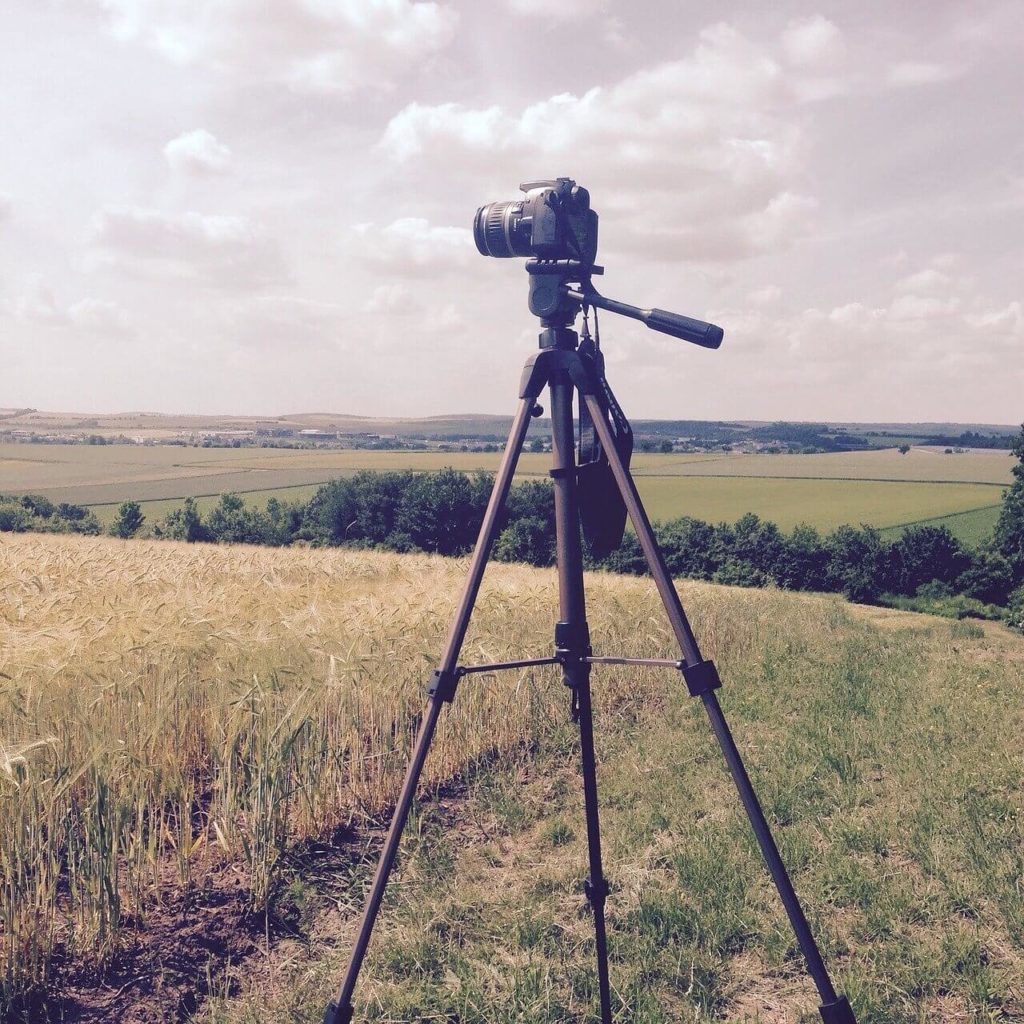
The best way to keep your camera from shaking is to use a tripod. Even the slightest movement can ruin a photo by causing blurriness. For long exposure shots, it’s best to use a timer or remote to capture the image. It’s also important to check the weather. A windy day could be able to cause movement within the tripod, ruining your shot.

Avoid Bright Lights

A bright light is able to reflect off the camera lens and cause an overexposed image. Even adjusting the exposure on your camera won’t be able to help avoid the lights.

Angling the camera might move the light source away from the lens, however, this isn’t always an option. Angling the camera in a different direction can completely change the style of your image.

Avoid taking pictures towards the sun. The sun can completely erase your image to where you won’t be able to recover it using any editing software. Use the sun as a light source, just make sure to keep the sun out of your image or off to the side.

Bright light

Another light to avoid is the flash; sometimes it’s best to avoid it altogether. A flash can create unnatural lighting that might make your pictures look too sharp. Instead, adjust your ISO setting to a higher level, or set your aperture to the widest setting. This can give you lighting without a bright flash.

Conclusion

Getting the proper amount of exposure in your images might seem difficult, especially for beginners. However, with a little practice and adjustments, you’ll be able to understand how to properly expose your photos quickly and accurately.

Read more: Understanding the Exposure Triangle by Pixpa