There are some apps that can create a paint effect. But the problem with those apps is that they don’t give you that much flexibility as the Lightroom does. Do you know what gives even more flexibility? Photoshop. But Photoshop is not we’re going to discuss in this tutorial. So, let’s see how can we create a paint effect in Lightroom.
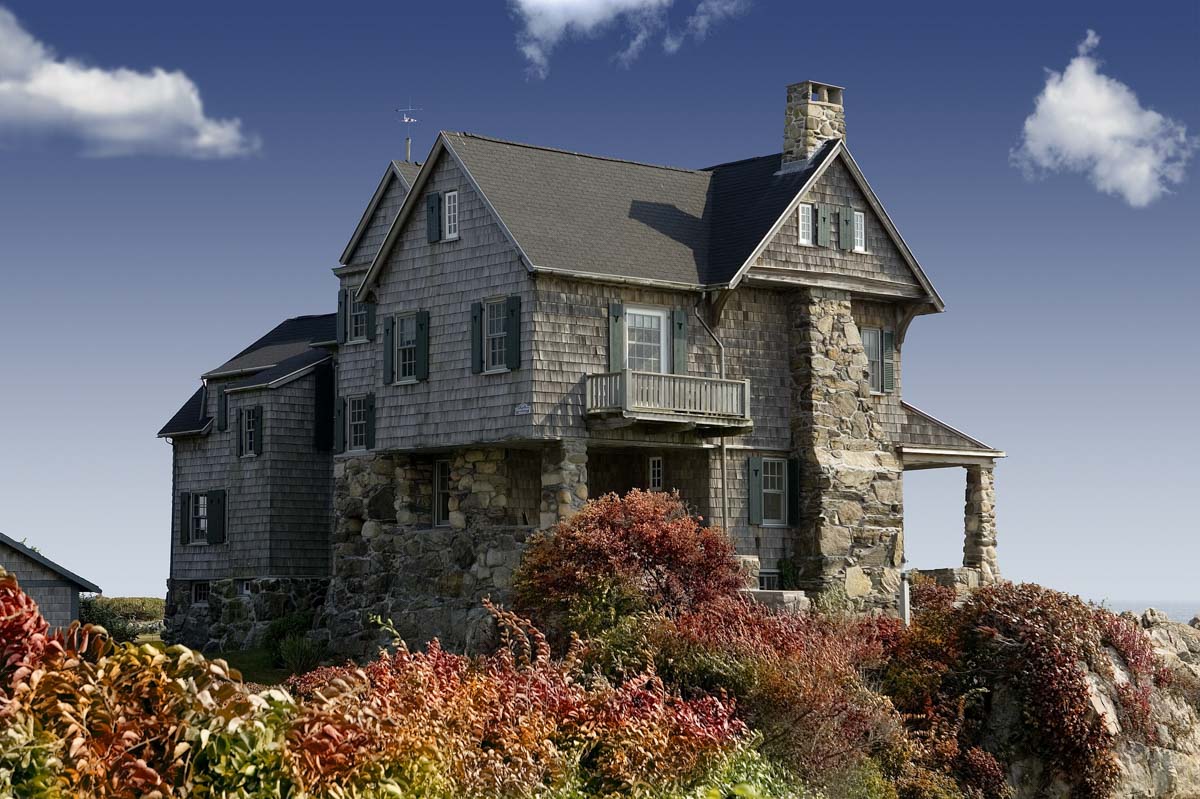
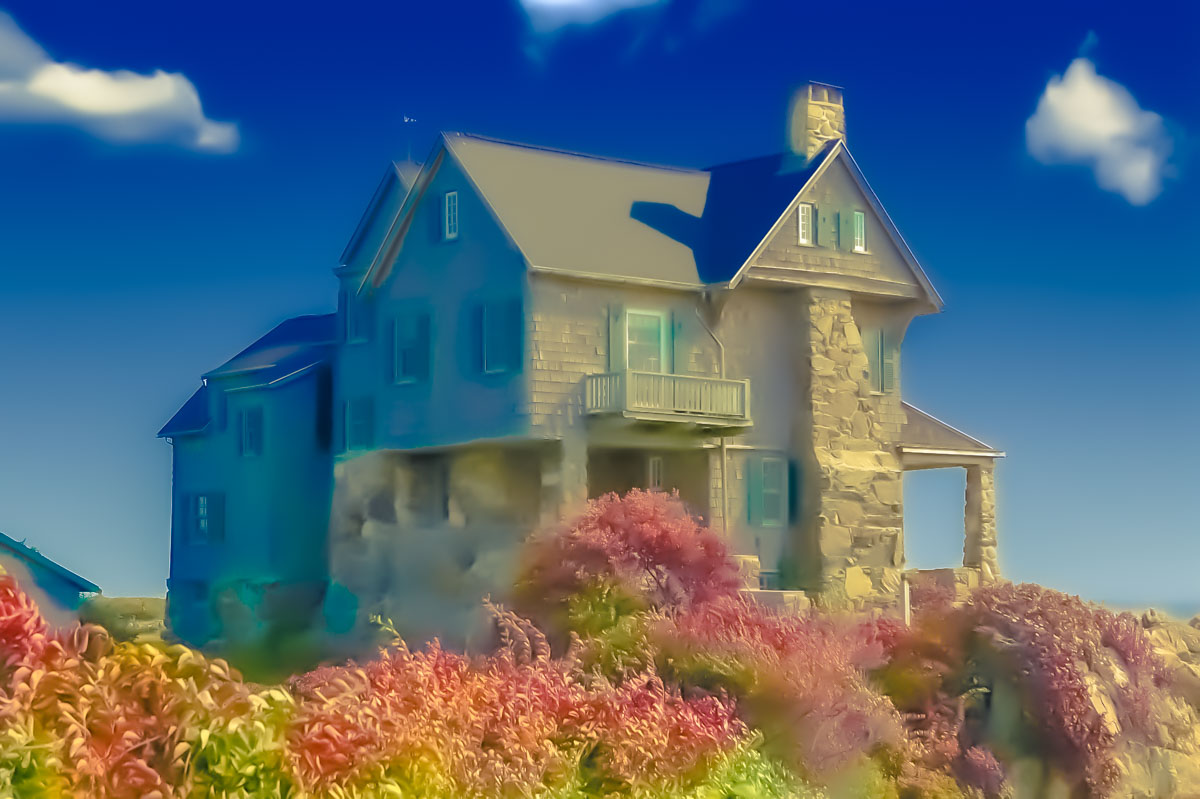
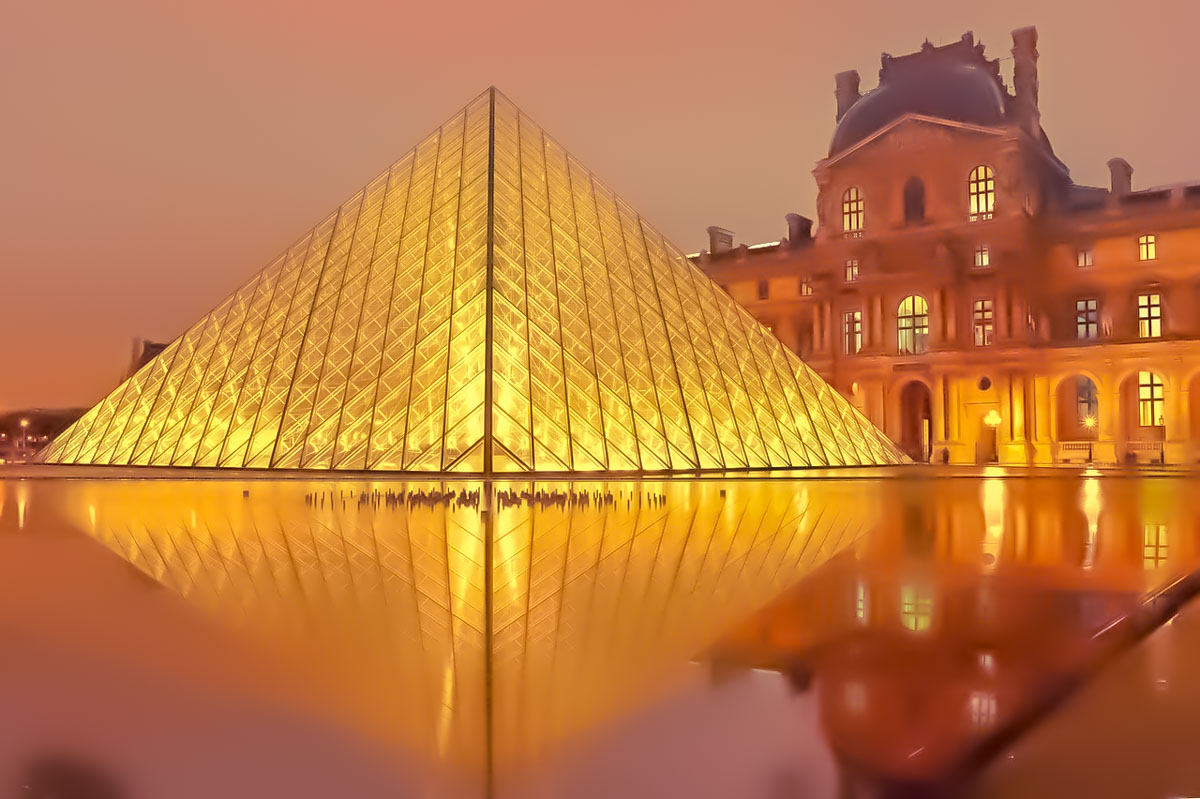
Before we begin, here are the before and after photos.
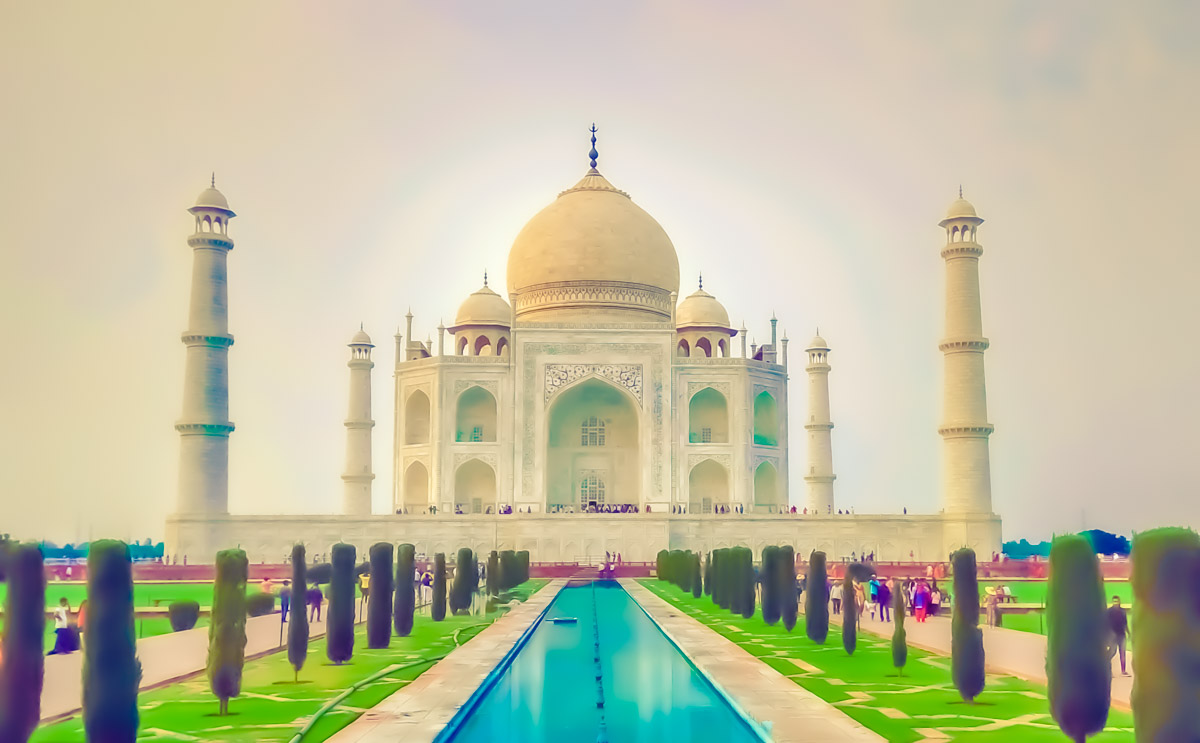
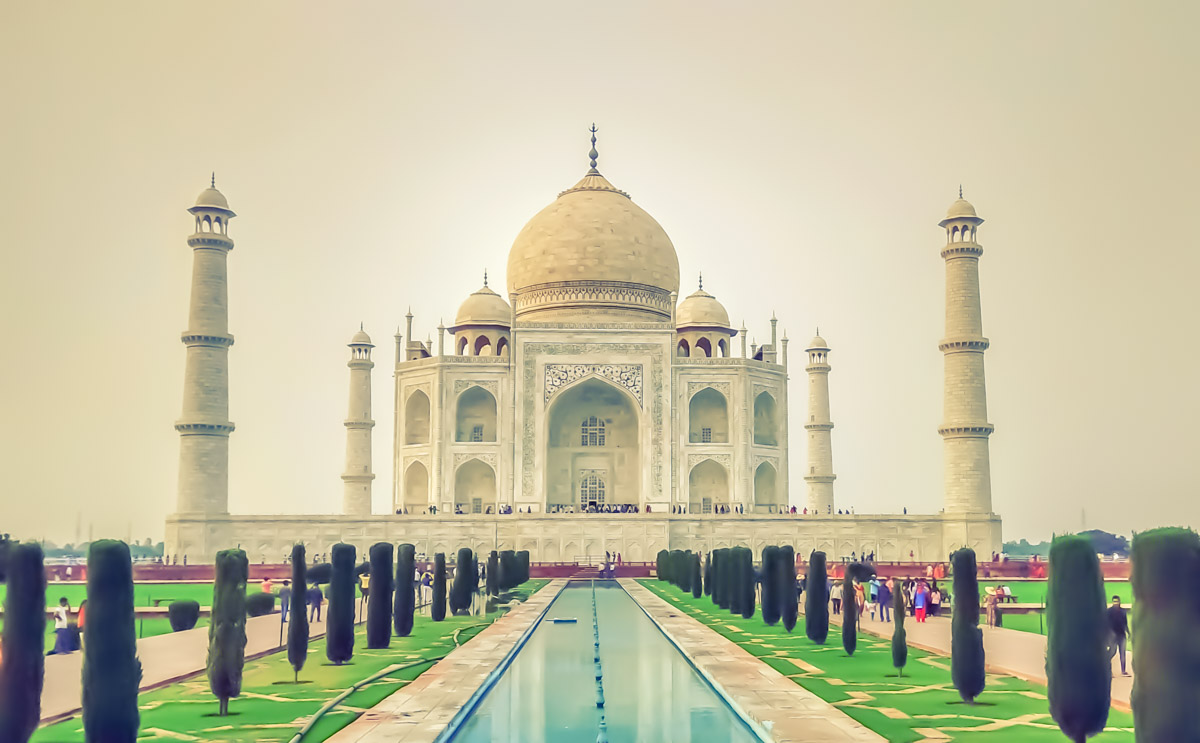
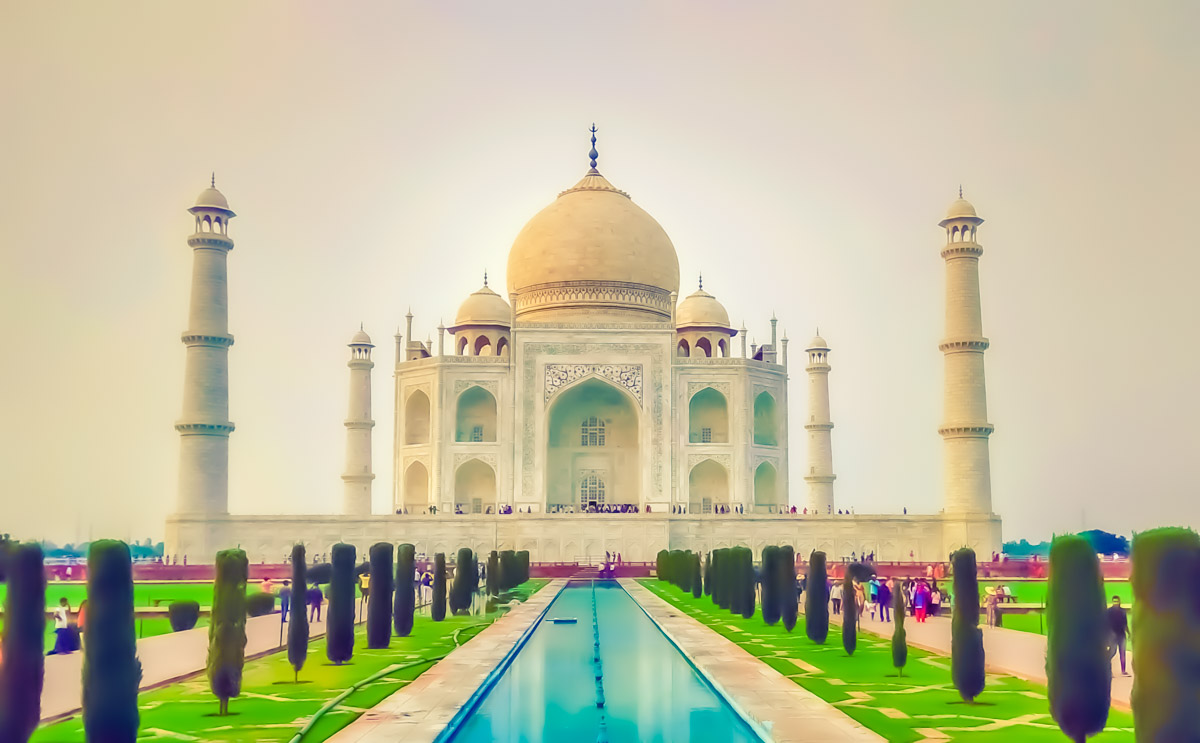
After the paint effect in Lightroom
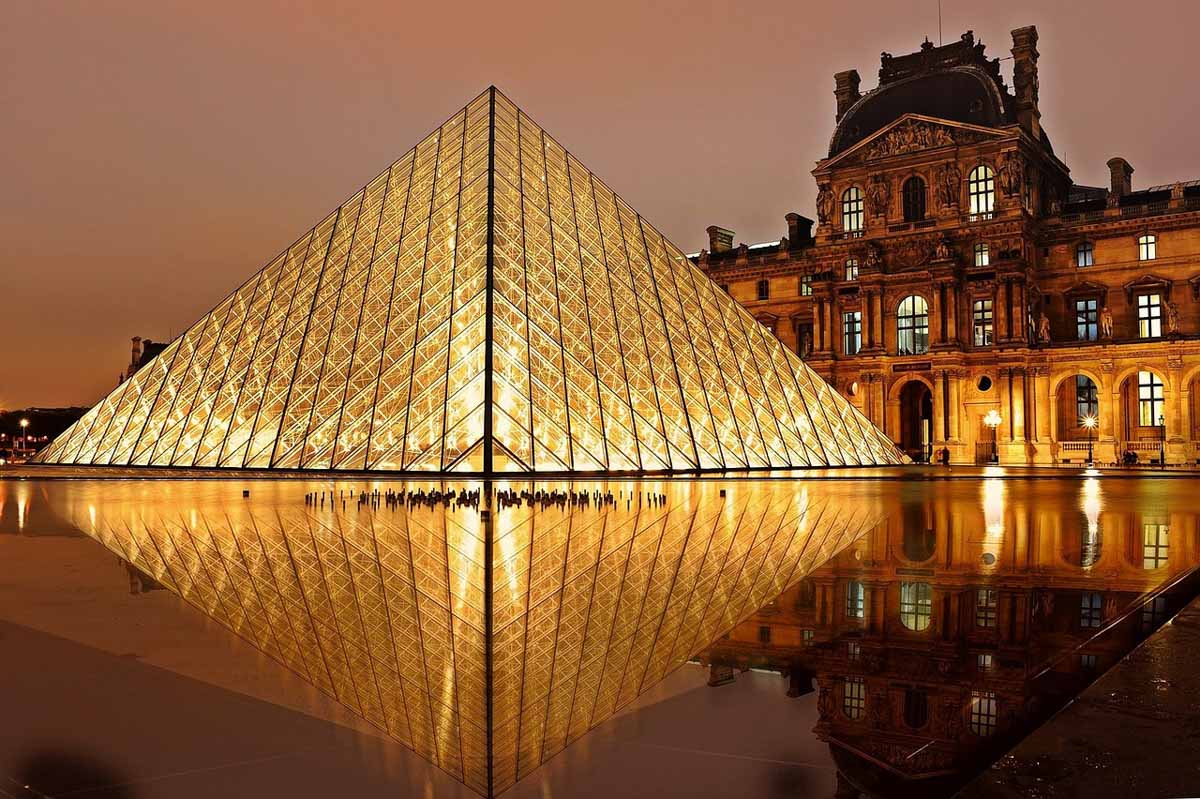
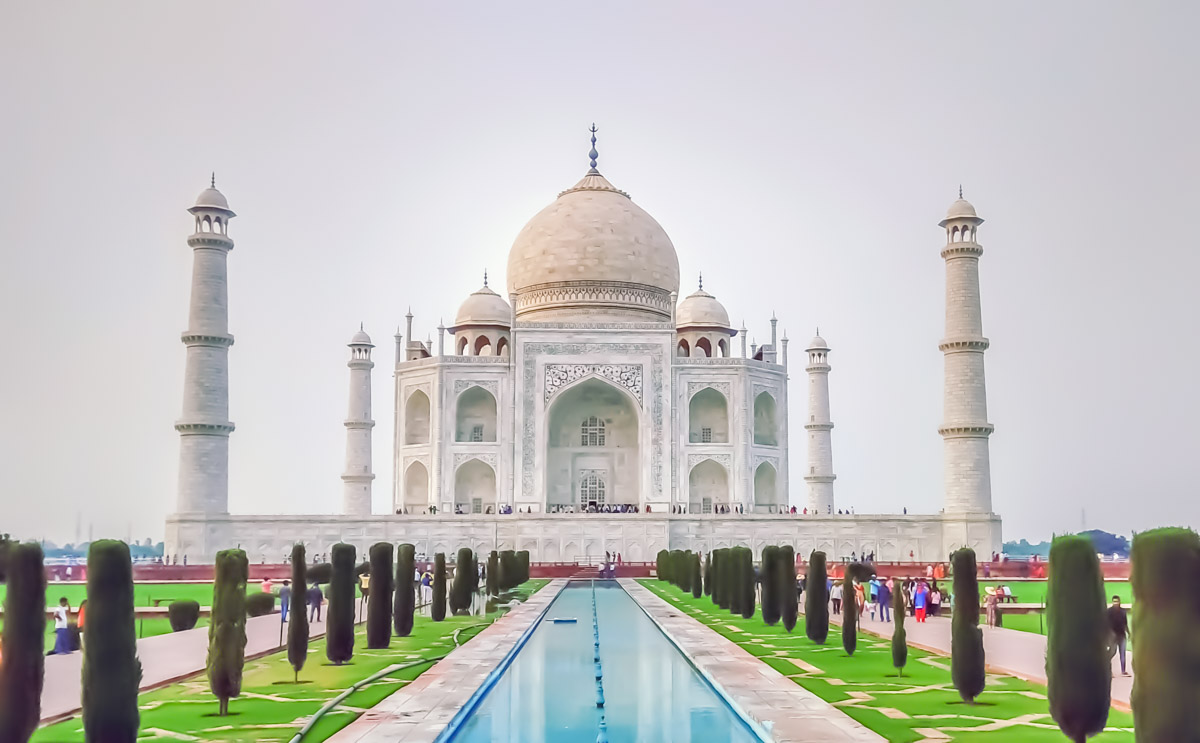
Before
Download the free preset (no email required)
If you’re interested in downloading the preset for free, here’s the link to download the Lightroom paint effect preset.
Step 1: Adjust the tone
A real painting does not have a high contrast. And, this is what we’re going to do.
Highlights: -100
Shadows: +100
Whites: +35
Blacks: +100
This is how the photo looks. Above setting work with almost all photos. If it makes your photo weird, change the values.
Step 2: Adjust the details
Before we do anything else, head straight to the Details section
Luminance: 100
Detail: 6 (this varies for every photo; the goal is to create a nice looking paint effect in Lightroom)
Color: 100
Detail: 6
This is how your photo should look.
Step 3: Adjust the Split Toning
Time to give a nice color effect to the photo.
Highlights
Hue: 60
Saturation: 62
Shadows
Hue: 235
Saturation:53
Here’s how the photo looks.
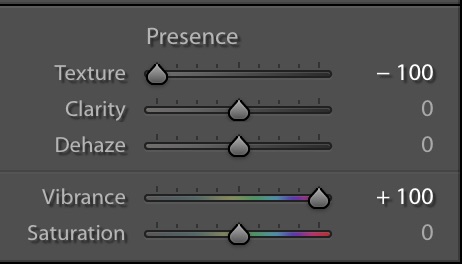
Step 4: Adjust the Presence
There’s a new slider in Lightroom CC 2019. They added the Texture slider which basically softens the photo.
Texture: -100
Vibrace: +100
If you don’t have Lightroom CC 2019 or newer version then you can skip this step. Luminance had done most of the job. This slider is just an add on.
This is how the photo should look.
FREE – Download the preset to create paint effect in Lightroom