When people hire me to edit their photos, removing people in Photoshop is one of the most common requests. Almost, every second out of ten requests is to remove a person in a photo. The person could be a stranger in a vacation photo, someone’s ex, or any unwanted person. So, I decided that I should write the best tutorial on how to remove people in Photoshop.
Let’s begin. I want to tell you in advance that this is going to be a long tutorial because I will be showing you four ways to remove people in Photoshop.
1: What is Photoshop?
It quick Google search shows that Photoshop alters digital images. Be it
- changing the brightness
- removing the people
- removing the background
- adding people
- removing fat
- replacing the sky
- or even designing a website
Photoshop can do it.
Photoshop software is owned by Adobe (NASDAQ: ADBE).
2: Why should you remove a person in Photoshop?
You’ve shot a great photo but some unwanted people in the background ruined the photo. Damn!
A child is meeting his daddy and two strangers are there in the photo. Damn! Why anyone would not want to remove them?
3: Video of all of the methods
I have created a video where I removed people using all methods that I am going to talk about in this tutorial.
4: Remove People Using Spot Healing Brush tool
Complexity: Easy-peasy
Time required: <1 minute to remove one person with in easy background
When it comes down to remove people in Photoshop, Spot Healing brush tool does a decent job as long as the background is nice and simple.
Let’s say I want to remove the person in the background that I highlighted with the Yellow color in Fig. 2.
I’ll show you how to remove the person now.
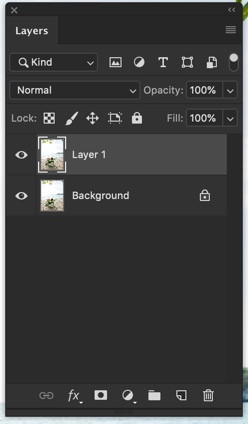
Step 1: Duplicate the layer
We want our editing to be non-destructive which means that we’re going to edit our image is such a way that our original photo should not be impacted. This helps when one messes up and want to go back to the original image.
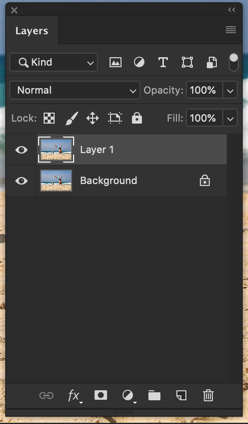
Open the Layer panel by going to Window > Layer or press F7. Press Cmd + J/Ctrl + J to duplicate the background layer.
Step 2: Remove the person using Spot Healing Brush tool in Photoshop
Grab the Spot Healing Brush tool from the tool panel or press Shift + J again and again until it activates.
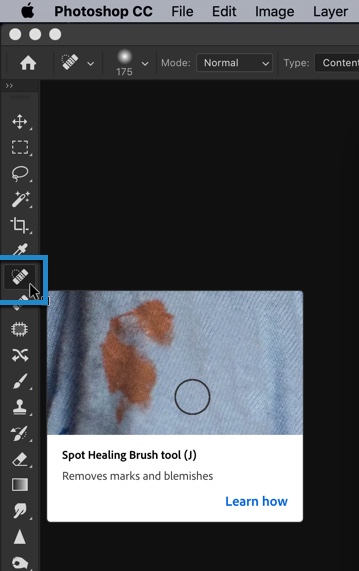
Brush on the person who you want to remove.
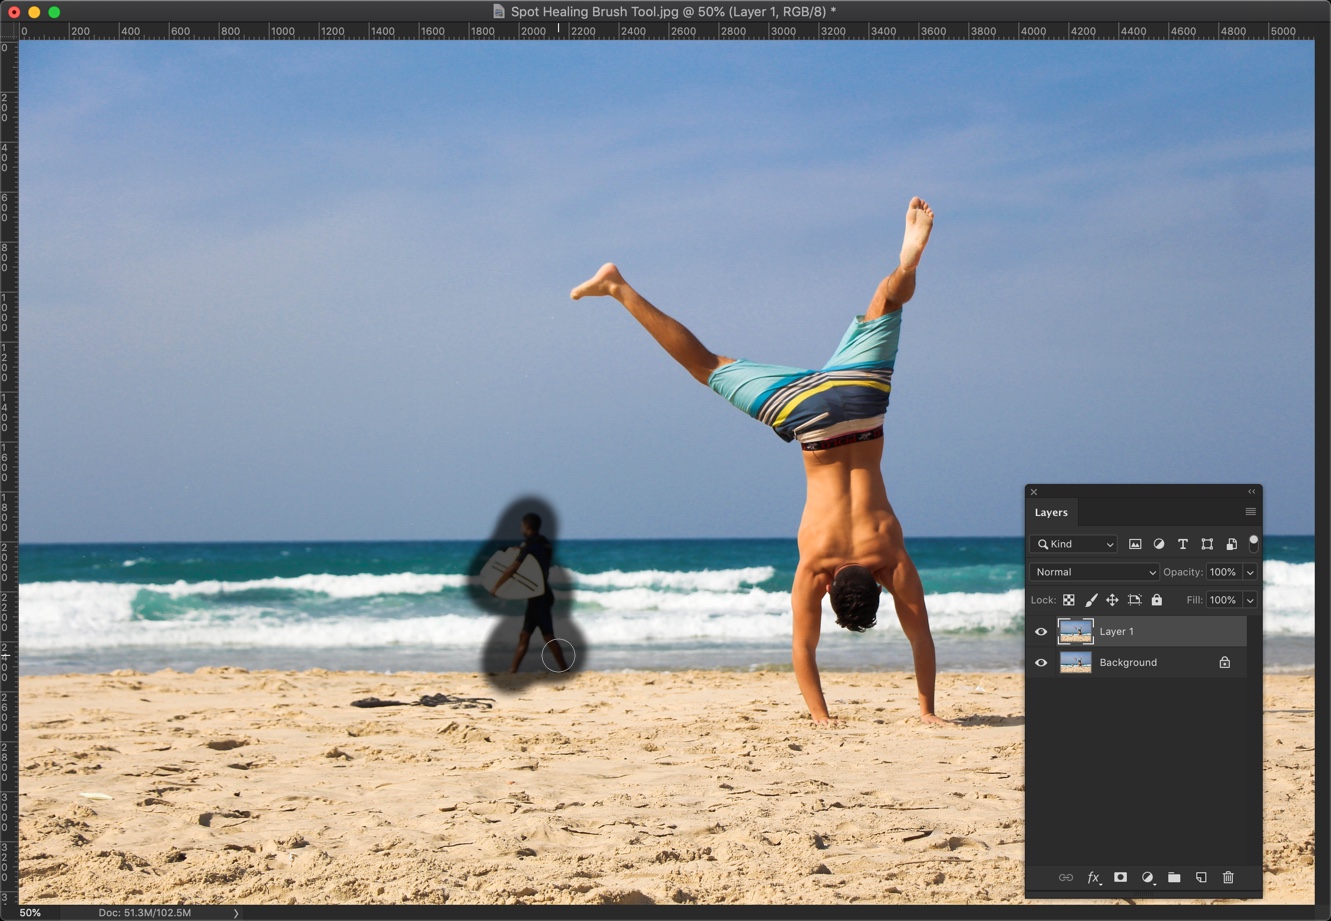
Here you go. Tell me where is that guy?
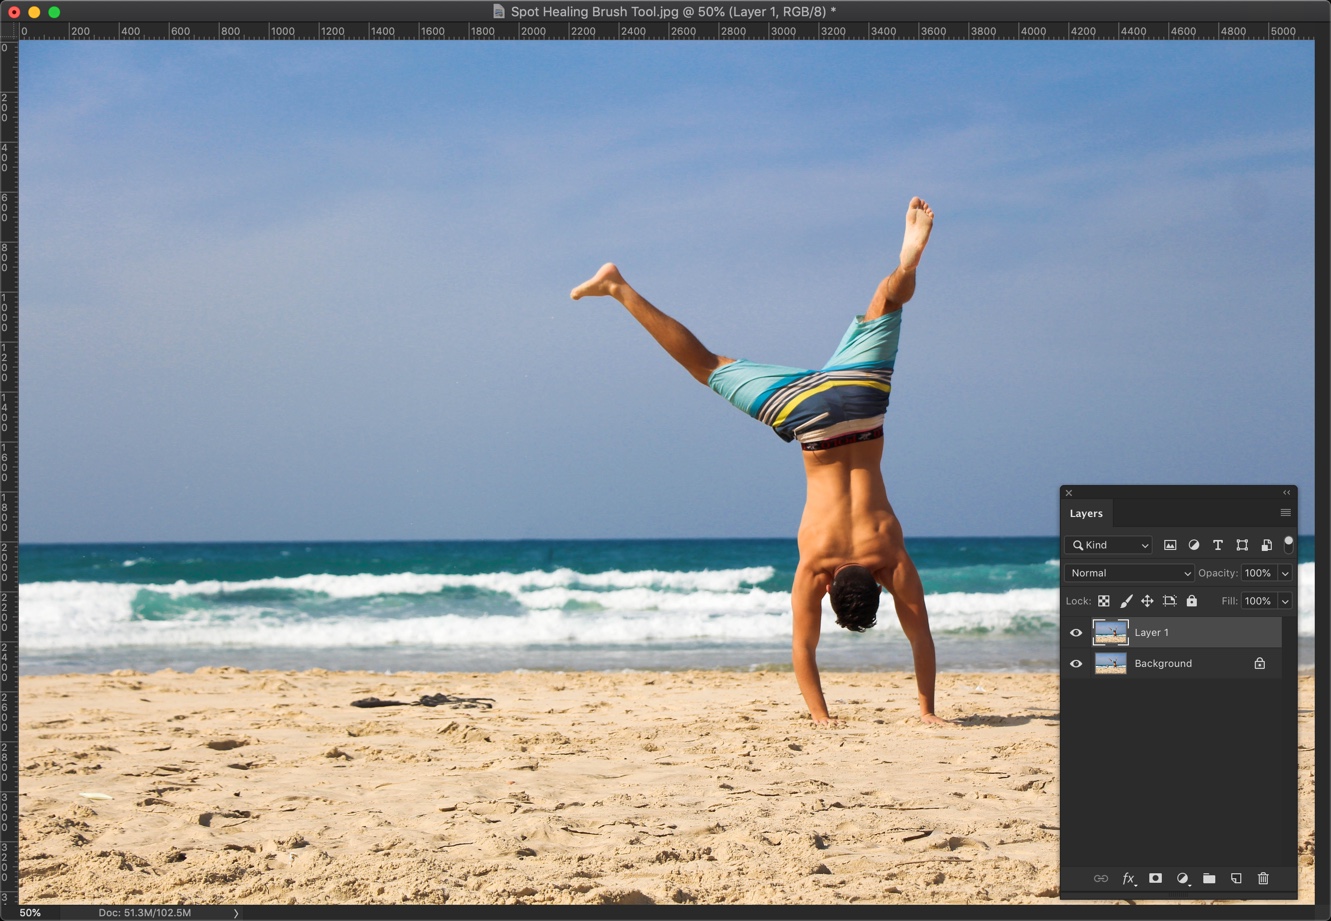
Here’s the GIF for you.

If you think that the Spot Healing Brush tool did not remove the person entirely then you can brush on the unwanted person as many times as you want to completely remove him.
5: Remove People Using the Patch tool
Complexity: Easy-peasy
Time required: <1 minute to remove one person in an easy background
The next tool that you can use to remove people is the Patch tool. Removing people using this tool is also easy-peasy.
Step 1: Duplicate the layer
Duplicate the layer by pressing Cmd + J / Ctrl + J. PressShift + J again and again until it comes.
Step 2: Remove the person using the Patch tool in Photoshop
Draw a rough selection across the person you want to remove.
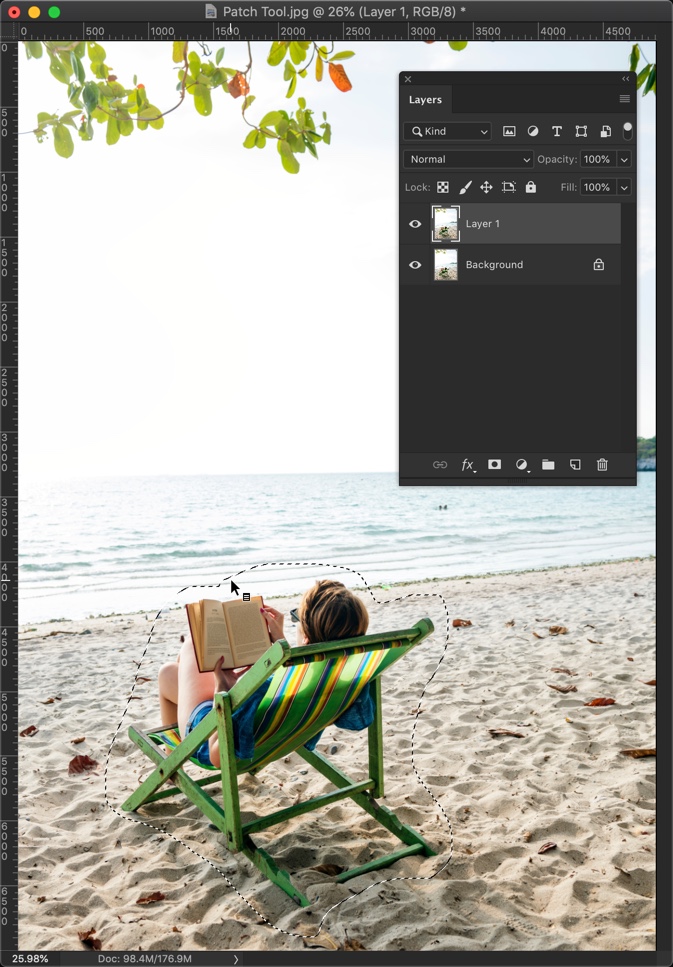
Now, drag the selection to the area which you want to fill in the person’s place. Here, I am going to drag the selection to the area which I want to use to fill the person’s area.

Below is the photo after my first attempt.

If doing it the first time didn’t give you the perfect result, do it multiple times. Here’s the final photo.

Here’s the GIF for you.

6: Remove People Using Content-Aware Fill tool
Complexity: Medium
Time required: 1-2 minutes to remove one person with an easy background
The next tool that you can use to remove people is the Content Aware Fill tool. Removing people using this tool is also easy to medium. This tool is added in Photoshop CC 2019 which was launched in the last quarter of 2018. You can skip this method if you don’t have Photoshop CC 2019.
Step 1: Duplicate the layer
Duplicate the layer by pressing Cmd + J / Ctrl + J.
Step 2: Remove the person using the Content Aware Fill tool in Photoshop
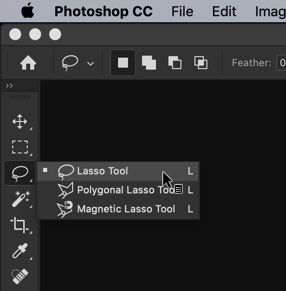
Grab the Lasso tool or press Shift + L again and again until it comes.
Roughly select the person you want to remove.
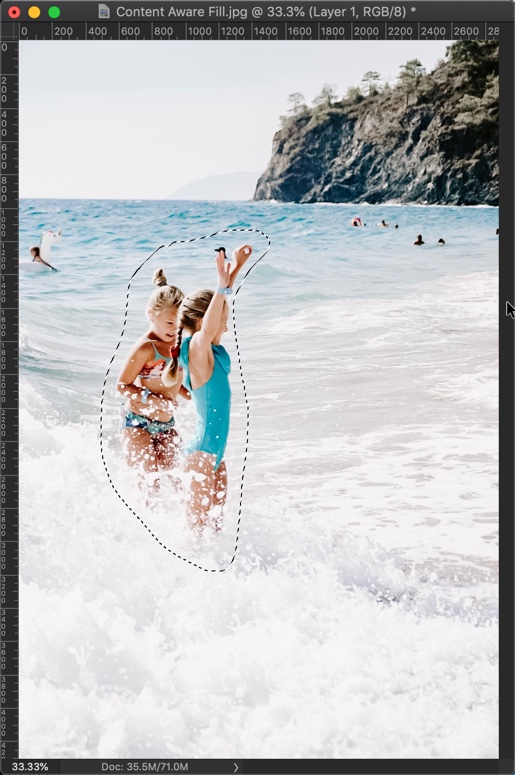
Go to Edit > Content Aware Fill. Make the settings like the ones shown in the below screenshot. The green color on the left-hand side shows the area that Photoshop will use to artificially create the background. Right side shows how the image would look like. Press OK.

Do this multiple times to remove all the unwanted people. Here’s the GIF for you.

7: Remove People Using Clone Stamp tool
Complexity: Hard
Time required: 4-5 minutes to remove one person with a cluttered background
Time to use some advance tool to remove people in Photoshop. Many professionals and I use this tool to remove people in Photoshop. We’re going to use the Clone Stamp tool. This tool basically clones the pixels from area to the other.
Step 1: Create a new layer
Create a new layer by going to Layer > New > Layer or press Cmd + Shift + N / Ctrl +Shift + N.
Step 2: Remove the person using the Clone Stamp tool in Photoshop
Grab the Clone Stamp tool from the tool panel or press Shift + S again and again until it comes.

Now, we need to remove the two girls. We know that there are sea and sand in the background. We’re going to clone that sea and sand on the girls.
The Clone Stamp tool has two cursors. One is the target and another is the source. The Source shows from where the pixels are being cloned from and the target shows the area on which pixels are being cloned.
Hold down Opt / Alt to choose the target. I am going to select the sea first. As soon as you hold down the Opt / Alt key, the cursor will change. Check the below screenshot. This is how your cursor would look like.
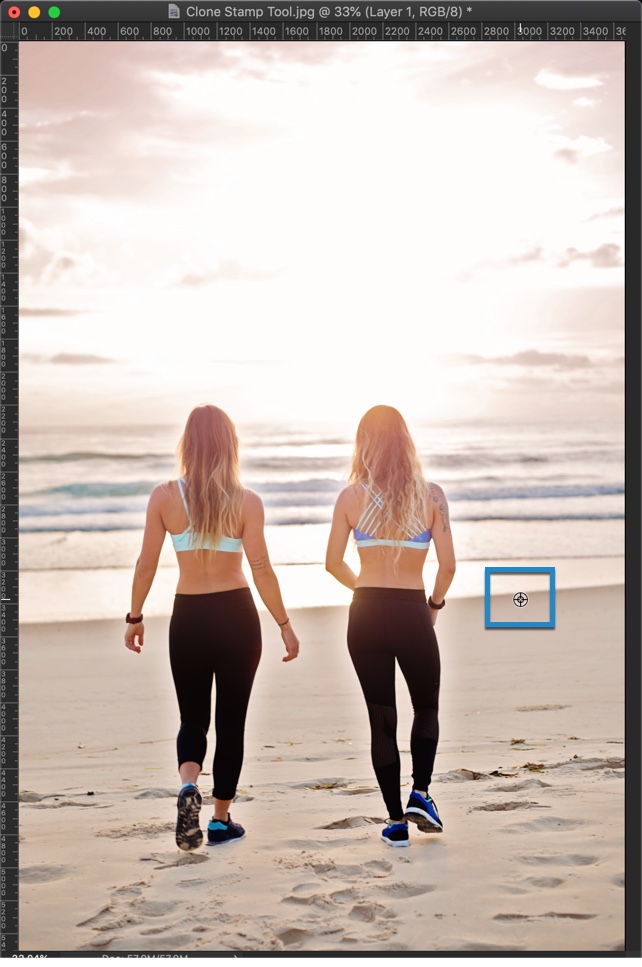
Now, start brushing on the girl.

Change the source multiple times.

Here’s one GIF for you. Sorry that I had to increase the speed to 3 times to make the GIF shorter. Otherwise, GIF would have been of 22 MB.