
Hey, welcome to another 1-minute series. Today, I’ll show you how can you change eye color in Photoshop in 1 minute. Yes, I have written a tutorial on this topic a few years ago. The tutorial was quite big and you cannot use that tutorial to change the eye color in just 1-minute. This is why I am bringing you this tutorial.
There has been a good demand for the 1-minute series and many people are asking me to create several 1-minute series. Some of them asked me to write one on how to change eye color in Photoshop. Others are swapping the sky, change skin tone, etc. in just 1-minute. I have written some of them in my 1-minute series. I still need to write many of them. So, bookmark the page so that you come back later.
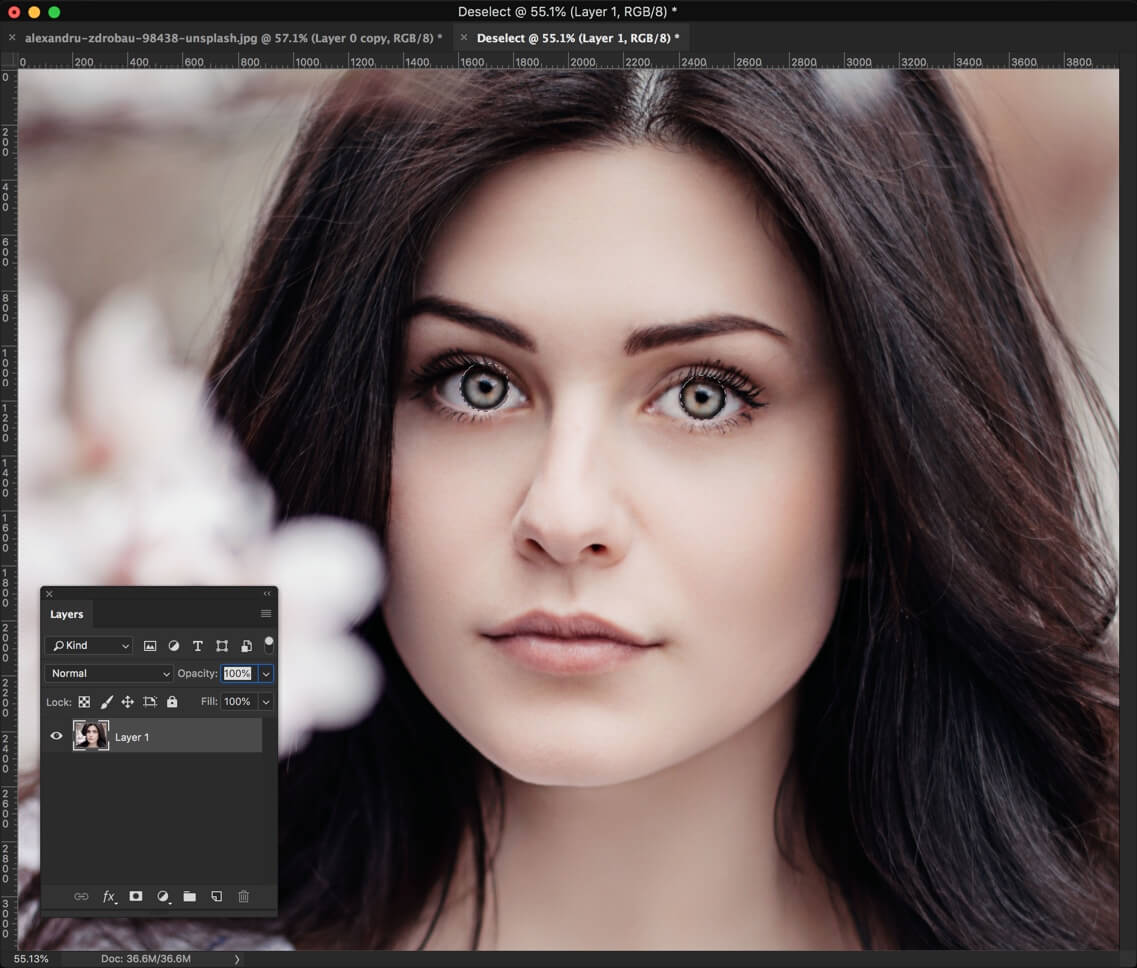
Before I begin the tutorial, let me show you the final and initial image.
Before

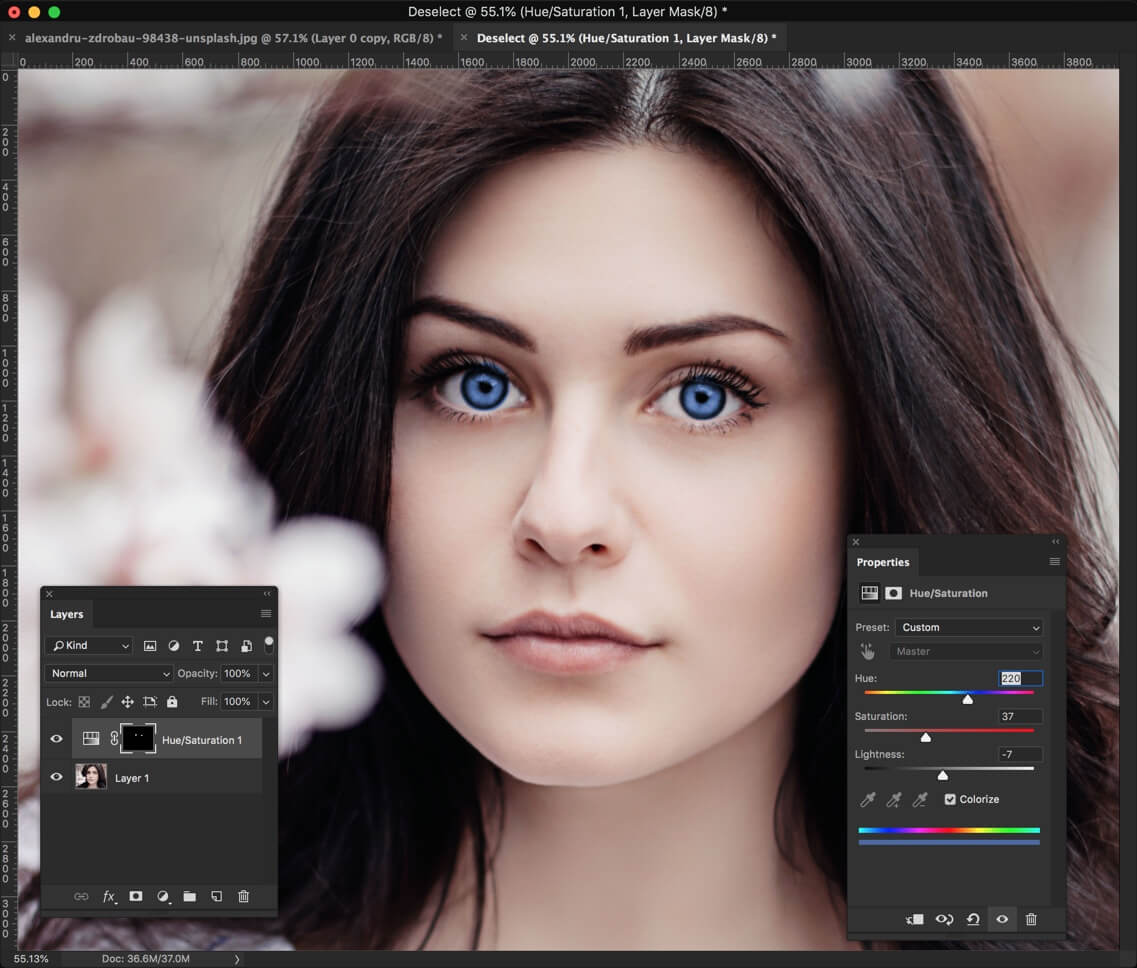
After

Step 1 – Select the Eyes
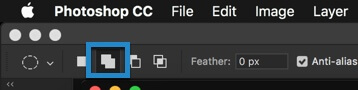
The very first step is to select the eyes. I am going to use Elliptical Marquee tool. I am using Elliptical Marquee tool because eyes are circular and which tool is better than Elliptical Marquee tool. But, if you’re not comfortable then you can use other tools like Quick Selection tool.
Please Shift + M again and again until Elliptical Marquee tool activates. We’re going to select both eyes at the same time. So, we need to activate “Add to Selection” tool which means that your old selection doesn’t get deselected as soon as you make a new selection.
Hold down Shift and start making a selection across one eye at a time. You can hold down Space if you want to move the selection. Select both eyes.
Step 2 – Change Eye Color in Photoshop
Now, we’re going to change the eye color.
Go to Layer>New Adjustment Layer>Hue/Saturation.
First, click on “Colorize”. It will colorize the image (in our case, it’ll colorize the selection).
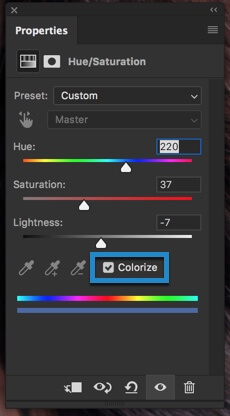
Now, play with the sliders to get the desired color.
Hue – It will change the color
Saturation – It will increase the saturation of the color i.e. more vivid or less vivid
Lightness – It brightness or darkens the color
With these three sliders, you can make any color.
Step 3 – Finetune the Selection
We made some mistakes in step 1 while making the selection. The selection was not perfect. Now, we’re going to fix it.
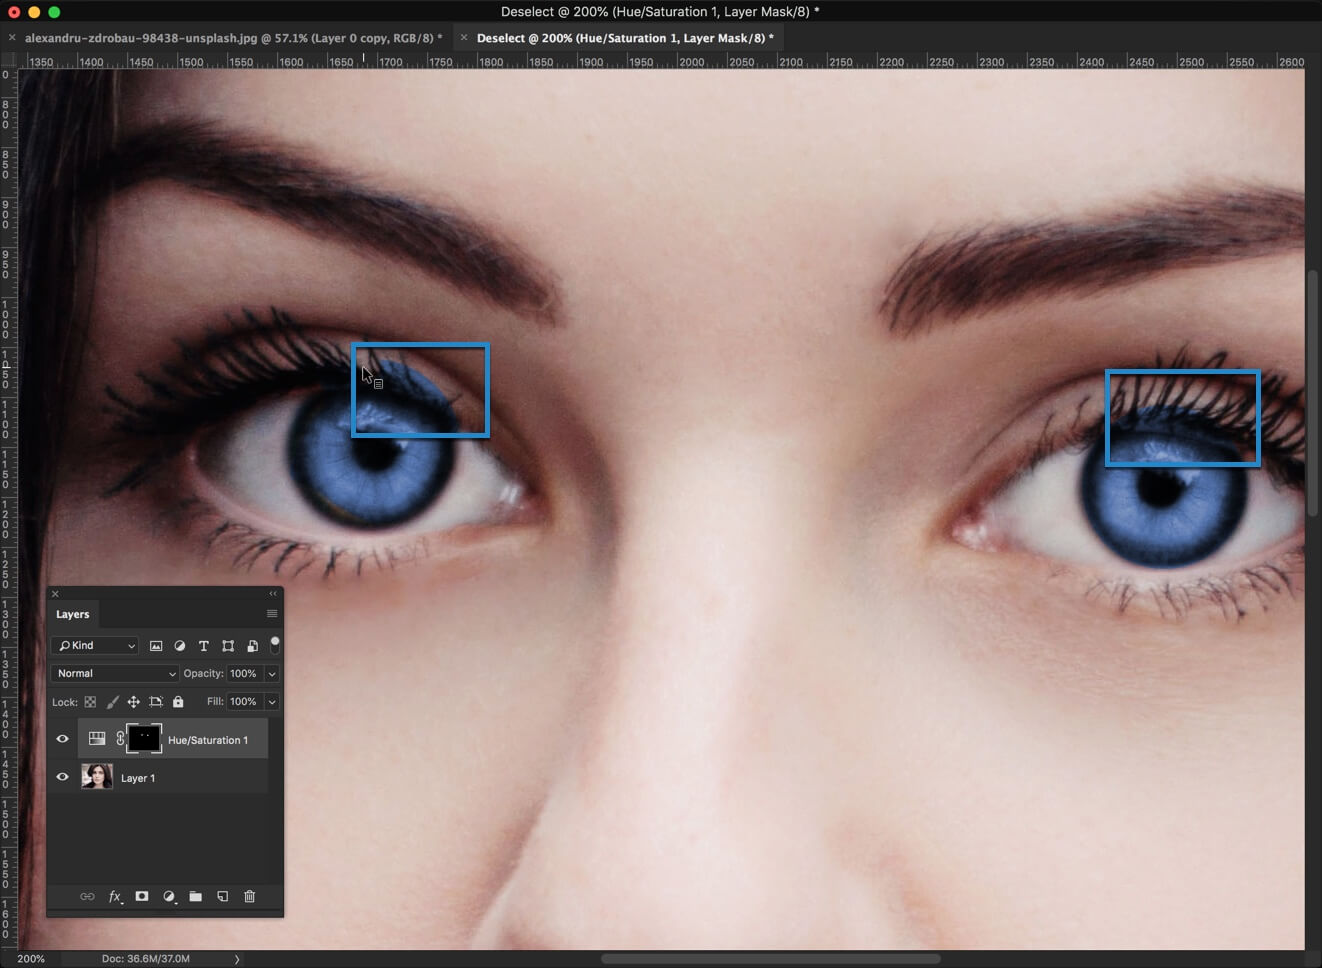
Zoom in the image so that you can see the eye clearly.
Activate Brush tool. Click on the layer mask. Make the foreground color as black. Now, start painting the area where you don’t want the blue color. I have highlighted some of the areas in the below image.
That’s all, guys!
Make sure that you use the below offer.