Hey, welcome to my another tutorial. Today I am back with my another tutorial from the 1-minute series. I am going to show you how to change the sky in Photoshop in 1 minute.
I will keep this tutorial short because you are going to achieve the result in just 1 minute. Everything will be crisp and short.
You’re reading this tutorial means that you already have an image of which you want the sky to be changed. That’s good. You will also need an image from where you can copy the sky. If you like free things then Unsplash is a great place. If you don’t then there are some good sites like Shutterstock, Adobe stock, etc. where you can buy the images.
Related: Soften the Skin in 1-minute in Photoshop
Let’s start the tutorial. But I would like to show you the before and after image before we start the tutorial.
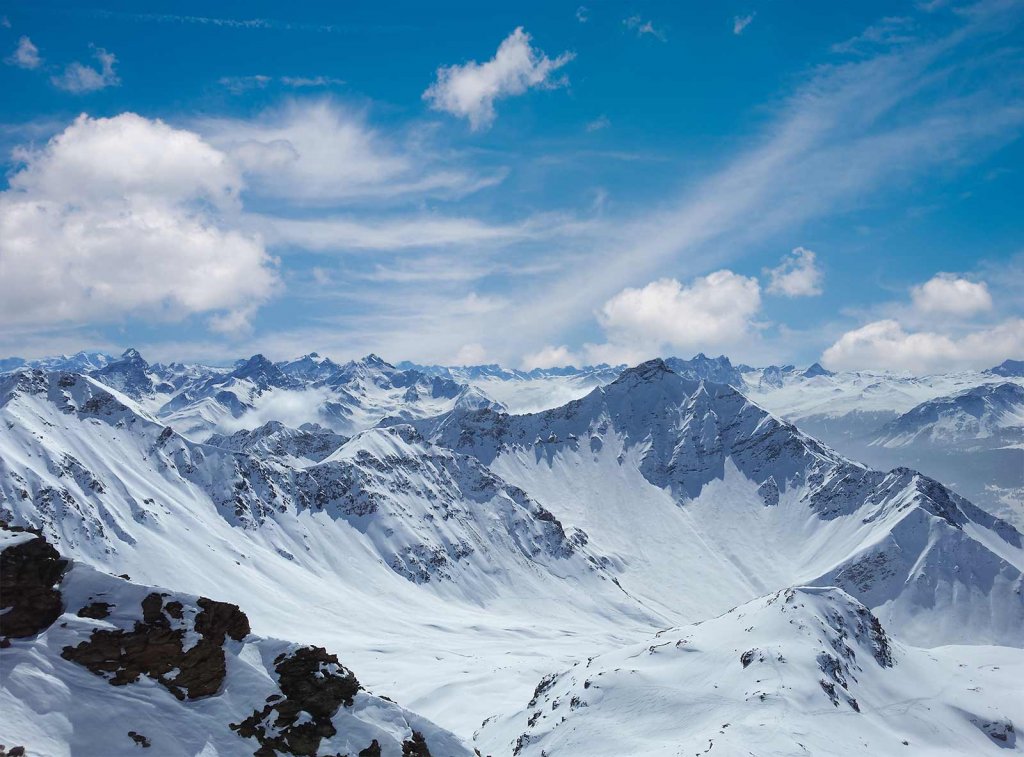
After

Before
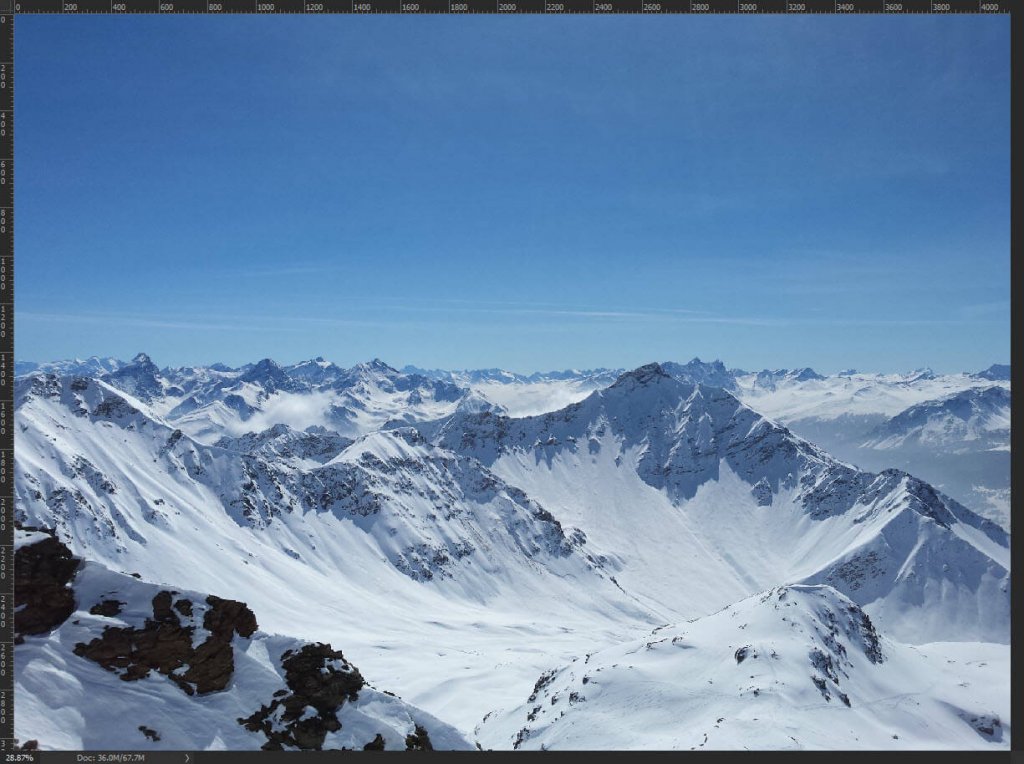
Did you see the sky in the after image? I didn’t like the sky in the before image so I changed it with the one which has clouds.
Step 1: Copy the Sky from the Source Image
You need to copy the sky from the source image. Let’s select the sky from the source image. You can use Quick Selection Tool for that. I am not explaining how can you select with Quick Selection tool for the time being but you can learn it by clicking on the link. Here you go – Quick Selection Tool.
Press Cmd+C/Ctrl+C once you have made the selection. This will copy the are which is selected.

Step 2 – Change the Sky in Photoshop
Go to the original image and press Cmd+V/Ctrl+V to paste it to change the sky.
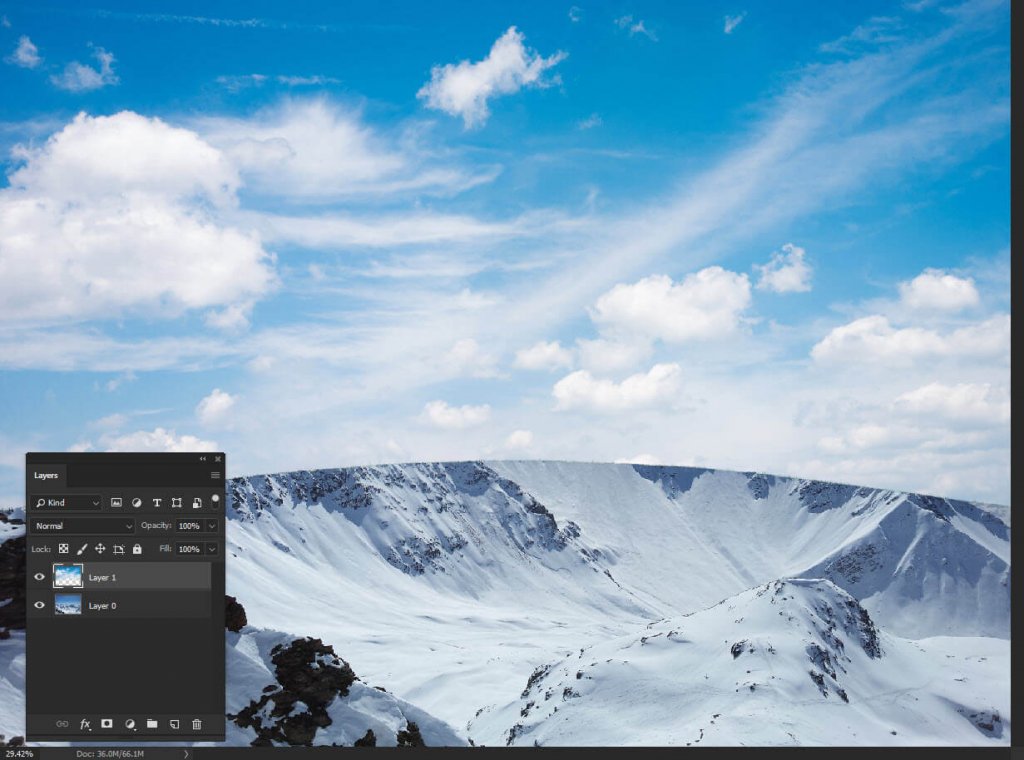
You need to align the image so that it replaces only the background, nothing else. I’ll show you how you can do it.
Step 3 – Select the Sky in the Source Image
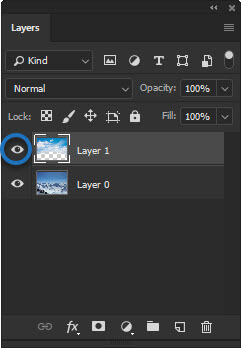
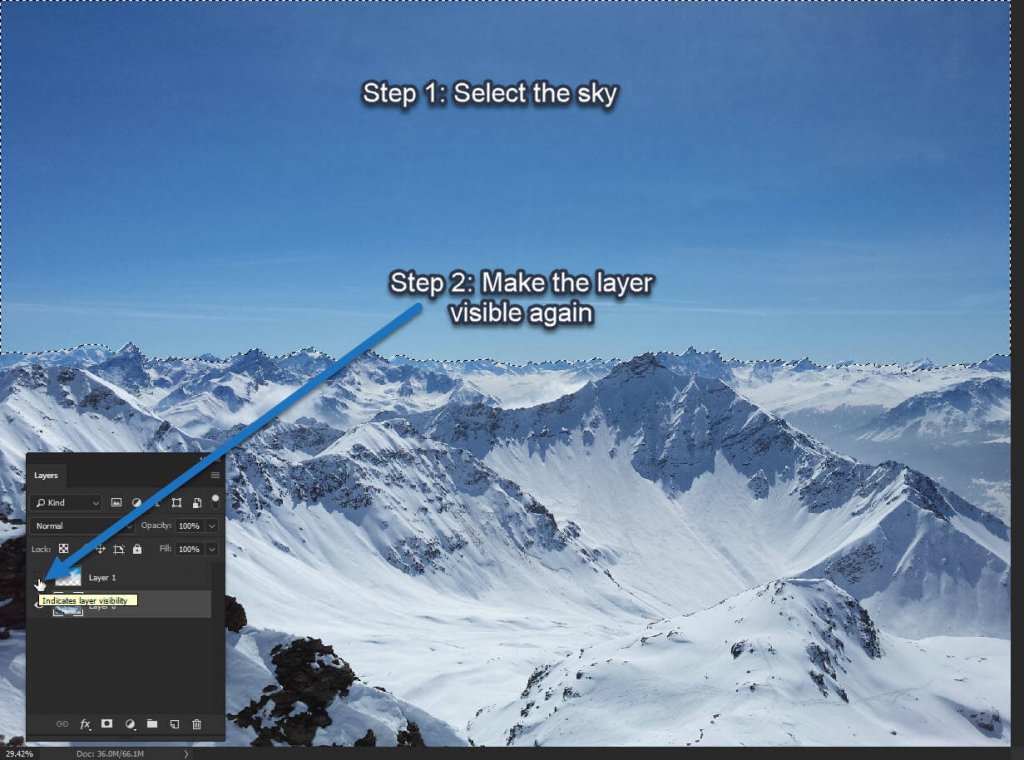
Hide the layer of the new sky so that you can see the original sky. Click on the “eye” icon of the layer of the new sky. This will hide it.
Select the original sky. You can use Quick Selection tool again. Once selected, unhide the layer you just hide.
Step 4 – Add Layer Mask
Make sure that the layer with the new sky is activated. Go to Layer>Layer Mask>Reveal Selection. This will reveal only the selected area.

Step 5 – Tweak the Sky
I think that the new sky is brighter as compared to the original sky. So, I am going to reduce the brightness.
Go to Layer>New Adjustment Layer>Brightness/Contrast. I am going to reduce the brightness. But I need to make sure that it will affect only the new sky, not the entire image. So, I’ll turn on “Clipping Mask” which is encircled with the blue color in the below image. This will ensure that the brightness will only affect the layer that is present just below it.

Here’s the final image again.