Hello guys I am Vaibhav and in this tutorial I am going to show you how to create text portrait effect using Photoshop. last time I discussed about Softening of Skin in Lightroom which is really an important tutorial if you are a travel or studio photographer. For this tutorial I am going to write random text using text tool and then I will add some styles. After that i will use some filters to achieve desired look. I am going to use some adjustment layers, brush presets etc.
Stock: http://faestock.deviantart.com/art/Candy10-293254030?q=gallery%3Afaestock%2F33686936&qo=65
FINAL
INITIAL
STEP1
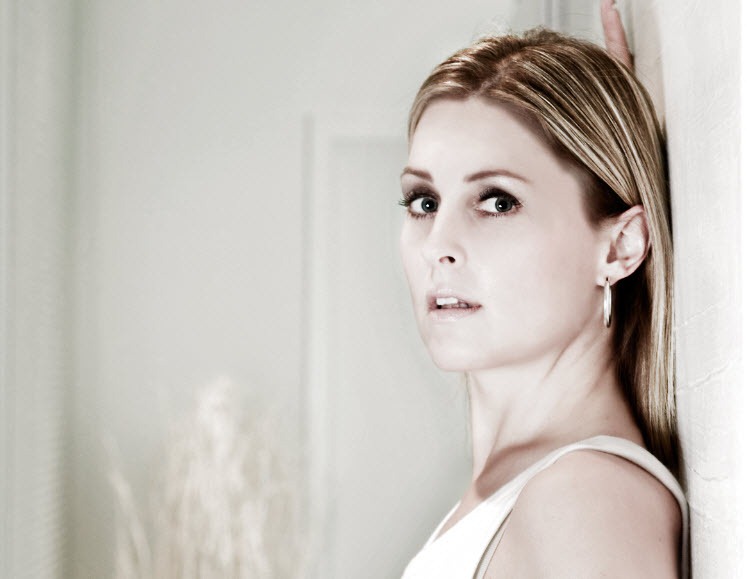
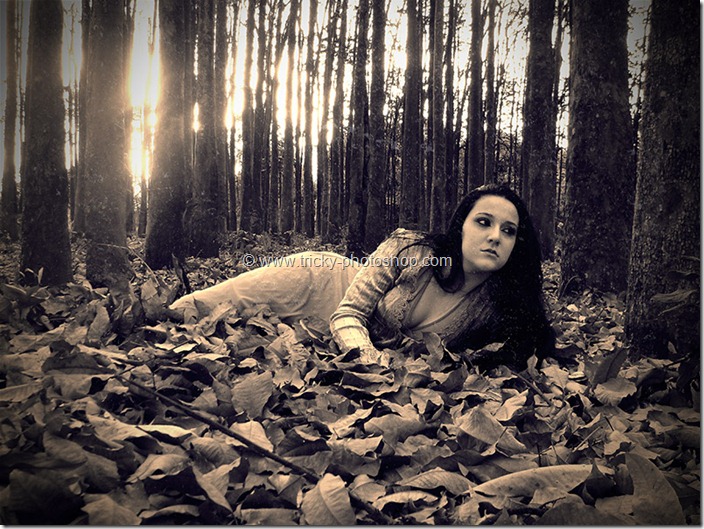
At the very beginning I am going to extract the model. For this, I am going to use Magic Wand Tool which you can grab from the tool panel or you can just press Shift+W. I am not going to demonstrate how to extract a person as I have already written an article for doing this. Click here of you want to learn “how to extract a person”. Now copy the model by pressing Ctrl+C/Cmd+C.
STEP 2
Now create a new document by pressing Ctrl+N/Cmd+N. Change the width as 2400 pixels and height as 3600 pixels. Change the resolution as 72. Press OK.
I have written a whole tutorial on Creating a New Document in Photoshop and you should check that out if you are a beginner.
STEP 3
Now paste the model which we copied in step 1. You can press Ctrl+V/Cmd+V as a keyboard shortcut to paste the model.
STEP 4
Now change your foreground color as #01a5e7 as background color as #0d004c. Grab Gradient tool form the tool panel or you can press Shift+G again and again until it comes. Change the type to foreground to background and mode to Radial.
STEP 5
Activate your “background” layer by clicking on that. Now draw the gradient as shown below.
Your “background” layer should look like this.
STEP 6
Now create a new document by pressing Ctrl+N/Cmd+N. Set the height as 600 pixels and width as 1000 pixels. Set the resolution as 72 pixels per inch. Grab Text tool from the tool panel or you can press Shift+T again and again until it comes. Write “FASHION”. The font that I am using us “Lucida Fox”.
Now go to Image>Trim. Adjust the settings as shown below. Press OK. This should trim your image.
Now go to Edit>Define Brush Preset and enter the name whatever you want. Press OK.
STEP 7
Once again repeat the above step but this time write “style”.
STEP 8
Head back to your original document. Grab the brush tool from the tool panel or you can press Shift+B again and again until it comes. Select the “fashion” brush.
Now go to Windows>Brush. Adjust the settings as shown below.


