
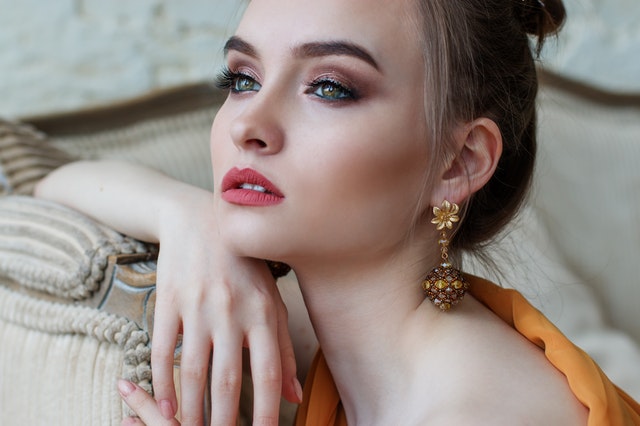
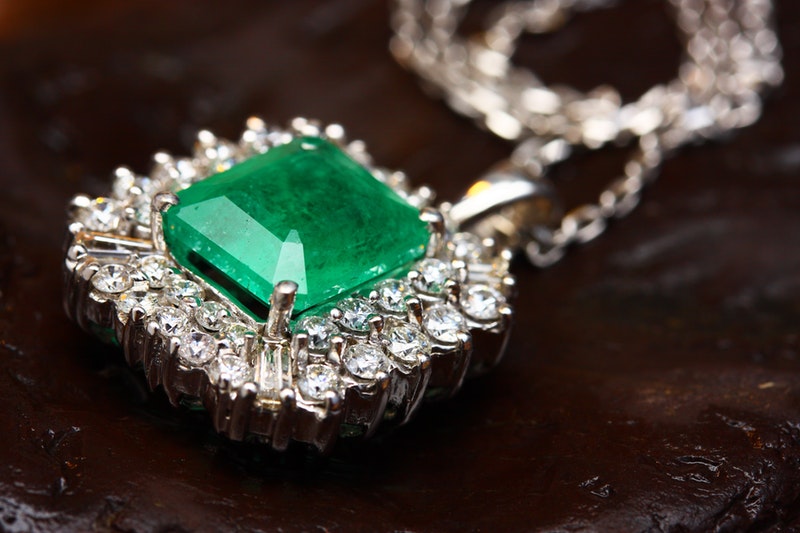
Photographing small objects like jewelry yields very important things to focus on. This includes aspects of photography like lighting that illuminates the object, making details stand out, avoiding deformation by astute composition, and using the focus in an effective way to increase the sharpness of the jewelry. You do not need a professional studio to create the perfect portrait. Working at home with your jewelry may be your best bet as a photographer, just make sure you have a nice table and a white background. Here is a guide to taking professional shots of your jewelry at home.
1. Tips for lighting
Make sure your light source is soft. A large-sized diffuser and a studio flash are warranted. Your camera may be able to enact the work needed to be done. Using an umbrella with absorbing fabric as a diffuser window and the flash of your camera can be optimal. White feather cardboard acting as a white reflector is great for the lighting stage.
2. Working on reflection
To photograph your jewels, the configuration of your lighting set should be this: the flash, with the camera having a window pointed at it while having an adequate angle on the table. With the light in front of the camera, make sure to not have the light shining directly onto the lens. The white reflectors will need to need to be on the sides of the camera as the light shoots off the reflectors and makes the jewel pop.
Your jewelry is typically shiny, that’s what it makes it extremely appealing. This means that they may reflect light as a mirror would. An idea to combat this is to have the white reflectors that were set on the sides of the camera make the jewel mirror.

Use natural light if you do not have flash, and modify your exposure depending on the amount of natural light given by the sun. To measure lightness without a photometer, look at your camera’s histogram and use that to make the changes.
3. Composing the photograph
Consider if the picture you have taken will be a stand-alone or if it is part of the whole series of photographs. Mainly just focus on attention to detail as well and remember why you are shooting the photograph. Is it for an advertisement, your own portfolio for your photography business, or just a passion project?
Using the longest focal length your camera supplies are a great way to avoid imperfections. 105mm focal length will be the catalyst for a close focus or hold the camera at different lengths away to adjust the picture. Giving “air” to the object as well as paying attention to lines is important. Place the jewelry in a natural position to give it a more authentic look.
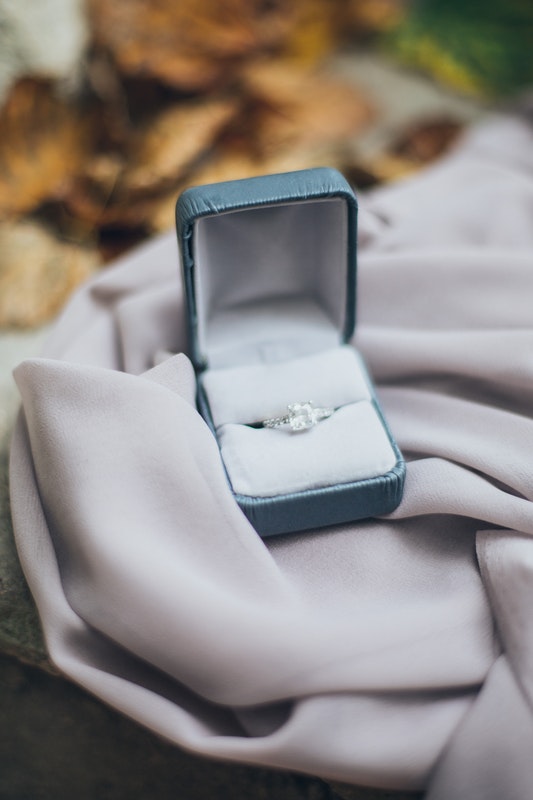
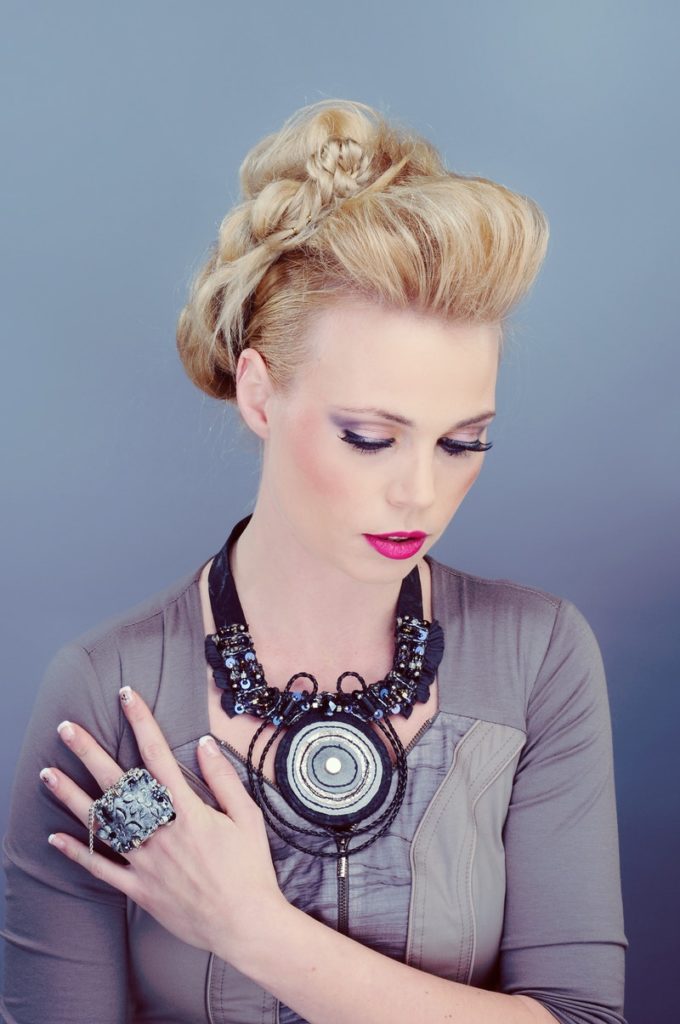
When dealing with jewelry that hangs, a frontal view to simulate the look of a necklace by hanging it is the right call. Incline a ring that is on the surface, with the tilt providing a lot more. If you are interested in standing the ring right up with the use of a box or bulky object, use a dollop of wax.
4. Optimizing the macro focus
You are all set up with the proper background, the jewelry is on an appropriate surface, and the camera’s framing is optimal. It is time to look at the camera’s focus. Knowing the rules of depth is important to take full opportunity of the focus and to get the best image possible.
Using a closed diaphragm for depth is recommended even if there is a loss of quality when the image is reproduced. Stacking or joining different shots when editing can help alleviate this problem. To give the picture an extended depth of field, use different focus points.
5. Taking advantage of a rail
Hugh Wright, a photography writer from Australia 2 Write and Next Coursework offers you this tip: “A millimeter rail for macro photography is vital for these kinds of shots. The camera can move without touching the focus and once all of these pictures are taken, head to your digital workshop.”
6. Using Photomerge
Align the images for your first step. To do this, the Photomerge tool can be used, followed by deselecting the part where is said Merge Images. After this, select all layers, head to the Edit Menu, and then select on Merge Layers Automatically. Selecting this will create a layer mask by joining all the focused parts of the image, showing all these images together.
Because you are working with an object of high value and quality, make sure it is clean and shining the way it should be. You want to exemplify the beauty of the jewelry, and when using functions in macro, these characteristics will be illuminated. After all of this, use your digital work station to make the background as white as you can. This will make the jewelry look as good as possible.
7. Using the proper background
The most popular way to shoot jewelry is by using a white or neutral infinity curve. If you want to emphasize the elegance, using a black mannequin may be exactly what you want to do. Pick one up at a craft store near you. Do not forget however, the background must still be white, so drape a white cloth over the top of it and remove the background later.
This end goal of photographing your jewelry at home is to manufacture a soft light while mitigating the number of shadows. Using a black background may be easier. Tina Waverly, who is a design blogger at Write My X as well as Brit Student reminds you to be creative; “You can always experiment with different backgrounds the most experienced you get. Try a pastel color palette to help express your art or a certain mood you are trying to get your image to exude.”
Follow these tips in the comfort of your own home. These will ensure that your jewelry photo-shoot is everything you want it to be and more.
A father of 3 boys, Michael Dehoyos is a content marketer and editor at PhD Kingdom and Academic Brits. Helping firms with their marketing strategy concepts, while contributing to countless sites and publications, Dehoyos is a true professional. When he’s not working as a content marketer or editor, he is writing at Origin Writings.