
Many YouTube content creators and marketers use online tools like Canva to create YouTube thumbnails. Sometimes, I also do. But, what’s there in Photoshop that attracts content creators to create a YouTube thumbnail? Let’s see this on this tutorial of how to create a YouTube thumbnail in Photoshop.
Yes, you guessed it right. The answer is flexibility. You can get some amazing templates on Canva but it’s the flexibility that gives an edge to the Photoshop.
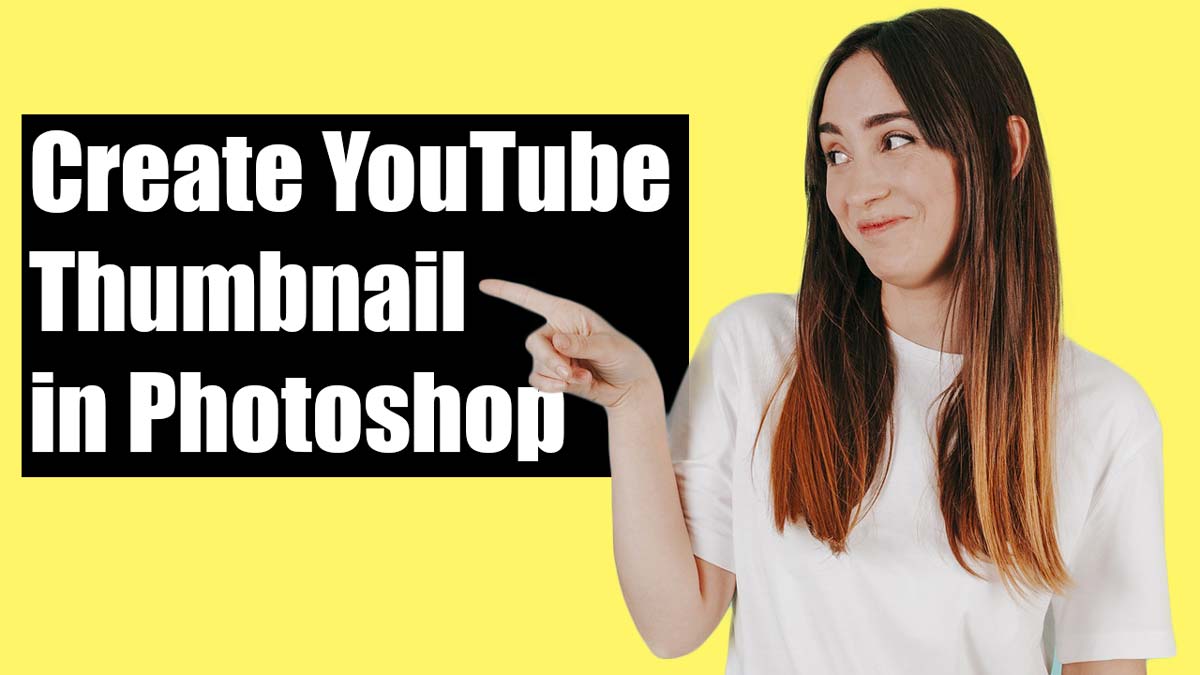
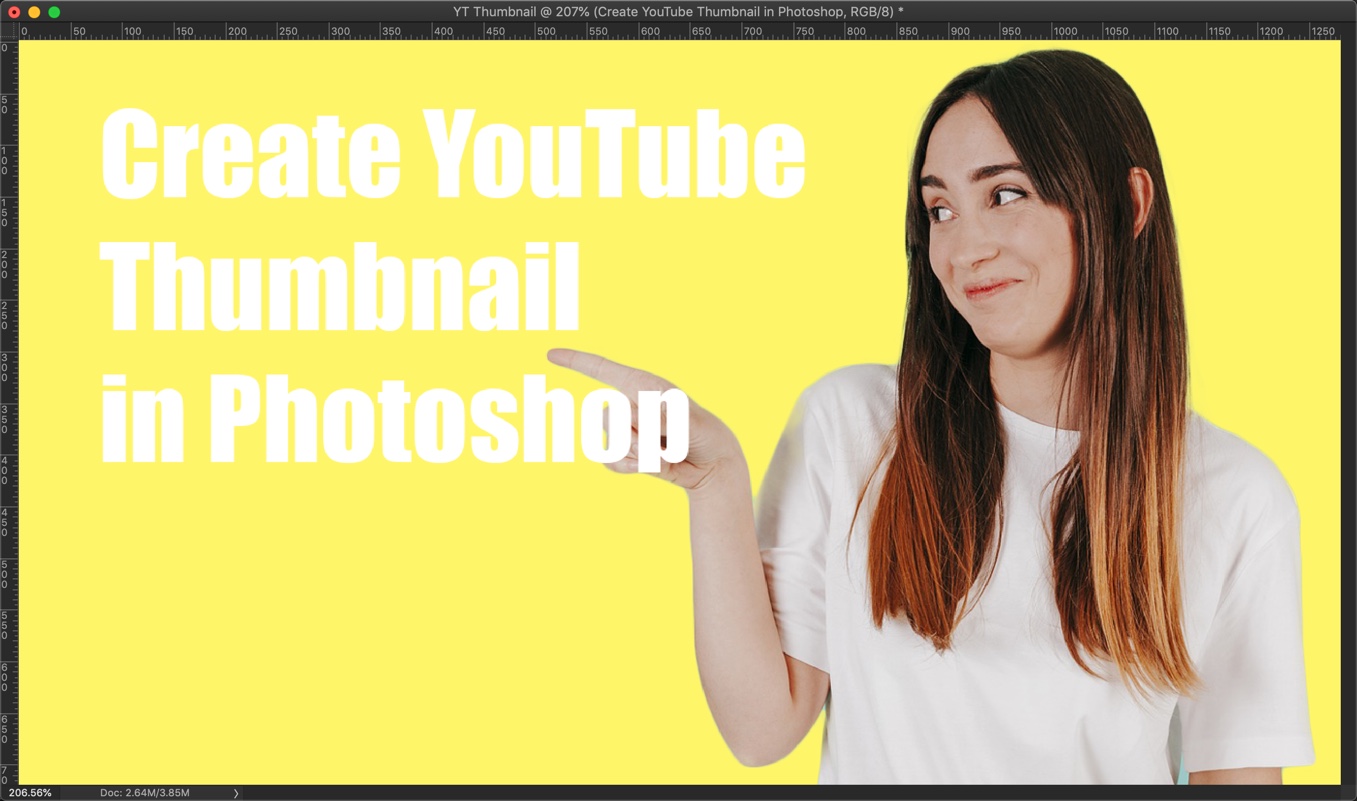
Here’s my thumbnail.
Before we go ahead, I would like to tell you that you need to keep below things in your mind
- People look at thumbnails and decide whether they should watch a video or not. They rarely look at the title of the videos. So, you need to make sure that you write the title of the video in the thumbnail also.
- The contrast between the text and the background should be high. But, you need to make sure that thumbnail is looking pleasing also.
- You’re going to use the same type of thumbnail on all your videos. So, make sure that you design it right.
- The size of the thumbnail should be 1280 x 720 pixels.
Let’s start.
Step 1 – Cut out the background
Open the photo of the person. Thank you for this photo, Pixabay.

Grab the Quick Selection Tool from the tool panel or press Shift + W again and again until it activates.
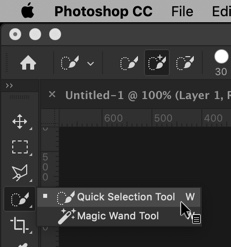
Click on “Select Subject” in the option panel.

This will select the lady.
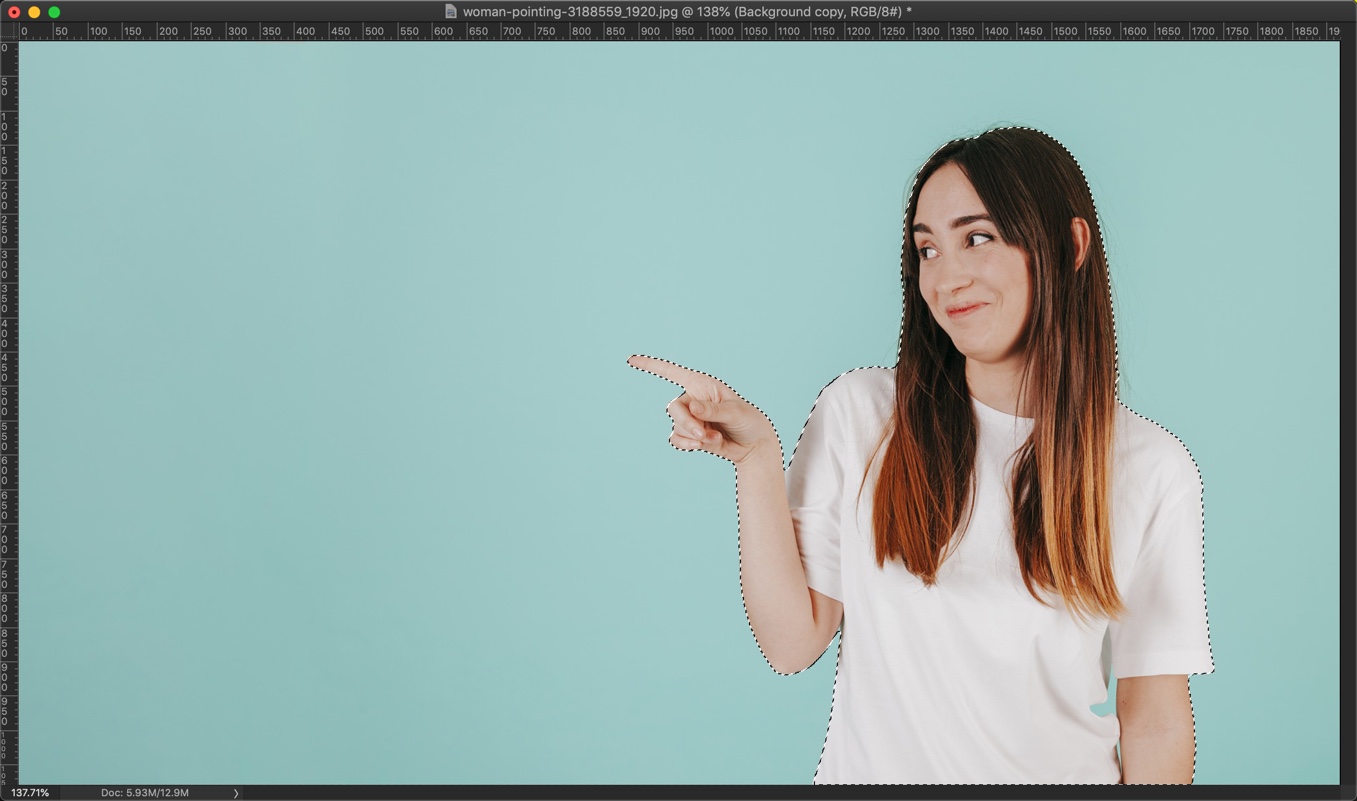
Press Cmd + C / Ctrl + C to copy the person.
We’ll use her later.
I have also written a detailed tutorial on removing the background in Photoshop. You may want to check that out also.
Step 2 – Create a new document for the thumbnail
Press Cmd + N / Ctrl + N to create a new document.
Put the width and height as 1280 and 720 pixels. Press Create.

Click on the foreground color.

Write #fff568 in the color code box. Press OK.
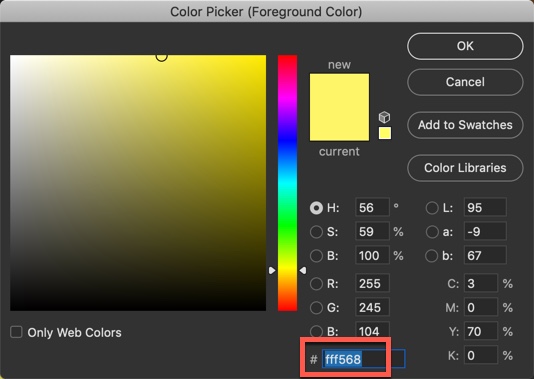
Now press Opt + Delete / Alt + Backspace to fill the background with yellow color.

Step 3 – Place the lady
Time to place the lady. You have already copied the lady when you were in step 1. This time we’re going to paste her.
Press Cmd + V / Ctrl + V to paste her. Photoshop will place her at the center.

Time to align her. Activate the Free Transform Tool either by going to Edit > Free Transform or by pressing Cmd + T / Ctrl + T.

Now align her. See the below GIF.

Step 4 – Write the Text
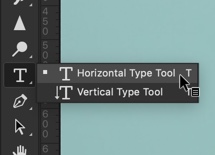
Grab the Horizontal Type Tool.
Change the font and color.

Start writing the text. I am using Impact font.
Don’t worry about the formatting. We’ll fix it.
Activate the Free Transform Tool and align the text. Press Return/Enter when done.

Step 5 – Create the YouTube thumbnail in Photoshop
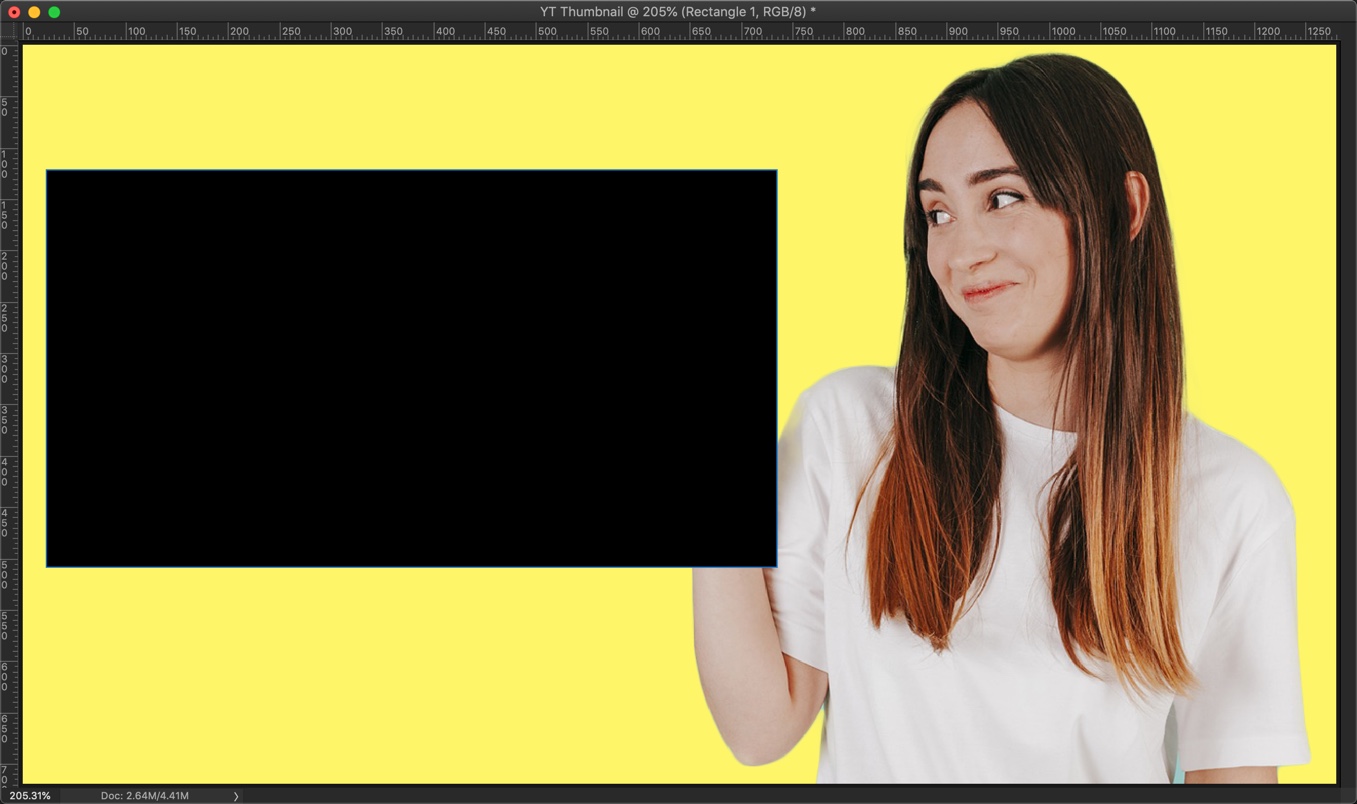
Time to add a black background to the text.
Grab the Rectangle Tool from the tool panel.

Change the Fill to Black and Stroke to null.

Draw a rectangle around the text.

Now, this rectangle will cover the text. This is because the layer of the rectangle tool is above the text.
Reshuffle the layer in the layer panel. Drag the girl layer to the top, then the text, and then the black background.

See the photo now.
