
Here comes the long-awaited tutorial. If you’re trying to edit your clothing collection for your e-commerce store, this is the tutorial for you. If you just want to remove a few cloth wrinkles, this is the tutorial for you. I am going to show you how to remove cloth wrinkles in Photoshop.
This is going to a tutorial for the intermediate level users.
I have a video tutorial for you also if you like watching videos.
Before we edit the cloth photo in Photoshop

After we edit the cloth photo in Photoshop
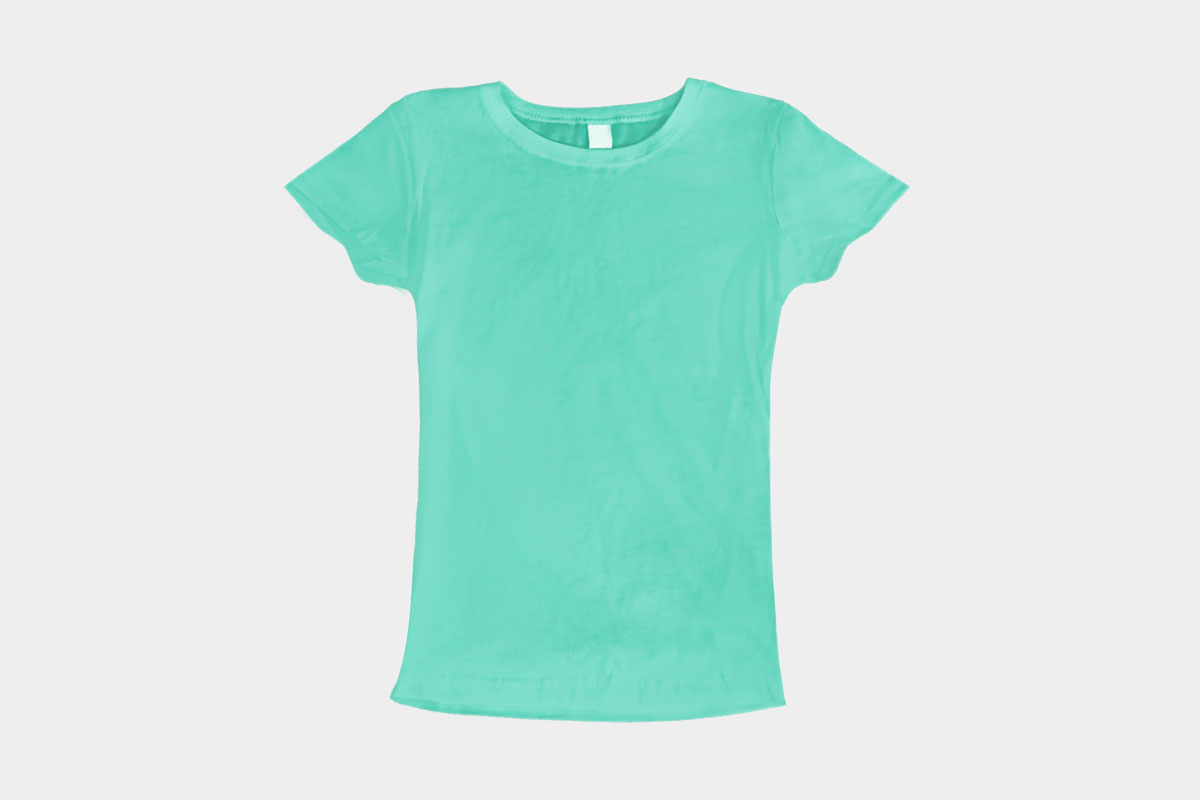
Table of Content
- List of tools
- Video
- Step 1: Change the background of the cloth in Photoshop
- Step 2: Fix the shape of the cloth in Photoshop
- Step 3: Remove cloth wrinkles in Photoshop
List of Tools
- Liquify filter
- Mixer Brush Tool
- High Pass filter
- Quick Selection tool
- Blend modes
I also want to tell you that I take projects of editing clothing photos for e-commerce stores. The cost goes down to as low as $2 per photo. I can edit one photo for free for you. Shoot me an email at hello@tricky-photoshop.com.
Video
I’ll post a video this week.
Step 1: Change the background of the cloth in Photoshop
The first thing we need to do is to change the background.
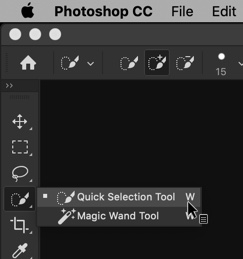
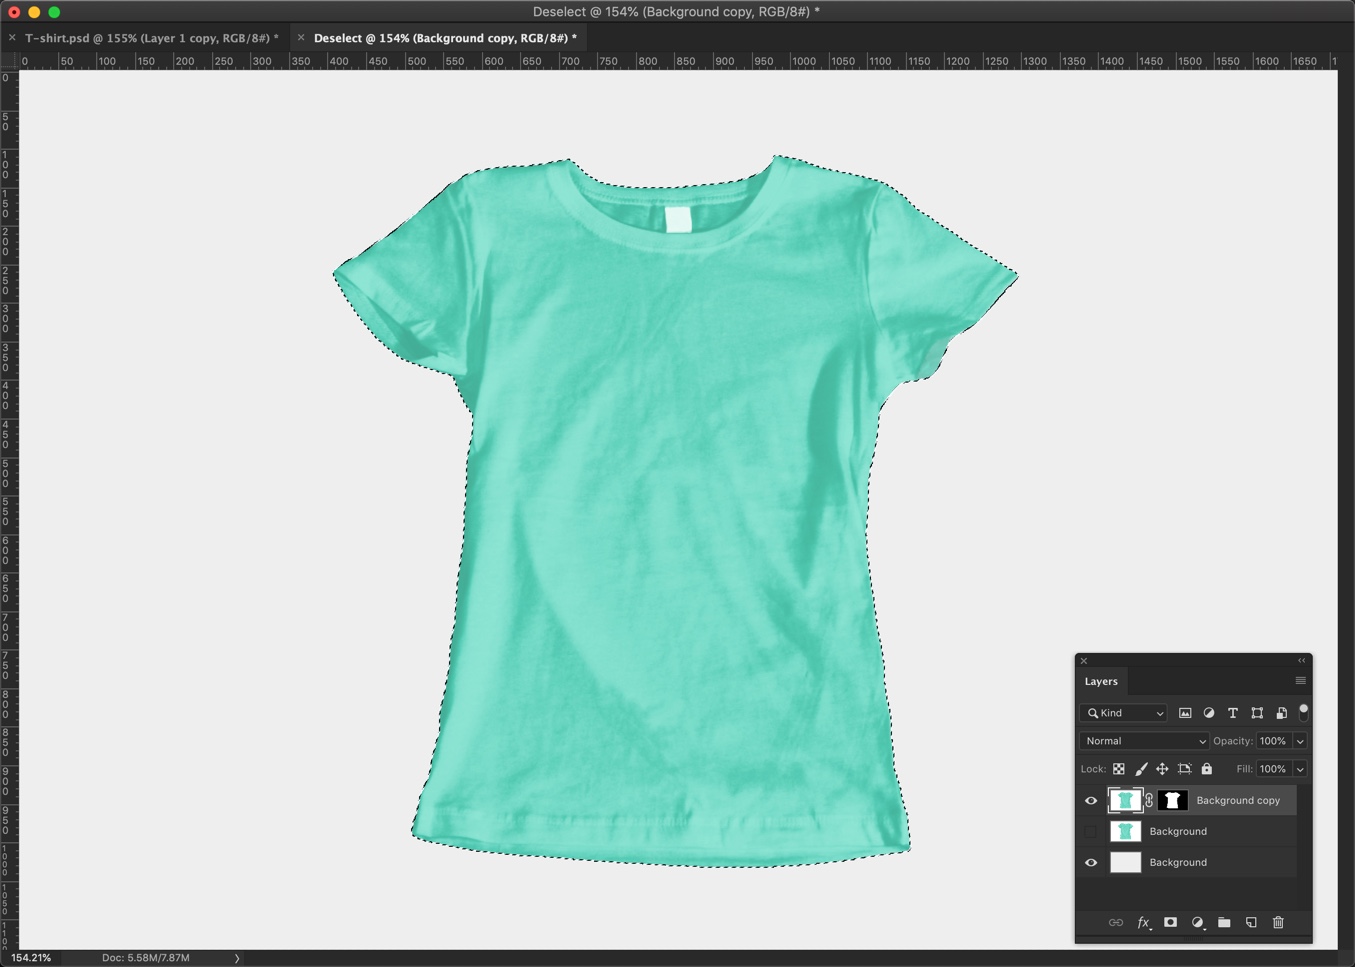
Grab the Quick Selection Tool from the tool panel or press Shift + W again and again until it comes.
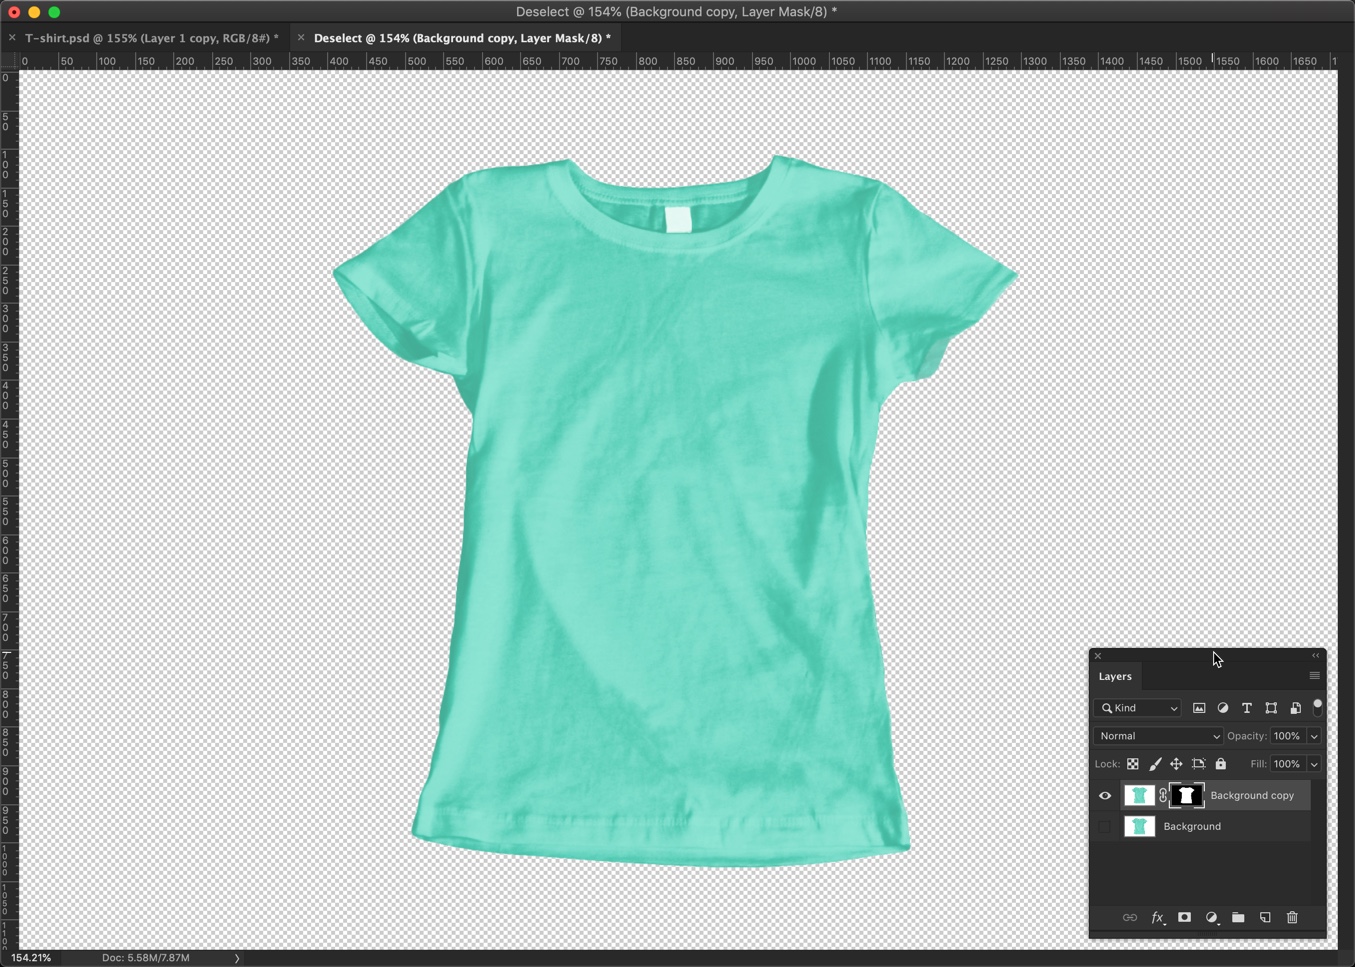
Now drag the tool to select the cloth.
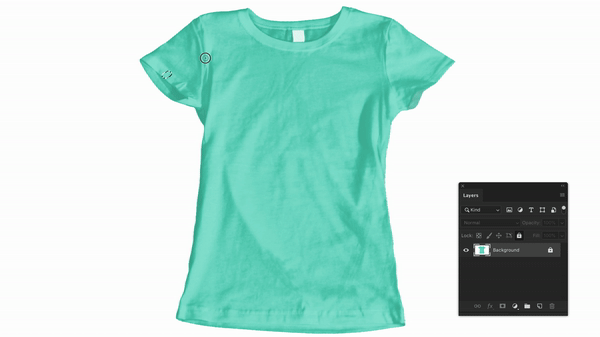
We have made a selection but we’re not sure whether the selection is crisp and sharp. We need to refine it.
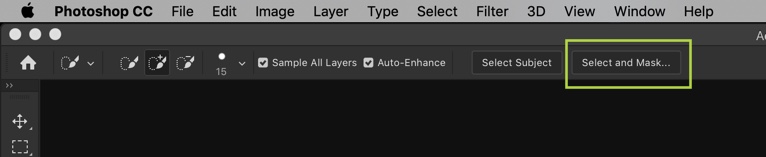
Choose Select and Mask in the option bar to make your selection sharper.
Adjust these sliders to refine your selection. Press OK.
Select and Mask is a very big topic in itself and I cannot explain what do these sliders do in this tutorial. If you want to learn what to these sliders do, you can see that in my tutorial on Select and Mask.

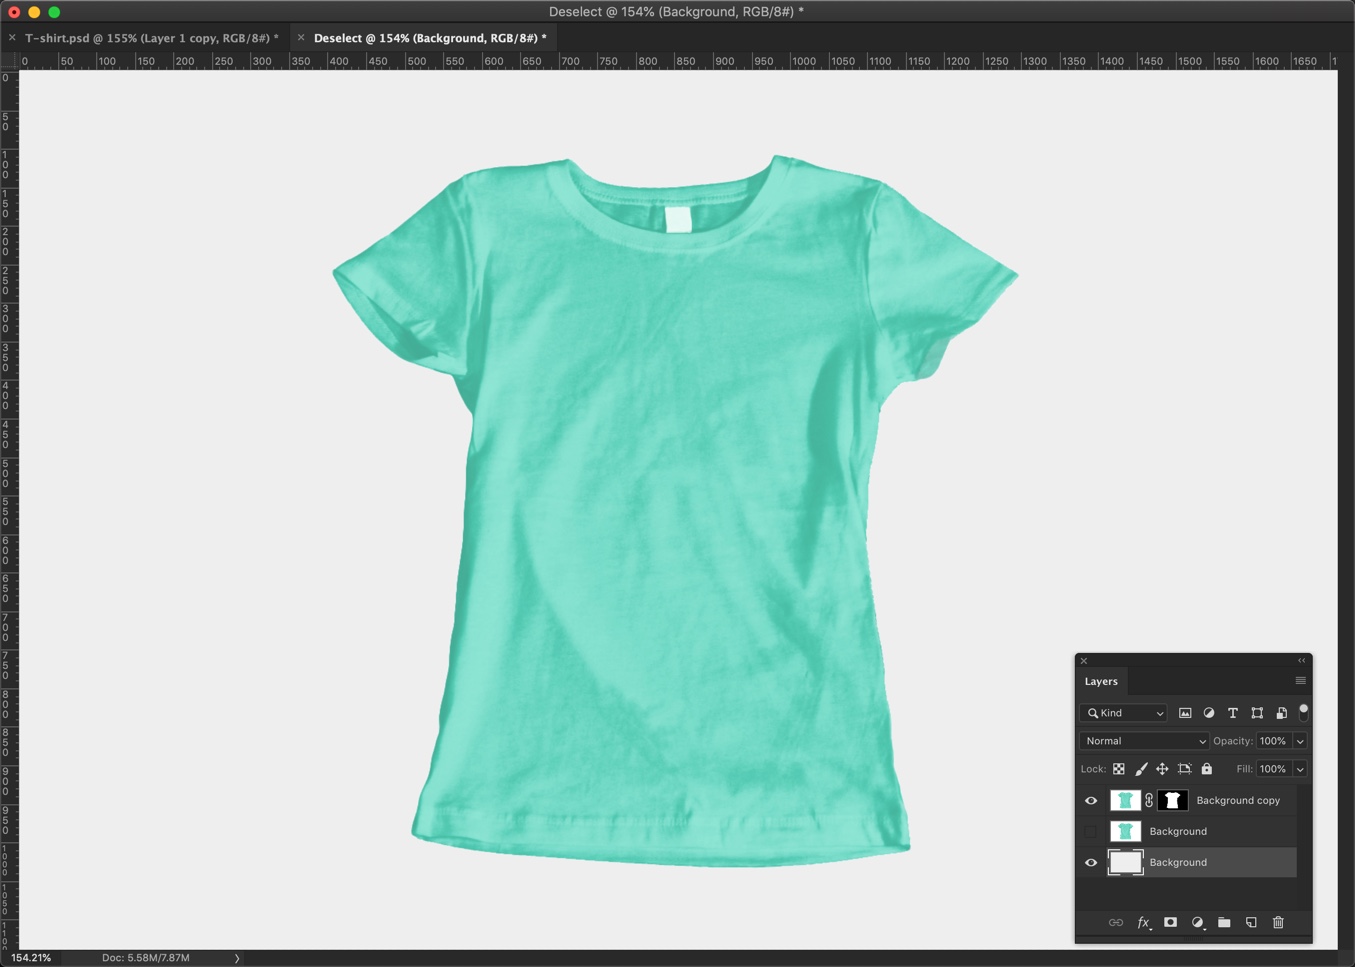
Here’s the photo.
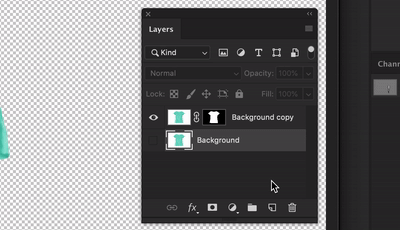
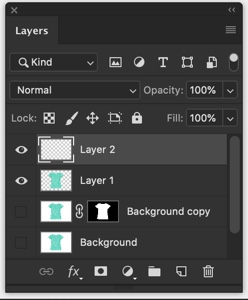
Create a layer by pressing Cmd + Shift + N / Ctrl + Shift + N. Name the background and drag it to the bottom.
Click on the foreground color.

Write #eeeeee. This will change the color to light gray. Press OK
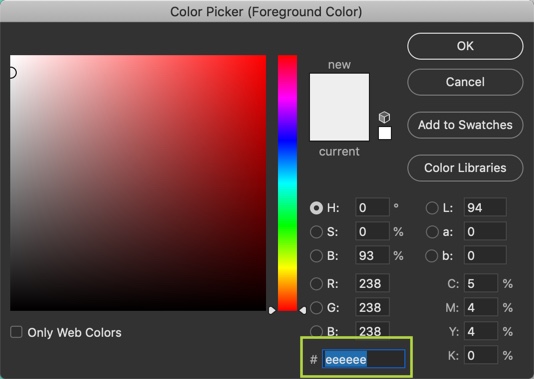
Press Opt + Delete / Alt + Backspace to fill the activated layer with the foreground color. Now you have a light gray background.
If you can’t remove the background, you can hire me. The cost goes down to as low as $2 per photo. I can edit one photo for free for you. Shoot me an email at hello@tricky-photoshop.com.
Step 2: Fix the shape of the cloth in Photoshop
We’re fixing the shape non-destructively.
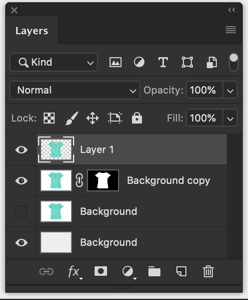
For this, we need to create a new copy of the t-shirt.
Hold down Cmd and click on the layer mask to select the t-shirt. This will select your t-shirt.
Click on the topmost layer to activate it and press Cmd + J / Ctrl + J to duplicate that.
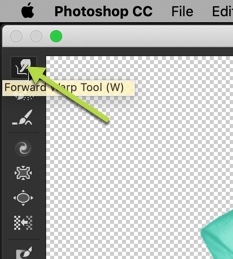
Go to Filter > Liquify

Grab the Forward Wrap Tool.
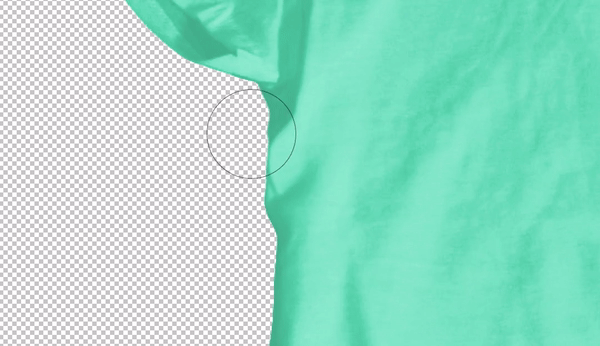
Now start pushing the bumps to align the t-shirt.
Deactivate the layer from which we duplicated this layer.
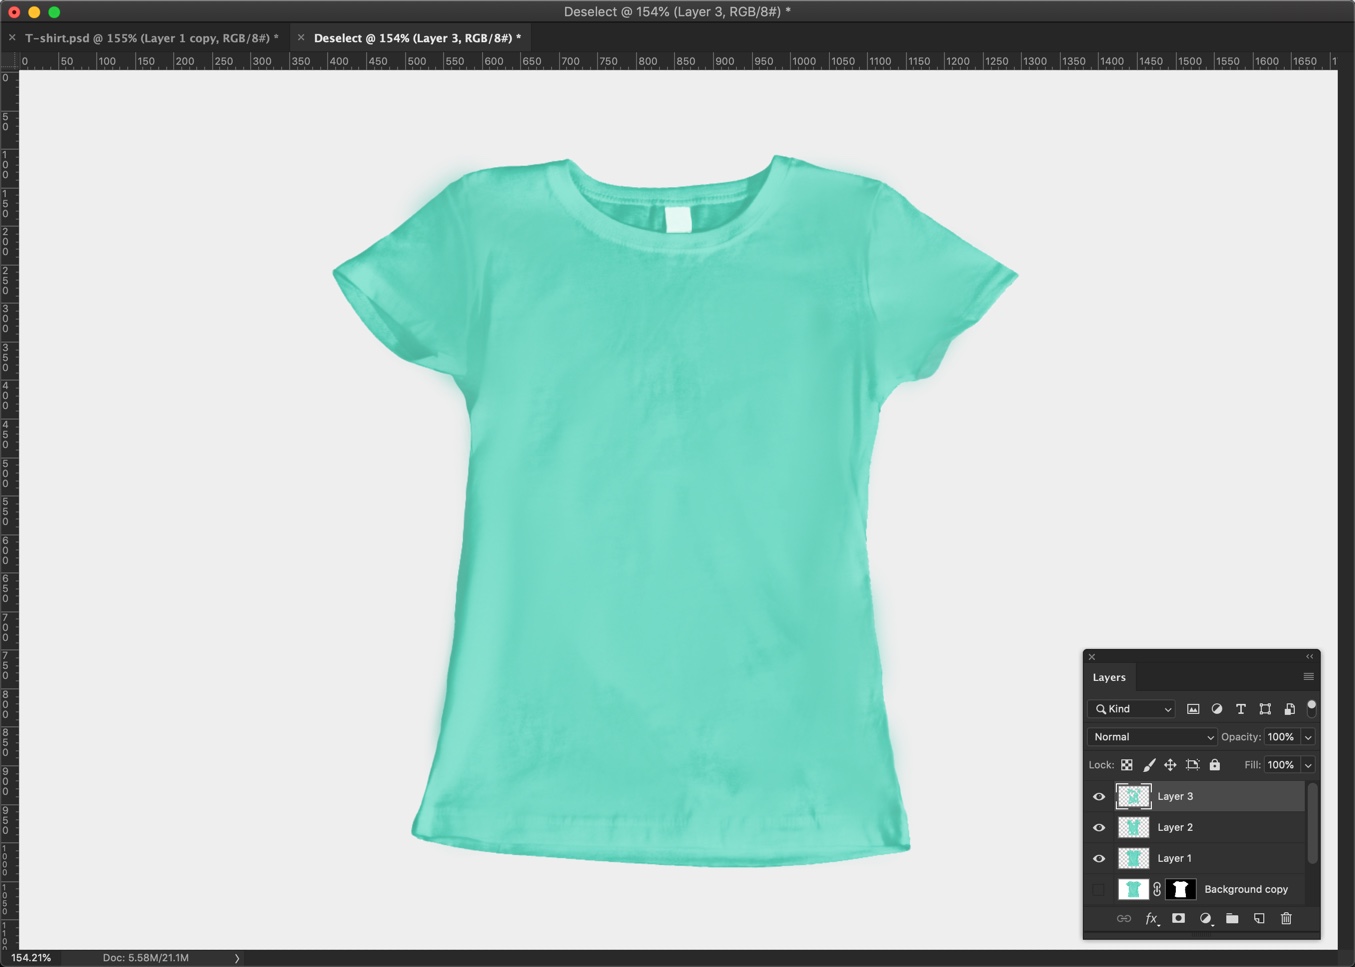
Here’s how your final photo should look like.

If you can’t align the cloth, you can hire me. The cost goes down to as low as $2 per photo. I can edit one photo for free for you. Shoot me an email at hello@tricky-photoshop.com. You can see more details on the cloth editing page.
Step 3: Remove cloth wrinkles in Photoshop
Create a new layer at the top of the layer panel by pressing Cmd + Shift + N / Ctrl + Shift + N.
Grab the Mixer Brush Tool from the tool panel or press Shift + B again and again until it comes.

Here’s the photo of my option panel.

Now start brushing the t-shirt. You’ll see the wrinkles fade away.
Here’s the photo.
This is it, guys.
If you can’t remove the wrinkles, you can hire me. The cost goes down to as low as $2 per photo. I can edit one photo for free for you. Shoot me an email at hello@tricky-photoshop.com. You can see more details on the cloth editing page.
If you think that the shape is not perfect then you can again use the Liquify tool to correct the shape. Just follow step 2 again.