You’ve taken an amazing vacation photo and you realized that you’ve grown bigger and thicker. You badly want to reduce the fat you’ve gained but also know that want to post your vacation photos on Facebook and Instagram. And, this is why you’ve come here to remove fat in Photoshop.
I’m glad to say that we have a workaround for your photos. We can slim you down in Photoshop.
I am going to use the Liquify filter and Clone Stamp tool to remove fat in Photoshop.
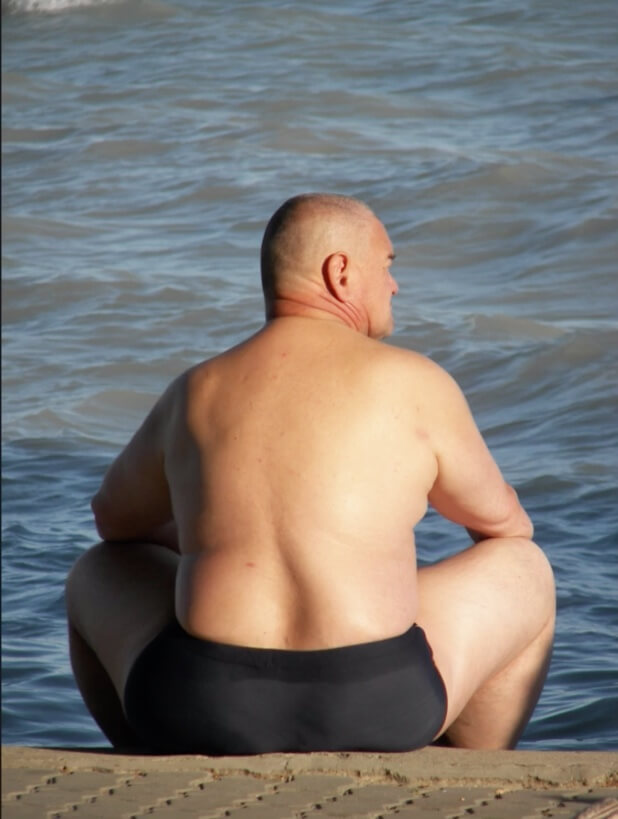
Final
Initial
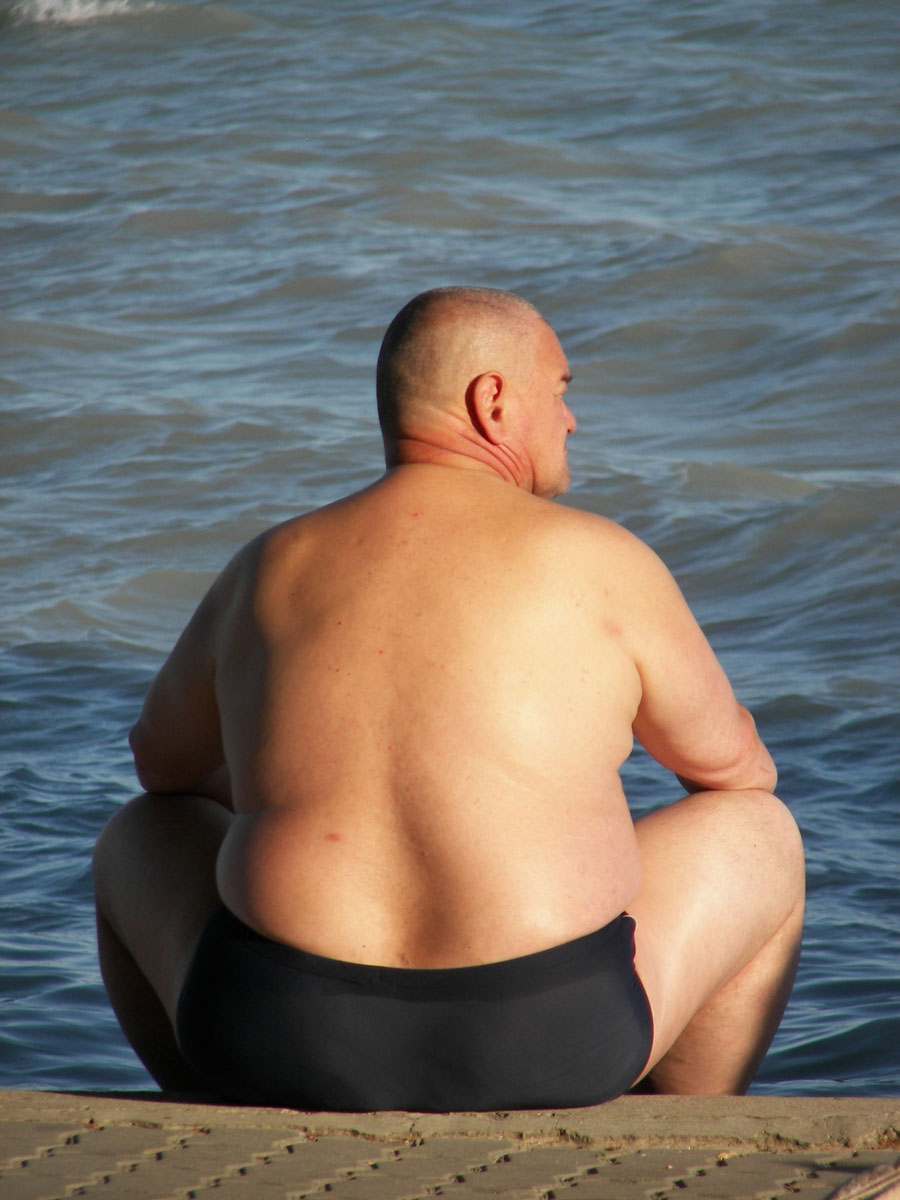
Stock Photo – http://fav.me/d50y5ss
OK, guys! Let’s begin the tutorial.
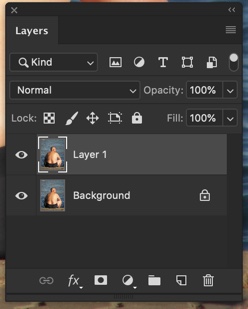
Step 1 – Duplicate the Layer
Go to Window > Layer to open the Layer Panel or press F7.
Press Cmd + J / Ctrl + J to duplicate the original layer. We’re duplicating because we don’t want to touch the original picture. We’re going to make all the adjustments in a duplicated layer. So, in case anything goes wrong, we can delete the duplicated layer and get back our original image.
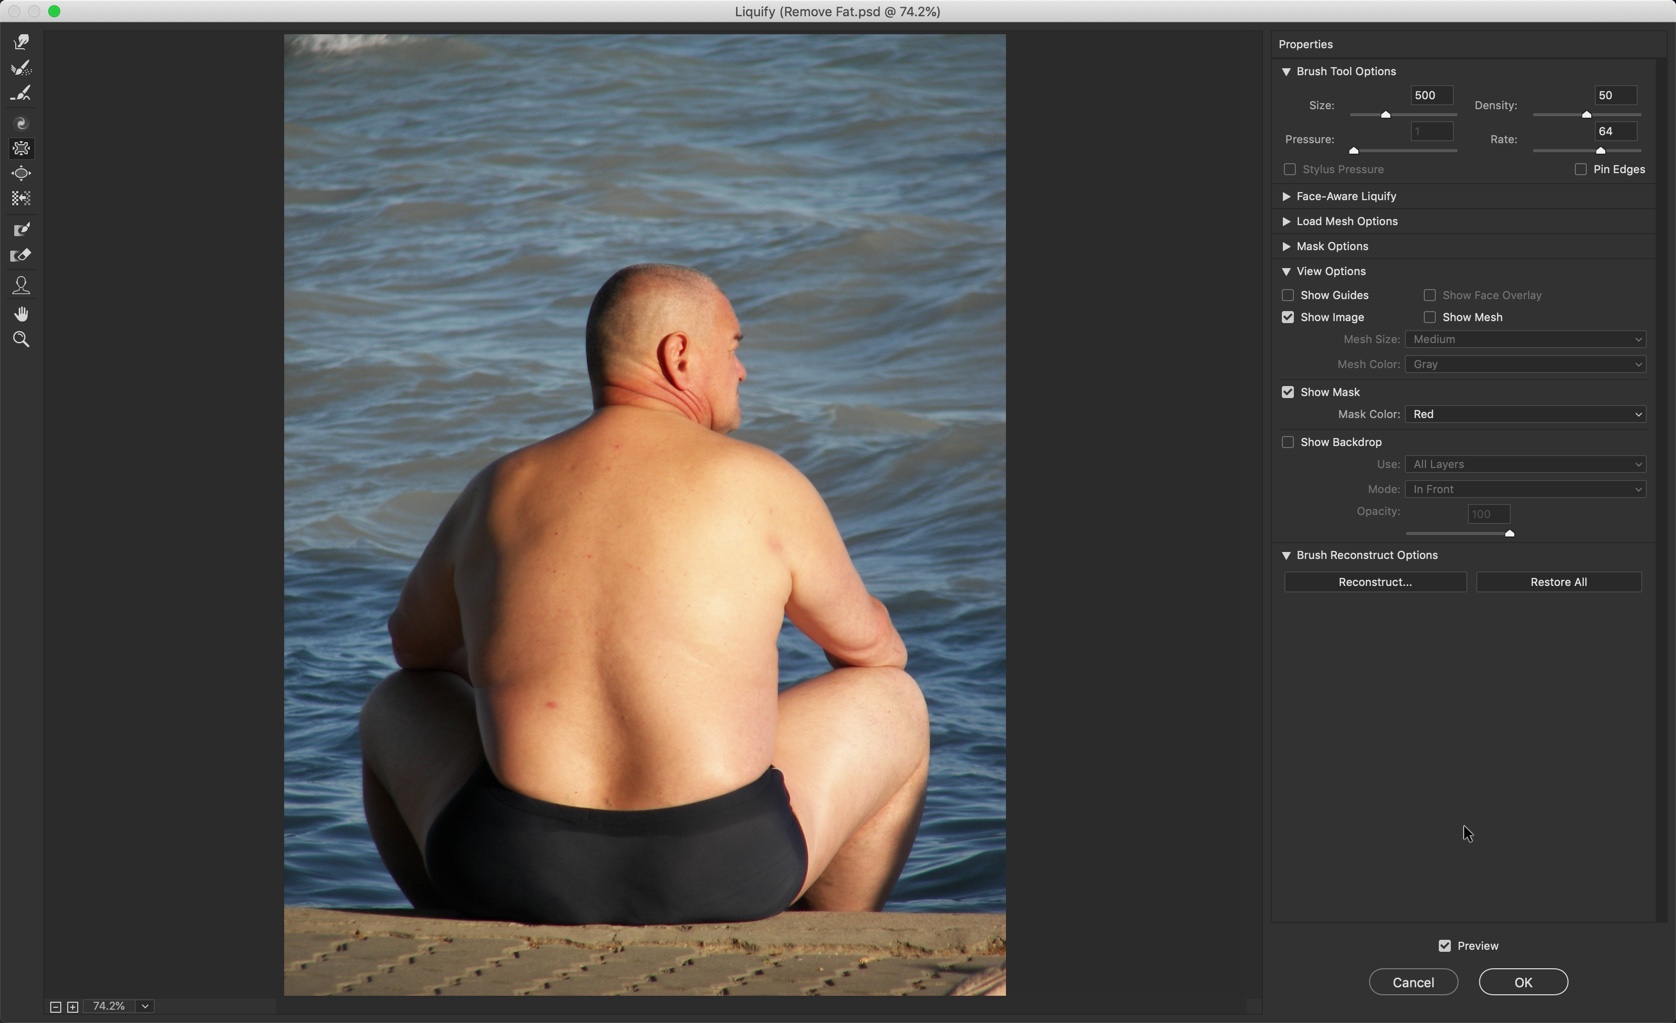
Step 2 – Open the Liquify Filter
Go to Filter > Liaquify or press Cmd + Shift + X / Ctrl + Shift + X or open Liquify filter.

And our Liquify filter will be opened.

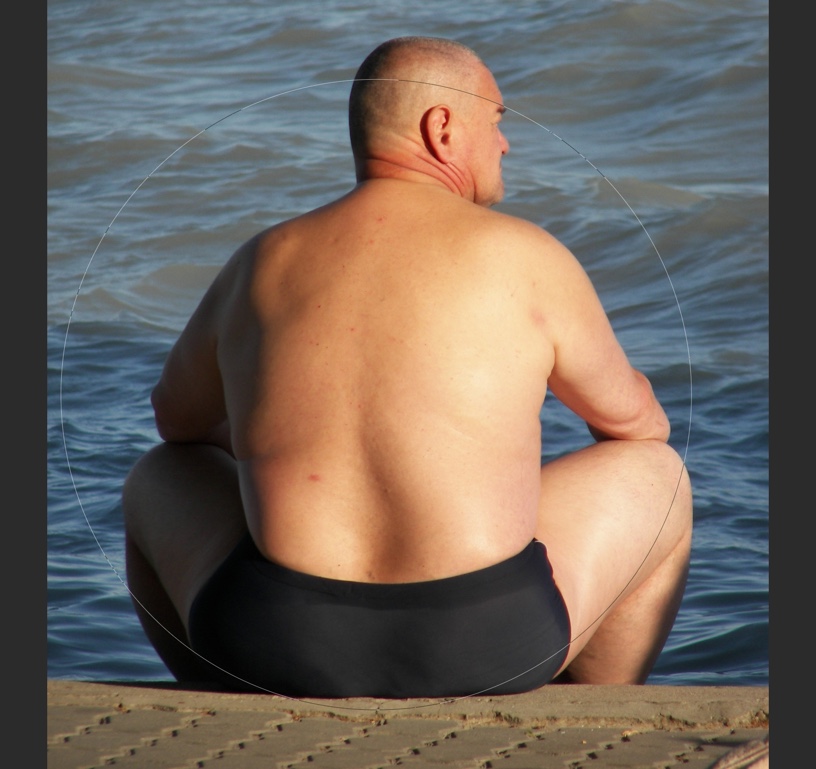
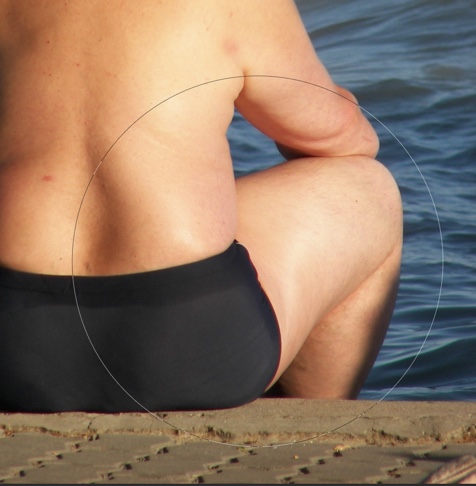
Step 3 – Reduce the Fat in Love Handles in Photoshop
Time to remove fat in Photoshop that is present in his love handles.
Grab the Forward Wrap tool from the panel or press W.
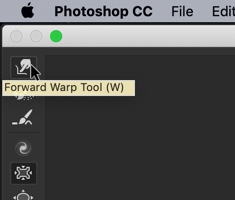
We’re going to reduce the love handles. Make sure that you set the size fo the brush at least two times larger than the area which you want to slim down. Here, I am keeping the size of the brush approximately two times of the love handle.
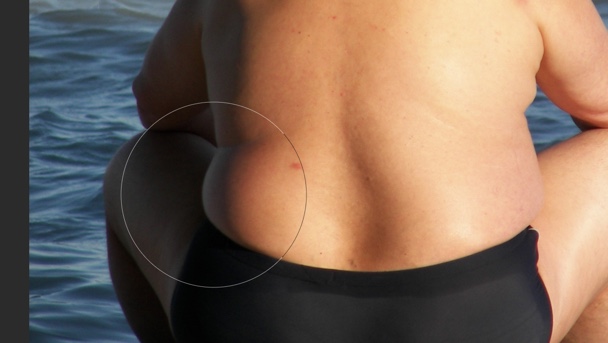
Now, gently push the love handle towards the body.
Here’s a GIF for you.
Do this with the other size also.

Looking good, right?
[vc_message message_box_color=”warning” icon_fontawesome=”fa fa-picture-o”]Feeling frustrated? If you’re having some problem and feeling frustrated, you can hand over this task to me. The max-to-max cost is $10 per image. Contact me at hello@tricky-photoshop.com.[/vc_message]
Step 4 – Reduce the fat in arms
Time to remove fat in Photoshop that is present in his arms.
Grab the Pucker Tool from or press S.
This tool deflates the pixels. We’re going to deflate the arms with this tool.
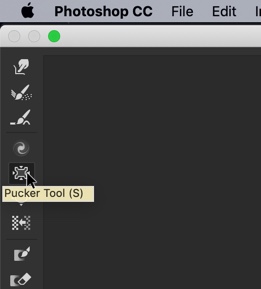
Again make sure that your brush size is twice the size of that particular body part.
Click on the center of the area which you want to deflate. I am going to click on the center of the arm.
Hold down the left mouse button to keep on deflating. You may also need to undo many times because you may deflate the wrong area. Press Cmd + Z / Ctrl + Z to undo.
Here’s the GIF for you.
Do this with his left arm also.
[vc_message message_box_color=”warning” icon_fontawesome=”fa fa-picture-o”]Feeling frustrated? If you’re having some problem and feeling frustrated, you can hand over this task to me. The max-to-max cost is $10 per image. Contact me at hello@tricky-photoshop.com.[/vc_message]
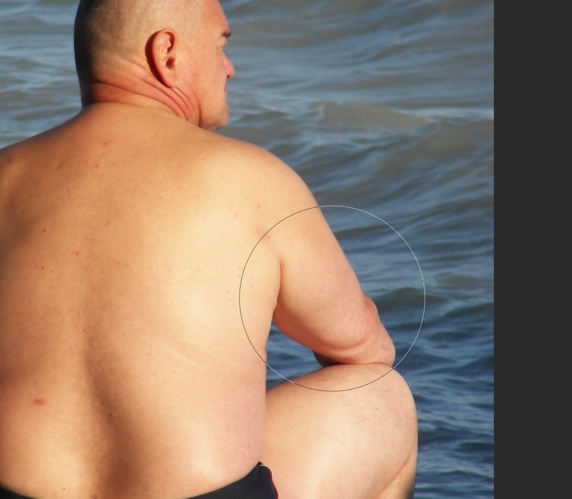
Step 5 – Reduce the width of the back
Time to remove fat in Photoshop that is present in his back.
Increase the size of the brush of the Plucker tool. Make sure that it’s much larger than the back.
Here’s the GIF for you.
Step 6 – Reduce the size of the legs
Time to remove fat in Photoshop that is present in his legs.
You’re going to reduce the size of the legs this time. Decrease the size of the brush of the Plucker tool.
Now click at the center of the leg. Here’s the GIF for you.
Looking good, right?
[vc_message message_box_color=”warning” icon_fontawesome=”fa fa-picture-o”]Feeling frustrated? If you’re having some problem and feeling frustrated, you can hand over this task to me. The max-to-max cost is $10 per image. Contact me at hello@tricky-photoshop.com.[/vc_message]


