Hey guys, How are you? We’re going to learn how to place an image in a text in Photoshop. Isn’t it amazing? Summer is approaching and all those beaches are now more beautiful than ever. So I thought why not take Hawai in this picture?
Last time I wrote a tutorial on Adjustment Tools in Photoshop.
This is a simple tutorial.
I am going to show you the image before I proceed.

Isn’t is looking beautiful? See all the shiny emboss and green color.
Let’s create it.
Step 1: Type the Text
Open the image and grab the Text tool.
Start writing the text you want. I am going to write “Aloha”. I am using “Lato” font.
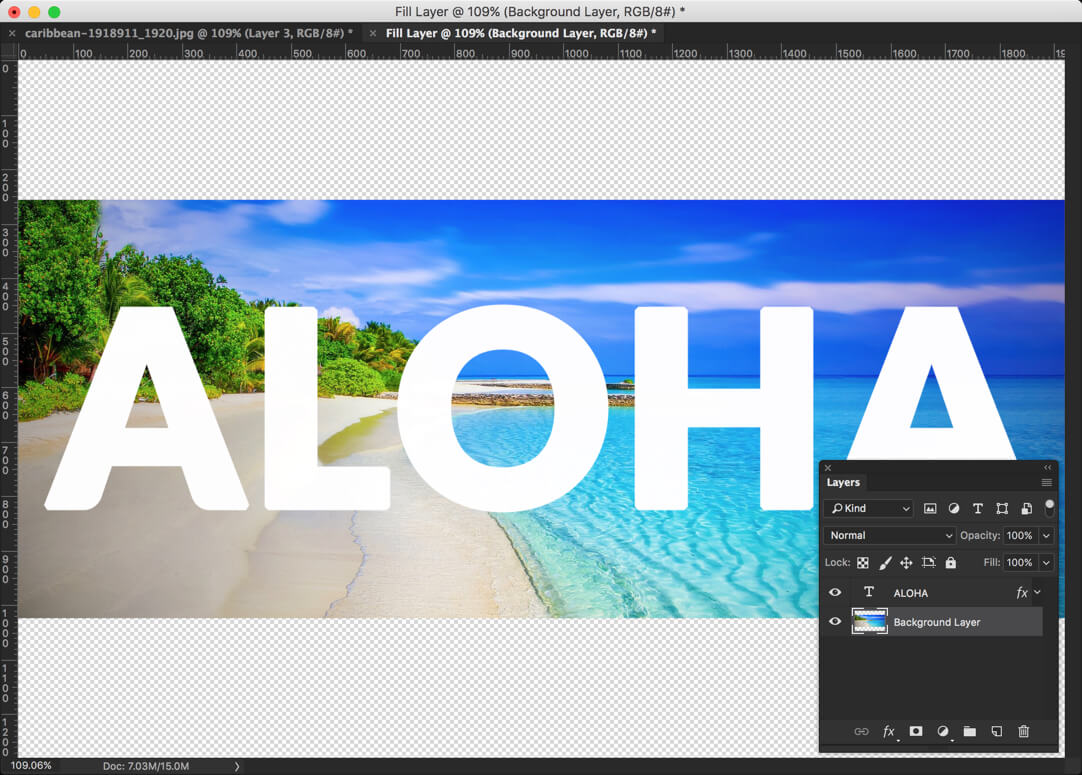
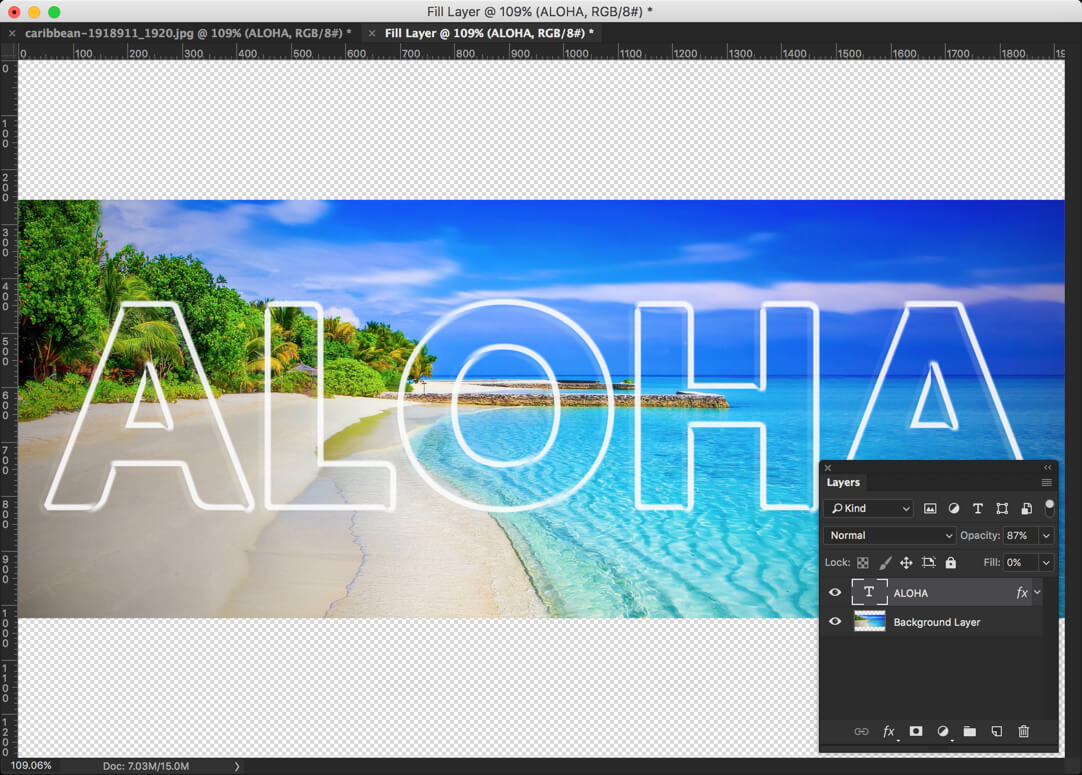
Decrease the Fill to 0%. Now the text should disappear.

Step 2: Add Layer Styling
Click on the FX icon and choose Bevel and Emboss.

Below are my settings. Personally, I like Pillow Emboss the most and by choosing 438% as depth, I make sure that I get sharp emboss.

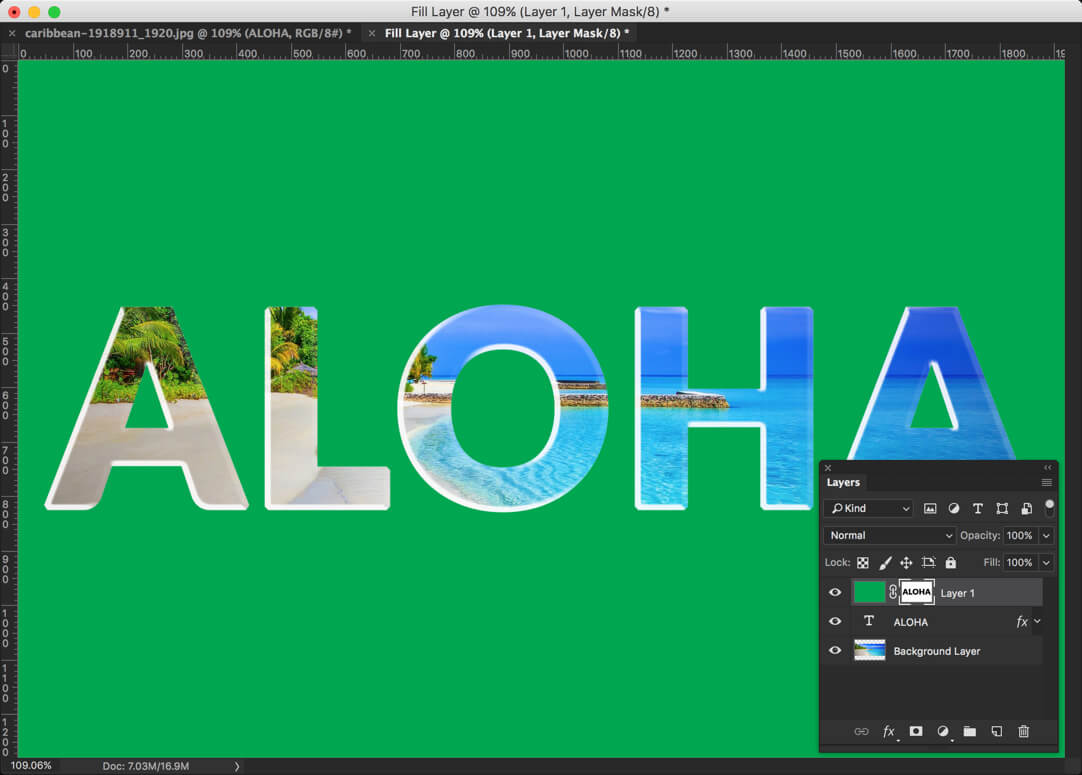
This is what the image should look like.
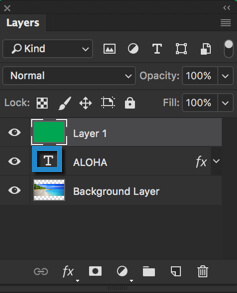
Step 3: Fill the Outer Color.
I am choosing a shade of green (#00a651) to be filled with my outer color.
Create a new layer and fill it with Green.

We’re selecting the text now. Hold down Cmd/Ctrl and click on the icon of text layer.
This should select the text.
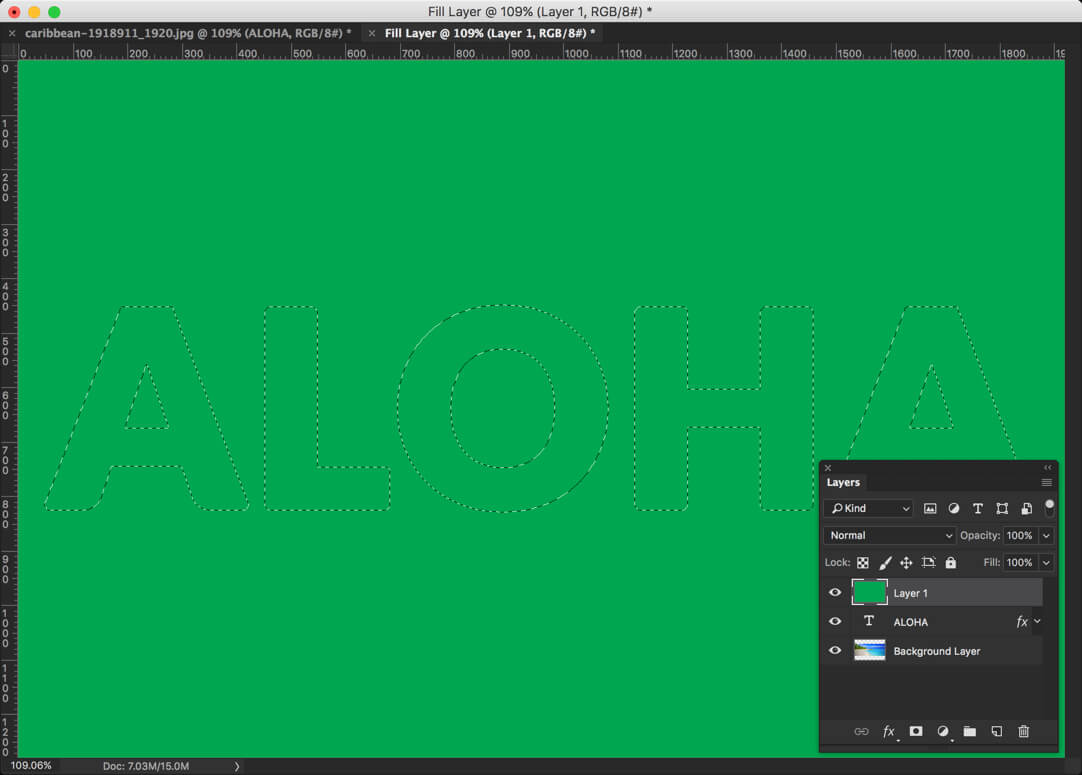
Create a layer mask and then immediately press Cmd+I/Ctrl+I.

And now your image should look like this.
That’s all for today.
See you again next week.


