Hey, welcome to another 1-minute series. Today, I’ll show you how can you change eye color in Photoshop in 1 minute. Yes, I have written a tutorial on this topic a few years ago. The tutorial was quite big and you cannot use that tutorial to change the eye color in just 1-minute. This is why I am bringing you this tutorial.
There has been a good demand for the 1-minute series and many people are asking me to create several 1-minute series. Some of them asked me to write one on how to change eye color in Photoshop. Others are swapping the sky, change skin tone, etc. in just 1-minute. I have written some of them in my 1-minute series. I still need to write many of them. So, bookmark the page so that you come back later.
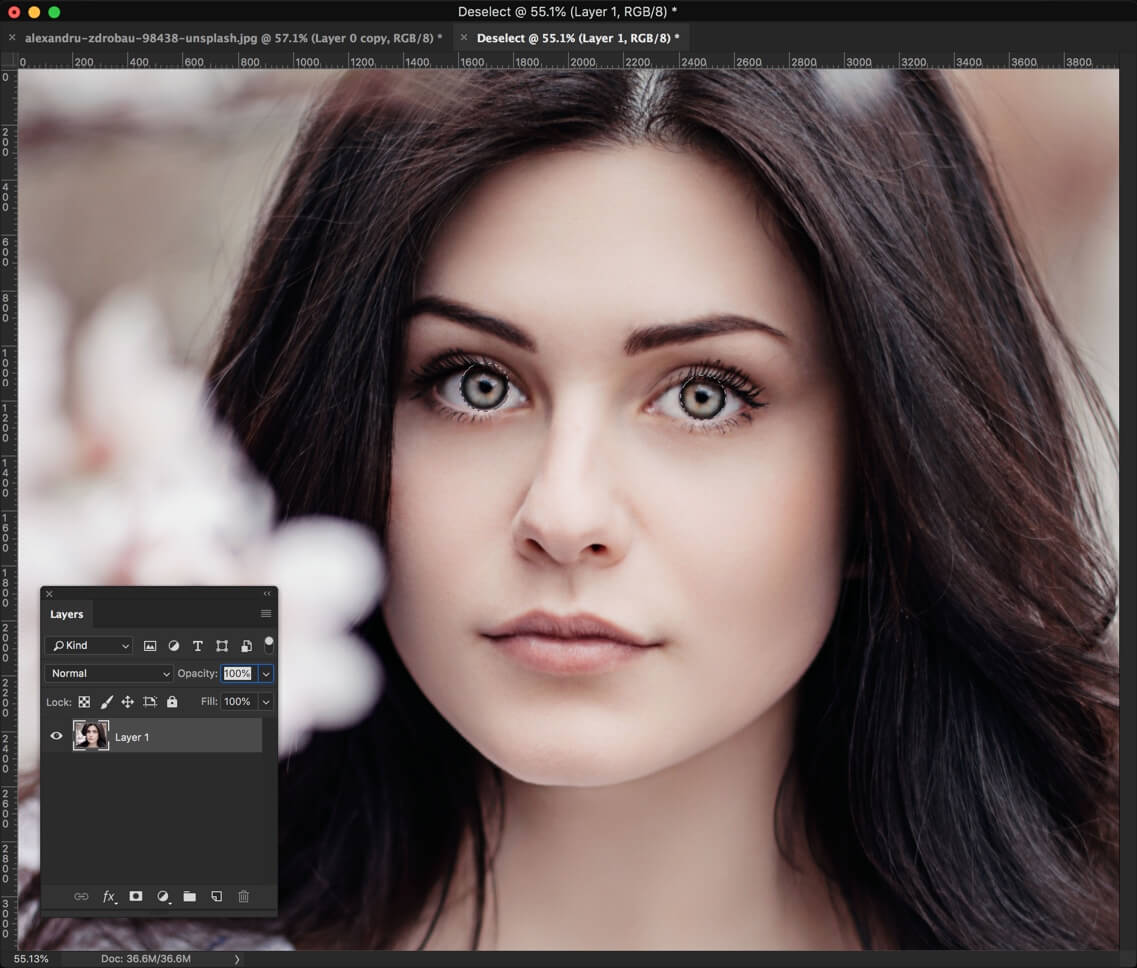
Before I begin the tutorial, let me show you the final and initial image.
Before
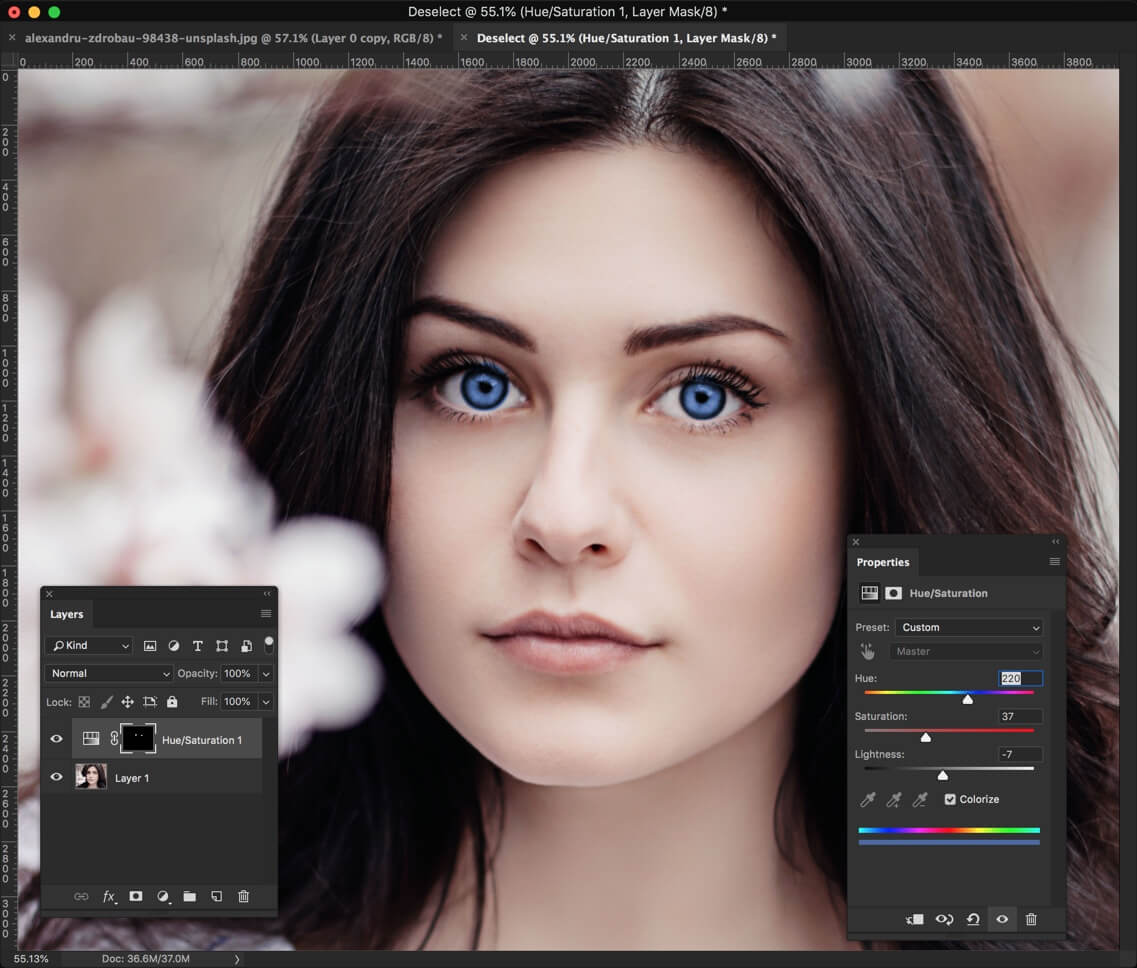
After
Step 1 – Select the Eyes
The very first step is to select the eyes. I am going to use Elliptical Marquee tool. I am using Elliptical Marquee tool because eyes are circular and which tool is better than Elliptical Marquee tool. But, if you’re not comfortable then you can use other tools like Quick Selection tool.
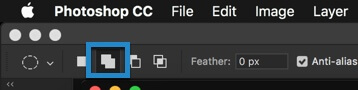
Please Shift + M again and again until Elliptical Marquee tool activates. We’re going to select both eyes at the same time. So, we need to activate “Add to Selection” tool which means that your old selection doesn’t get deselected as soon as you make a new selection.
Hold down Shift and start making a selection across one eye at a time. You can hold down Space if you want to move the selection. Select both eyes.
Step 2 – Change Eye Color in Photoshop
Now, we’re going to change the eye color.
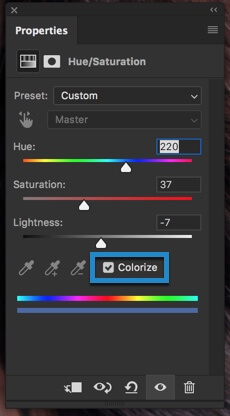
Go to Layer>New Adjustment Layer>Hue/Saturation.
First, click on “Colorize”. It will colorize the image (in our case, it’ll colorize the selection).
Now, play with the sliders to get the desired color.
Hue – It will change the color Saturation – It will increase the saturation of the color i.e. more vivid or less vivid Lightness – It brightness or darkens the color
With these three sliders, you can make any color.
Step 3 – Finetune the Selection
We made some mistakes in step 1 while making the selection. The selection was not perfect. Now, we’re going to fix it.
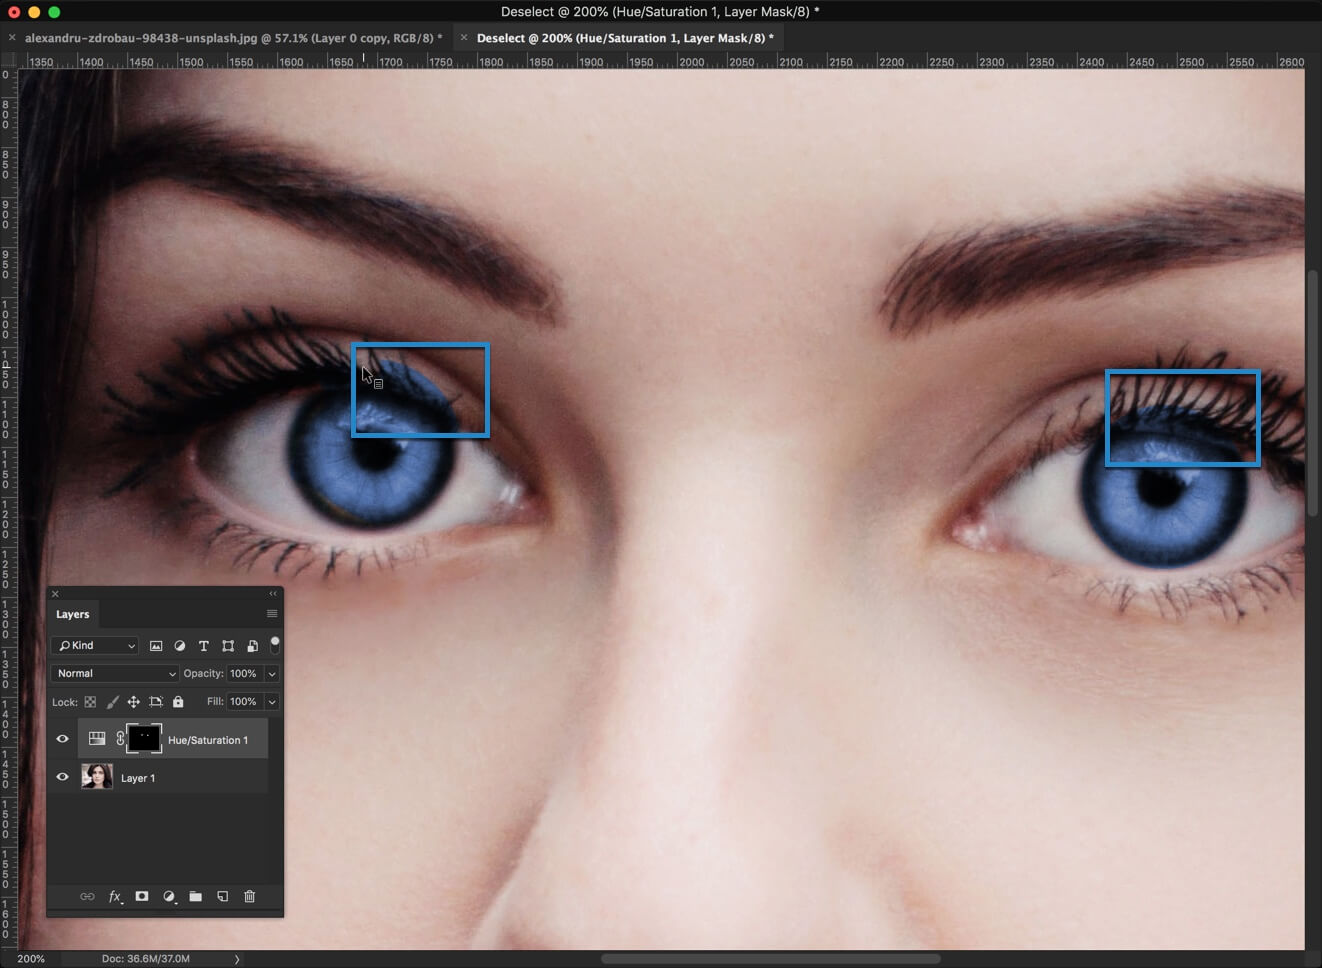
Zoom in the image so that you can see the eye clearly.
Activate Brush tool. Click on the layer mask. Make the foreground color as black. Now, start painting the area where you don’t want the blue color. I have highlighted some of the areas in the below image.
This is a guest post by Taher from huntingfrog.com. The author is a freelance writer, outdoor enthusiast, traveler, a mother and hamburger addict! She is a writer by day and reader by night who lives in the Rocky Mountains with her husband and her twin kids.
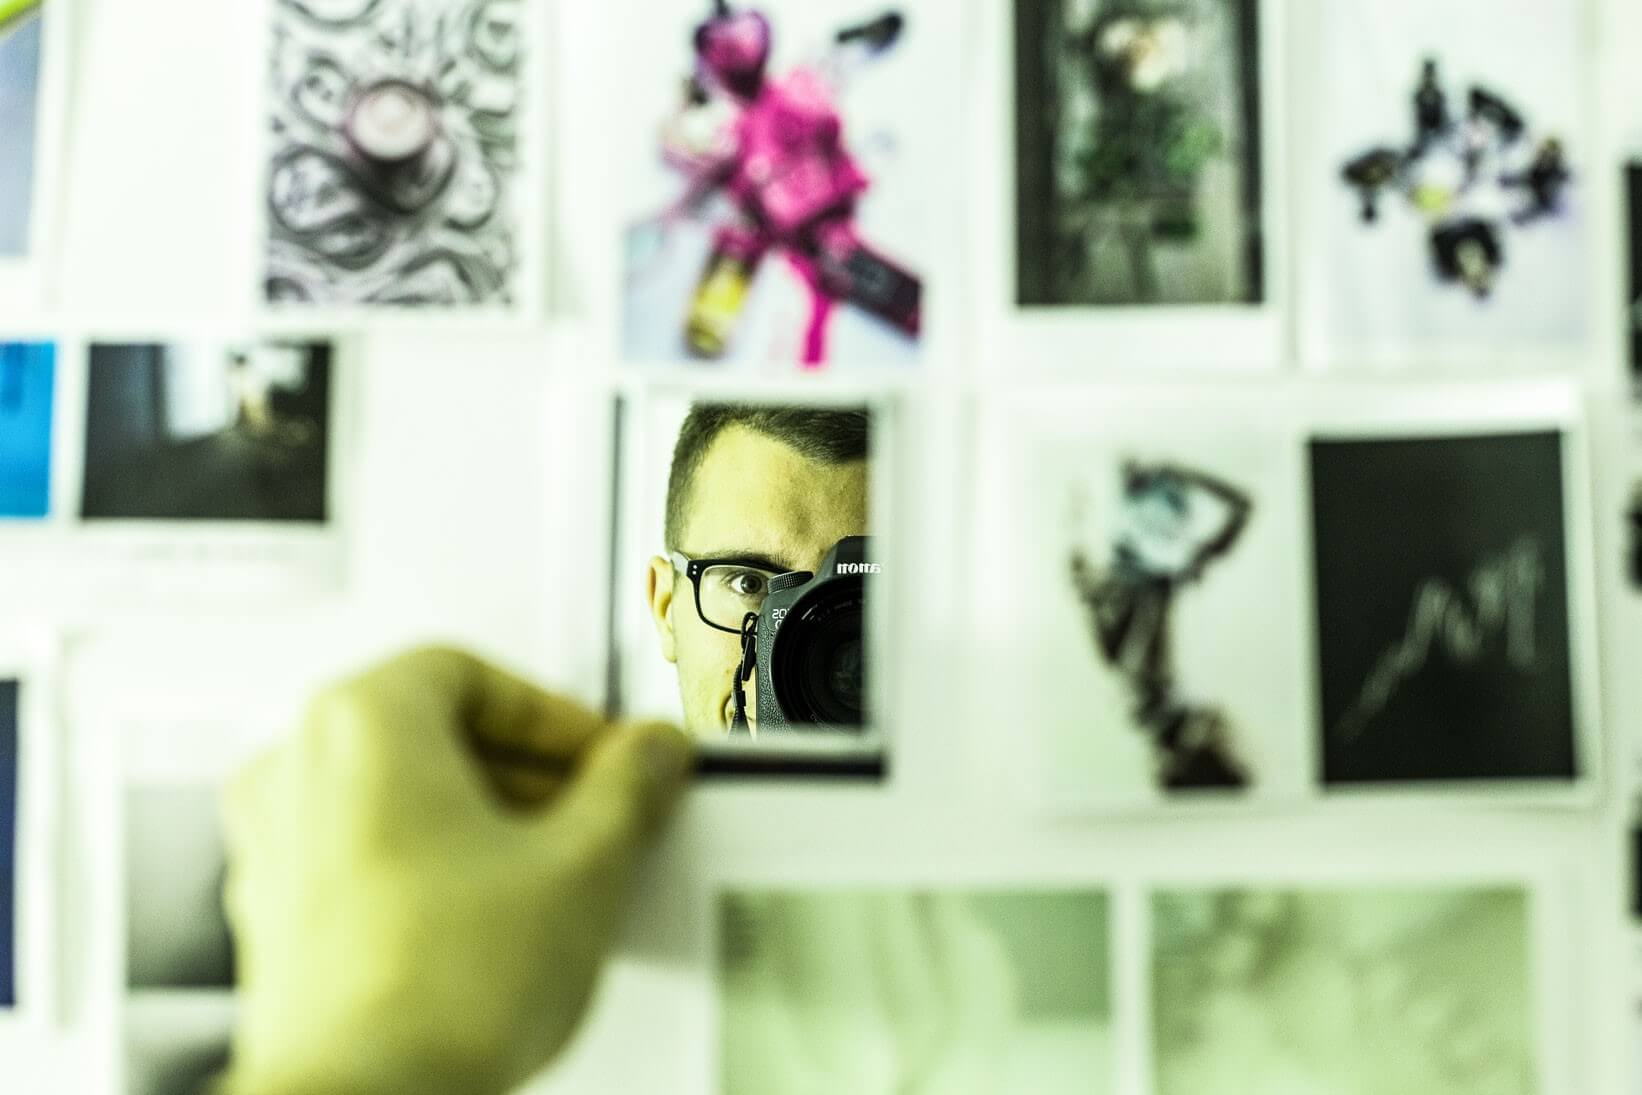
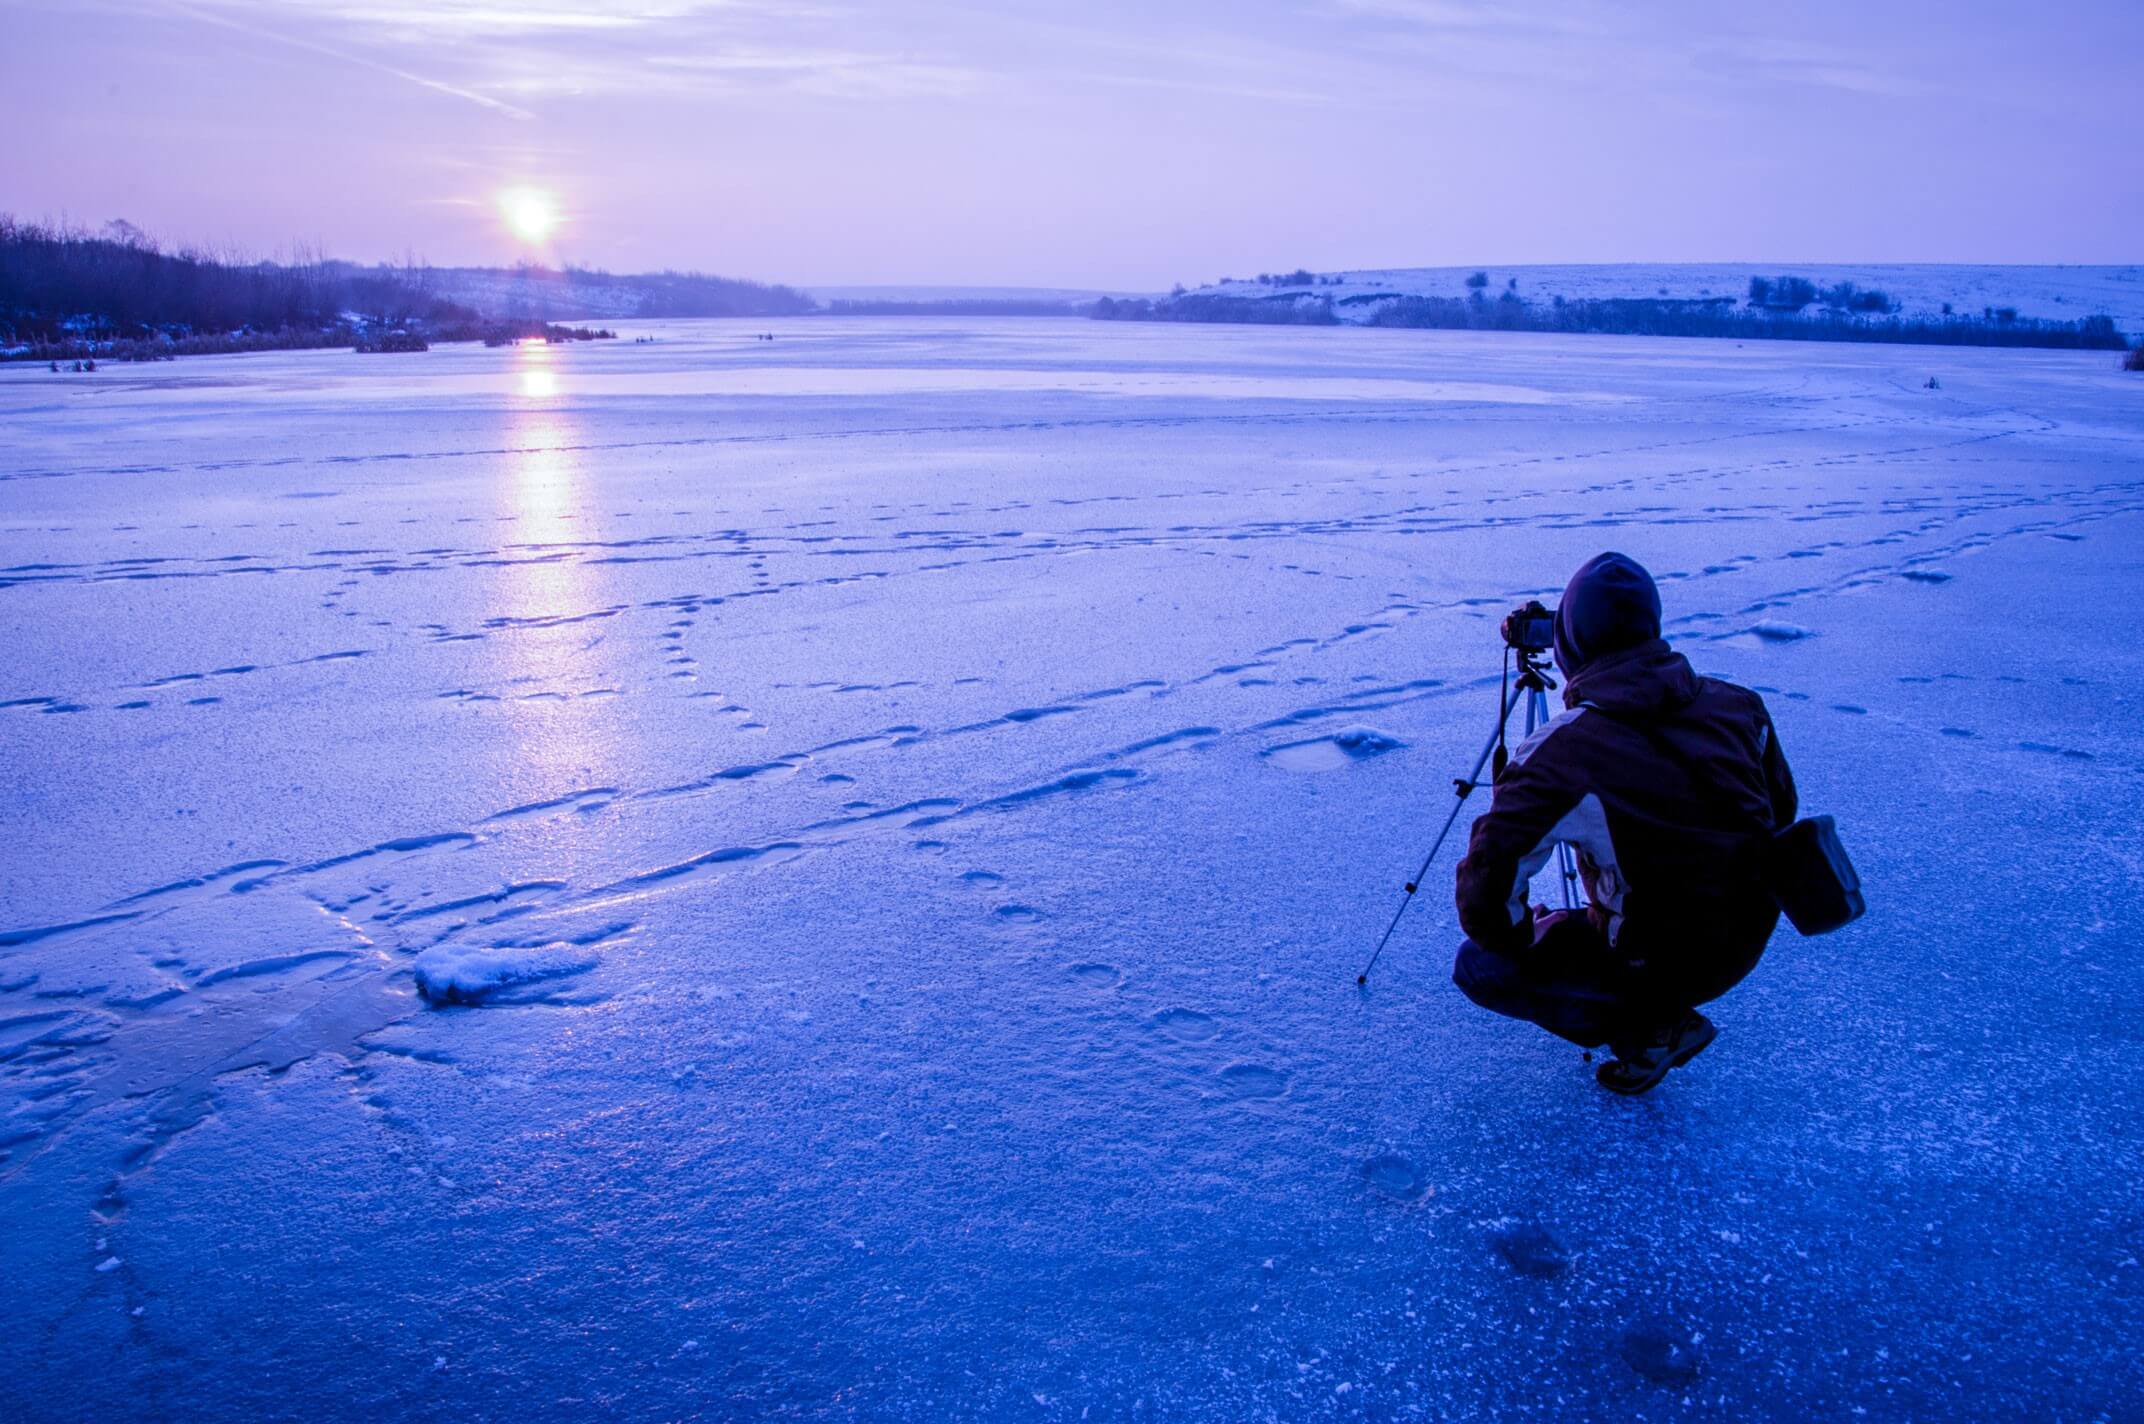
Photography is an amazing hobby to pick. There is nothing like capturing a gorgeous sunset just at the right time from the right angle. If shooting photographs is the true passion you can consider taking the leap of faith to turn it into a full-time profession. There are plenty of things to be aware of before taking the plunge. If you want to make a mark on your craft, you can earn big money in photography as much as establishing your niche by marketing yourself. It is about putting your mark among one of those people who have an eye for artistic photography and the skills in capturing an image.
While our photographing can be a brilliant way to make some extra cash. There are a whole lot more to it if you plan to set up a studio thus making a business and get into photography as your line of expertise without the tension of a full time in the background. While the idea of taking this leap of faith could be big but there are few challenges in this field. Many have tried and failed as there’s no exact formula.
But by following a few simple guidelines you can succeed in making your hobby to something you love, turn your photos into cash and make yourself a Professional!
Finding a Niche
When you are aiming to become a professional you are obviously tempted to take all the photography jobs that may come on your way. Instead of indulging yourself in a chunk of jobs, focus on a strategy that will put you ahead in the long-term goal – which is to be a professional and of course your value in the market.
You may be a landscape photographer, a wedding photographer, portrait specialist or a new photographer but you need to know about your strengths – the area you specialize in. There are many genres, and sub-genres but picking one genre gives a lead to define yourself as a brand.
It doesn’t matter how much you love to take photos of your pet or your car or taking photos for real-estate or sports. Do all you can to research the genre in which you are interested. Then, you’ll want to build up your portfolio.
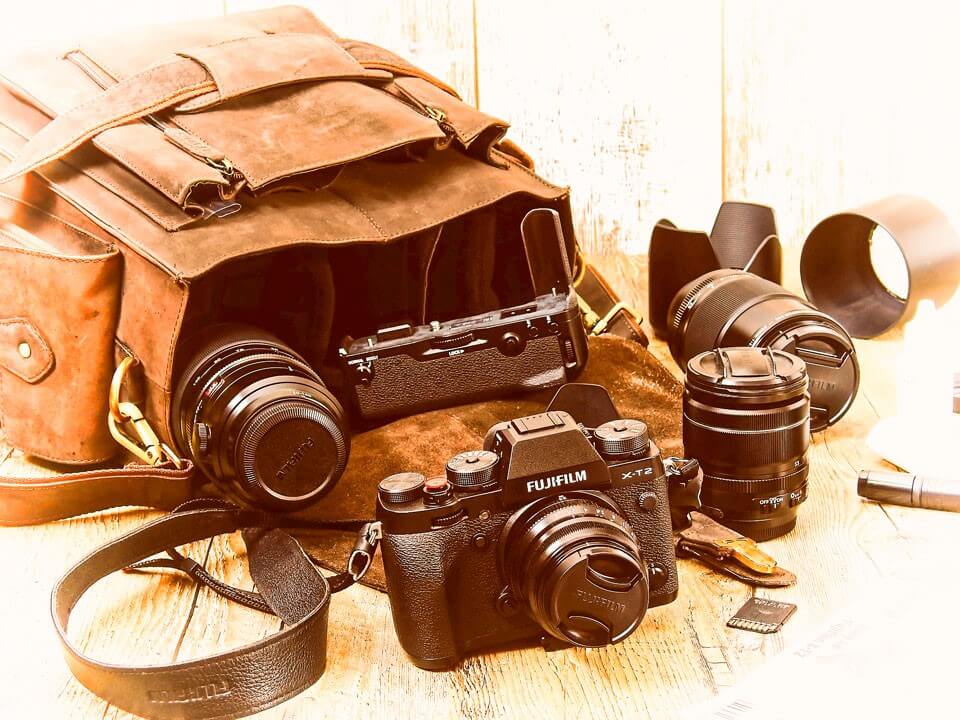
Upgrade your Gear
In recent times smartphone camera technology has gotten impressive but that is not good enough for your work to get into the photograph business. It does not mean you have to empty your pocket to get the best camera. There are a fantastic photography equipment’s in the market which you can now find over the internet on amazon or eBay.
Know your gadgets and determine what you really need to grow in your photography to be considered as a professional. A tip from Photographers is to invest in lens quality and not to worry about the lighting technology.
Build Photography Portfolio
Building a strong portfolio based on your niche is an advantage for attracting the right type of clientele. In the era of internet, social media platforms are reigning in every edge of the world. Creating dedicated Instagram, Twitter and Facebook account for your work is convenient and most of all it is free.
Careful displaying of your best work gives an extra edge. Focus on your work with the same critical eye that client would look at. Don’t just upload the raw photos, do require image editing to give your work a professional look. Always remember, your work is your brand and your work will be judged based on your portfolio. This is important because your portfolio shows off the quality of your work. Your audiences are unlikely to pay attention for a shoot unless you wow them with your photography skills on your portfolio.
Making Networks
Making valuable network with purpose is crucial, as it helps to approach brands that you want to work with even if they are far superior to you. This helps you to identify your opportunities in your photographic remit wherever they may be.
If you are meeting new people, always keep an ear out for where you might of use to some. To keep in mind ruling yourself out of poorly paid jobs in areas you are not interested in is as empowering as accepting work in areas that are.
There is always something to learn from. It is an addition to your experience which helps you envision what you want to be doing for your next prospects utilizing these networks.
Showcase your work
Now you can sign up and advertise your work to people as a photographer. You will need to start pounding the pavement and look for work as it won’t just come to you without a little bit of effort and quite a bit of luck.
While it can be fine to wait for the work to come in when you have photography as a hobby, it is important to ensure you have a regular work and inquiries for your photographic profession.
Whether you approach your local institutes, clubs, schools, art galleries, event companies, bridal shows or anything happening in and around your local area. It is important you put your hand up for as many works as you can and set up a range different options for the lead generation so that you have a wide range of options available to get work.
Conclusion
Some people have jobs some people have careers, and if you have photography as a hobby and you want to exploit your career opportunities in photography then it is a good excuse to get paid for your hobby. In this digital world, everything on the internet is quite visual and content-based, and so photography is captivating to all.
While the dream of taking your photography hobby to be a fulltime job is a wonderful idea. Make sure you have everything set up and your gears ready before you resign from your current and engage your photography business full on. However, if you have the dedication and determination to push through the hard times, you will be able to create a business out of what you love to do, photography. In the end, happy photographing.
Hey guys, welcome to my another Photoshop 1 minute tutorial. This time I am going to show you how to create Photoshop Sepia effect in just 1 minute. If you’re an intermediate or advanced user, you can create it in even lesser than 1 minute. Oh! I forgot to tell this is another tutorial for my 1-minute Photoshop series.
You are seeing many tutorials on Google for Photoshop sepia effect. All of them are great but they are very-very big tutorials. I believe that you should not spend more time in a task that can be completed in a comparatively lesser time. Some tutorials will ask you to open Camera RAW, some will ask you to play with duotone, and some will ask you to use Photoshop filters. All of them will get you the result but will take a good amount of time to achieve the result.
This is why I bring you the Photoshop sepia effect tutorial that you can create in just 1 minute.
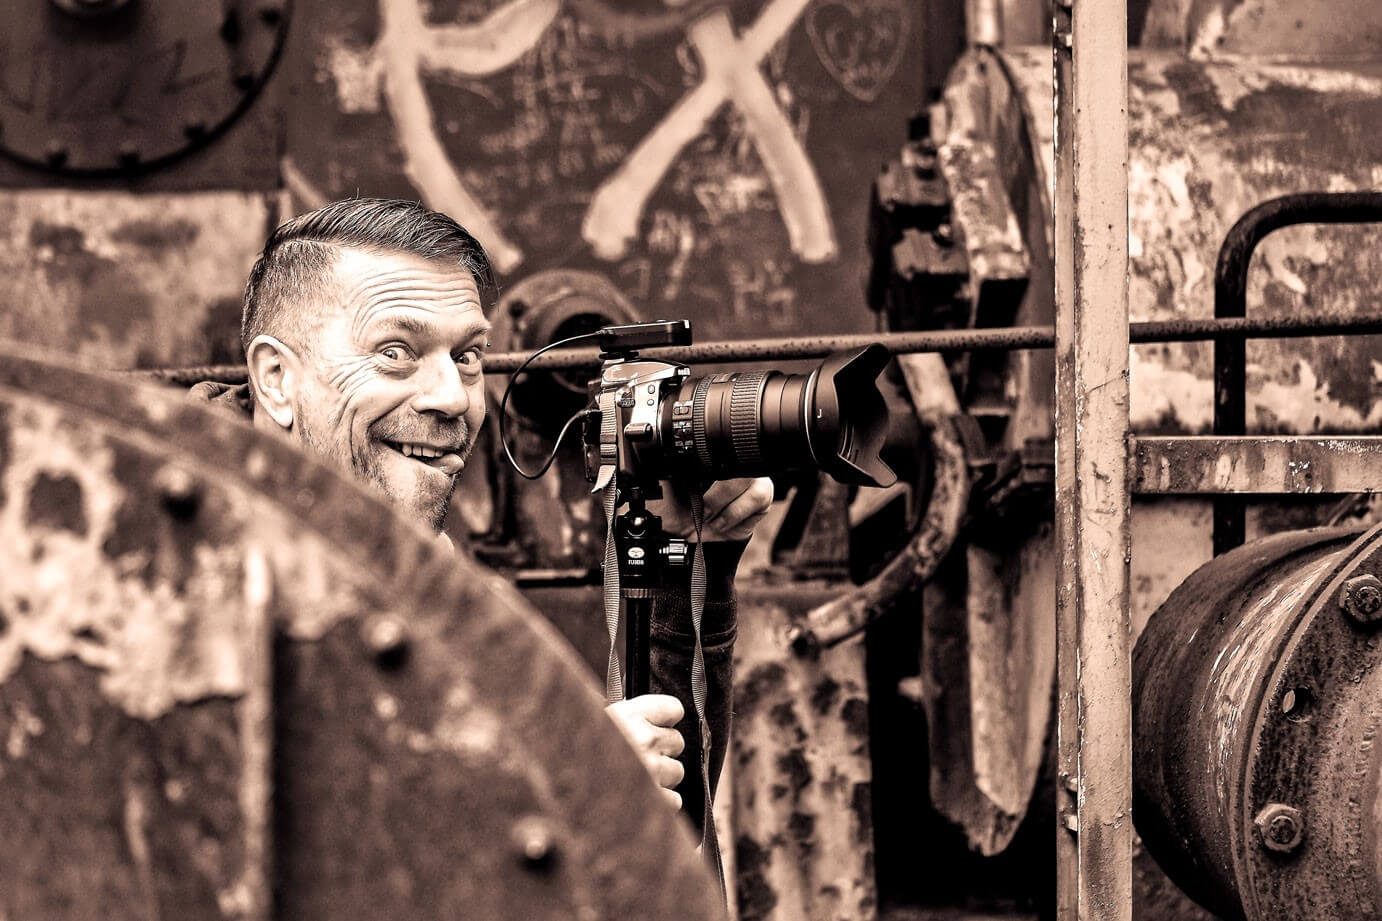
Here you go with the final image.
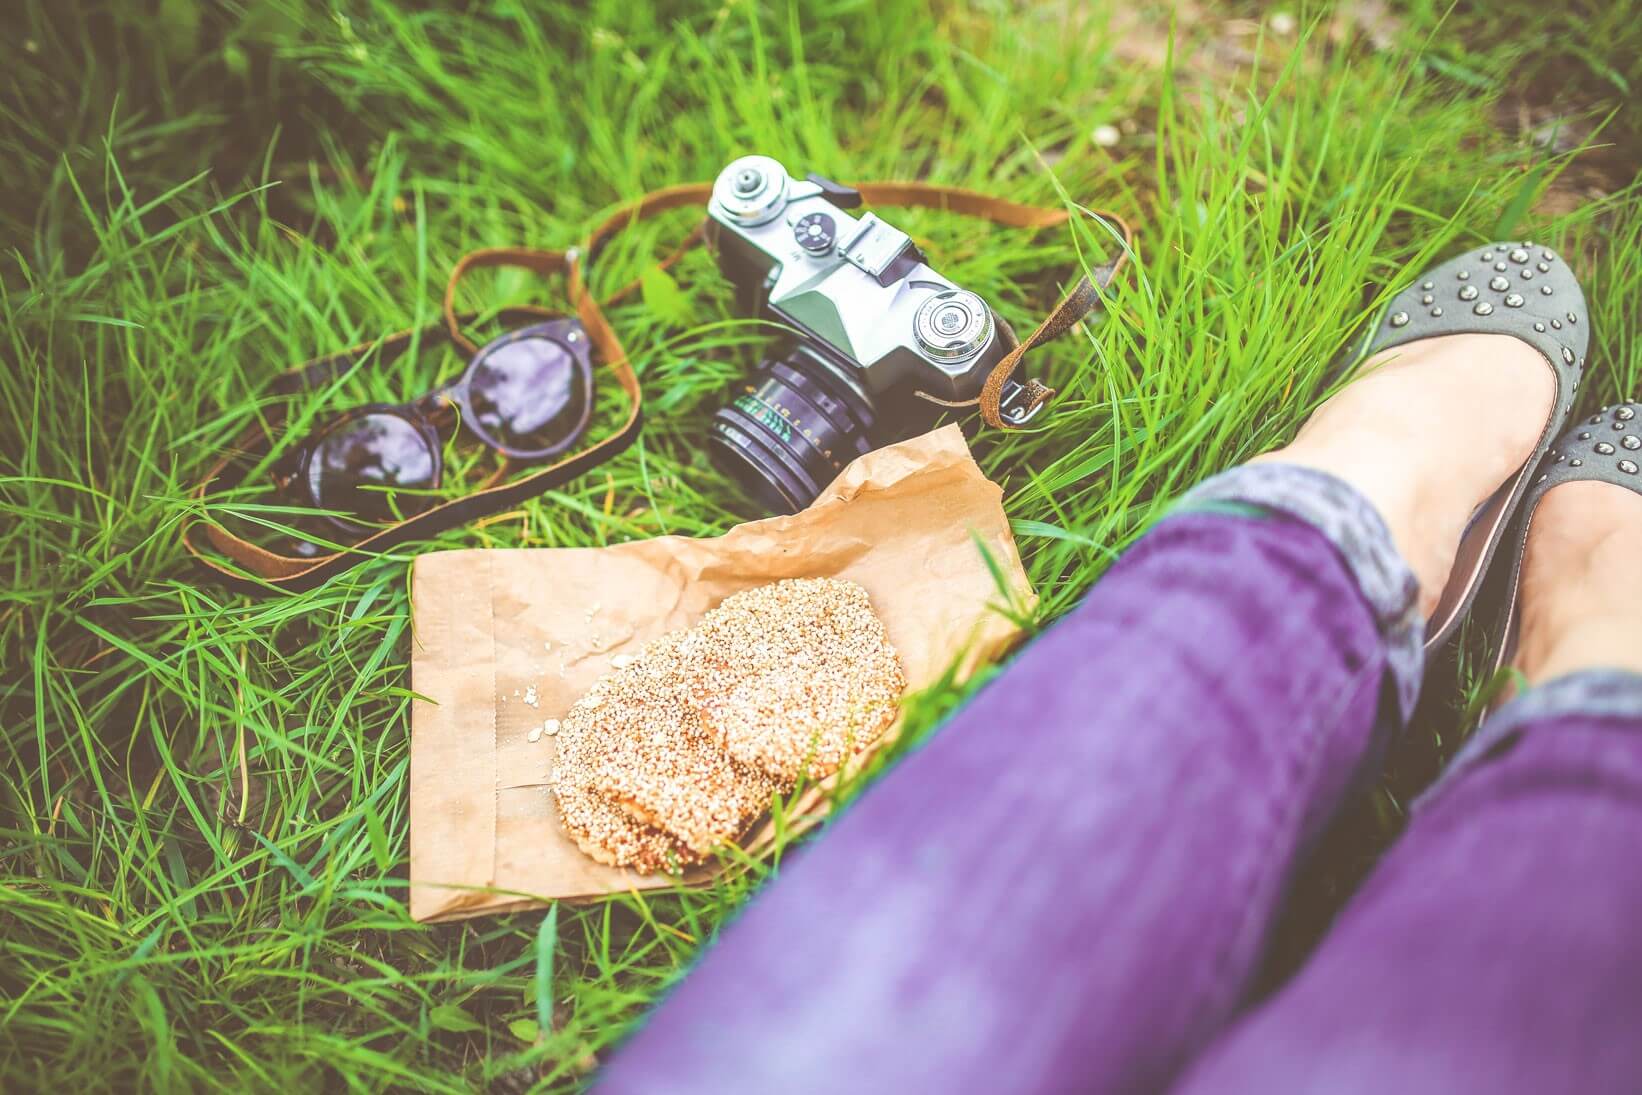
Here’s the initial image.
Let’s start the tutorial.
Step 1 – Set the Foreground Color for Photoshop Sepia Effect
Click on the foreground color and set #704214 as the color. #704214 is the HEX color code of Sepia.
Step 2 – Create a New Layer
Create a new layer by pressing Cmd+Shift+N/Ctrl+Shift+N. You can also go to Layer>New>Layer to create a new layer. There’s another way to create a new layer. Open Layer Panel by pressing F7 and click on the Create New Layer icon.
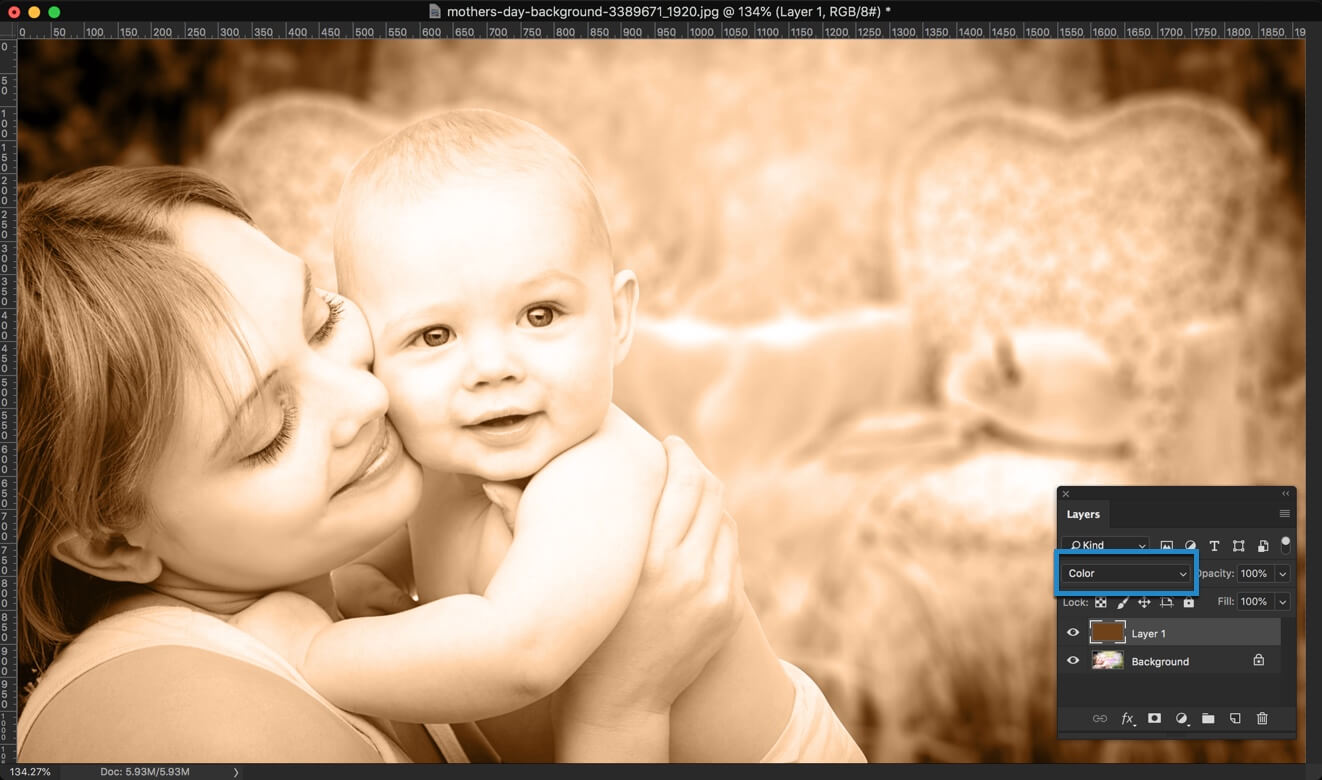
Step 3 – Fill the New Layer with the Sepia Color
Time to fill the new layer with the sepia color. Press Opt+Delete/Alt+Backspace to fill the layer with the foreground color.
Change the blend mode to “Color”.
That’s all.
Congrats! You now know how to achieve Photoshop sepia effect in just 1 minute. Share this tutorial with your friends and show them that they’ve been adding sepia effect wrongly since birth.