And with the launch of brand new Adobe Photoshop 2015.5, here comes a new feature that is Content Aware Crop Tool in Photoshop. Gone are the days when you need to crop your image a little bit whenever you rotate a photo. Before I dive deeper into this tutorial, let me tell you about the feature that came with Photoshop 2015.5., i.e. The brand new Face Liquify Tool.
So let’s begin with the tutorial.
What is Content-Aware Crop Tool?
Wondering?
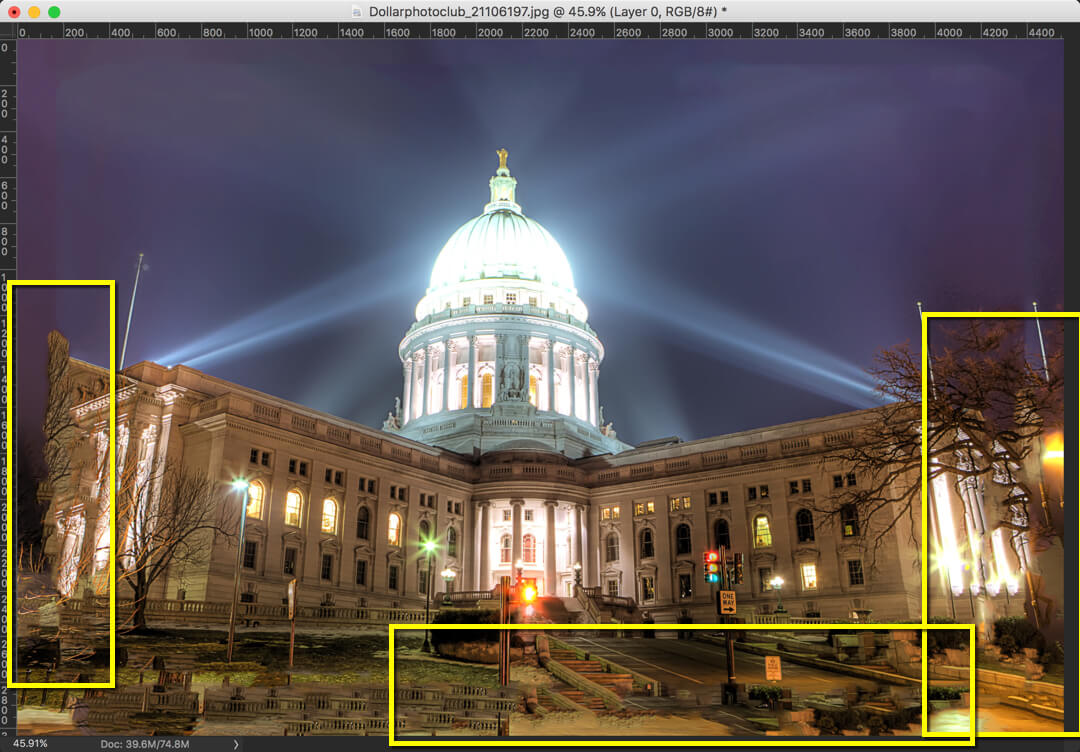
Remember when you used to rotate a photo in Photoshop, Photoshop crops the image a little bit. If you don’t remember it, look at the screenshot below.
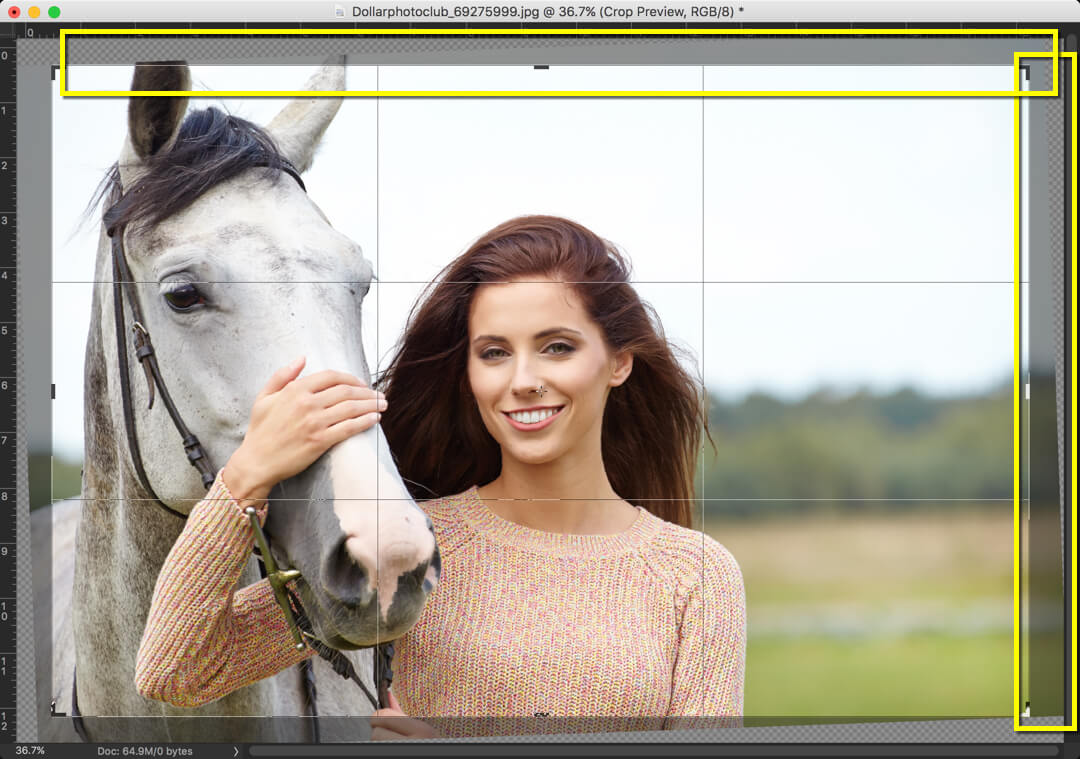
Look at the area that is enclosed within yellow color. To keep every single detail and maintain aspect ratio in a photo, Photoshop crops out some part.
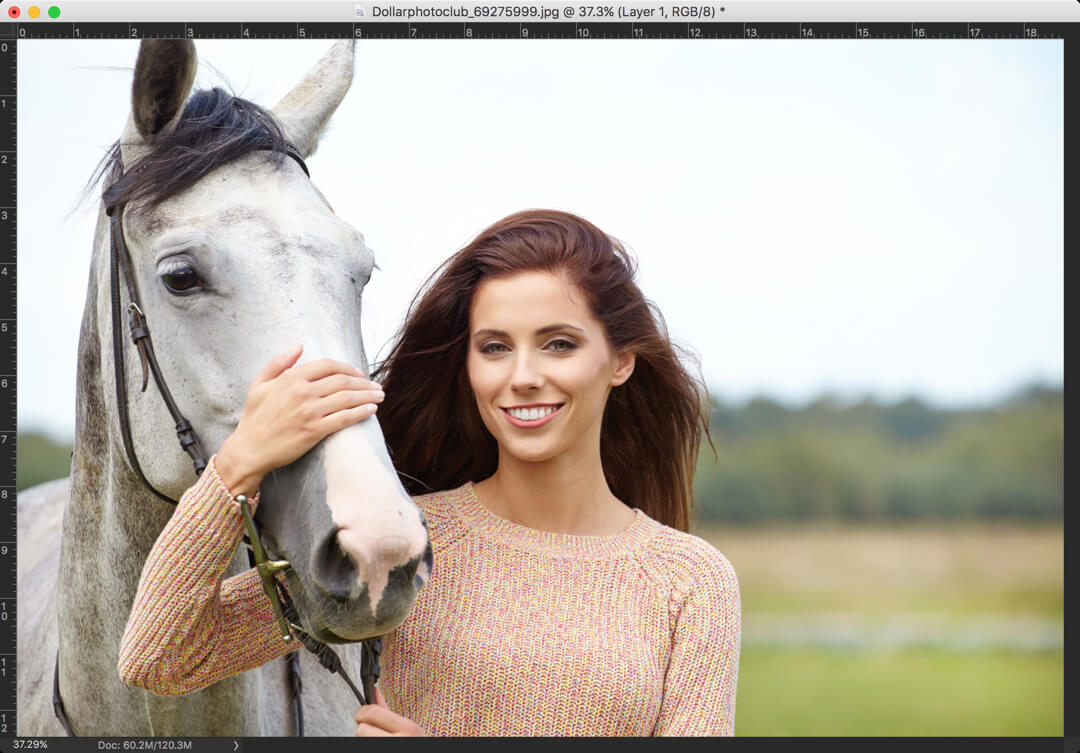
Now look at the same image with Content-Aware turned on.
Now let’s find out how to use this tool.
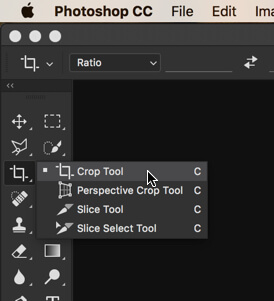
Step 1: Activate the Crop Tool
Grab the Crop Tool from the tool panel or press Shift+C again and again until it comes.
Step 2: Turn on Content Aware Crop
As the image is skewed, we need to straighten it. But before we click on Straighten, are you seeing the Content Aware checkbox at the far right? Did it use be there?

Well, no!
After turning Content Aware on, click on Straighten.
Step 3: Draw a Horizontal Line
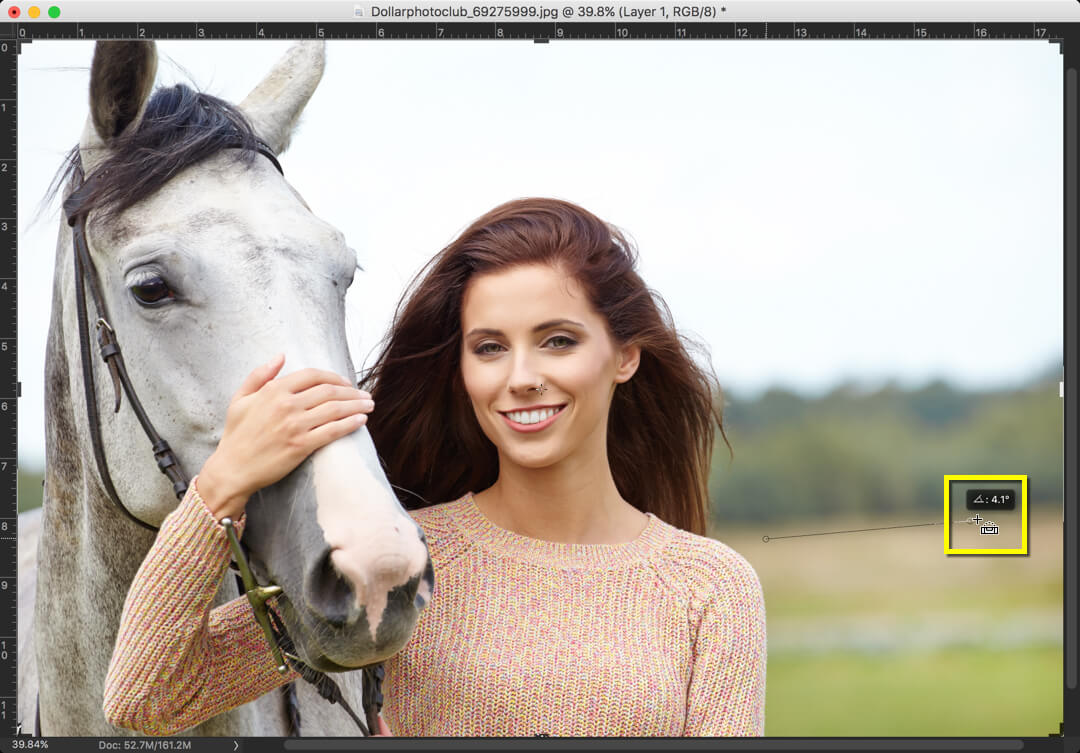
Now draw a line along the something that needs to be perfectly horizontal.
In the below image, the place where grass and trees are meeting must be horizontal. After drawing a line, Photoshop will show you the angle by which an image is skewed. In my case, the image is skewed by 4.1 degrees.
Press Return/Enter. And that’s it. Give few seconds to Photoshop.
And Photoshop has straightened your photo by adding extra added pixels to it. Isn’t that awesome?
Let’s move to the next page where I’ll tell you where this tool fails.
Areas Where Content Aware Crop Tool Fails
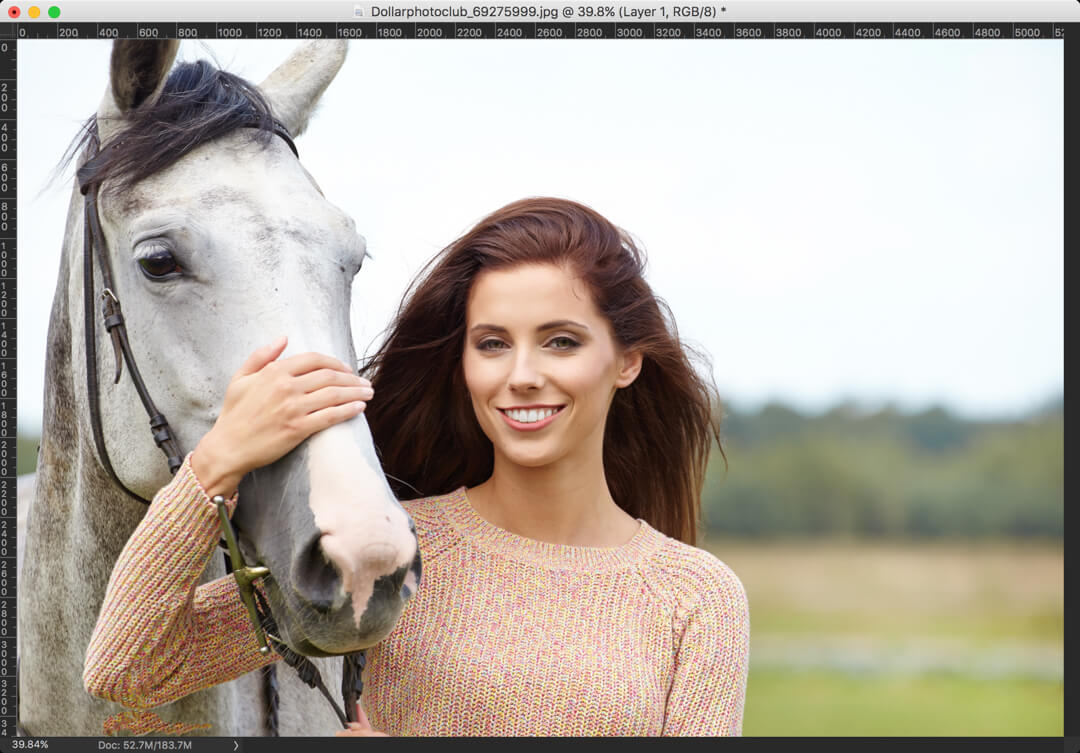
As you can see in the above image, the corners of the image are pretty much simple to create. This tool generally fails when the corners of the photo are complex to create. Just look at the photo below.
Look how Photoshop messed up the image by filling the space with Content-Aware tool.
But as I always said, something is better than nothing. At least Adobe thought of adding this feature.
Time to wrap up this tutorial.
Please support TrickyPhotoshop by sharing this tutorial with your friends and family on Facebook, Twitter, and Google+.


