STEP 5
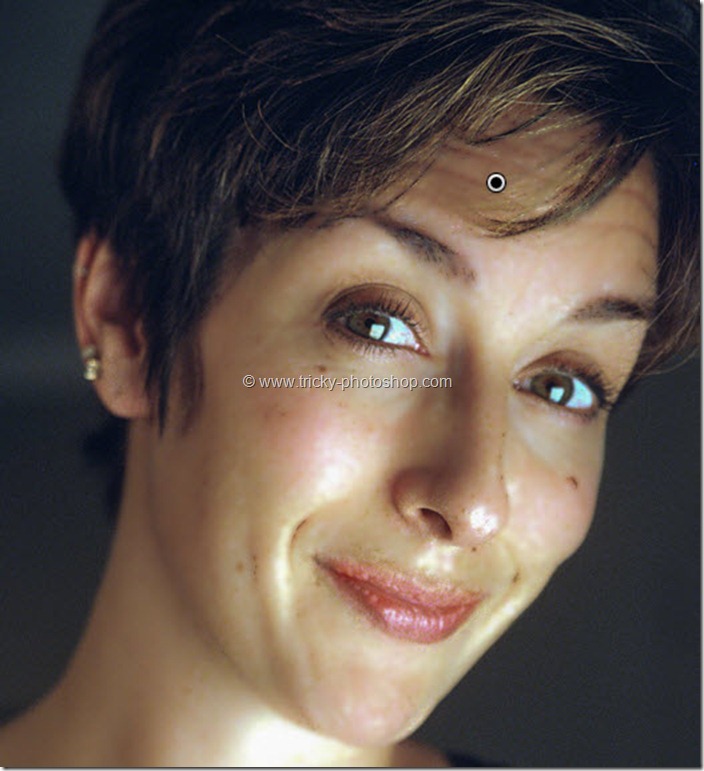
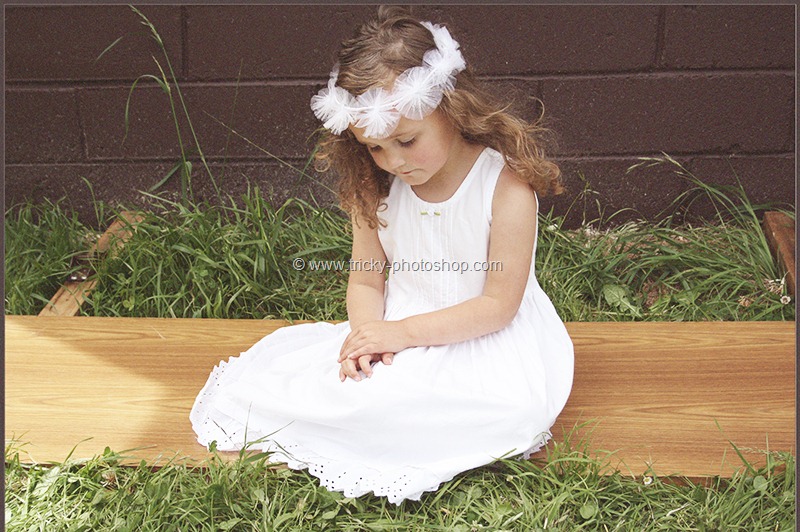
Now here comes the most time consuming step. In this step I am going to soften her skin. IN Photoshop 99% of time I use Surface Blur but in Lightroom there is no such thing Filter but we have Brush. Active the Brush by pressing keyboard shortcut K. Now a new panel in opened on my right hand side. I am going to drag my Clarity slider to 0 and start brushing on her skin. IN the below image I have only used brush on her left chick and you can compare the effect by comparing her left chick with her right chick.
After brushing all over her face except eyes, nose and lips I’ll get the image which is shown below. The skin is totally smoothen now.
If I turn on the mask then you can see properly in which are I have used the brush.
In the above image, the area which is painted with red the color is the area where I have used my brush.


